Rachel: “I found these cute block-printed throw pillows I want to make. How can I do that with natural dyes?”
I’m mostly a spinner and knitter, but in the natural dye classes that I attend at OCAC, there are a lot of people who focus on textiles. We’ve used a simple technique to get a lot of different results, and it’s really a lot of fun.
You will need the items you wish to print with: print blocks, stencils, potato stamps, paintbrushes, silkscreens, or anything else, and a few pieces of equipment: a blender, a steamer, an old bedsheet, and gum tragacanth. Gum tragacanth is a natural product that is most often used making fondant for cakes. Here it’s used as a “sticking” medium. What’s good about gum trag vs. other similar products is that it doesn’t interfere with or change the color of your dyestuff.
The technique: mix up some gum trag and water in a blender. Say, 1/4 C gum trag and twice a much water. You will hear and feel the mixture get thicker after about thirty seconds. If it’s too thick, add more water. If it still seems a little runny, let it sit for a bit, it thickens over time. Don’t mix more than you’ll need for your project at hand, because it only lasts about a day in the refrigerator. (Obviously it will be easier to judge once you’ve done it, but a little medium goes a long way.) You will want it thick enough to adhere to your stamps, but not so thick that you lose definition. If you’re silkscreening, you’ll want the thickness of silkscreen ink. Make some practice stamps before you commit to your fabric!
Mordant Printing
You can mix a mordant into your gum trag mixture. We used very small amounts of copper and iron, and a slightly less small amount of alum during our classes.
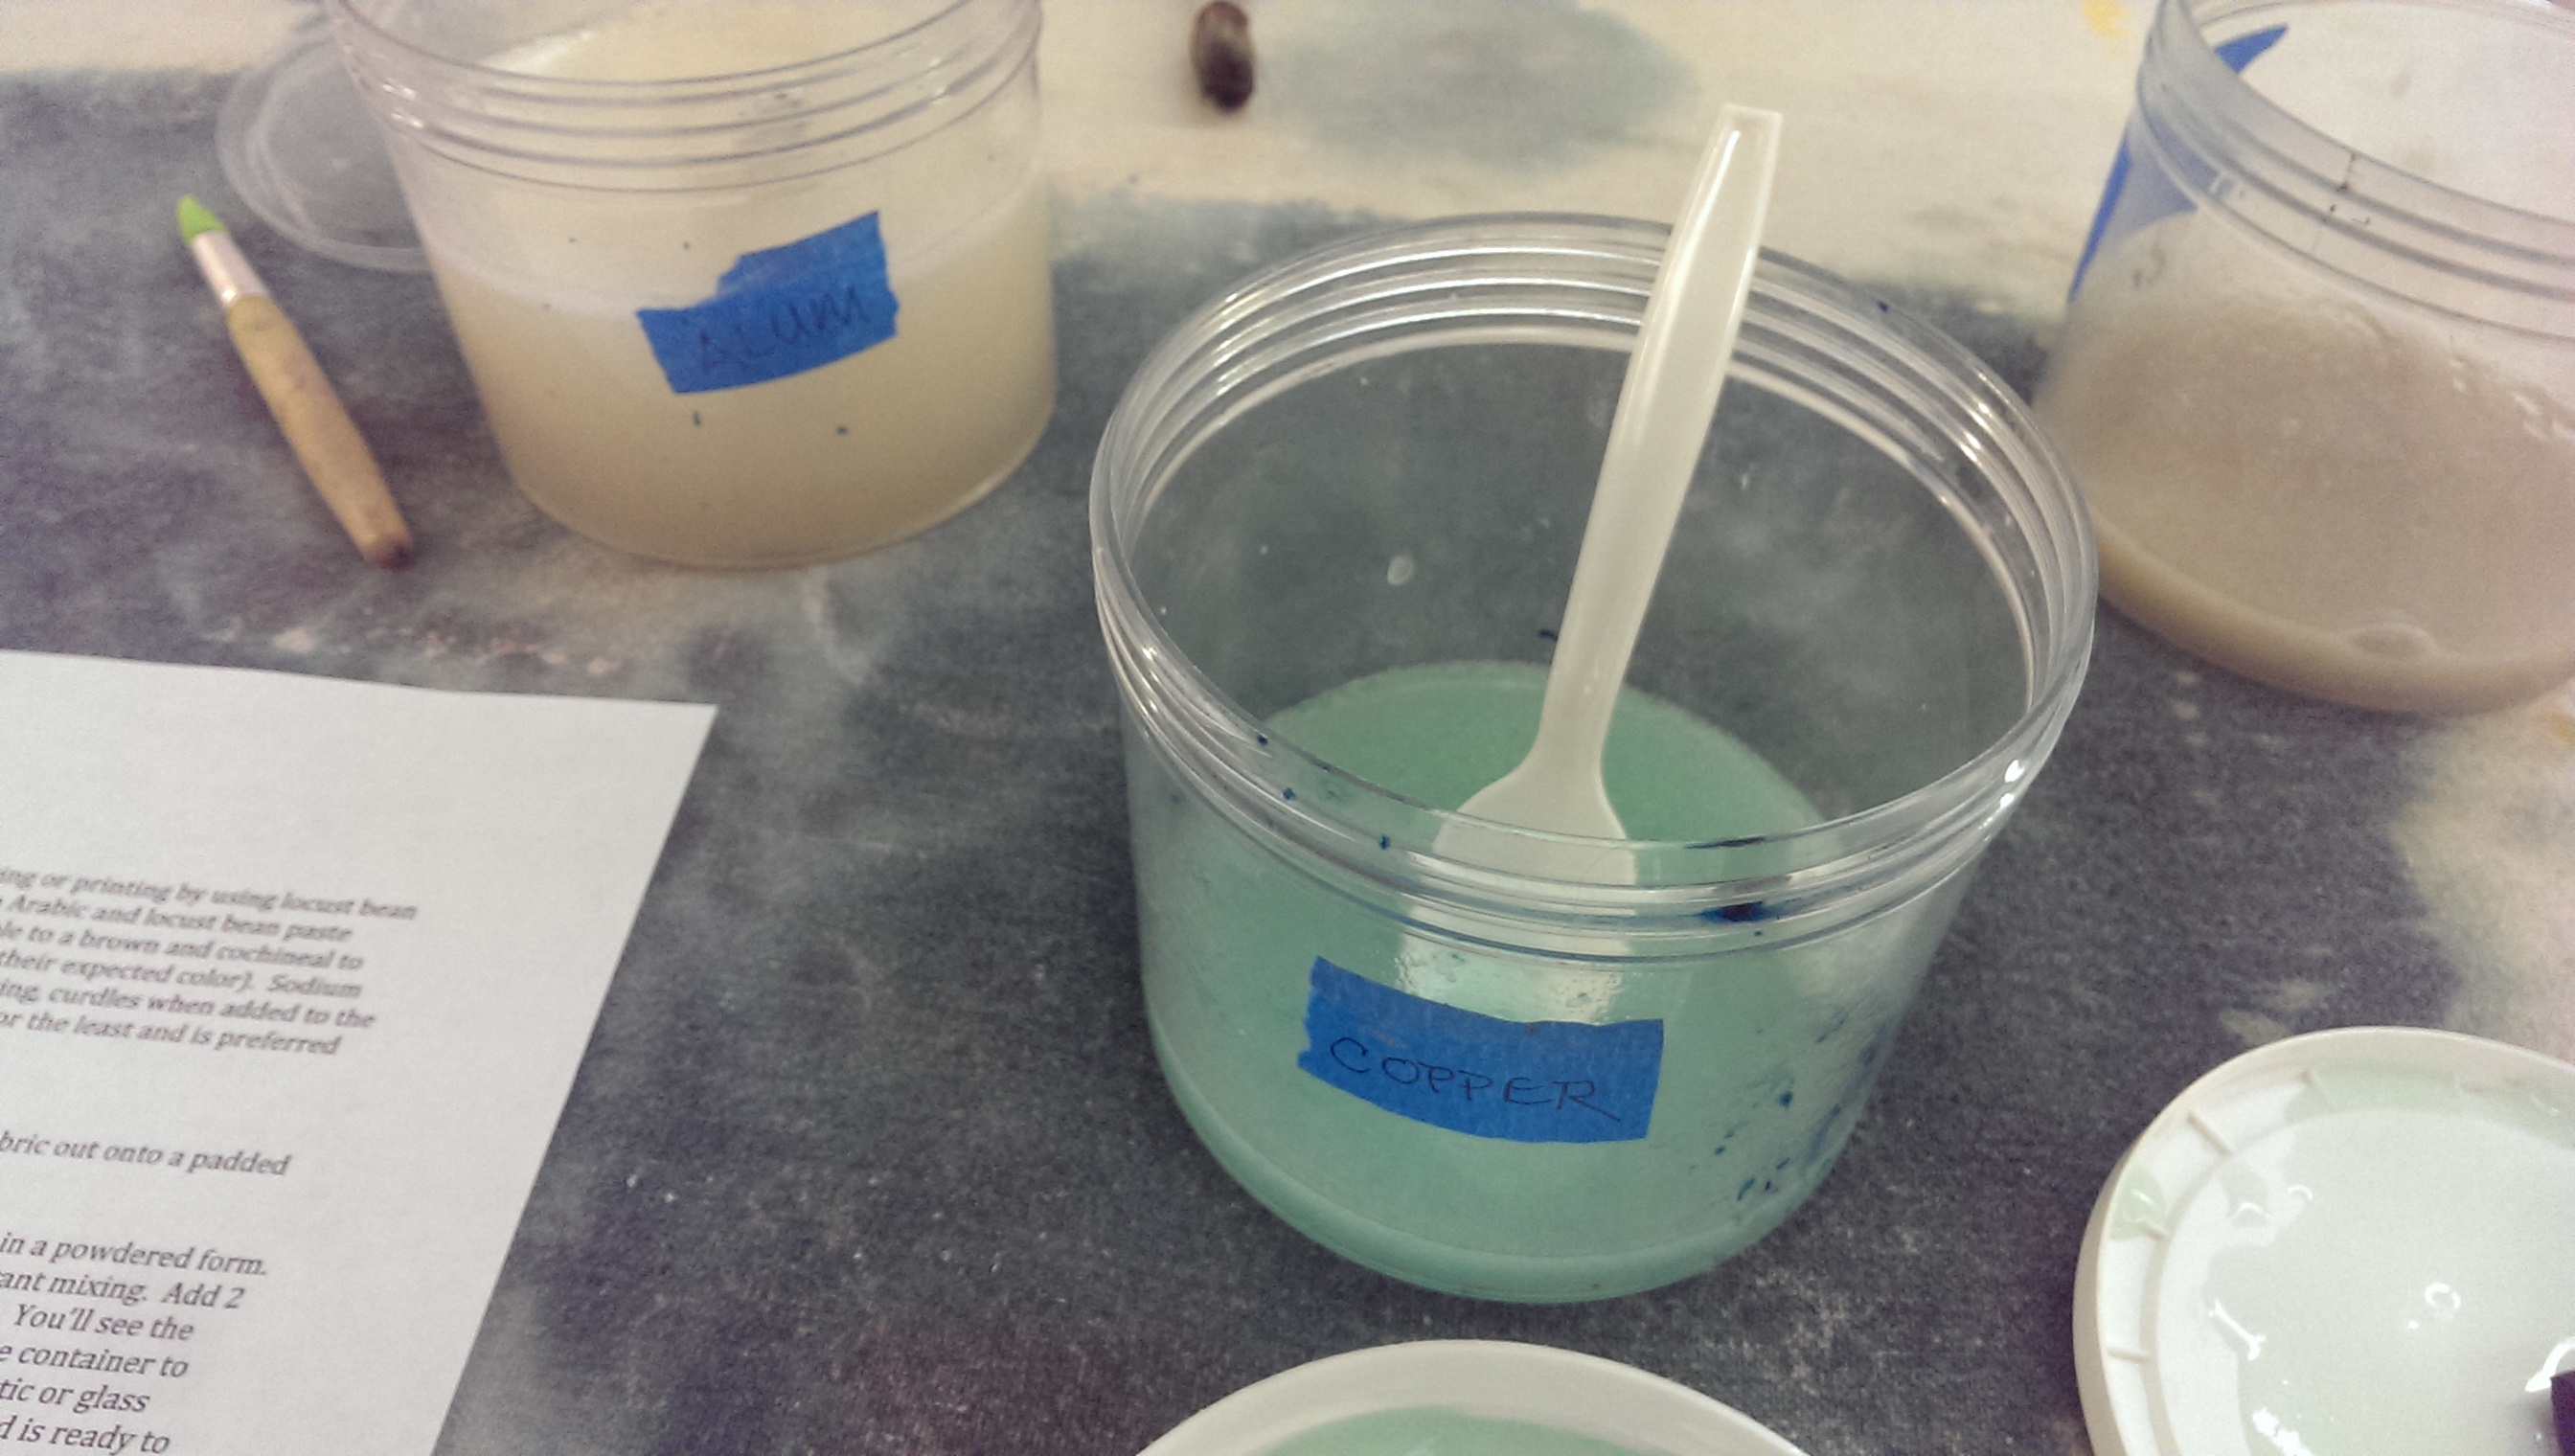
Gum trag with mordants
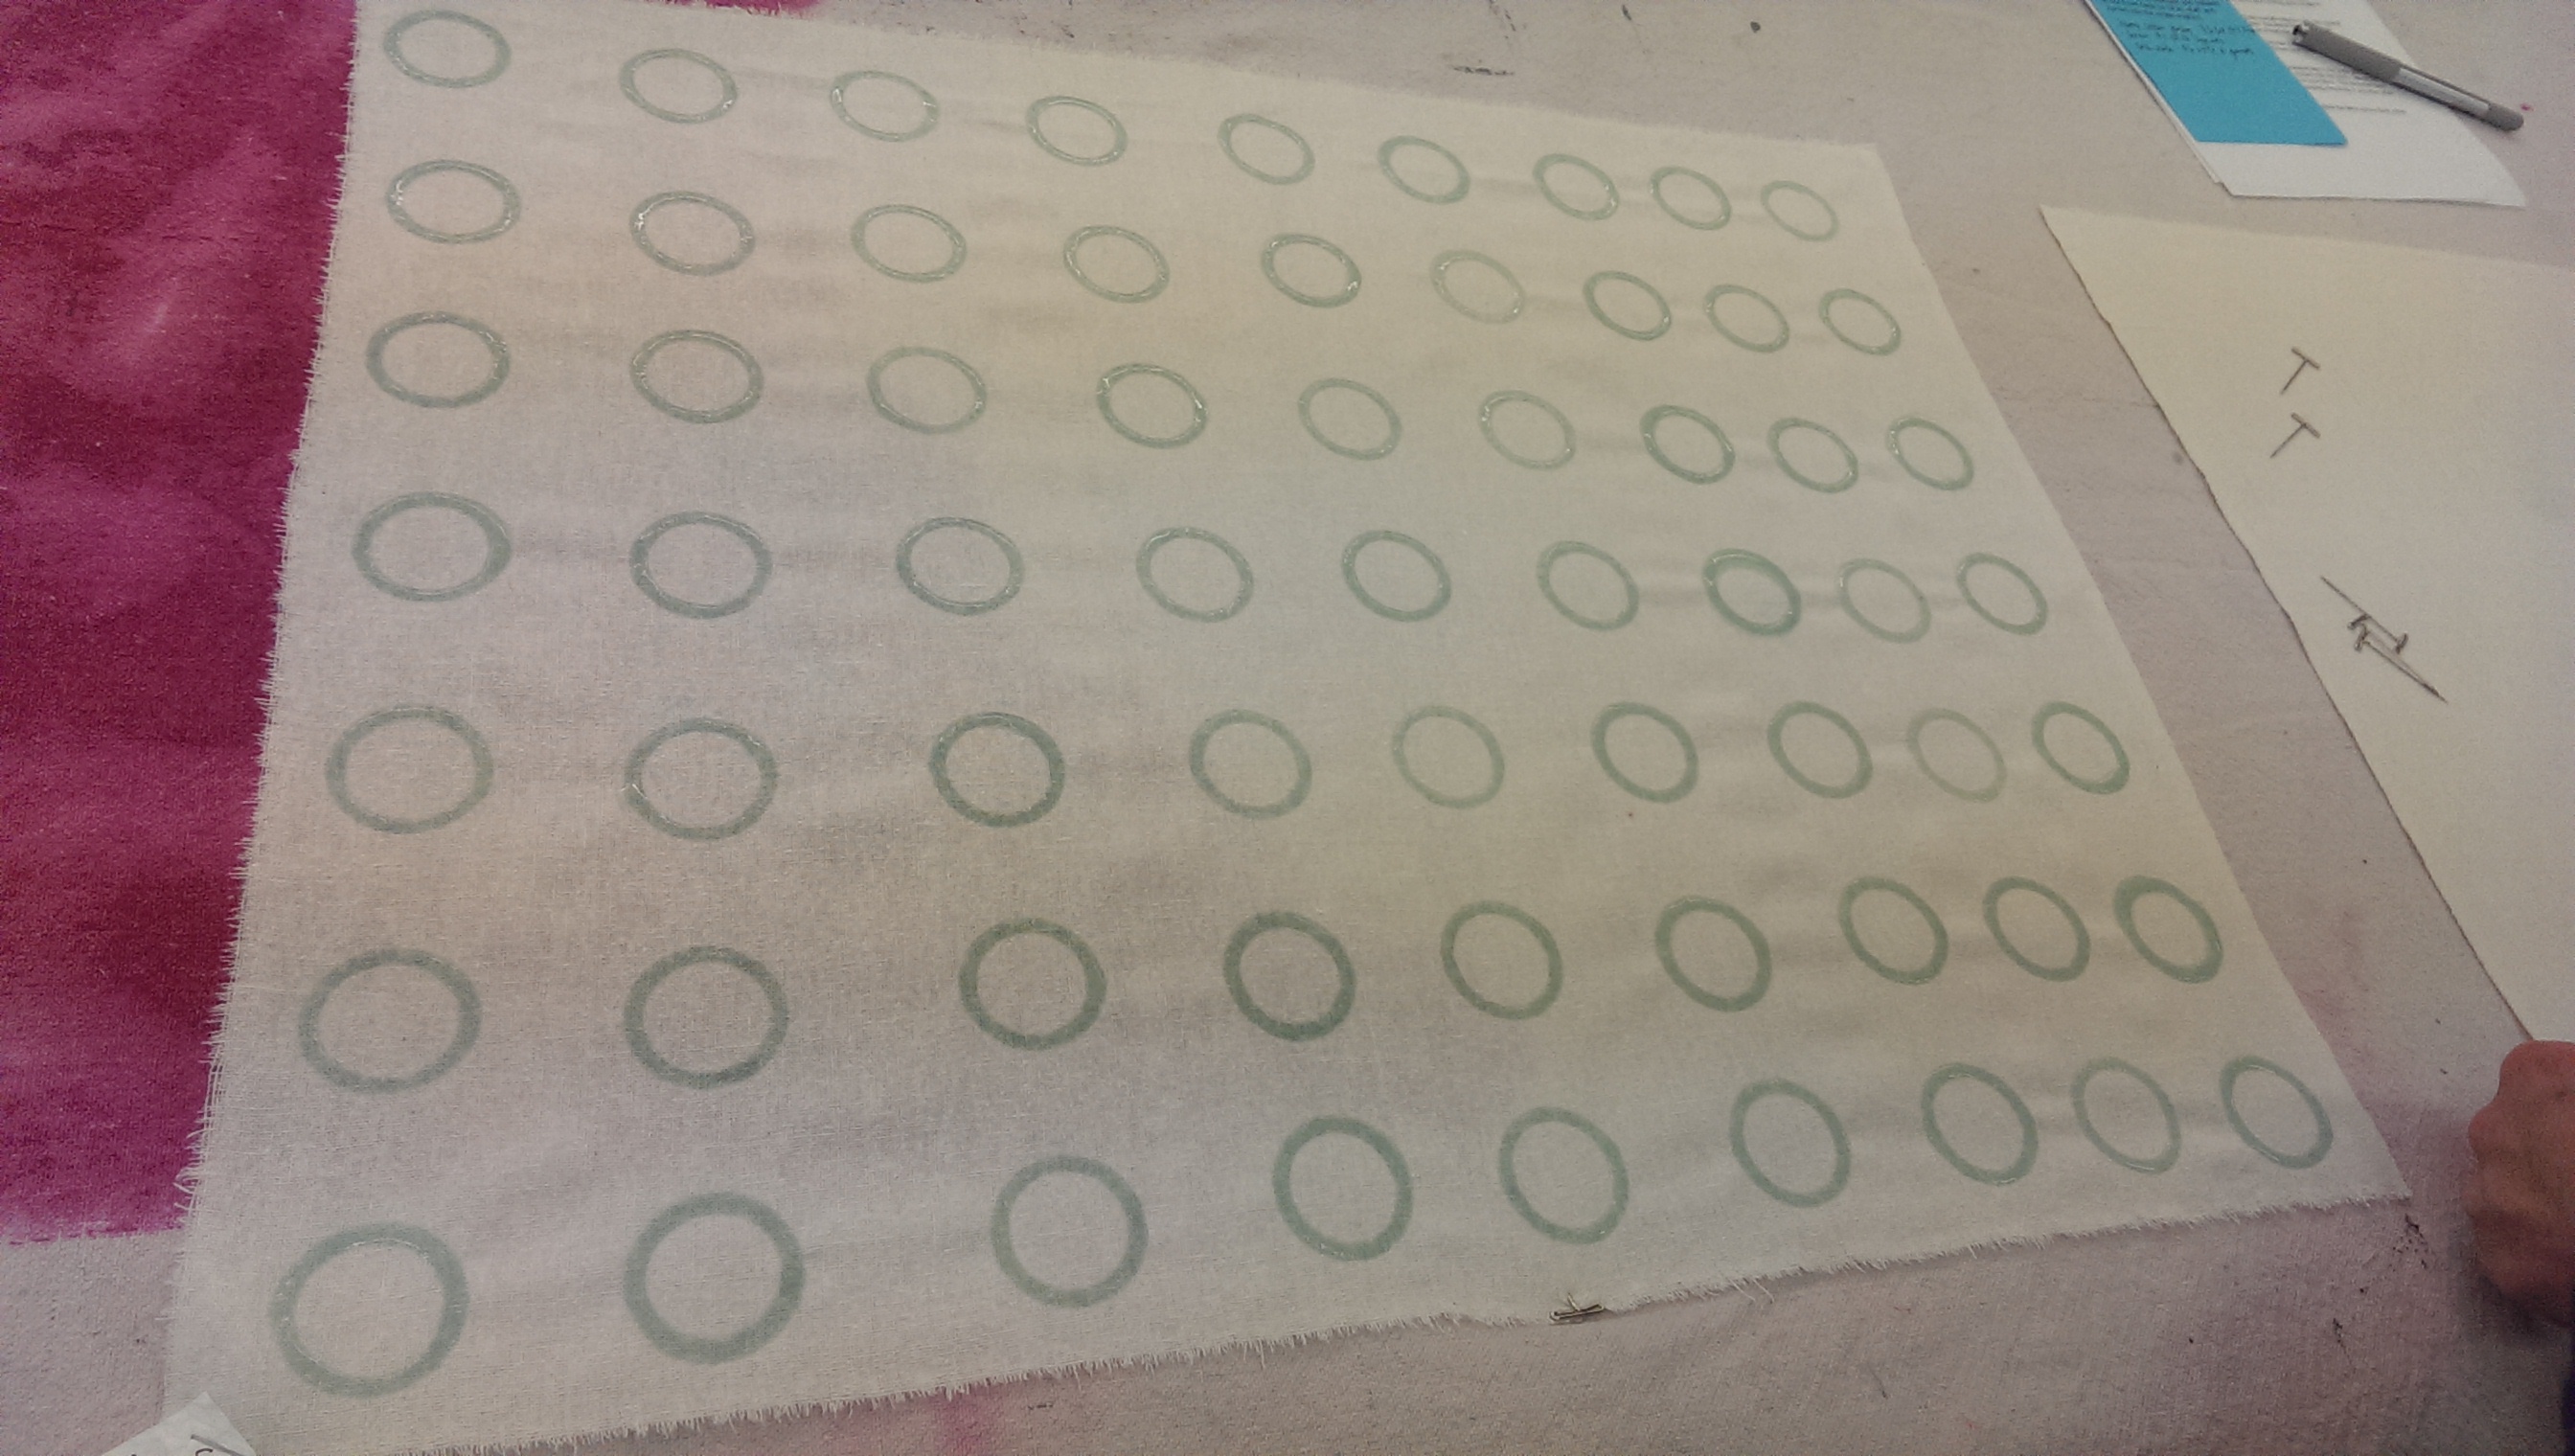
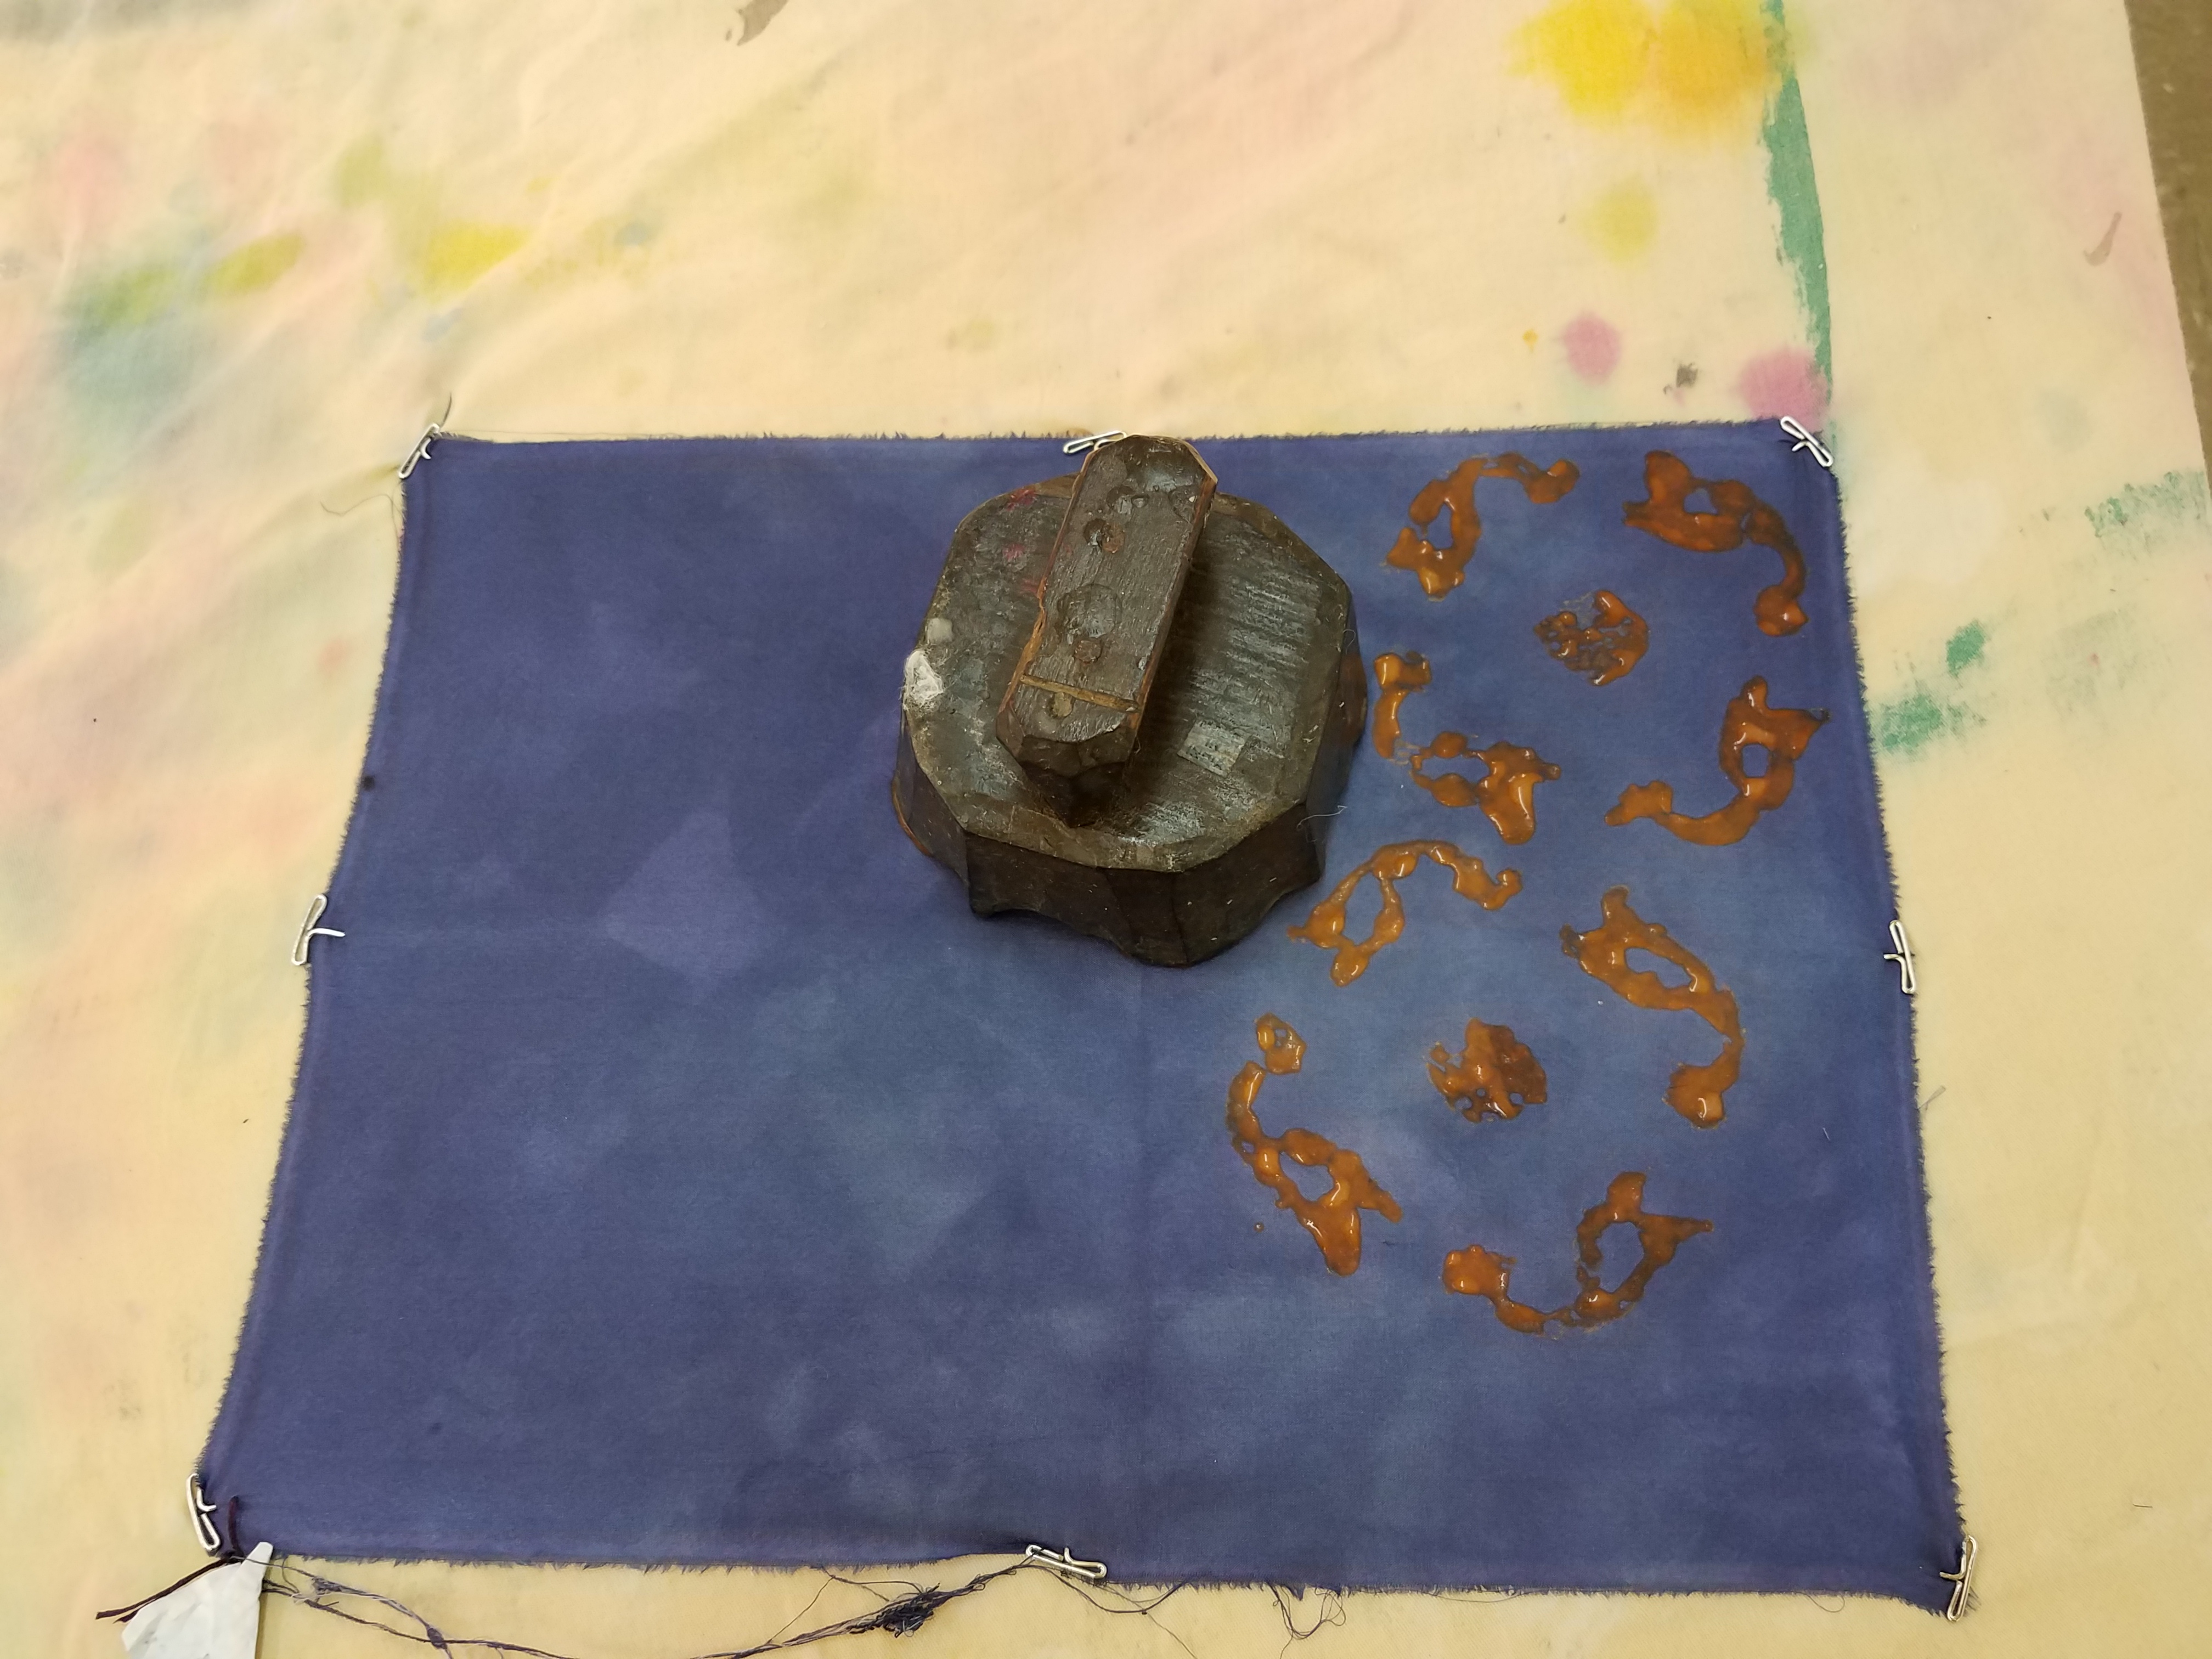
Here is a thread spool print with copper mordant:
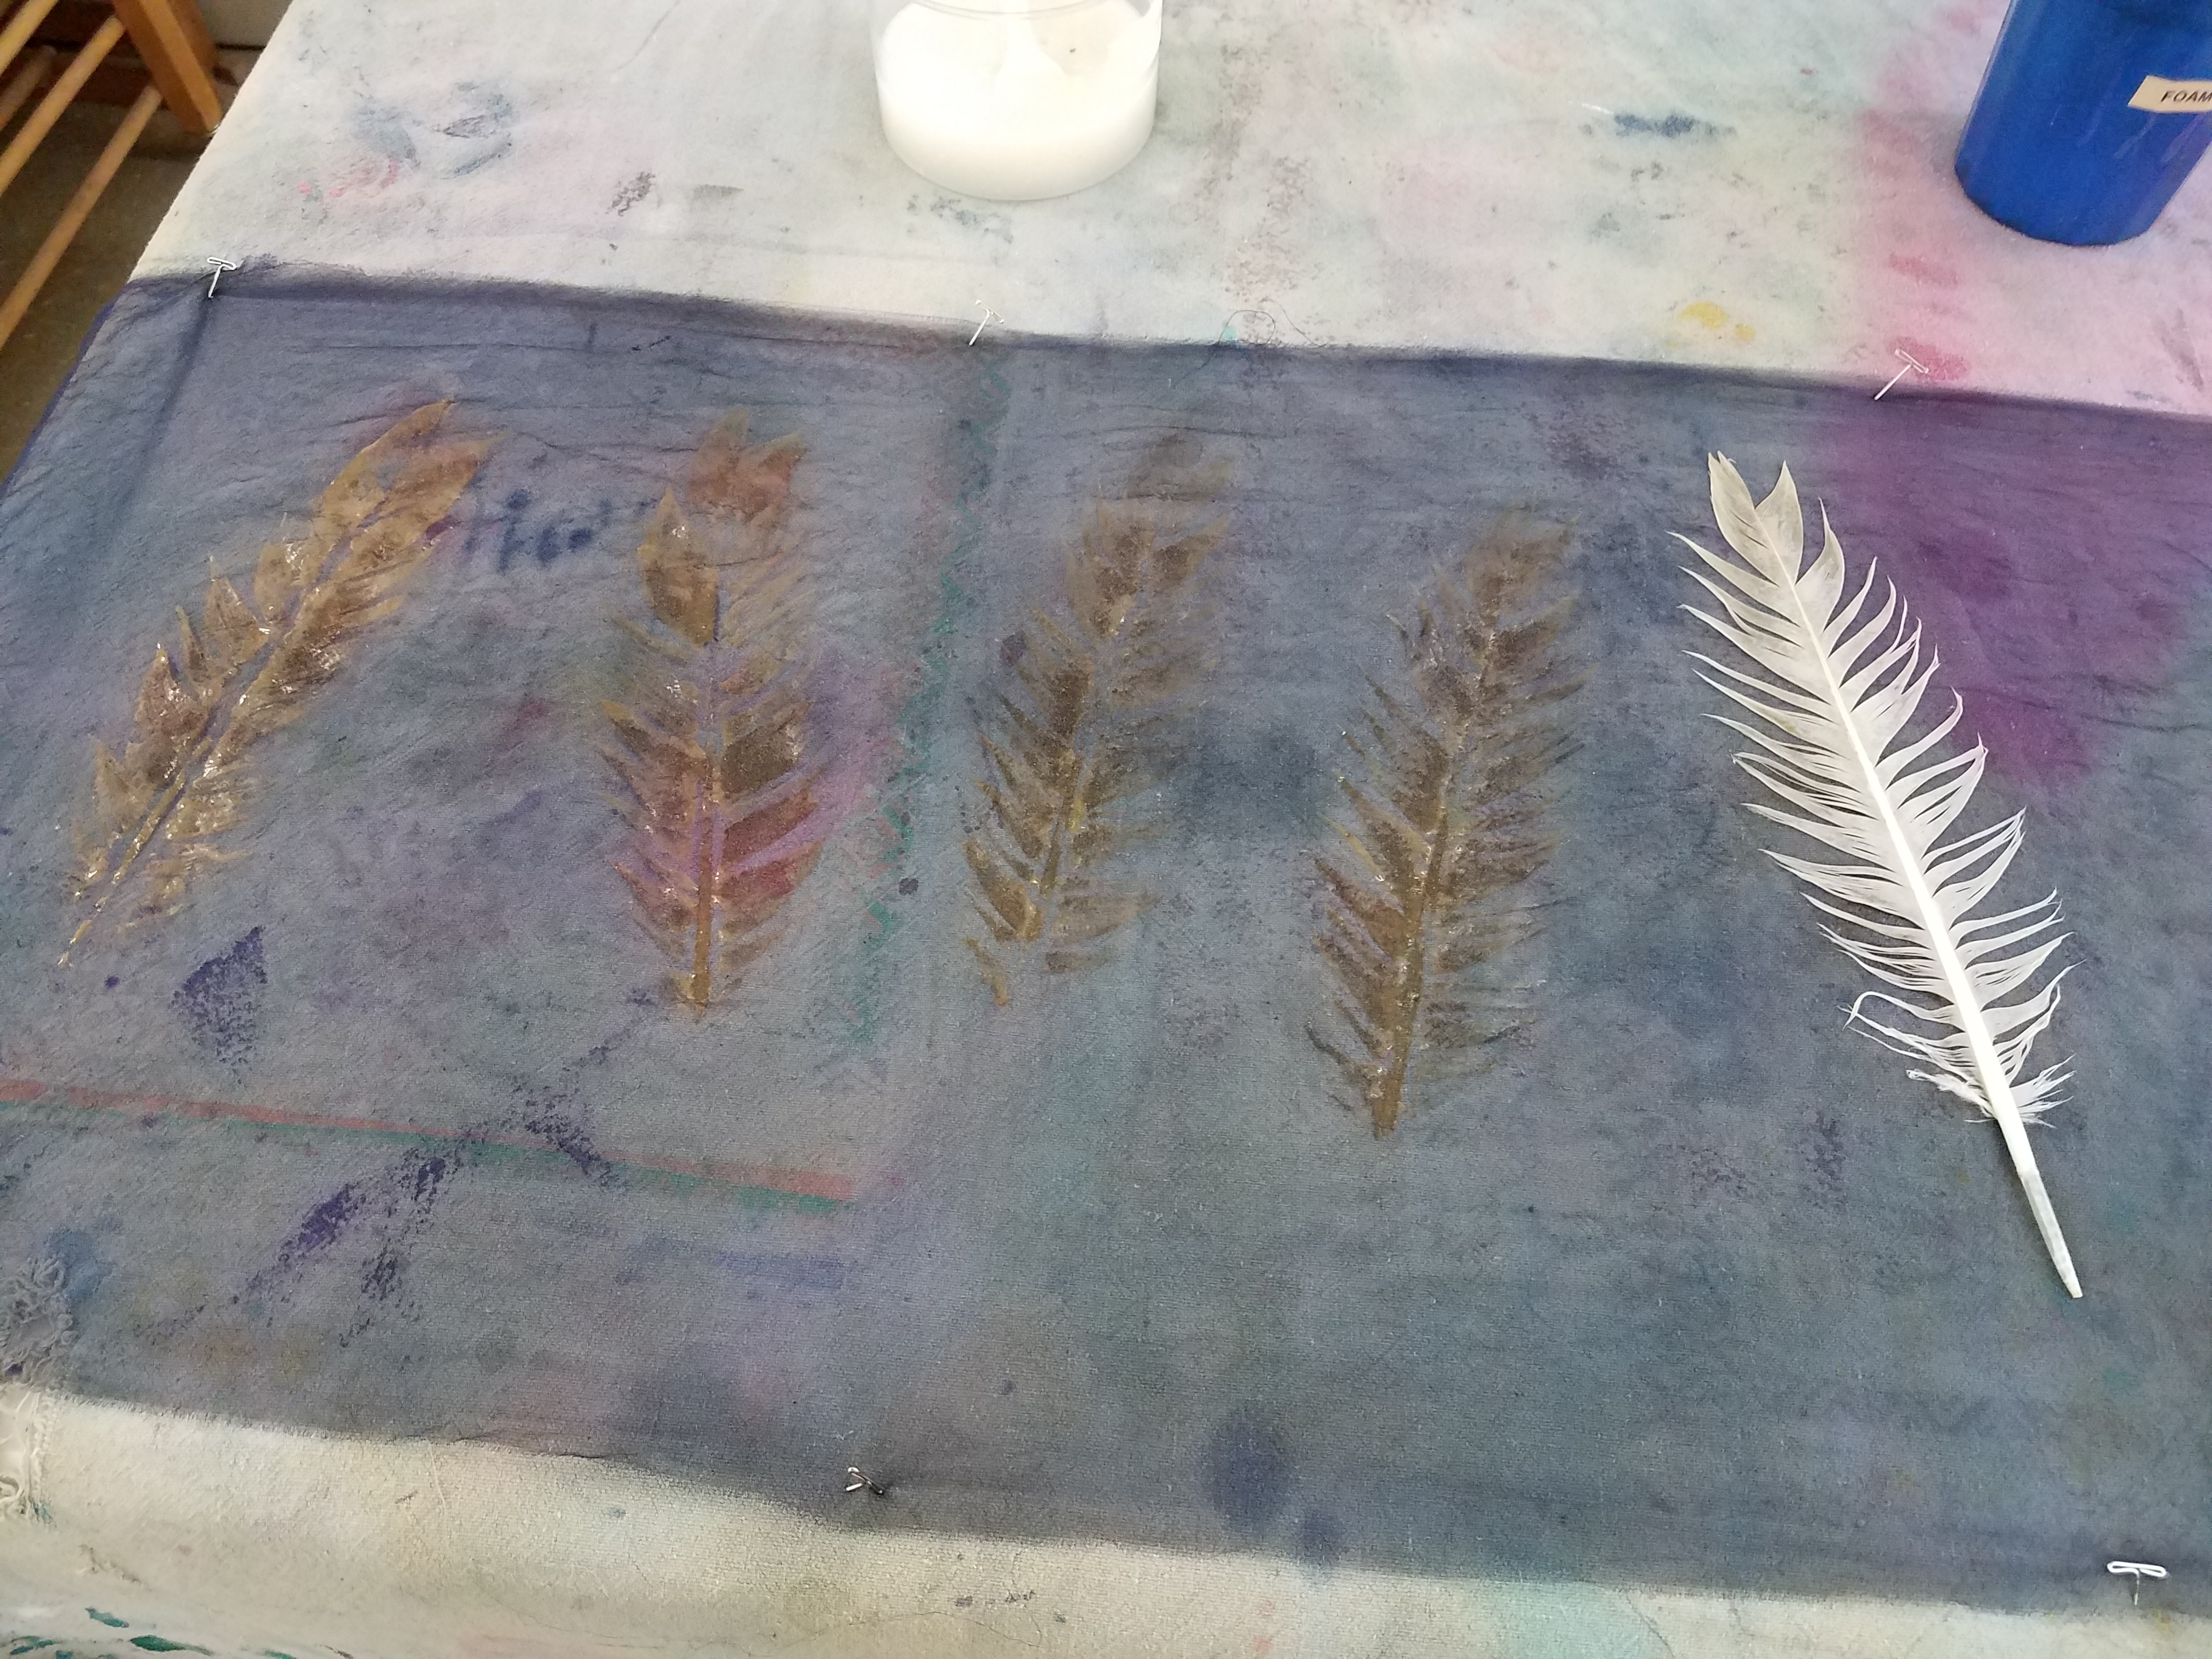
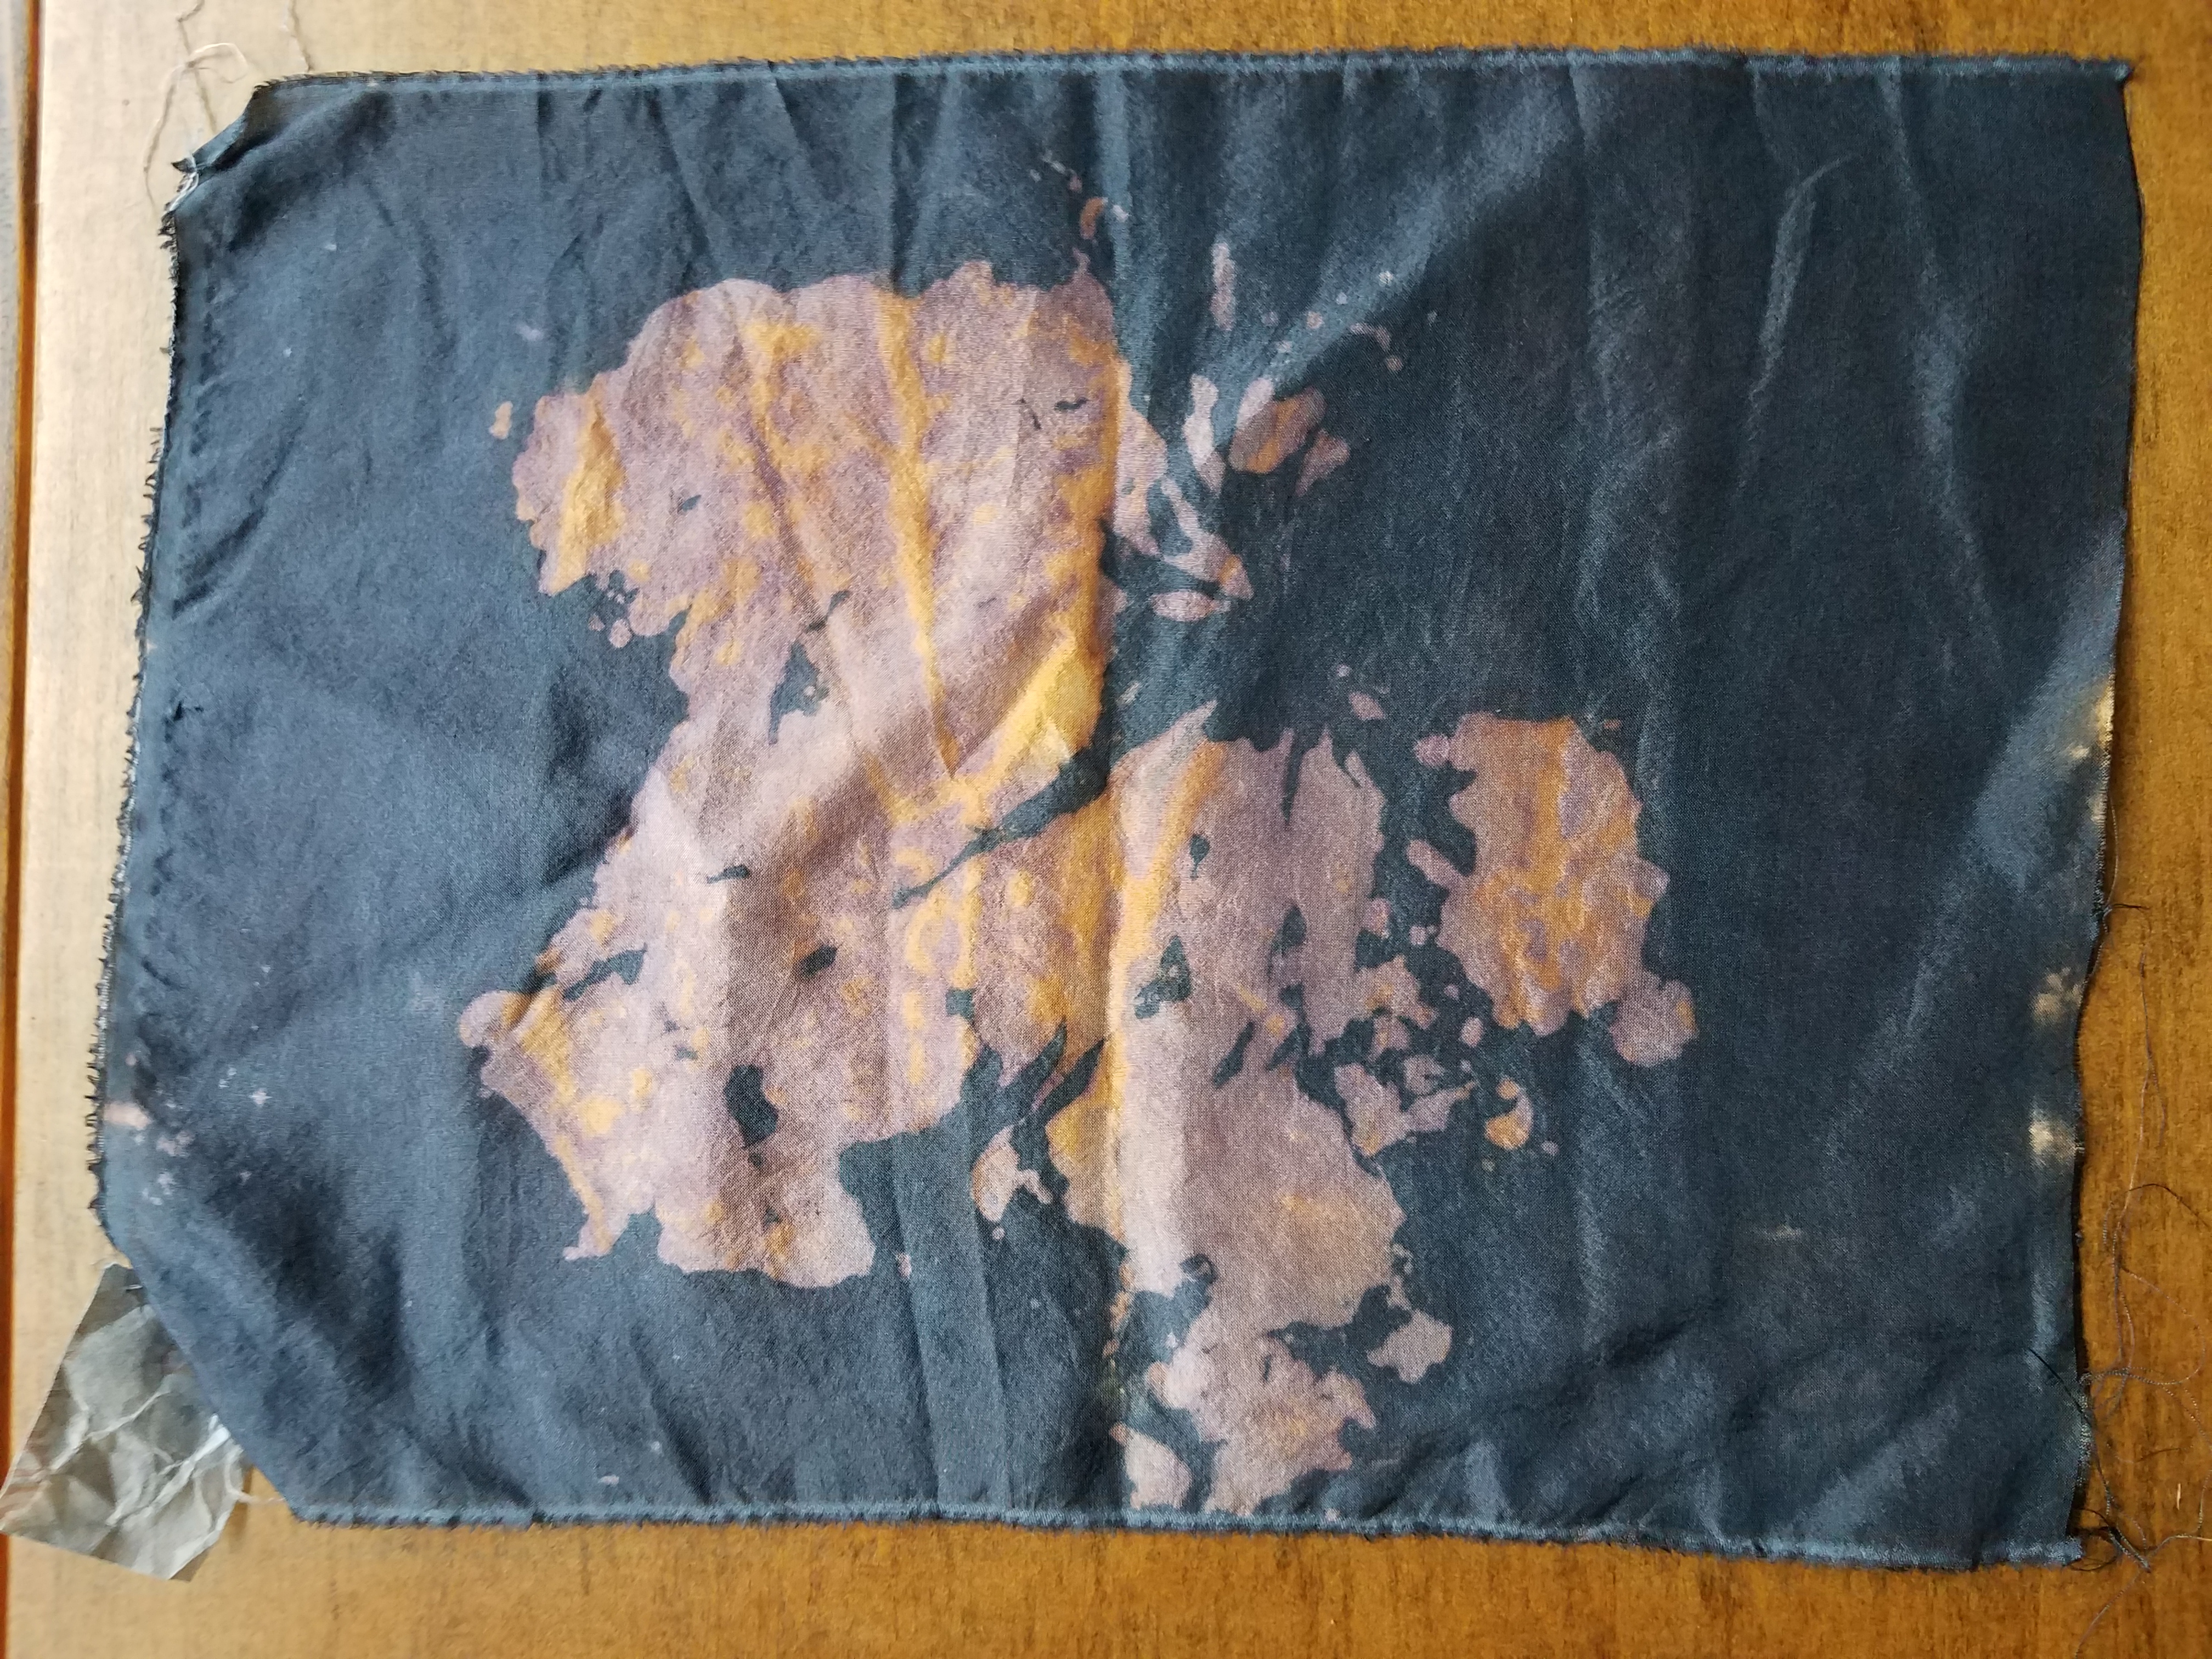
Here I’ve printed on a silk scarf previously dipped in indigo with alum, using a feather for my print: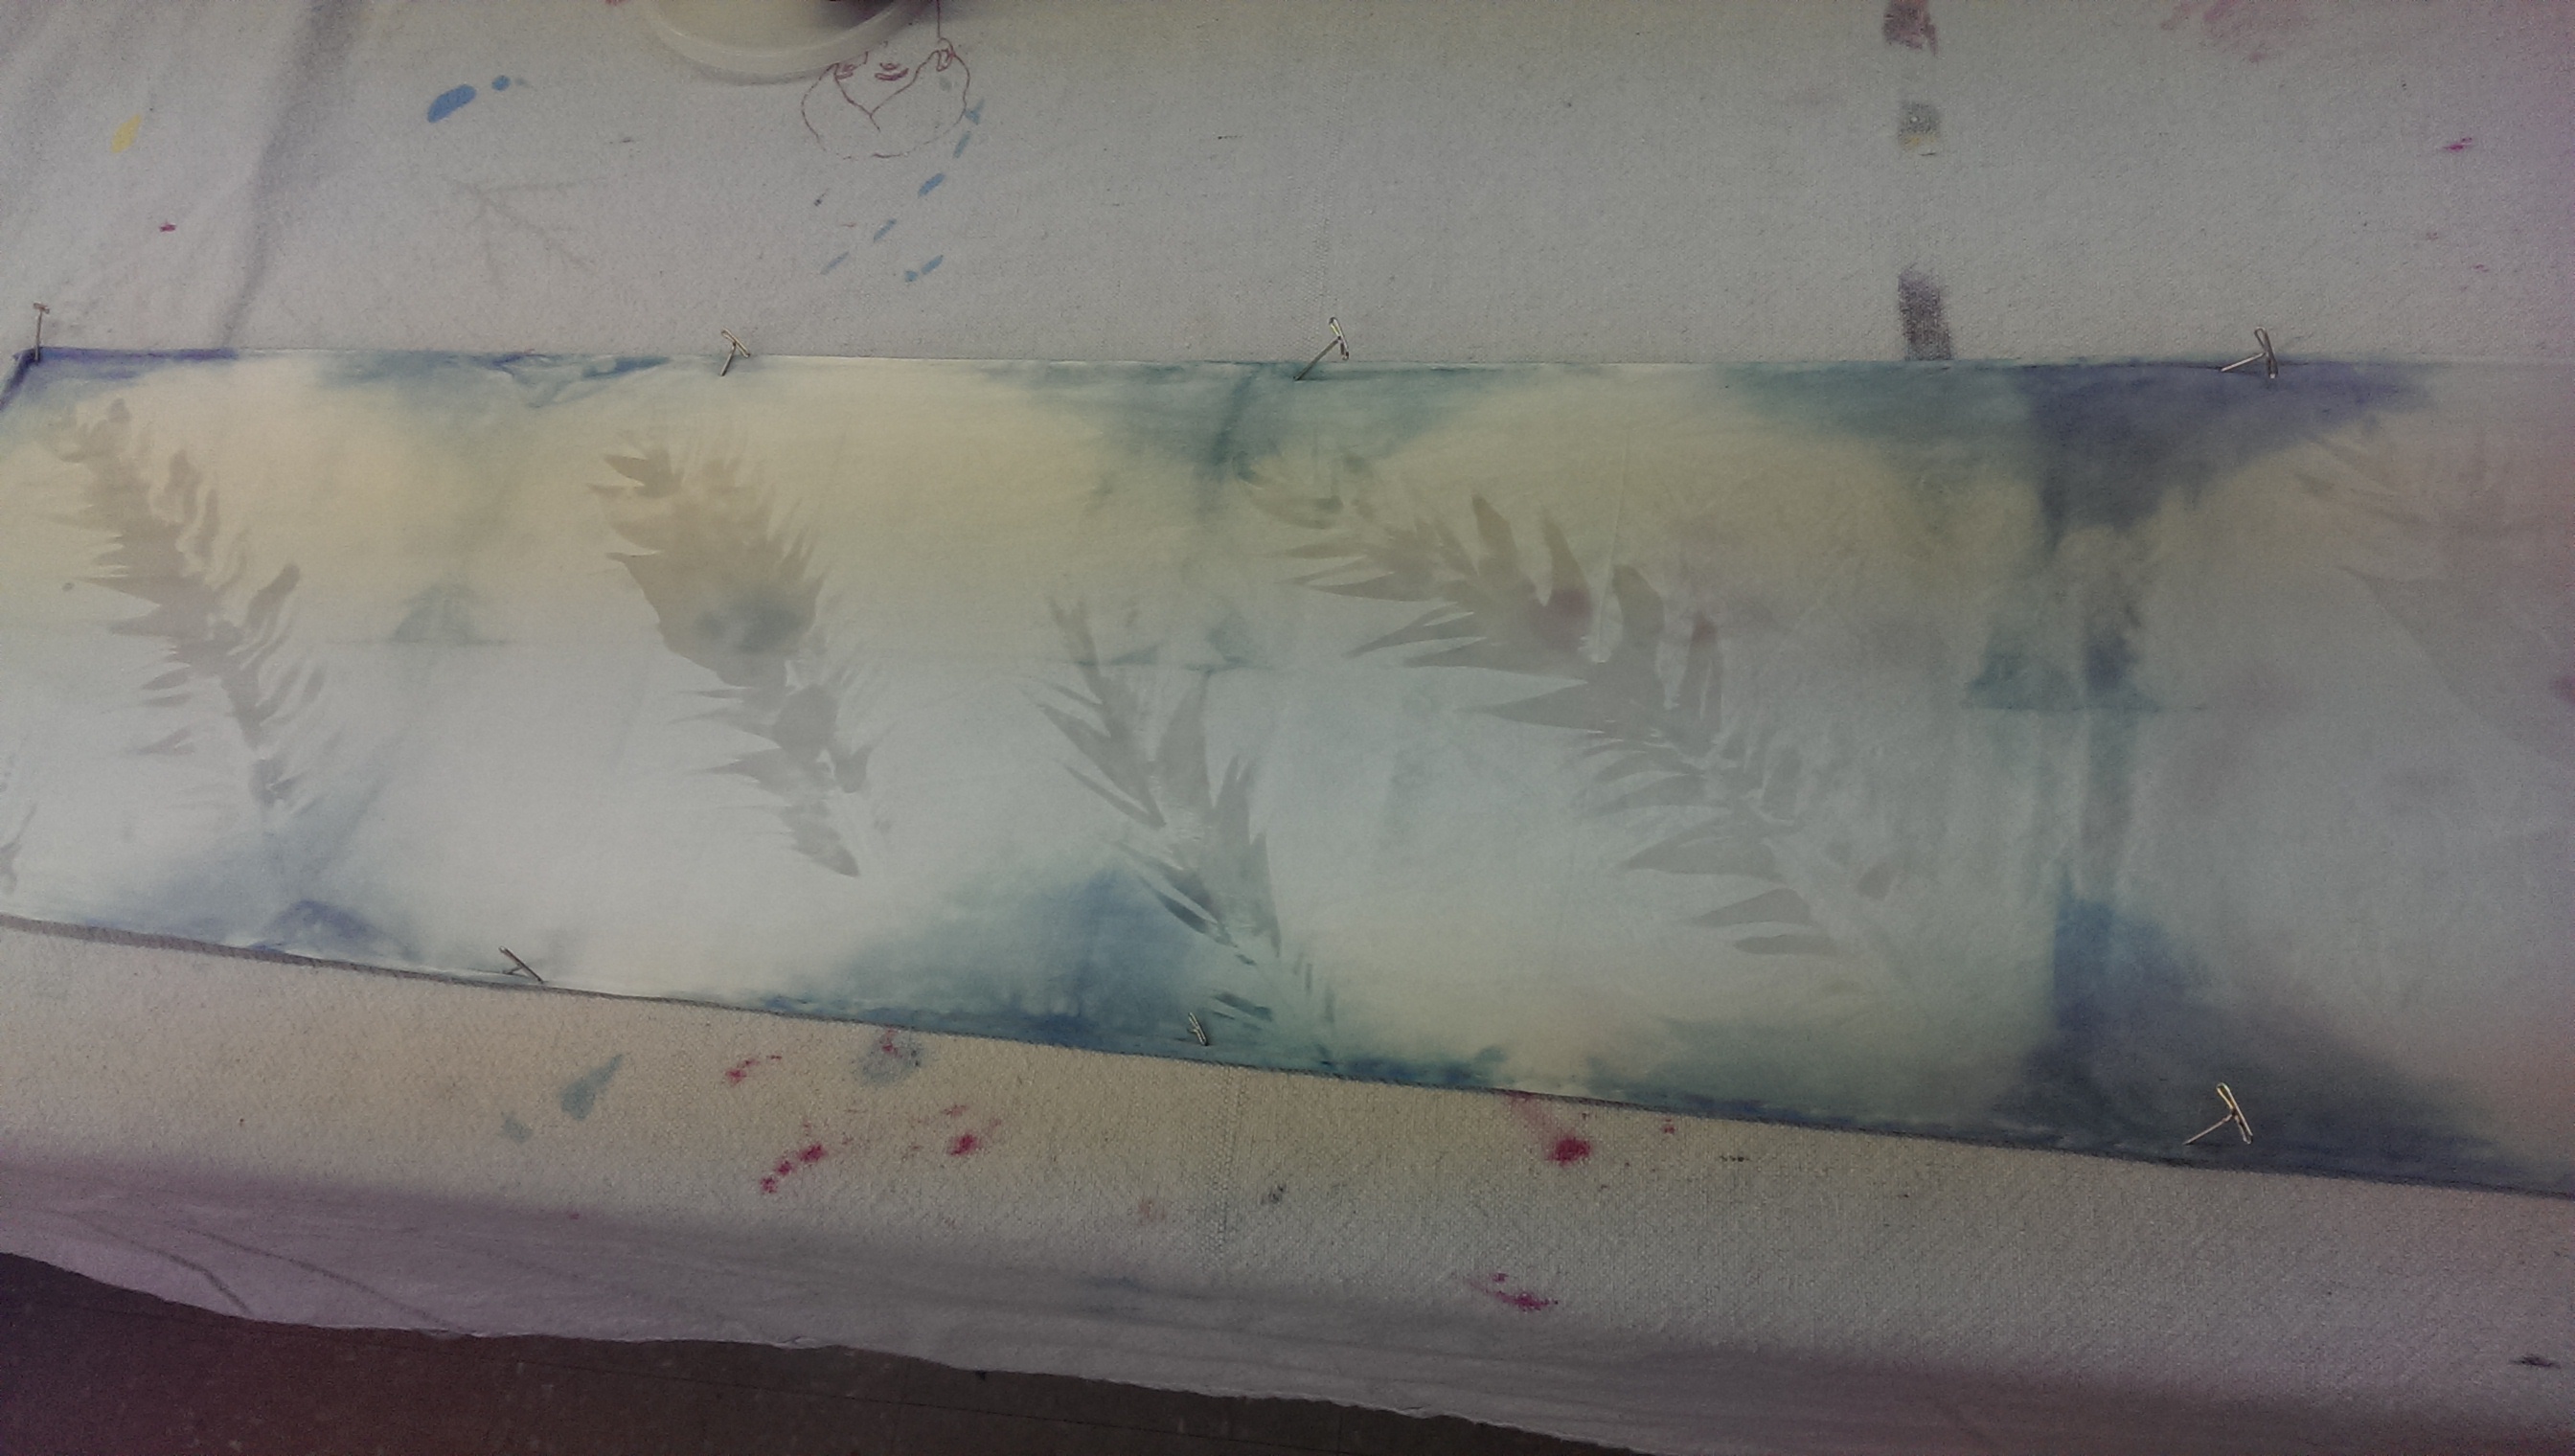
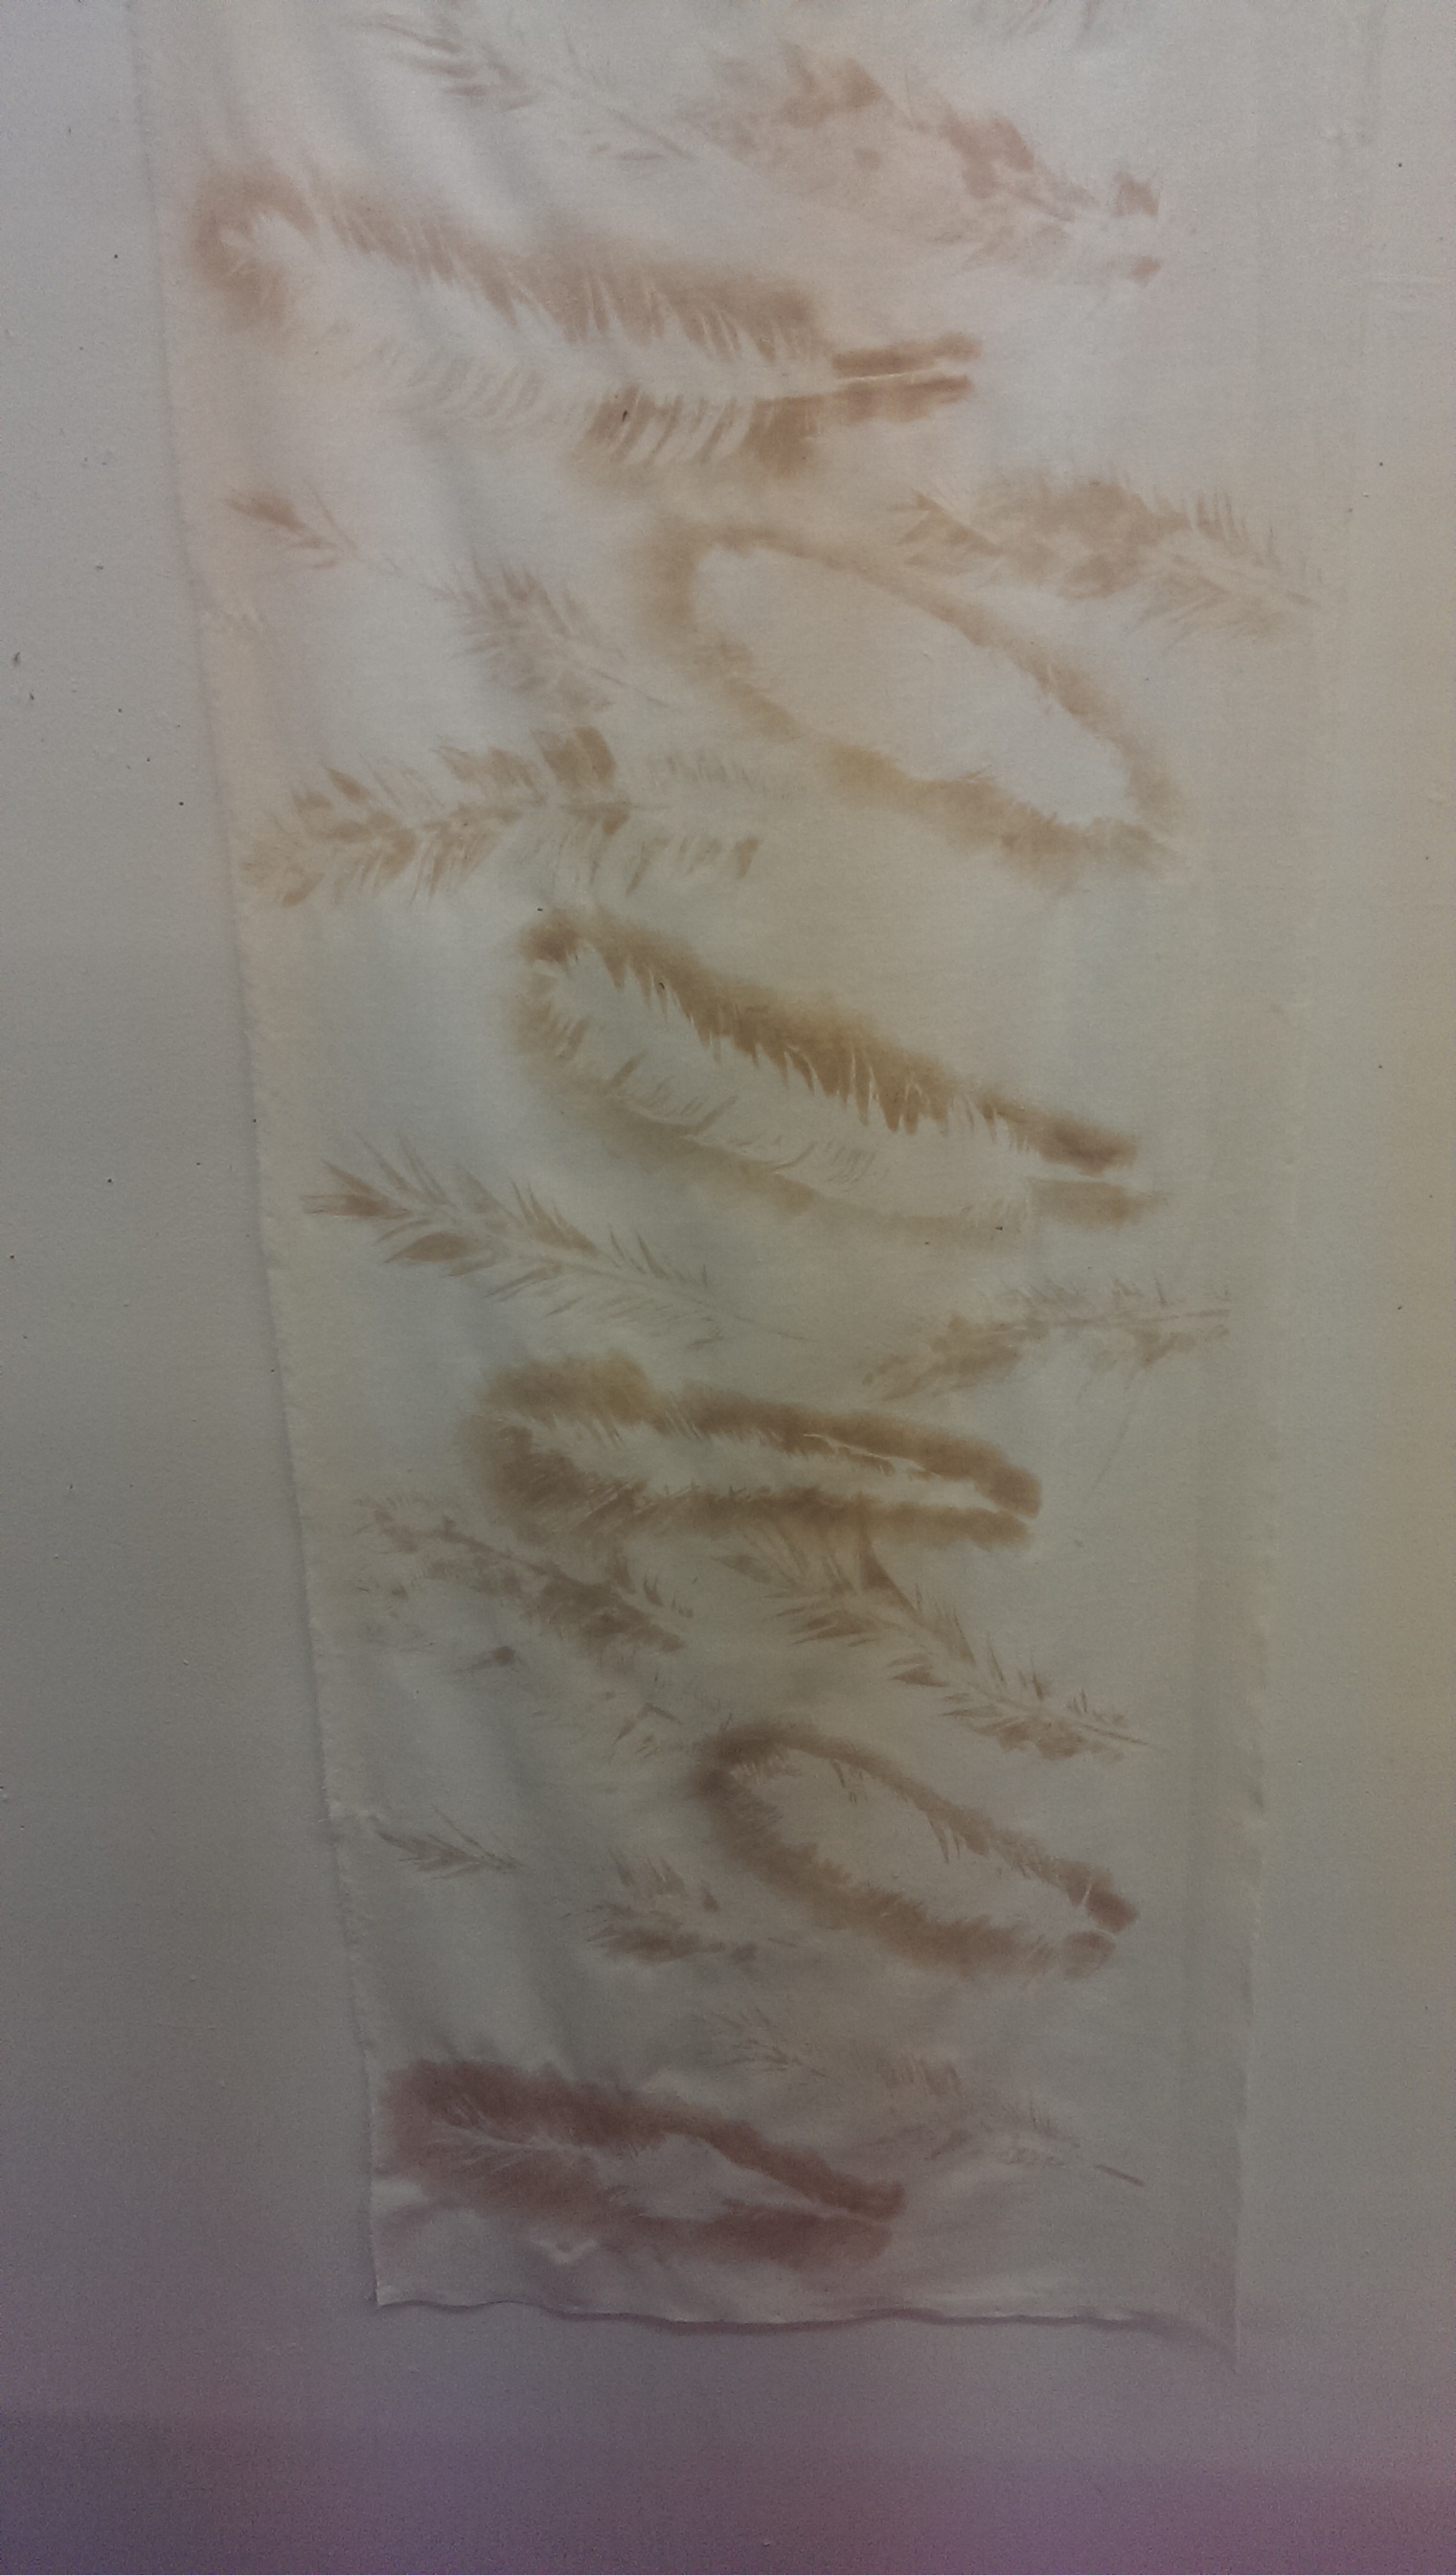
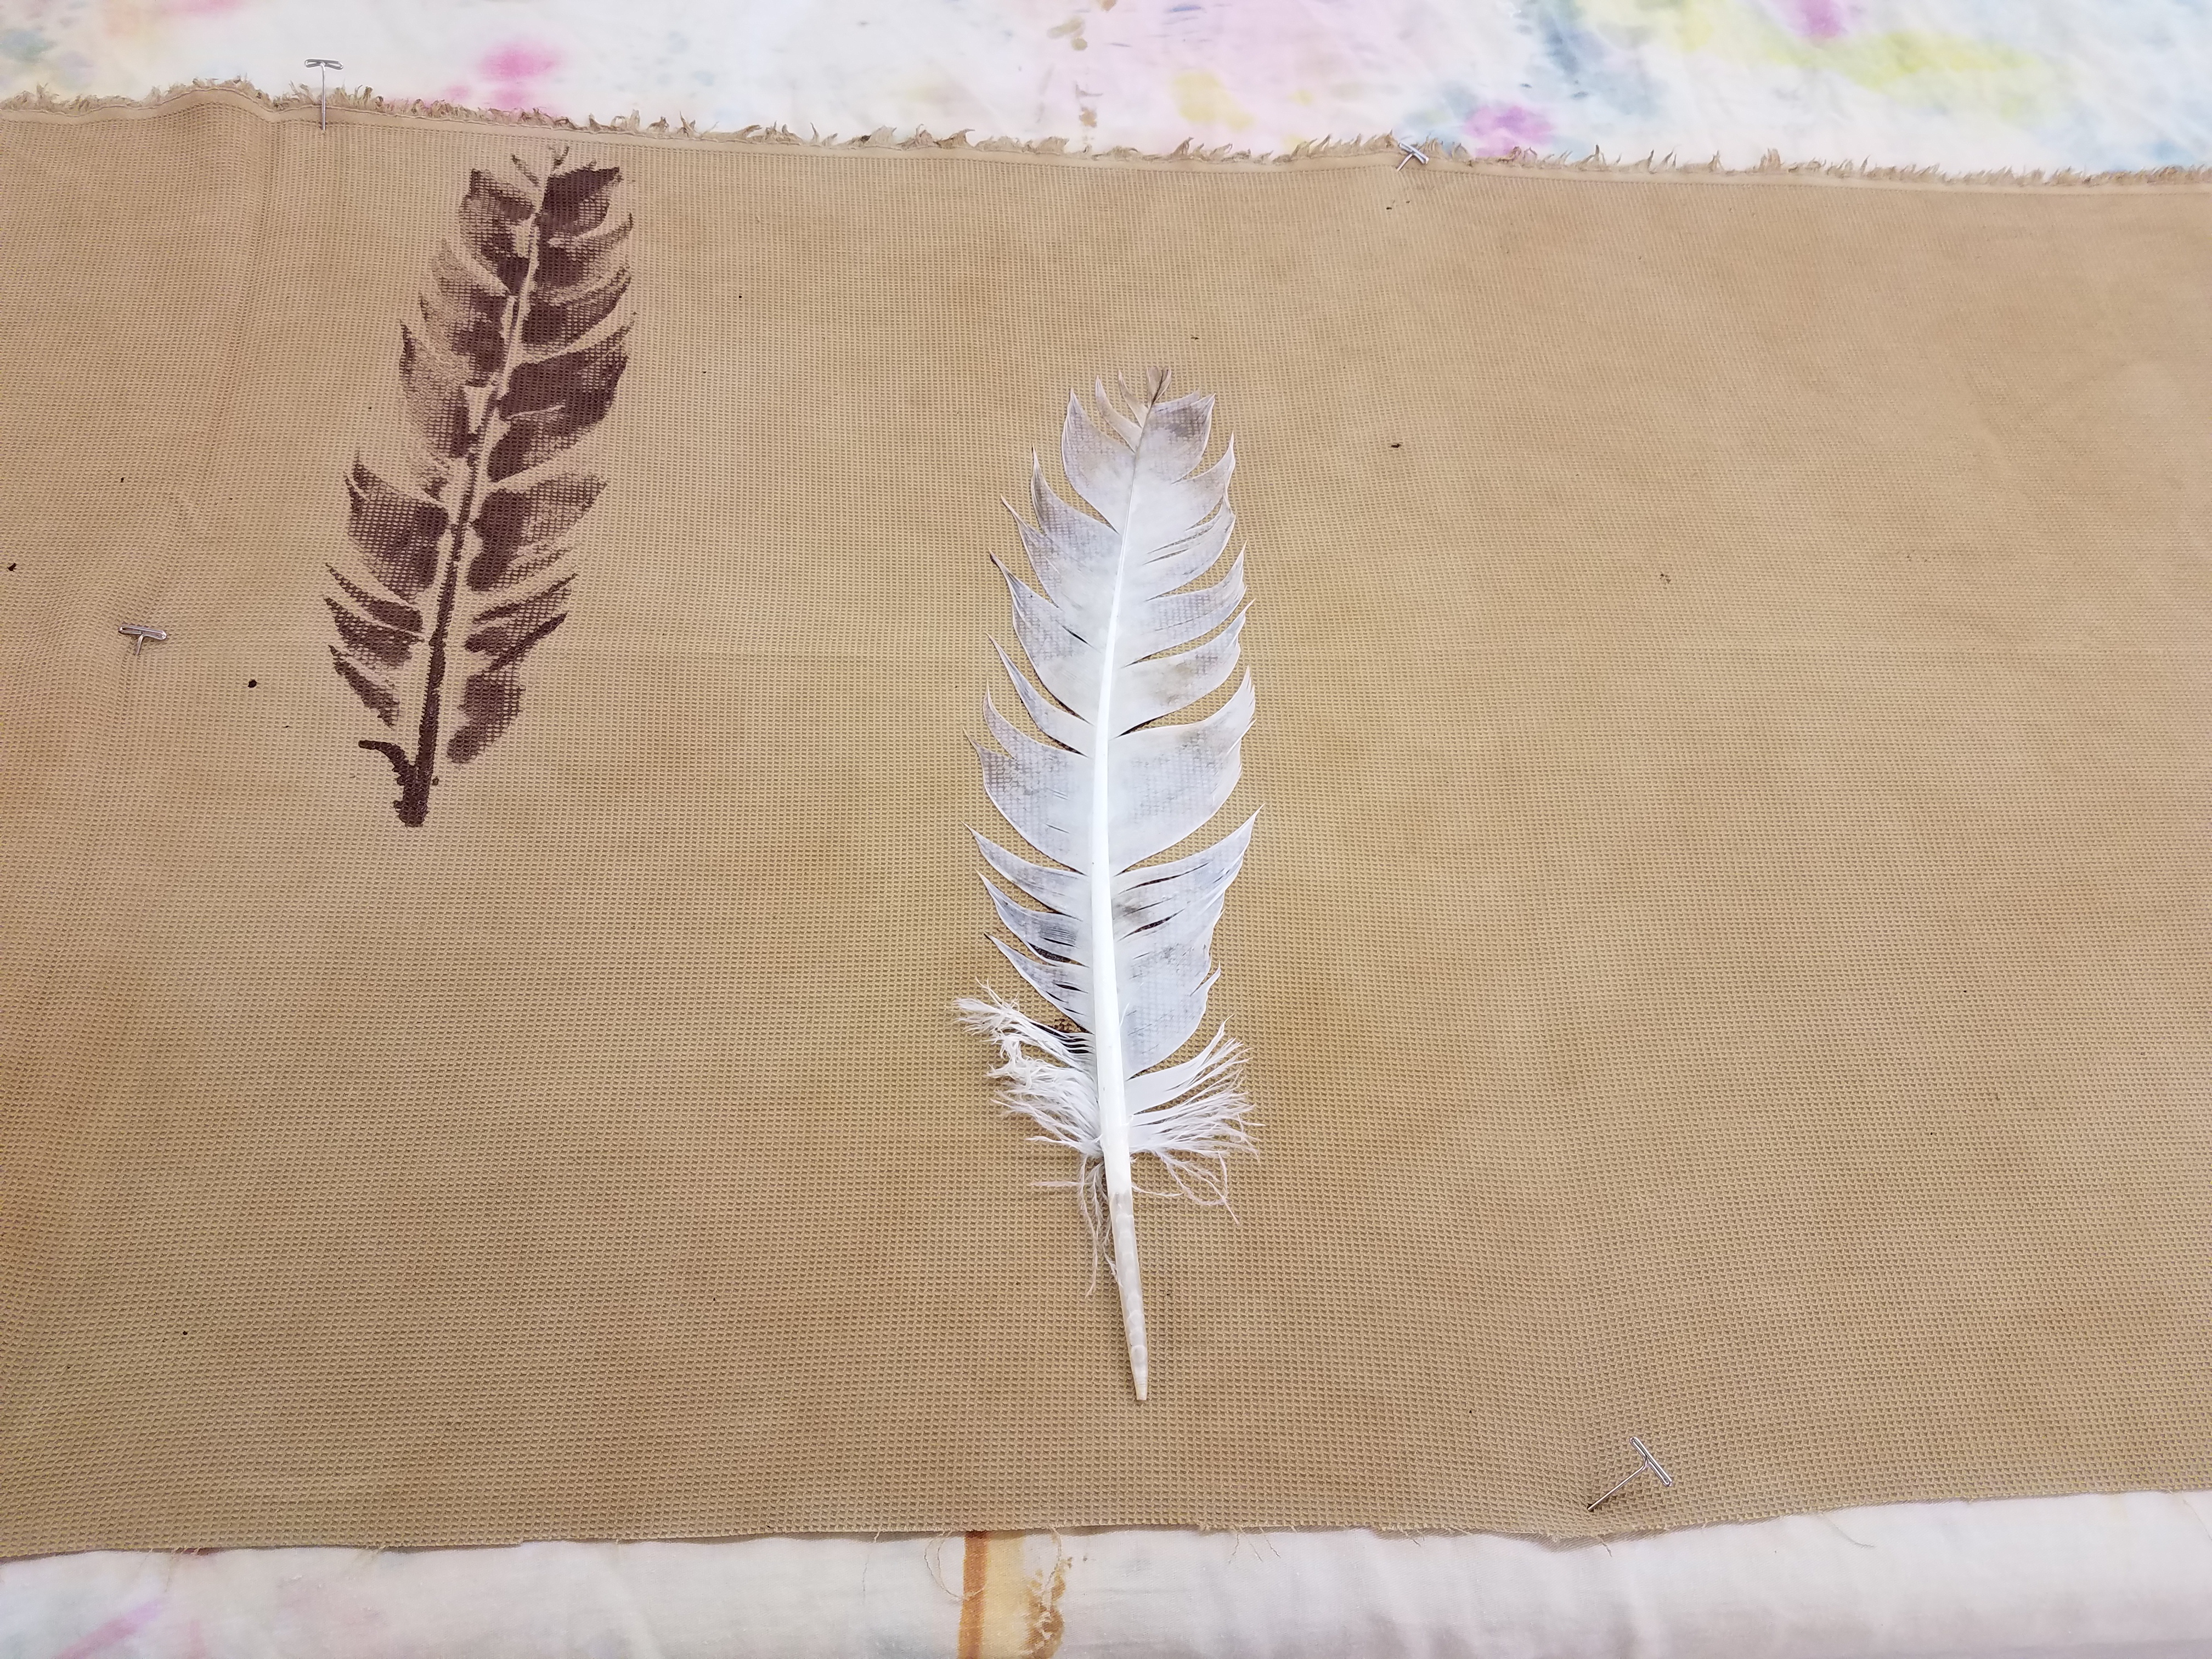
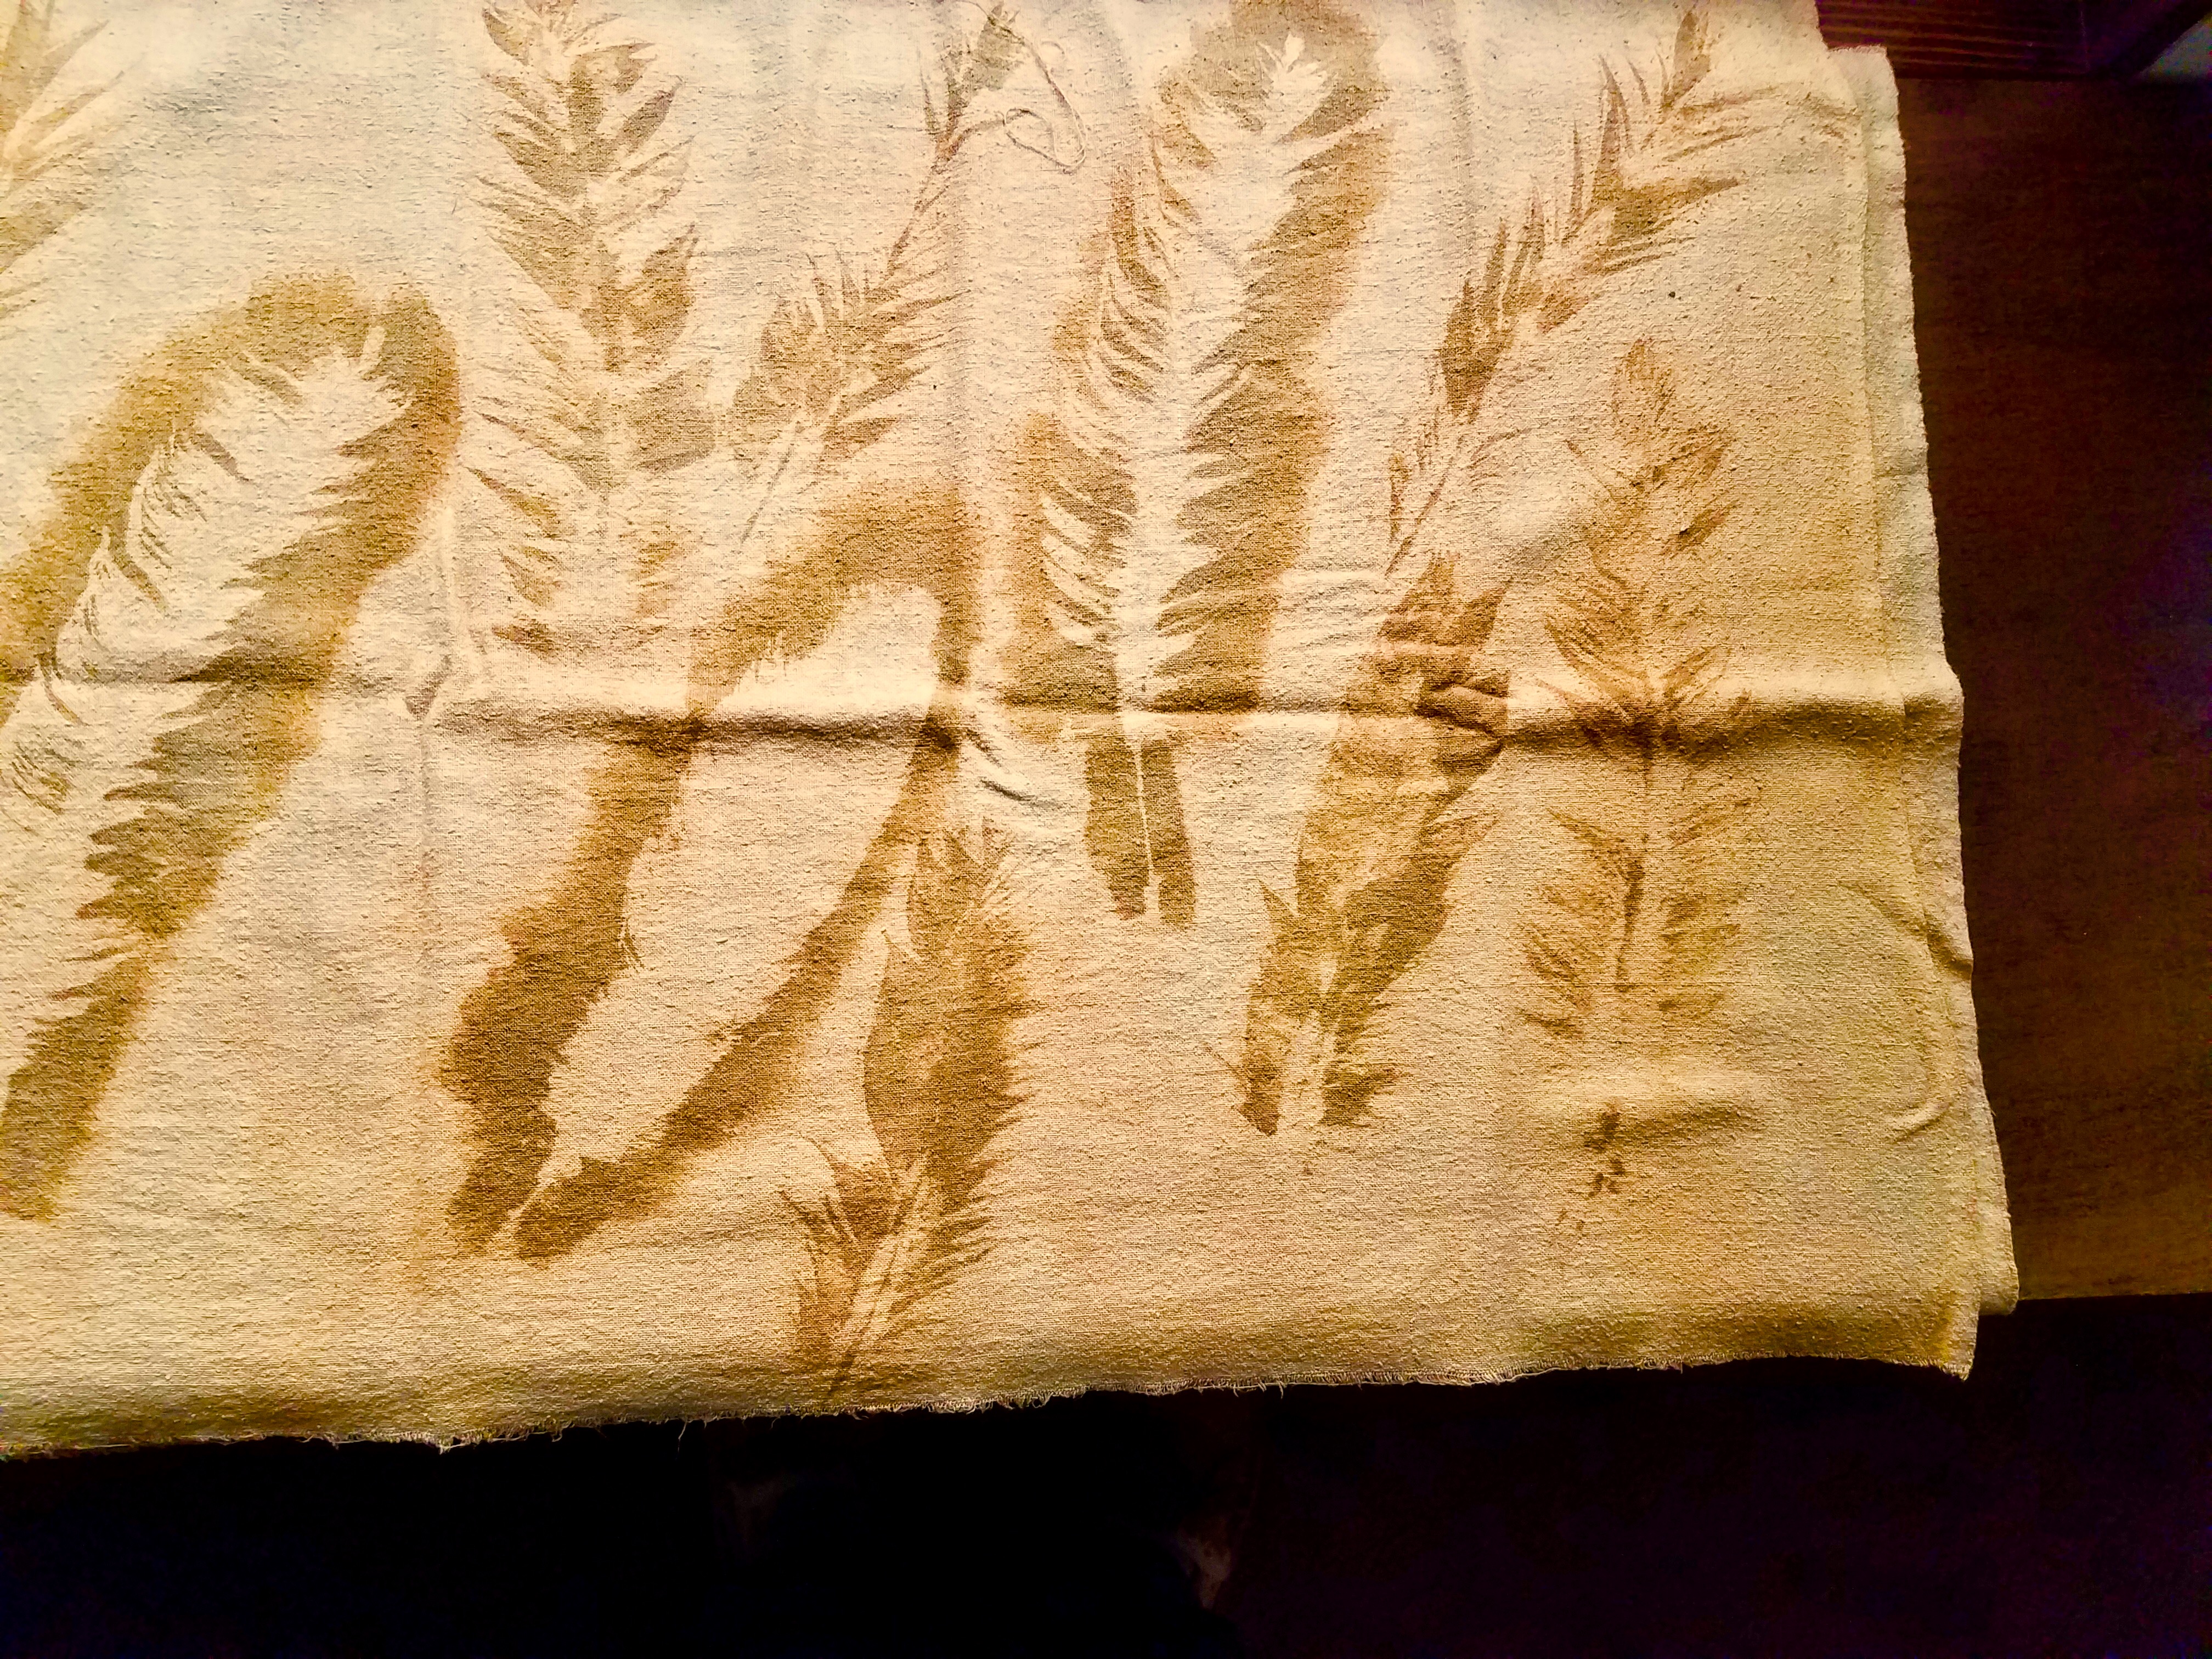
Here I’ve used an iron mordant on silk noil, again with feathers. I used an old paintbrush to apply the mordant mixture:
Discharge Printing
You can mix and acid or a base into your medium to discharge color on an already dyed piece.
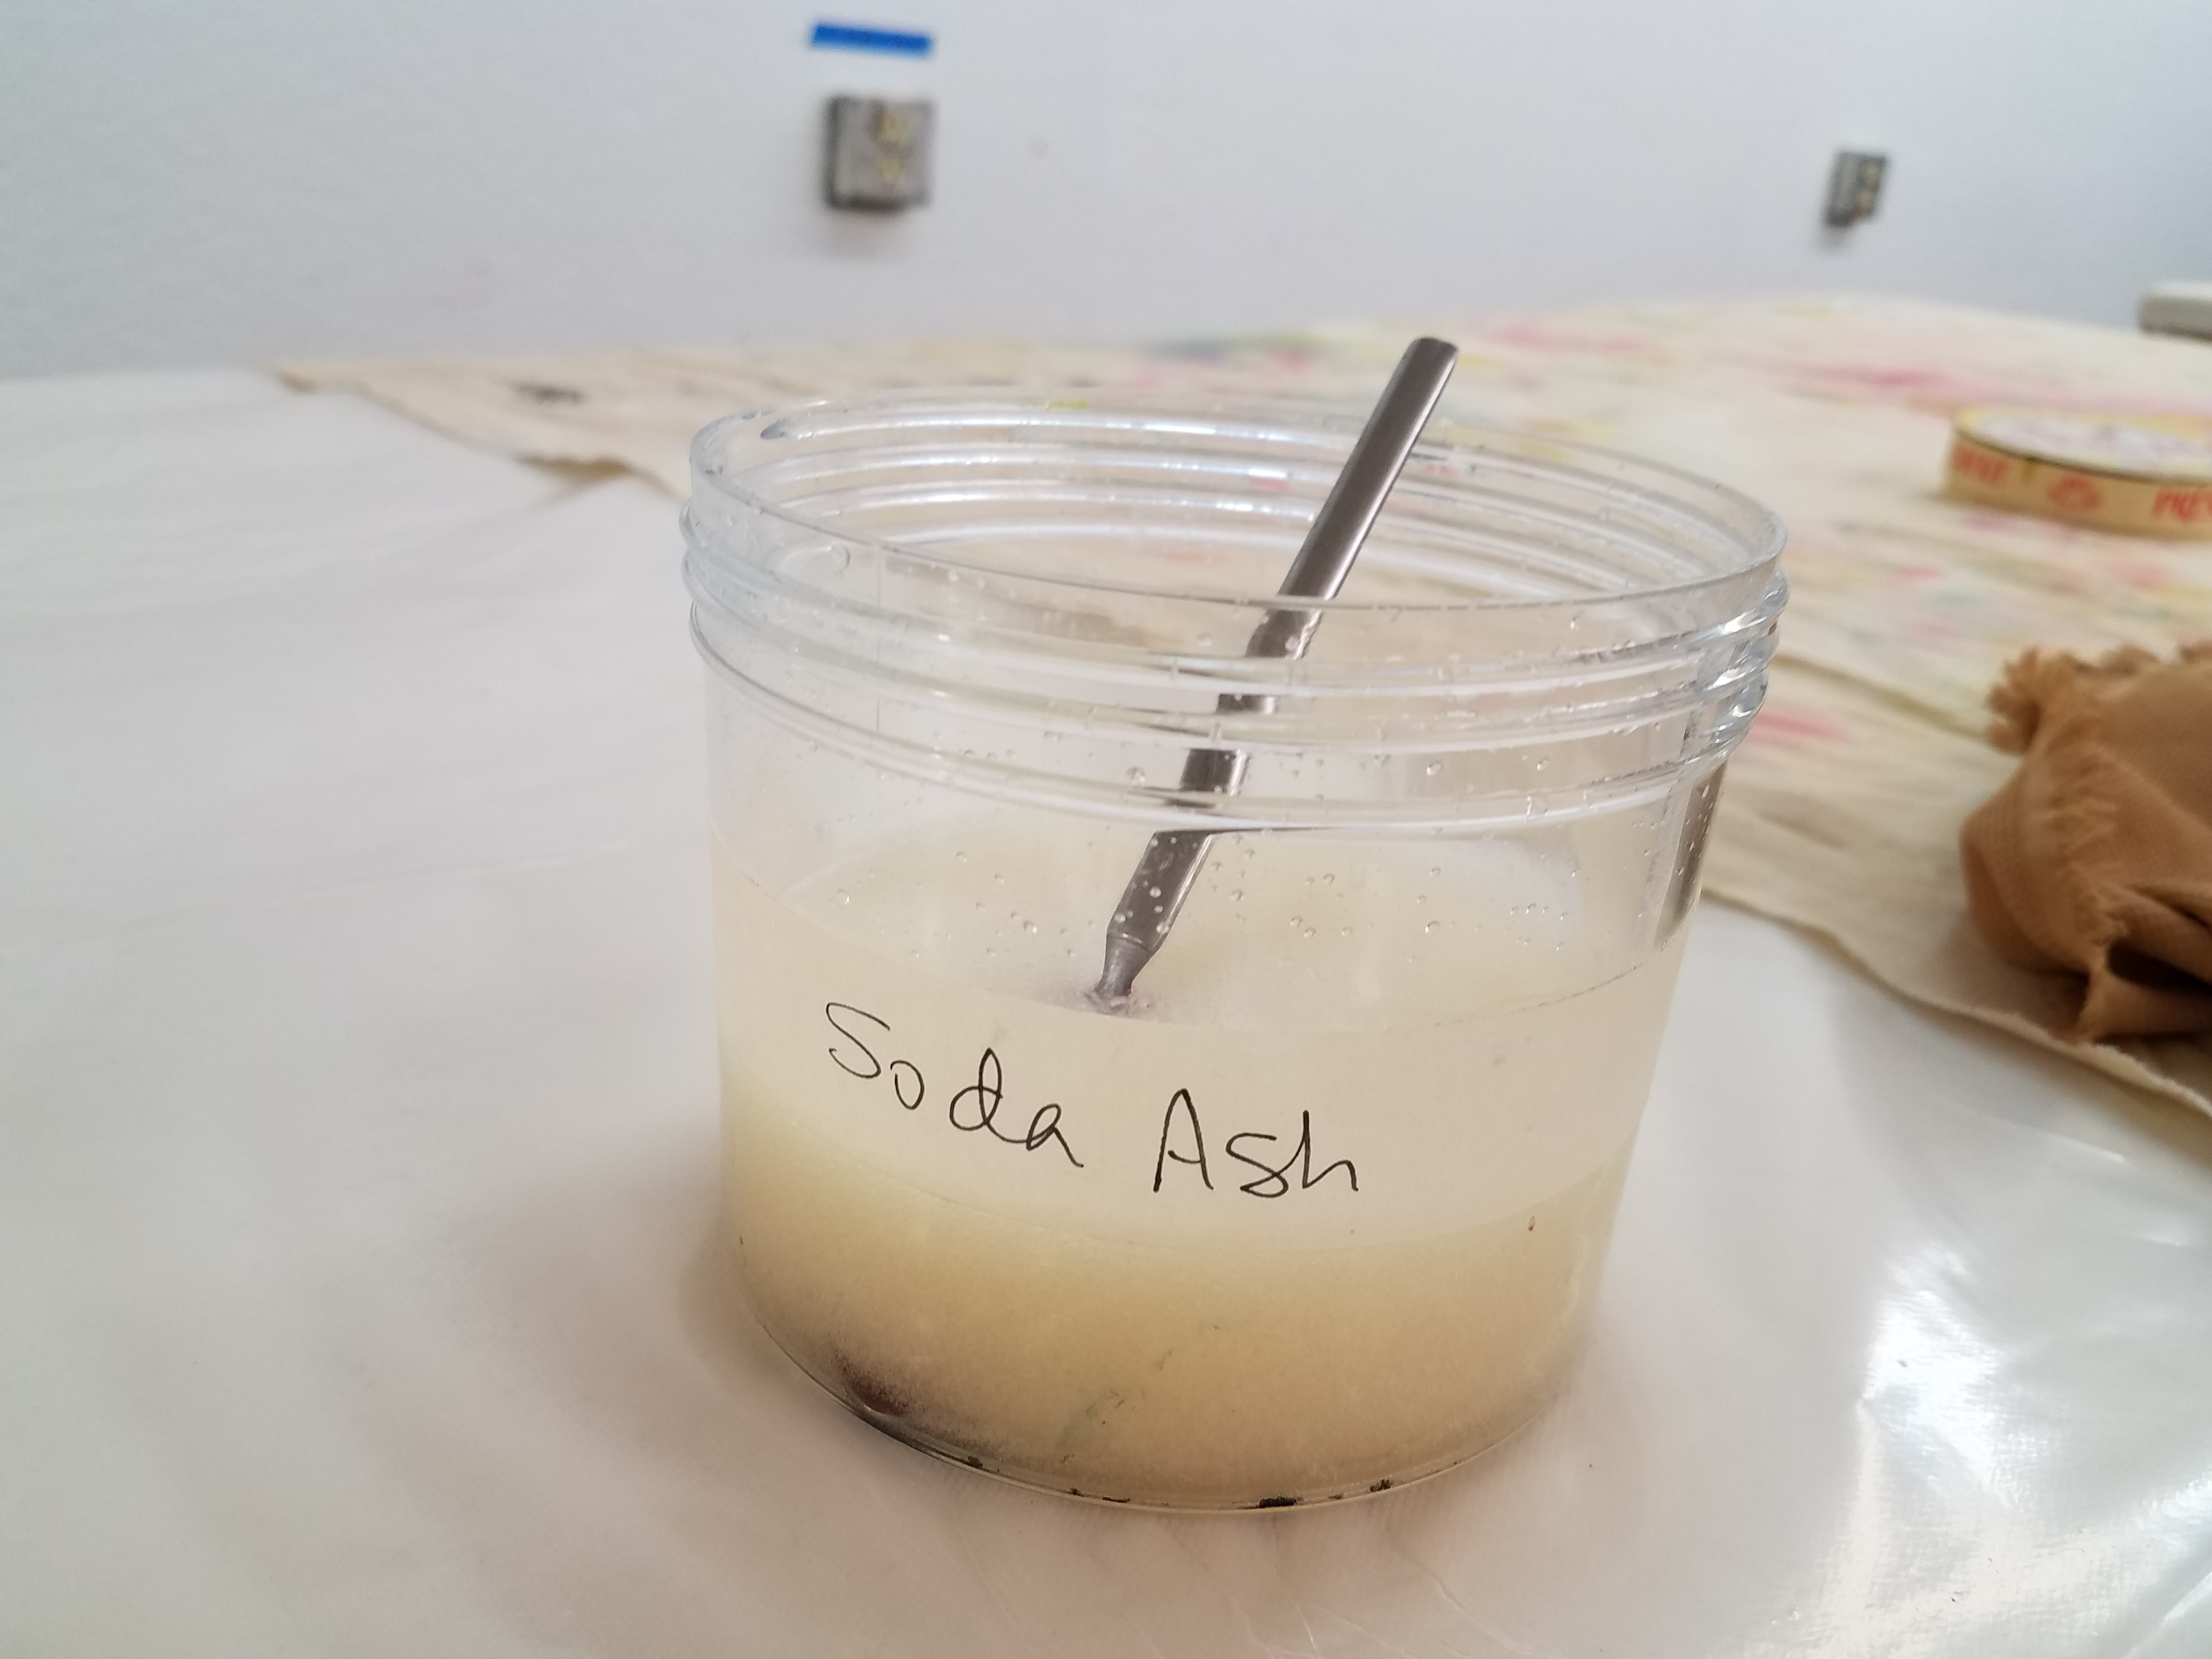
Gum trag with soda ash
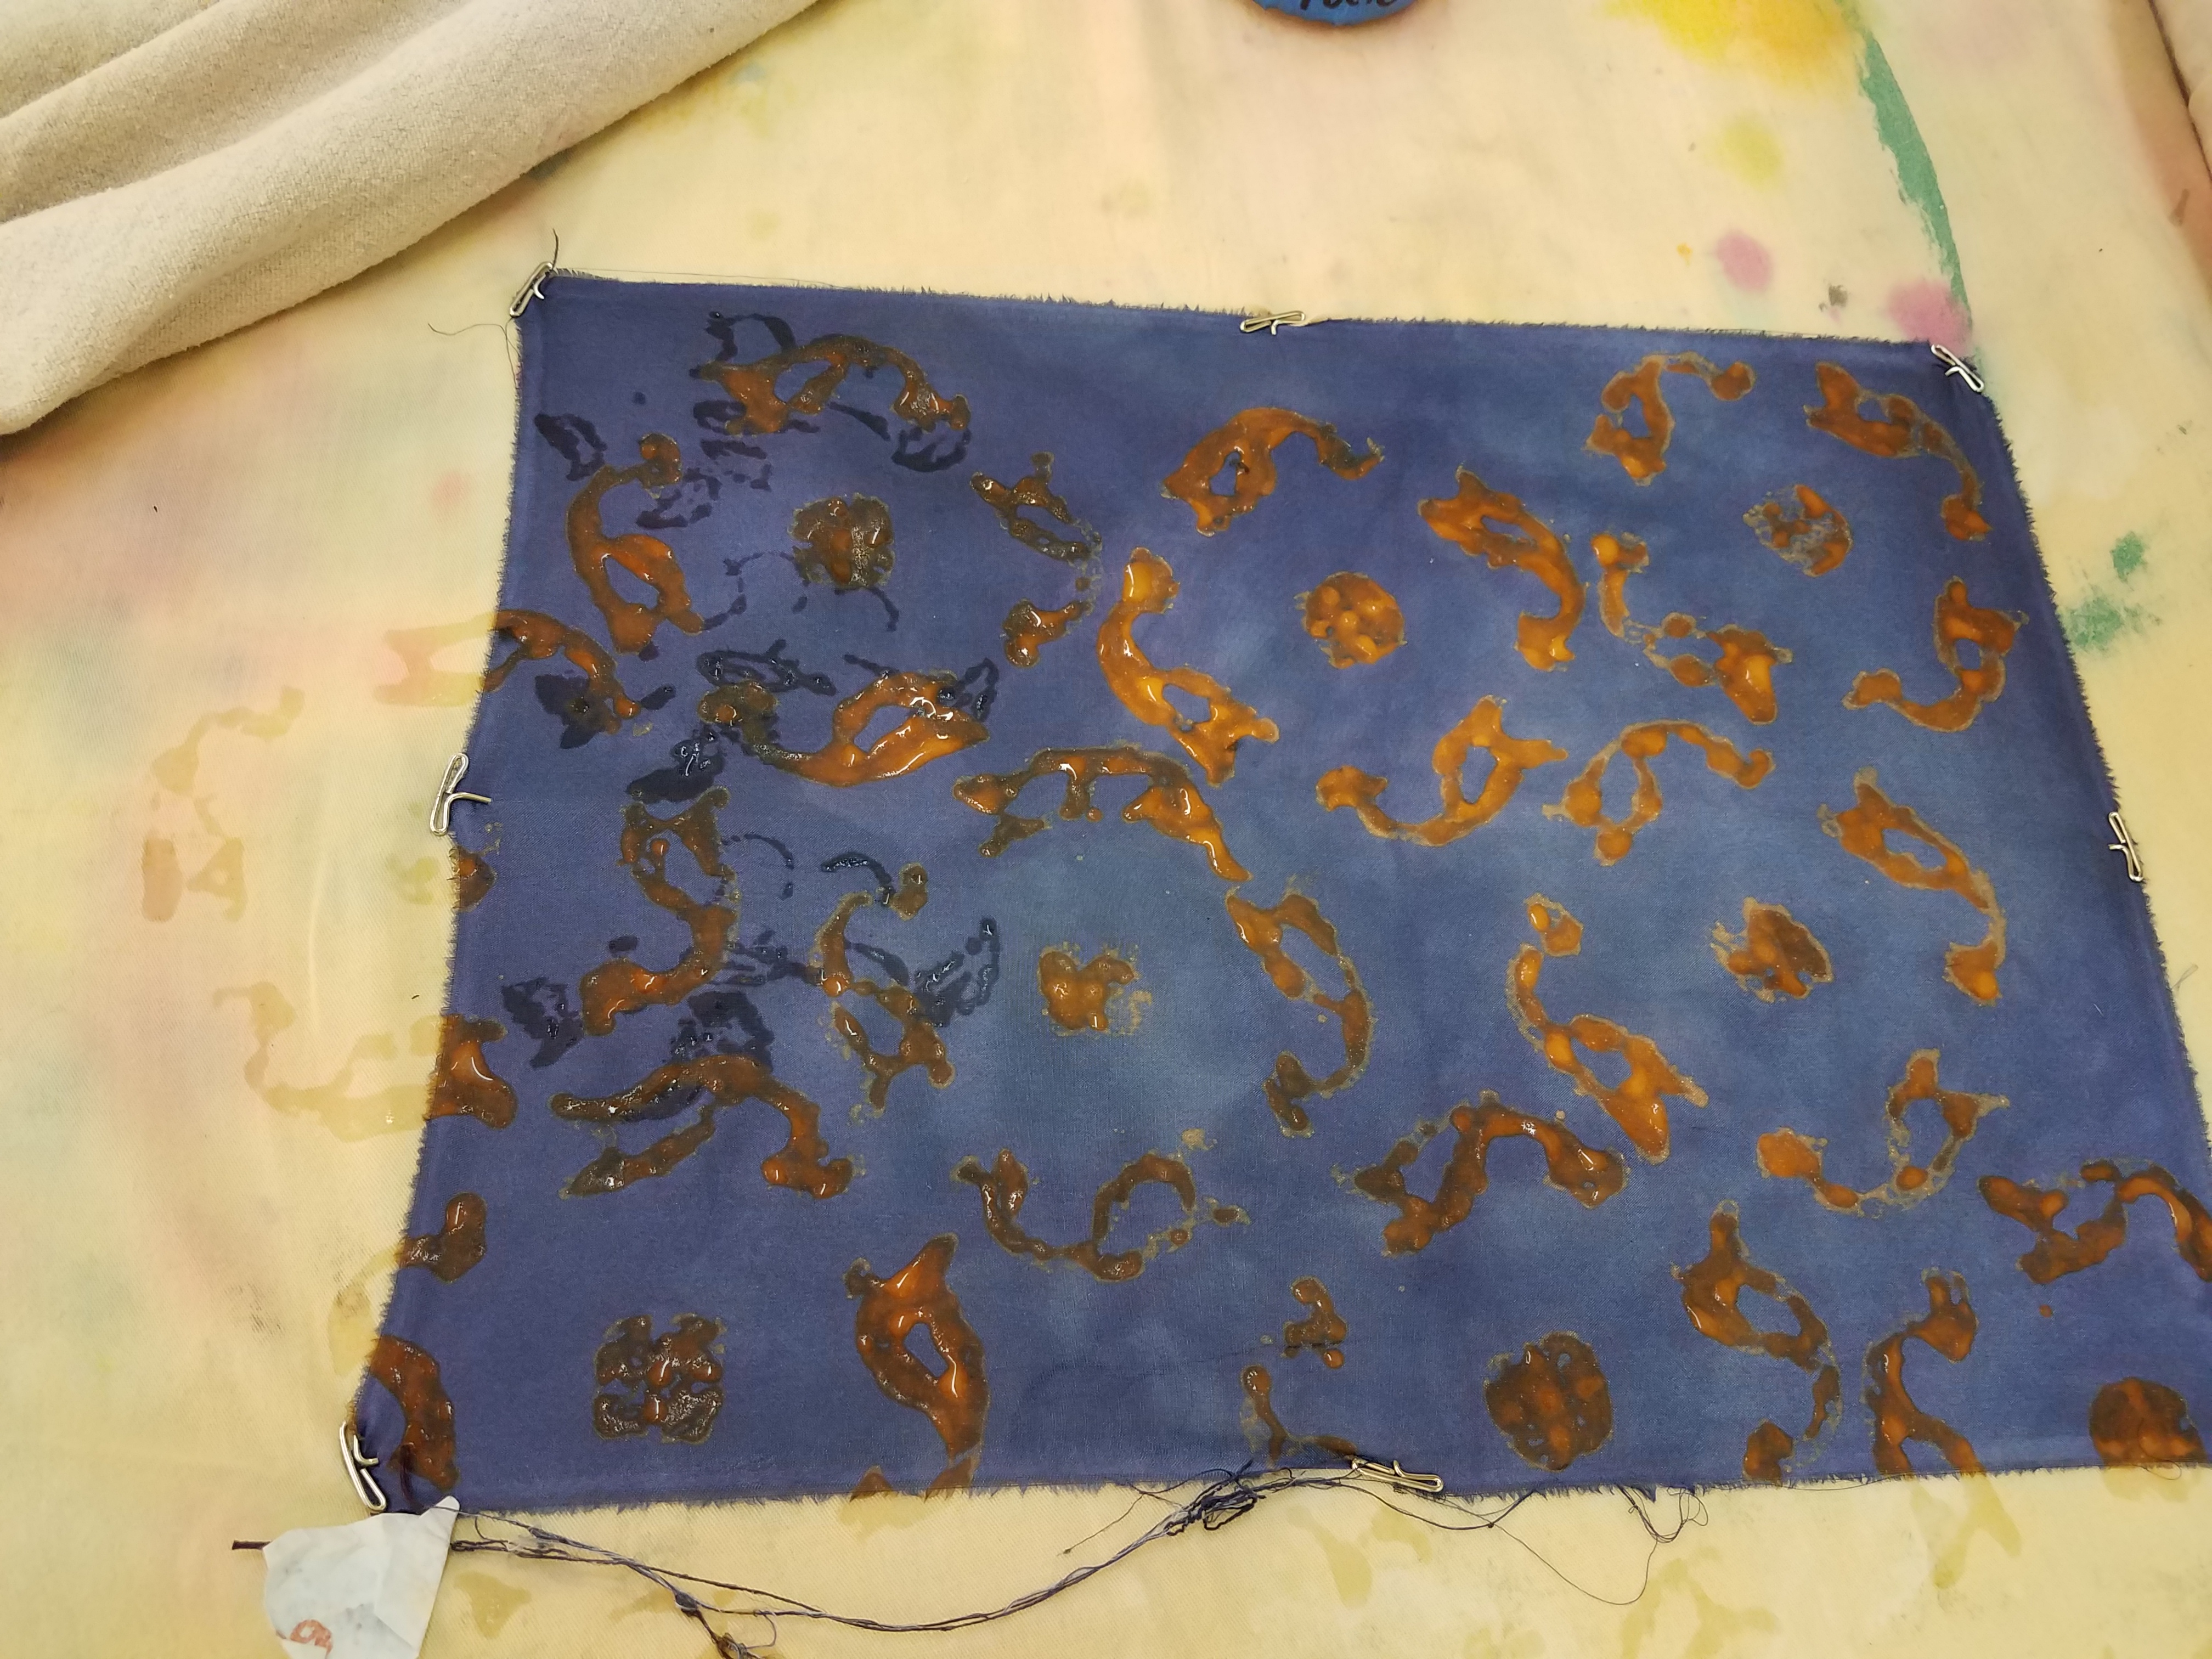
Here I tried using soda ash to shift the color on a pisolithus mushroom-dyed piece of silk:
Here I’ve used tartaric acid to discharge the logwood dye on silk organza:
You can do combinations of these techniques:
Discharging with a print block
And printing with an iron mordant
How to set your prints:
Lay out your dried fabric on an old cloth in a single layer, fold extra cloth over, and roll up, jelly roll style so that it will fit in your steamer basket. You want STEAM ONLY! Take care that the water is not getting into the bottom of the basket, and place a towel or piece of felt on top underneath the lid to keep condensed water from dripping back down. Make sure you’ve got steam going before placing your jelly roll in the steamer basket. Steam ten minutes, and remove carefully. Let cool until it’s comfortable to handle, then unroll.
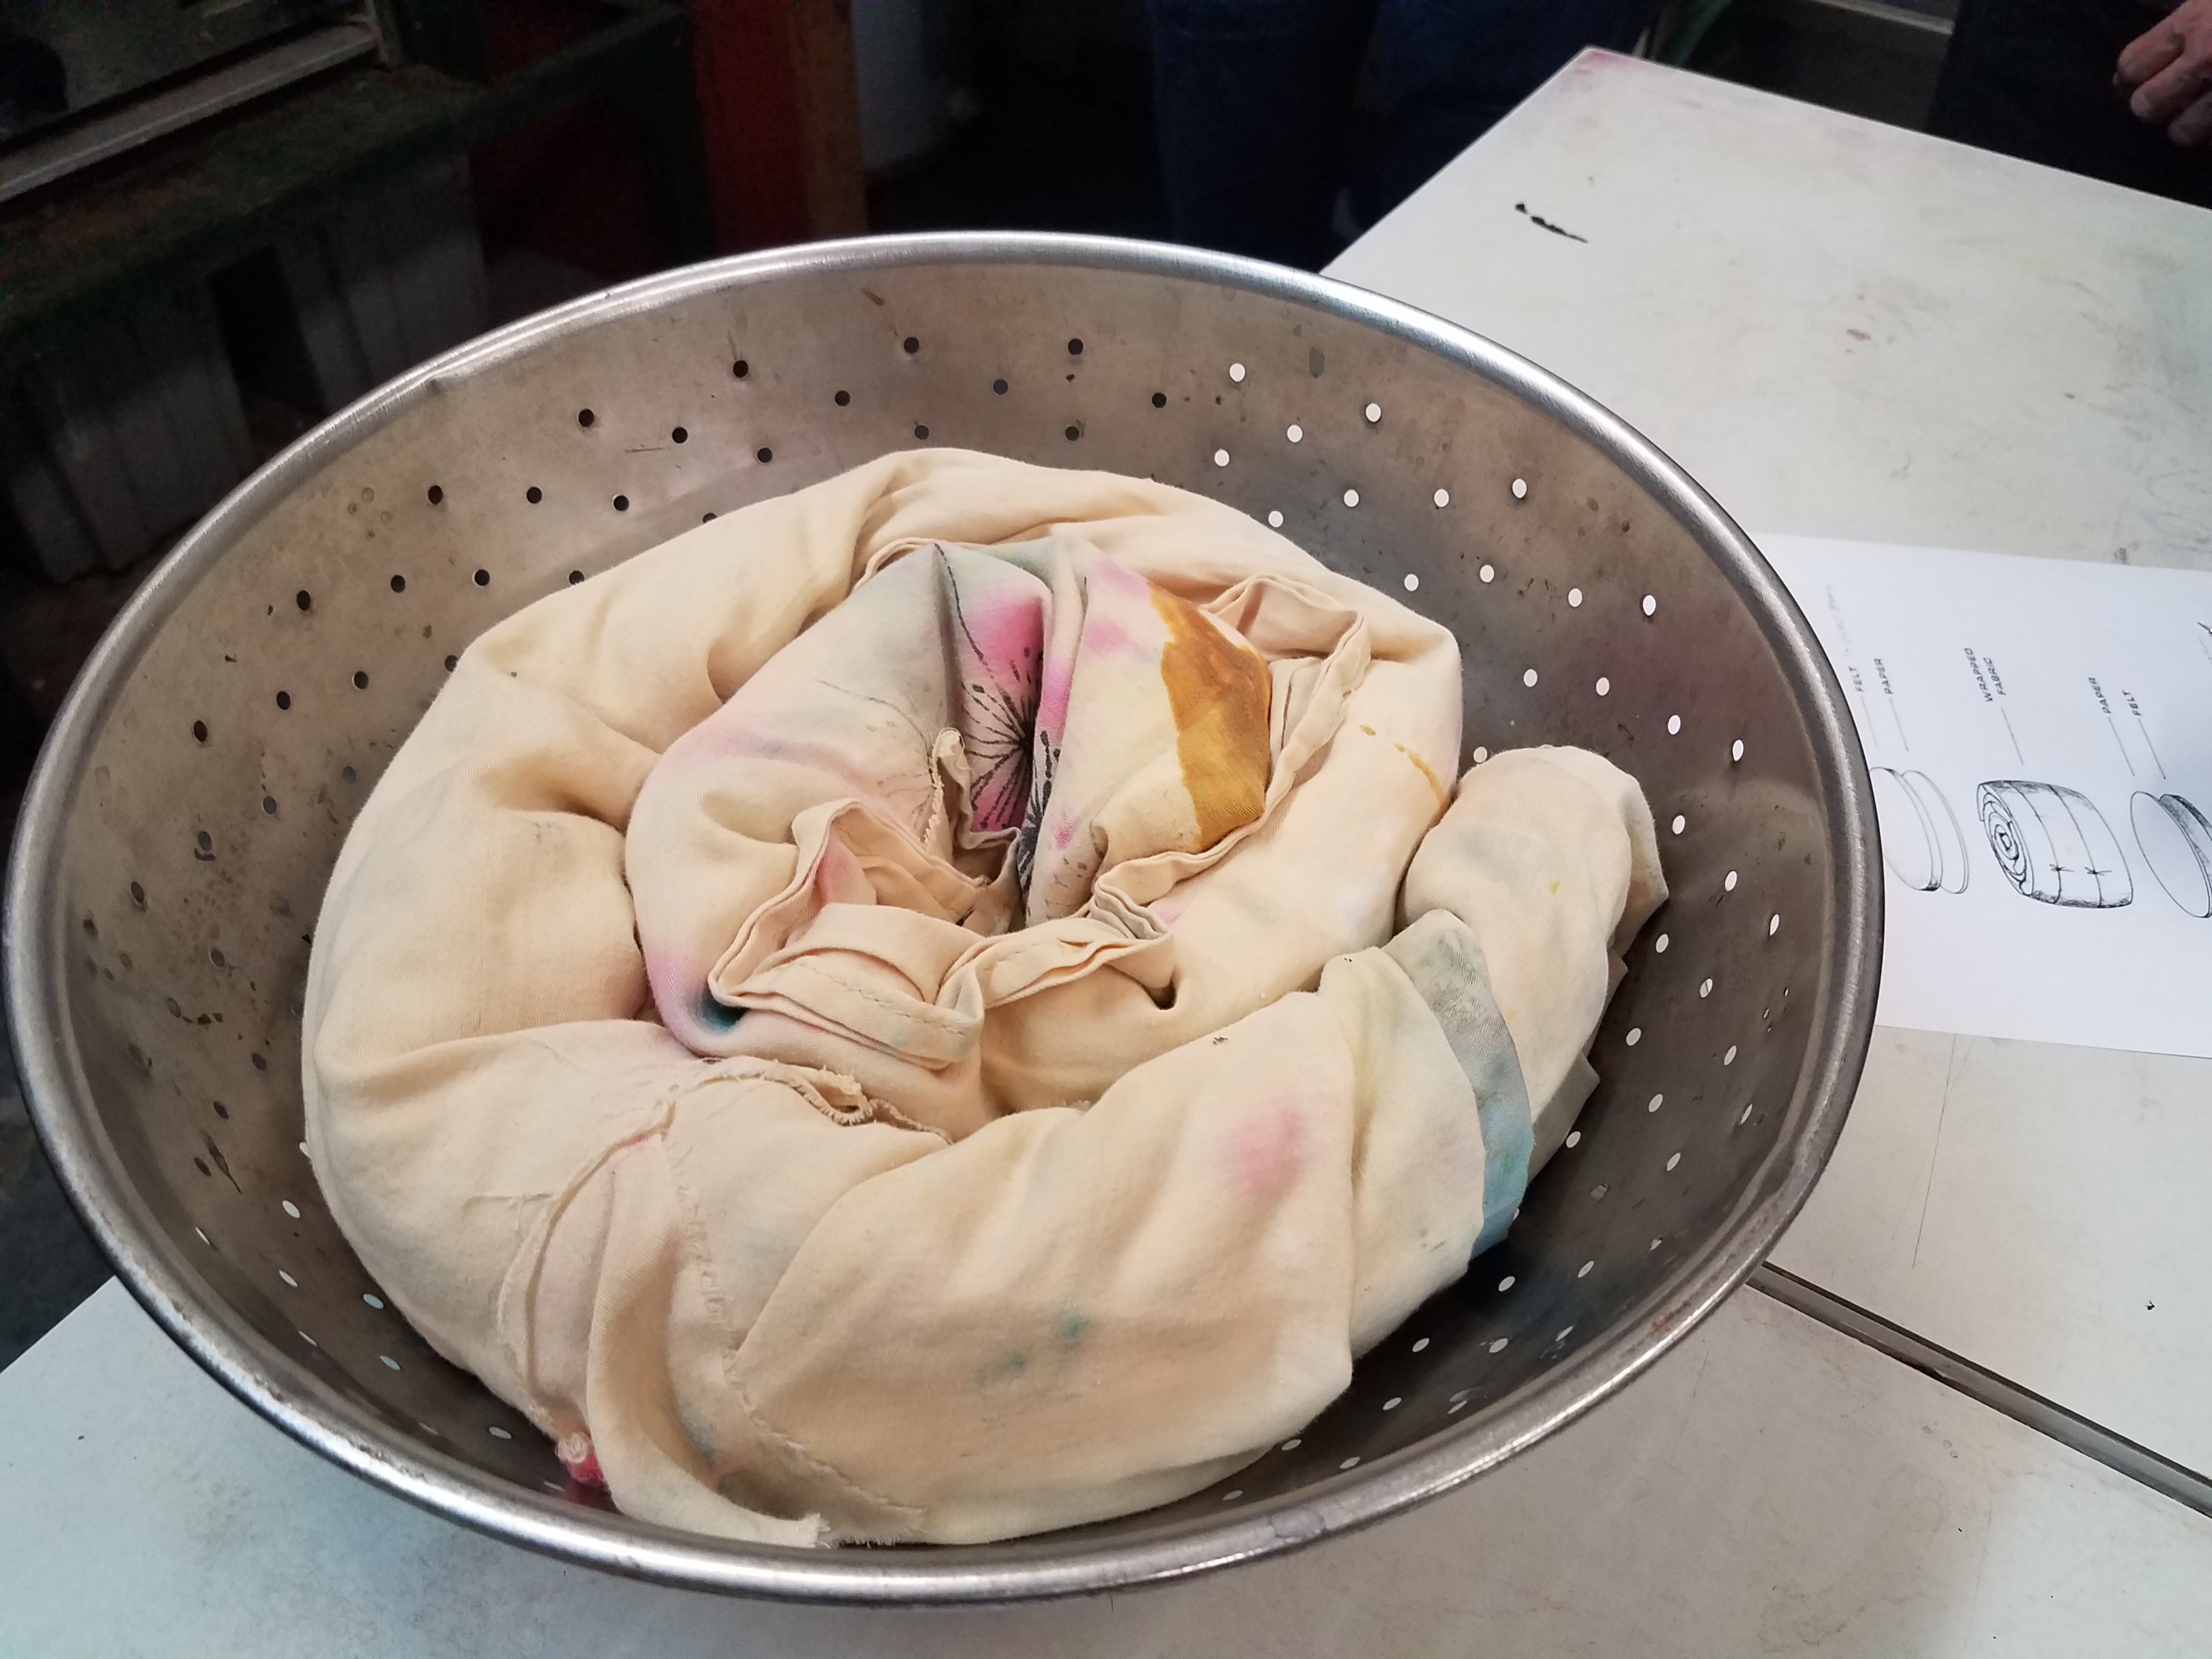
Jelly roll in steamer basket
Wash your steamed fabric in warm, soapy water to get the gum trag residue out. It still contains mordant, discharge or dye, and if the excess isn’t washed out it will go into your dye pot and change the result.
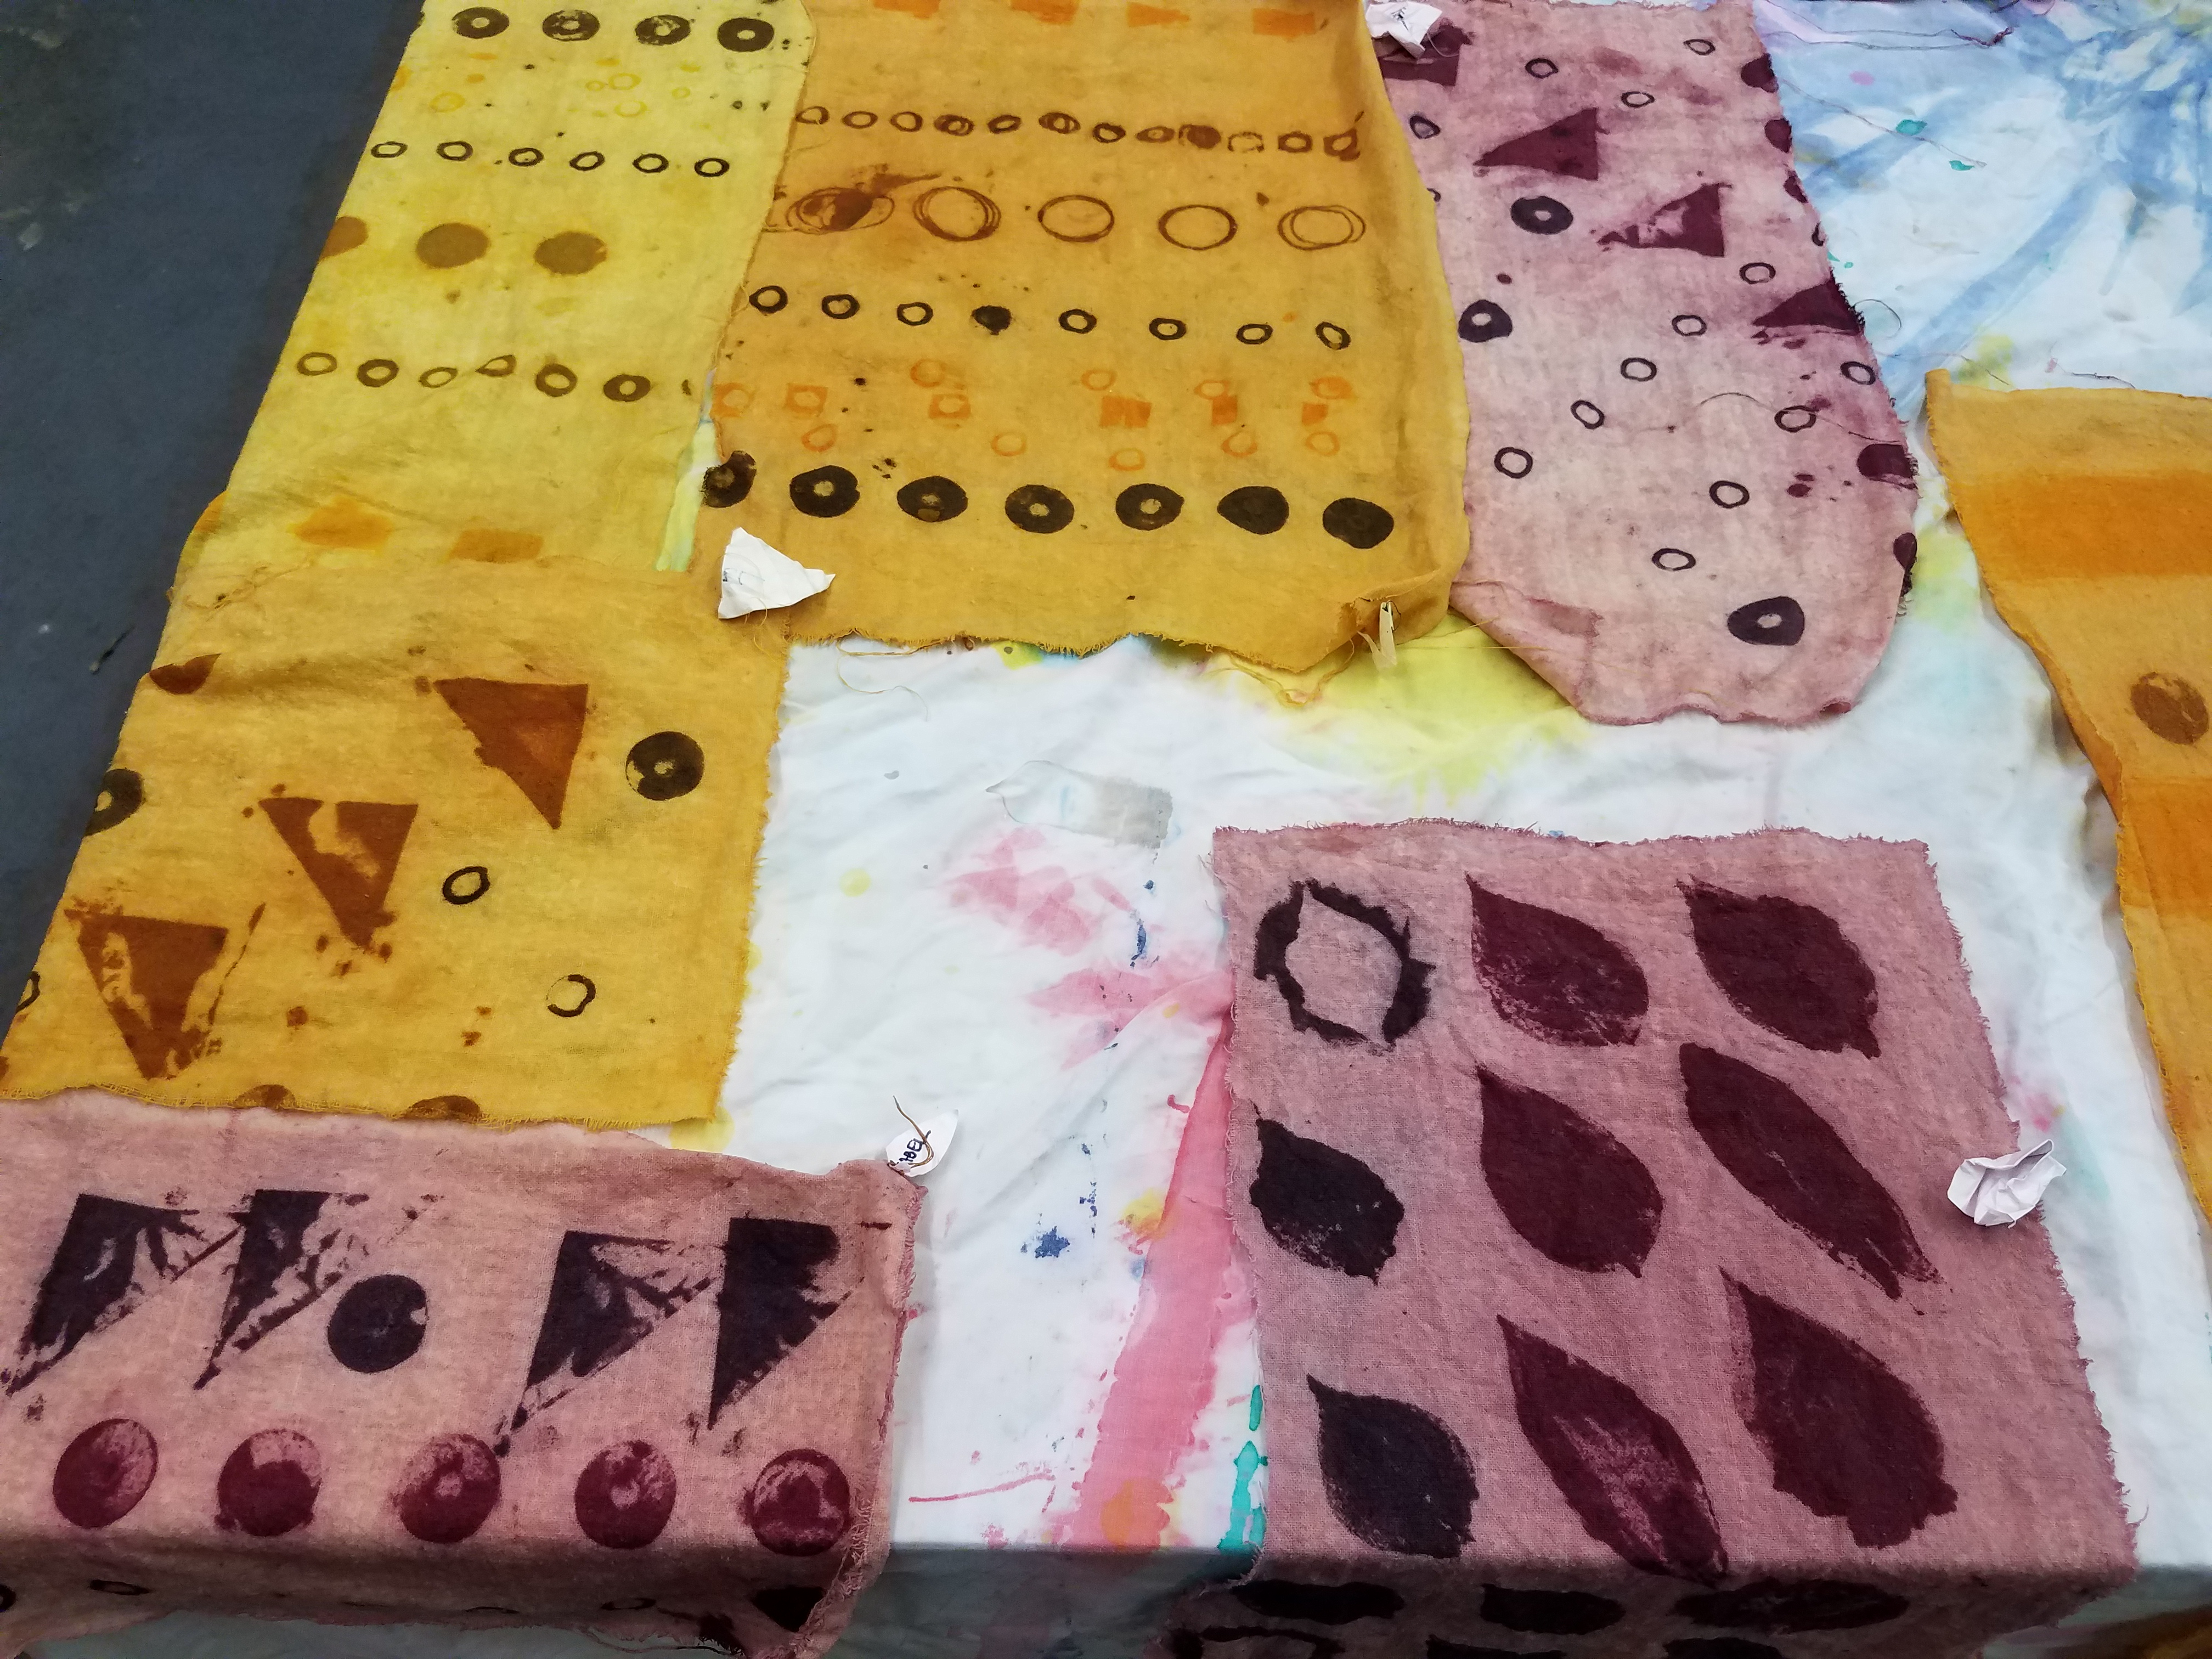
Here are some results after dyeing our prints. The yellow is from onion skins, the pink from Brazilwood, and the orange a combo of both.
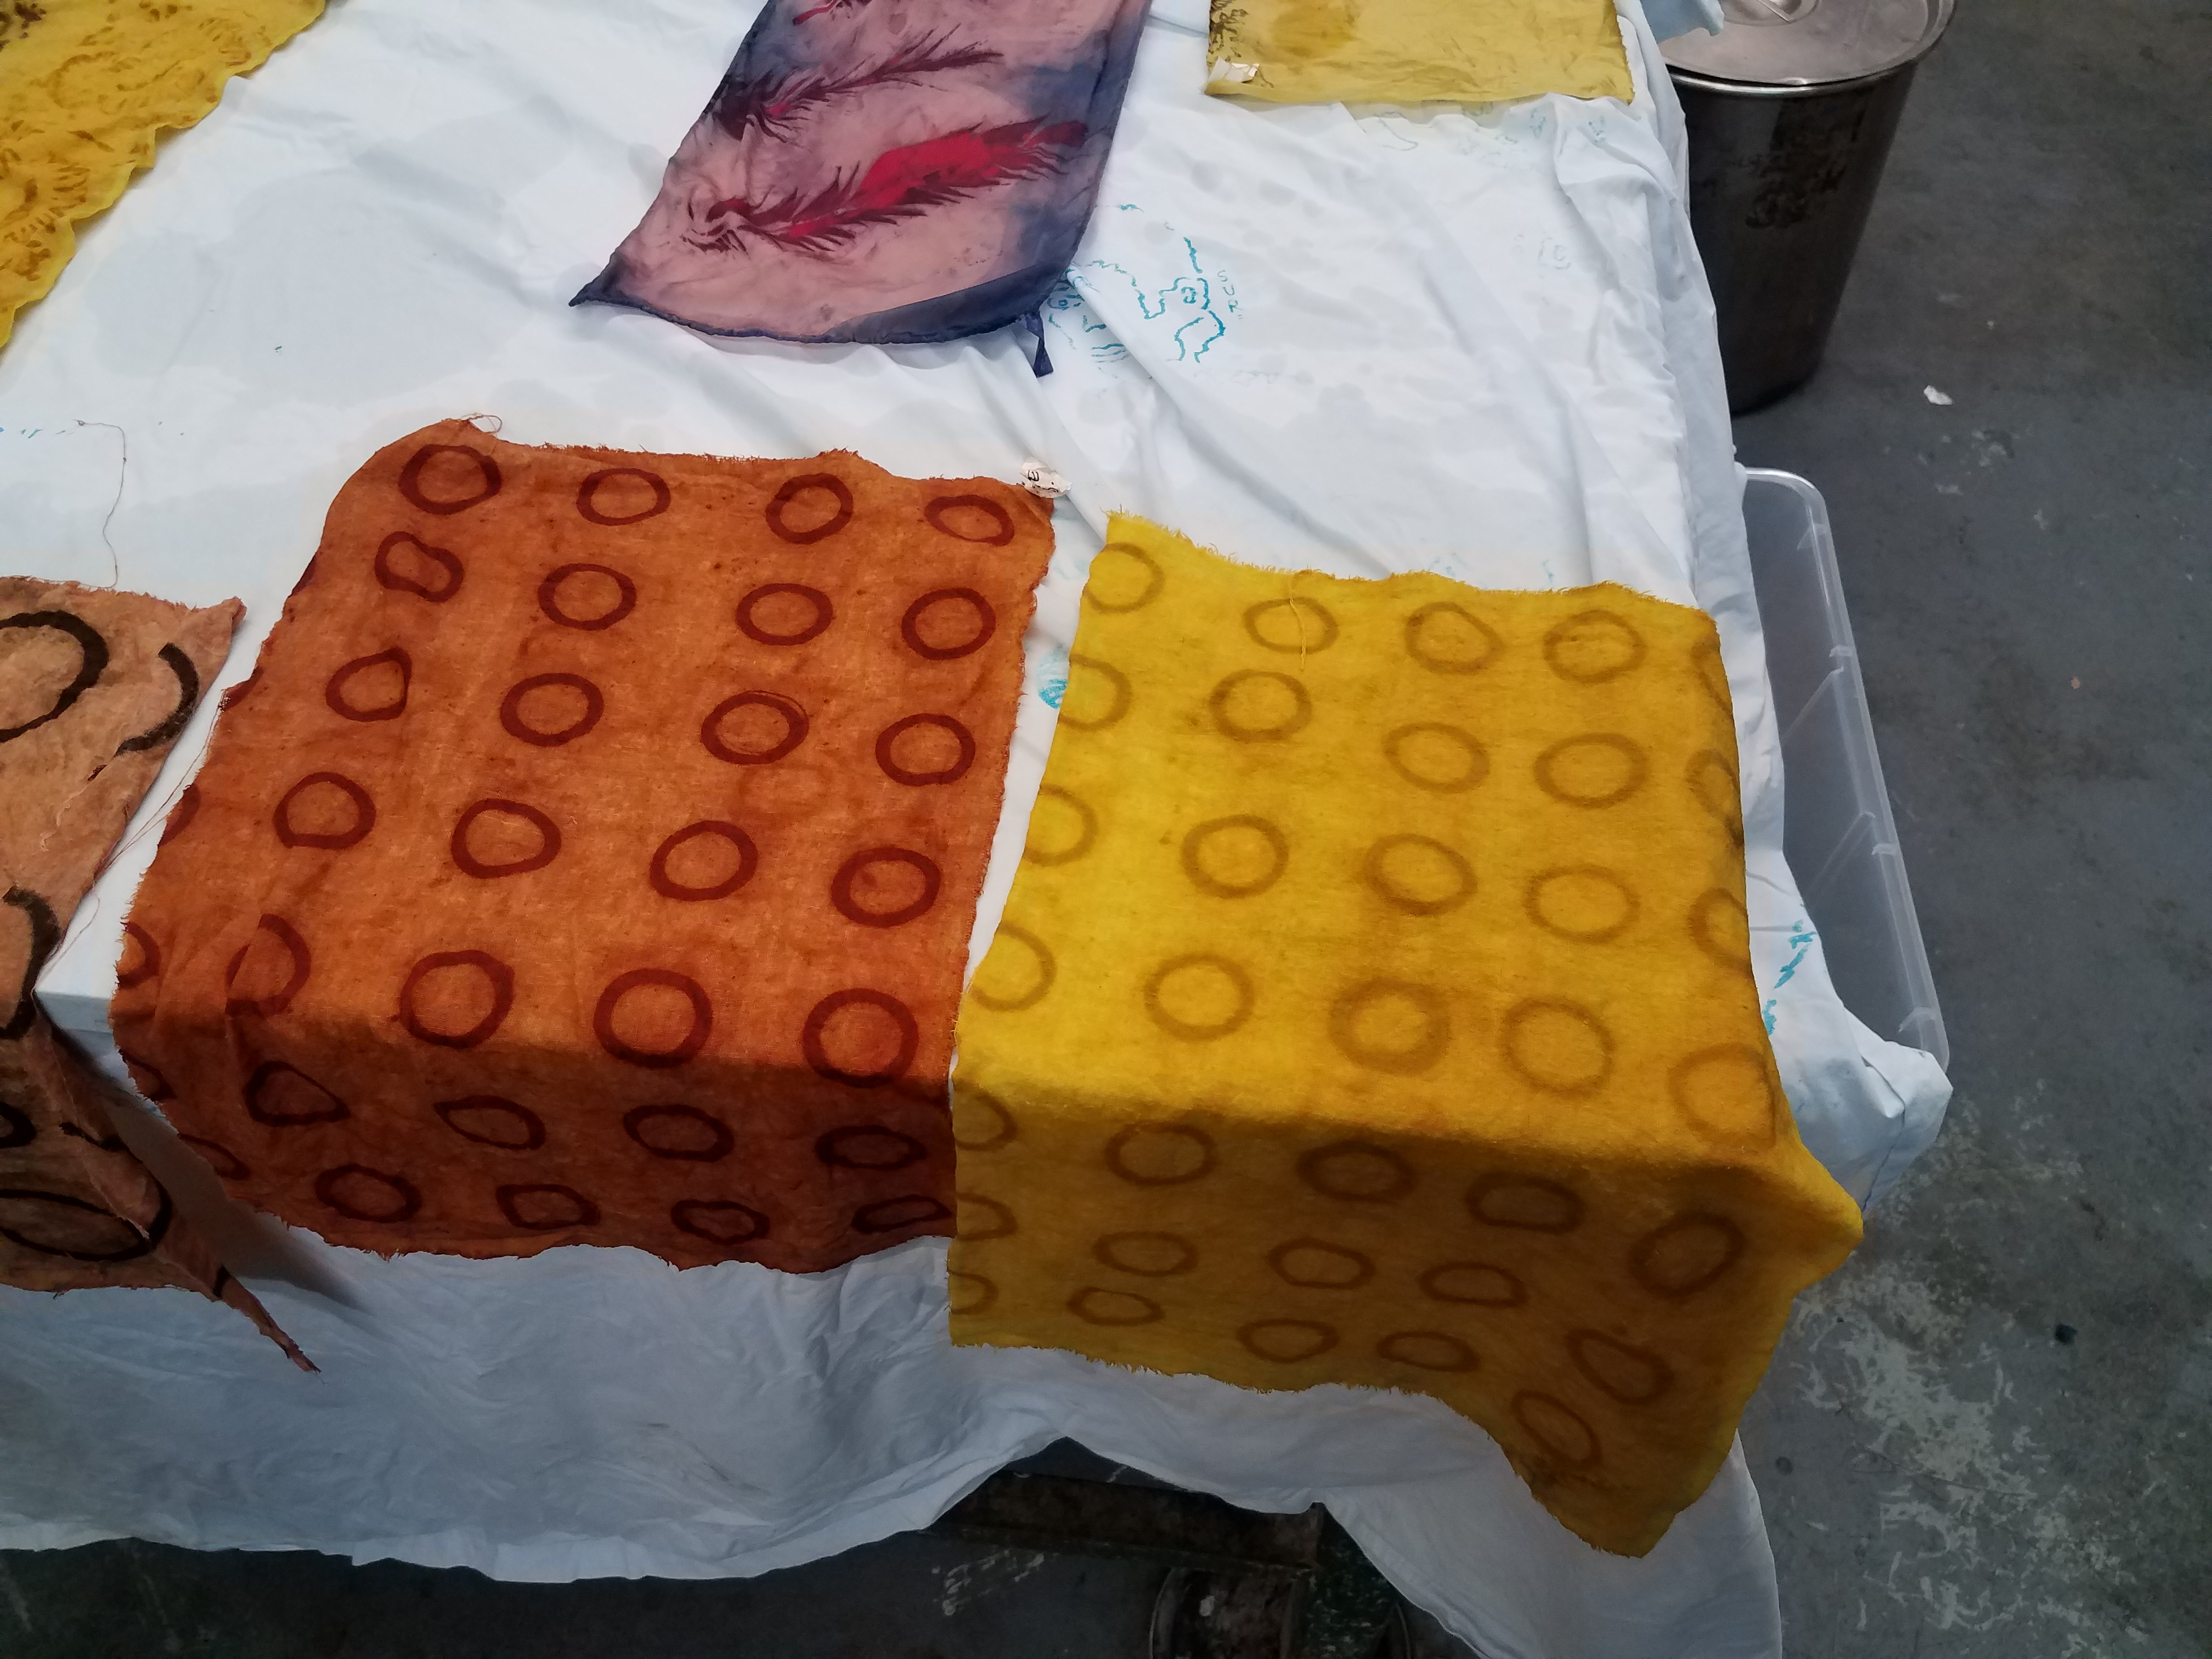
Here are my feathers. You can see that the gum trag wasn’t washed out completely by the extra dark muddiness around the onion skin feathers.
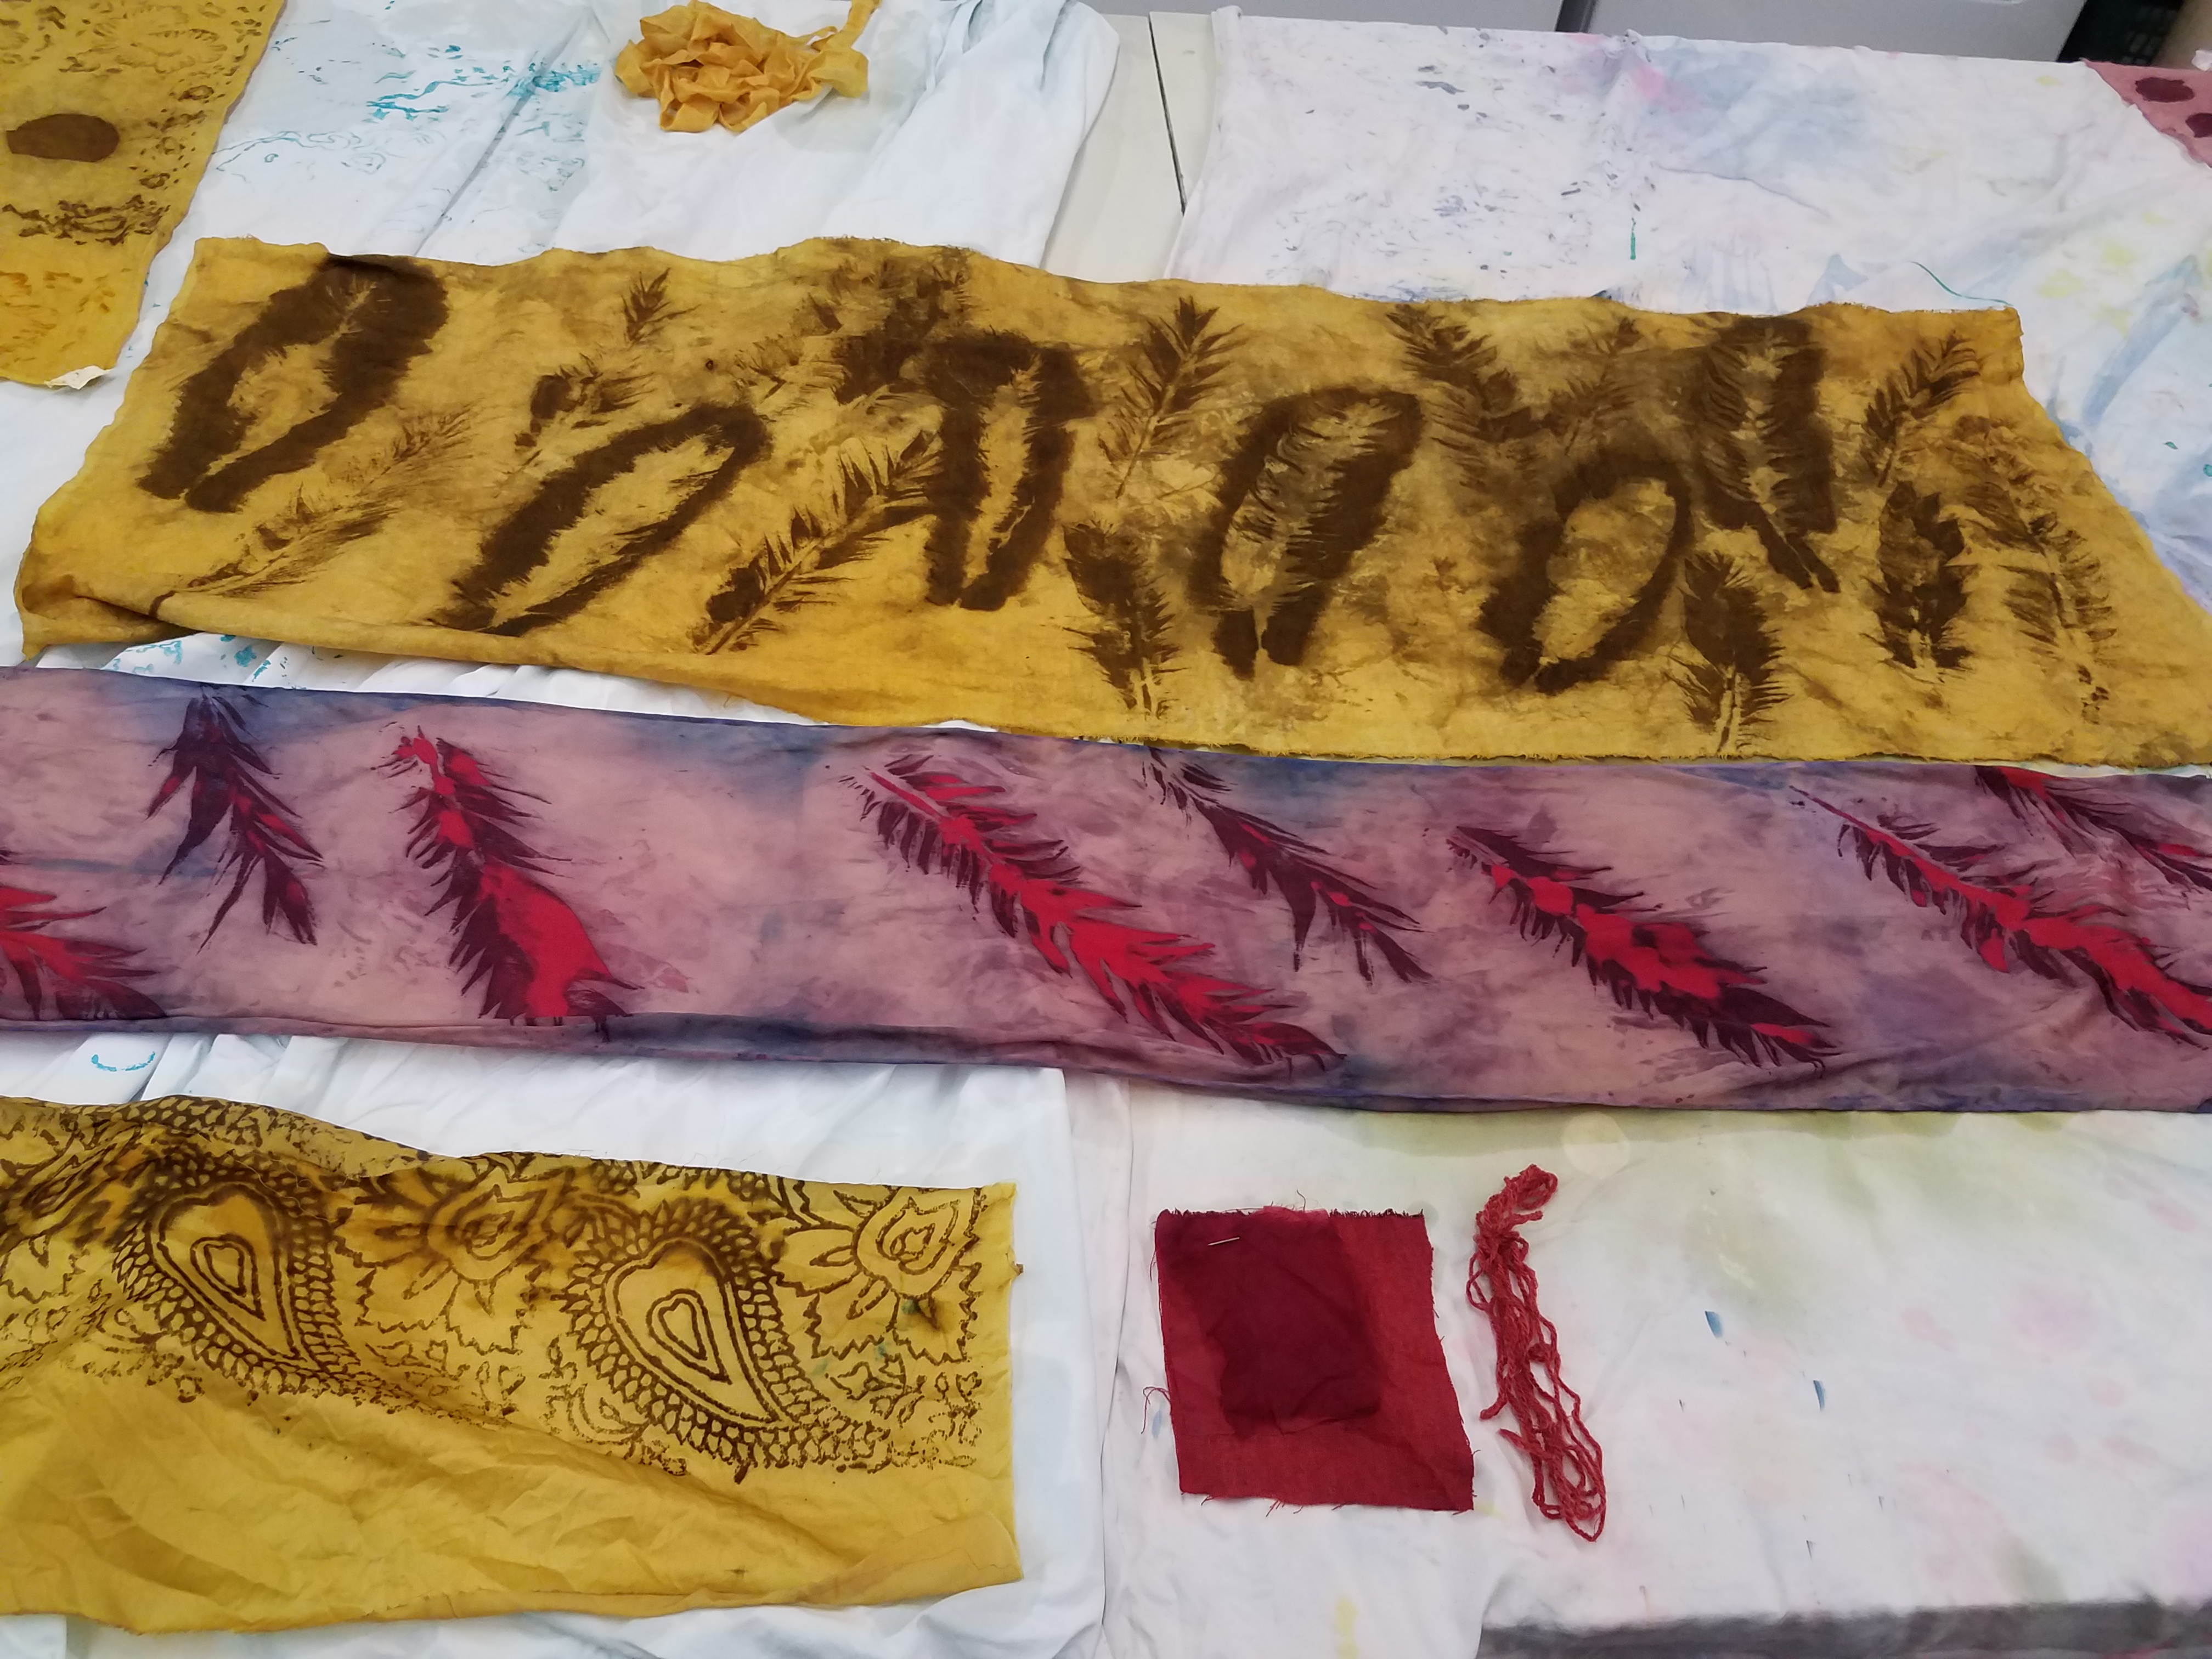
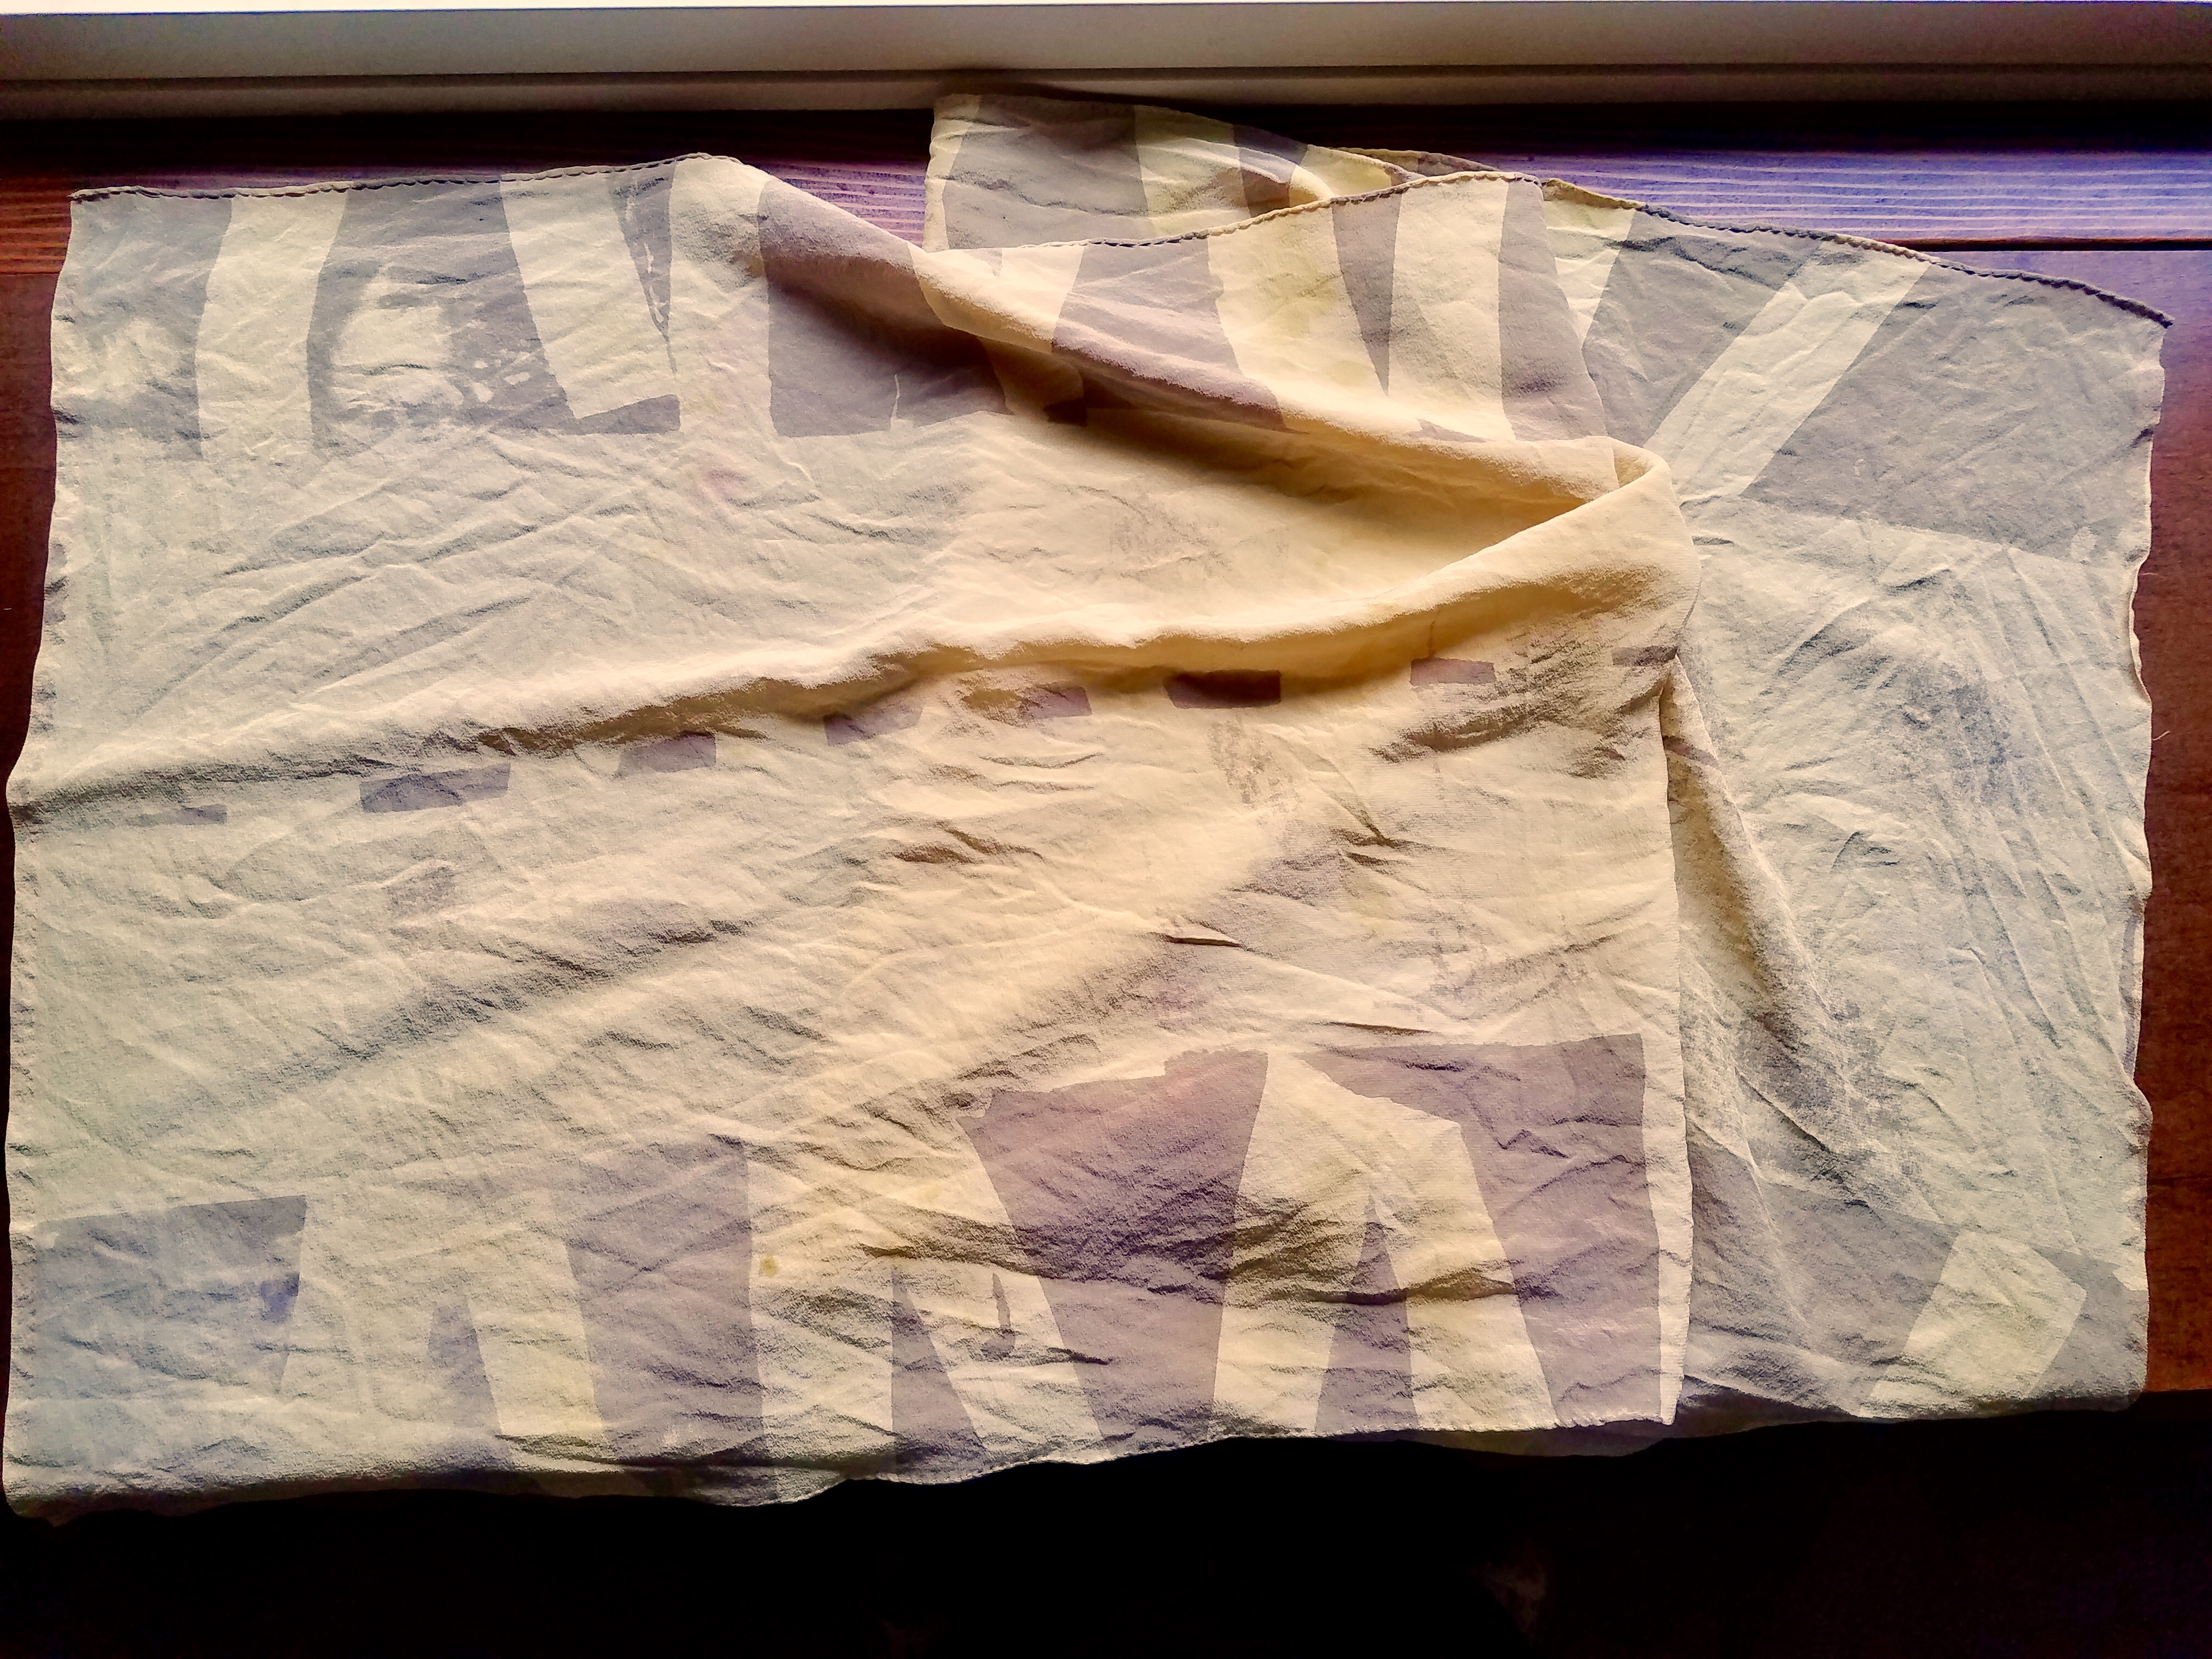
I decided to after-mordant the whole piece in alum, and not only did that get rid of the excess print fuzz, it changed the color of everything. It’s a bit 1970’s decor now, but I think it will still make a nice pillow:
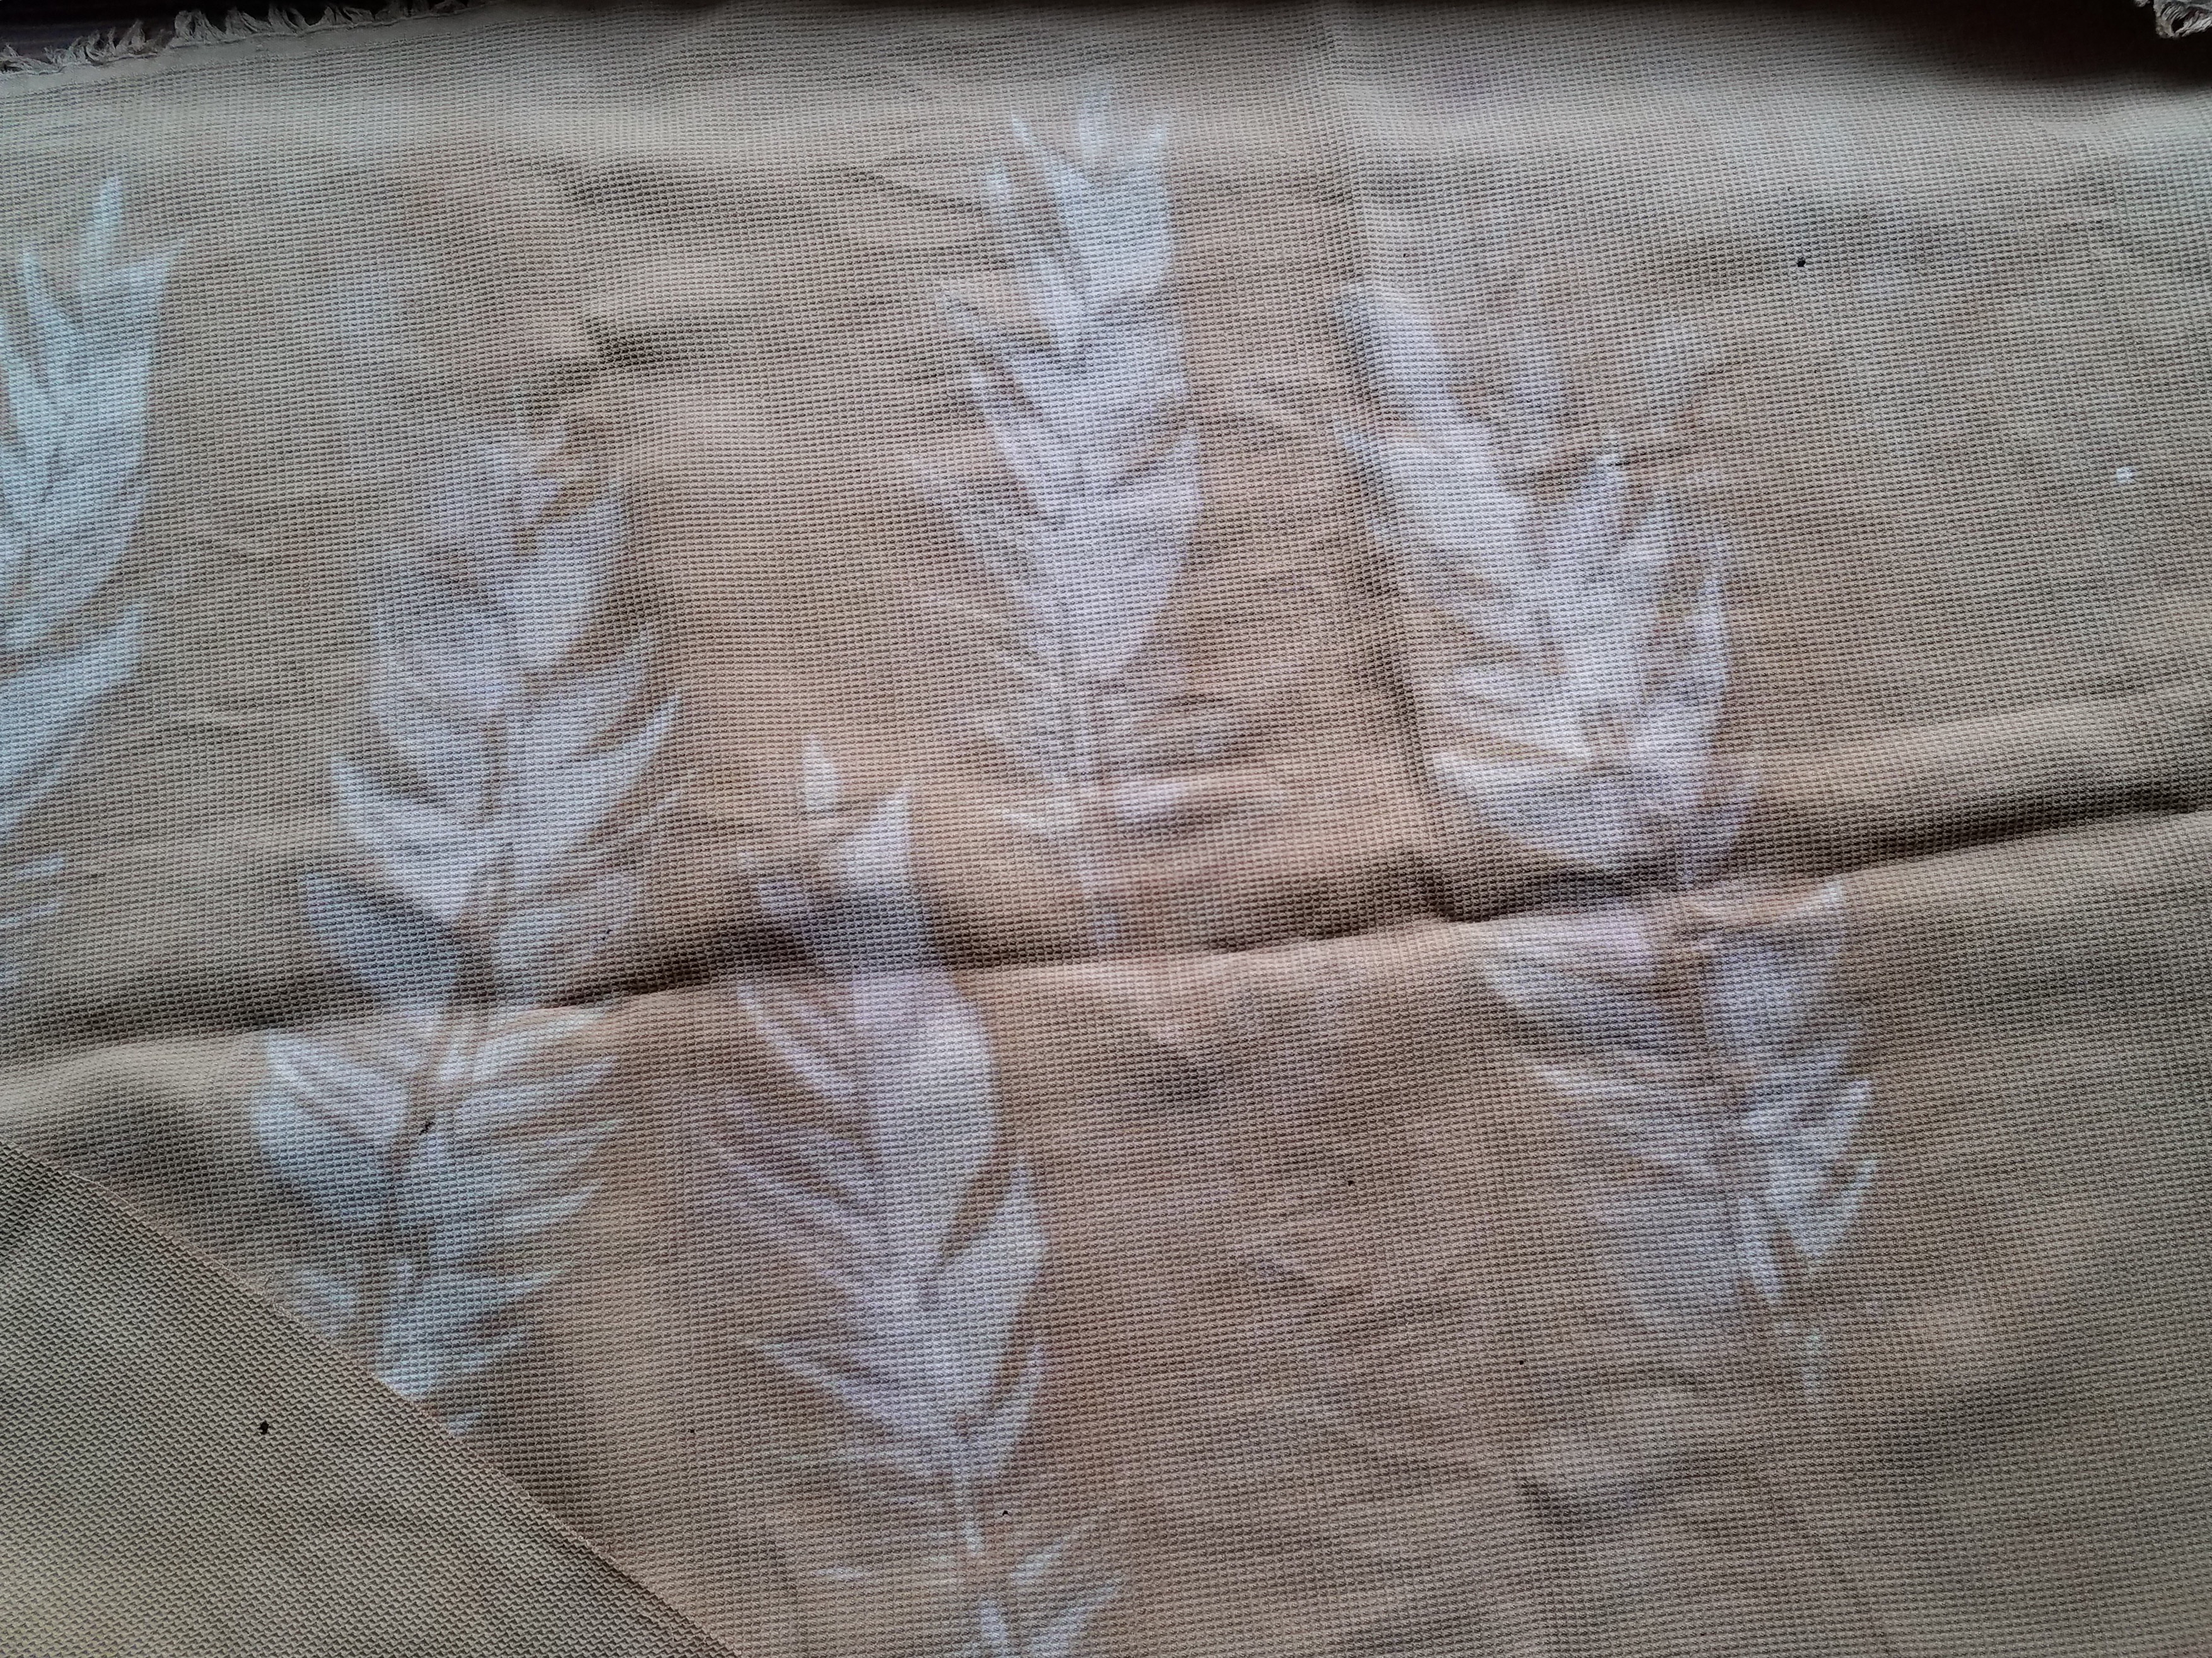
For the discharge printing, you don’t necessarily have to steam the piece before washing. Here’s a sample of logwood on silk that I discharged by painting the back of a leaf with gum trag and citric acid, and then simply washing when I liked the result. It made a nice multi-colored effect:
I steamed my Ph-shifted fabric, and once I washed it out it ended up being merely discharged. I think I would have had better results if I’d washed it out as with the leaf print:
And here is a piece of silk crepe de chine that I silkscreened with alum and then dyed in Osage orange:
So, to answer your question Rachel, you have a lot of options. You can make a mordant print on unmordanted fabric. You can make a (different) mordant print on mordanted fabric. I didn’t include any photos, but you can mix natural dye extracts with your gum trag and print directly that way, with color. You can discharge already-dyed fabric. And you can do combinations of these techniques. You’ll no doubt have noticed that all these examples are on silk, but many of my classmates used this same technique on cellulose fibers.
There is also the option of surface design using natural pigments, which I’ll cover in my next post.