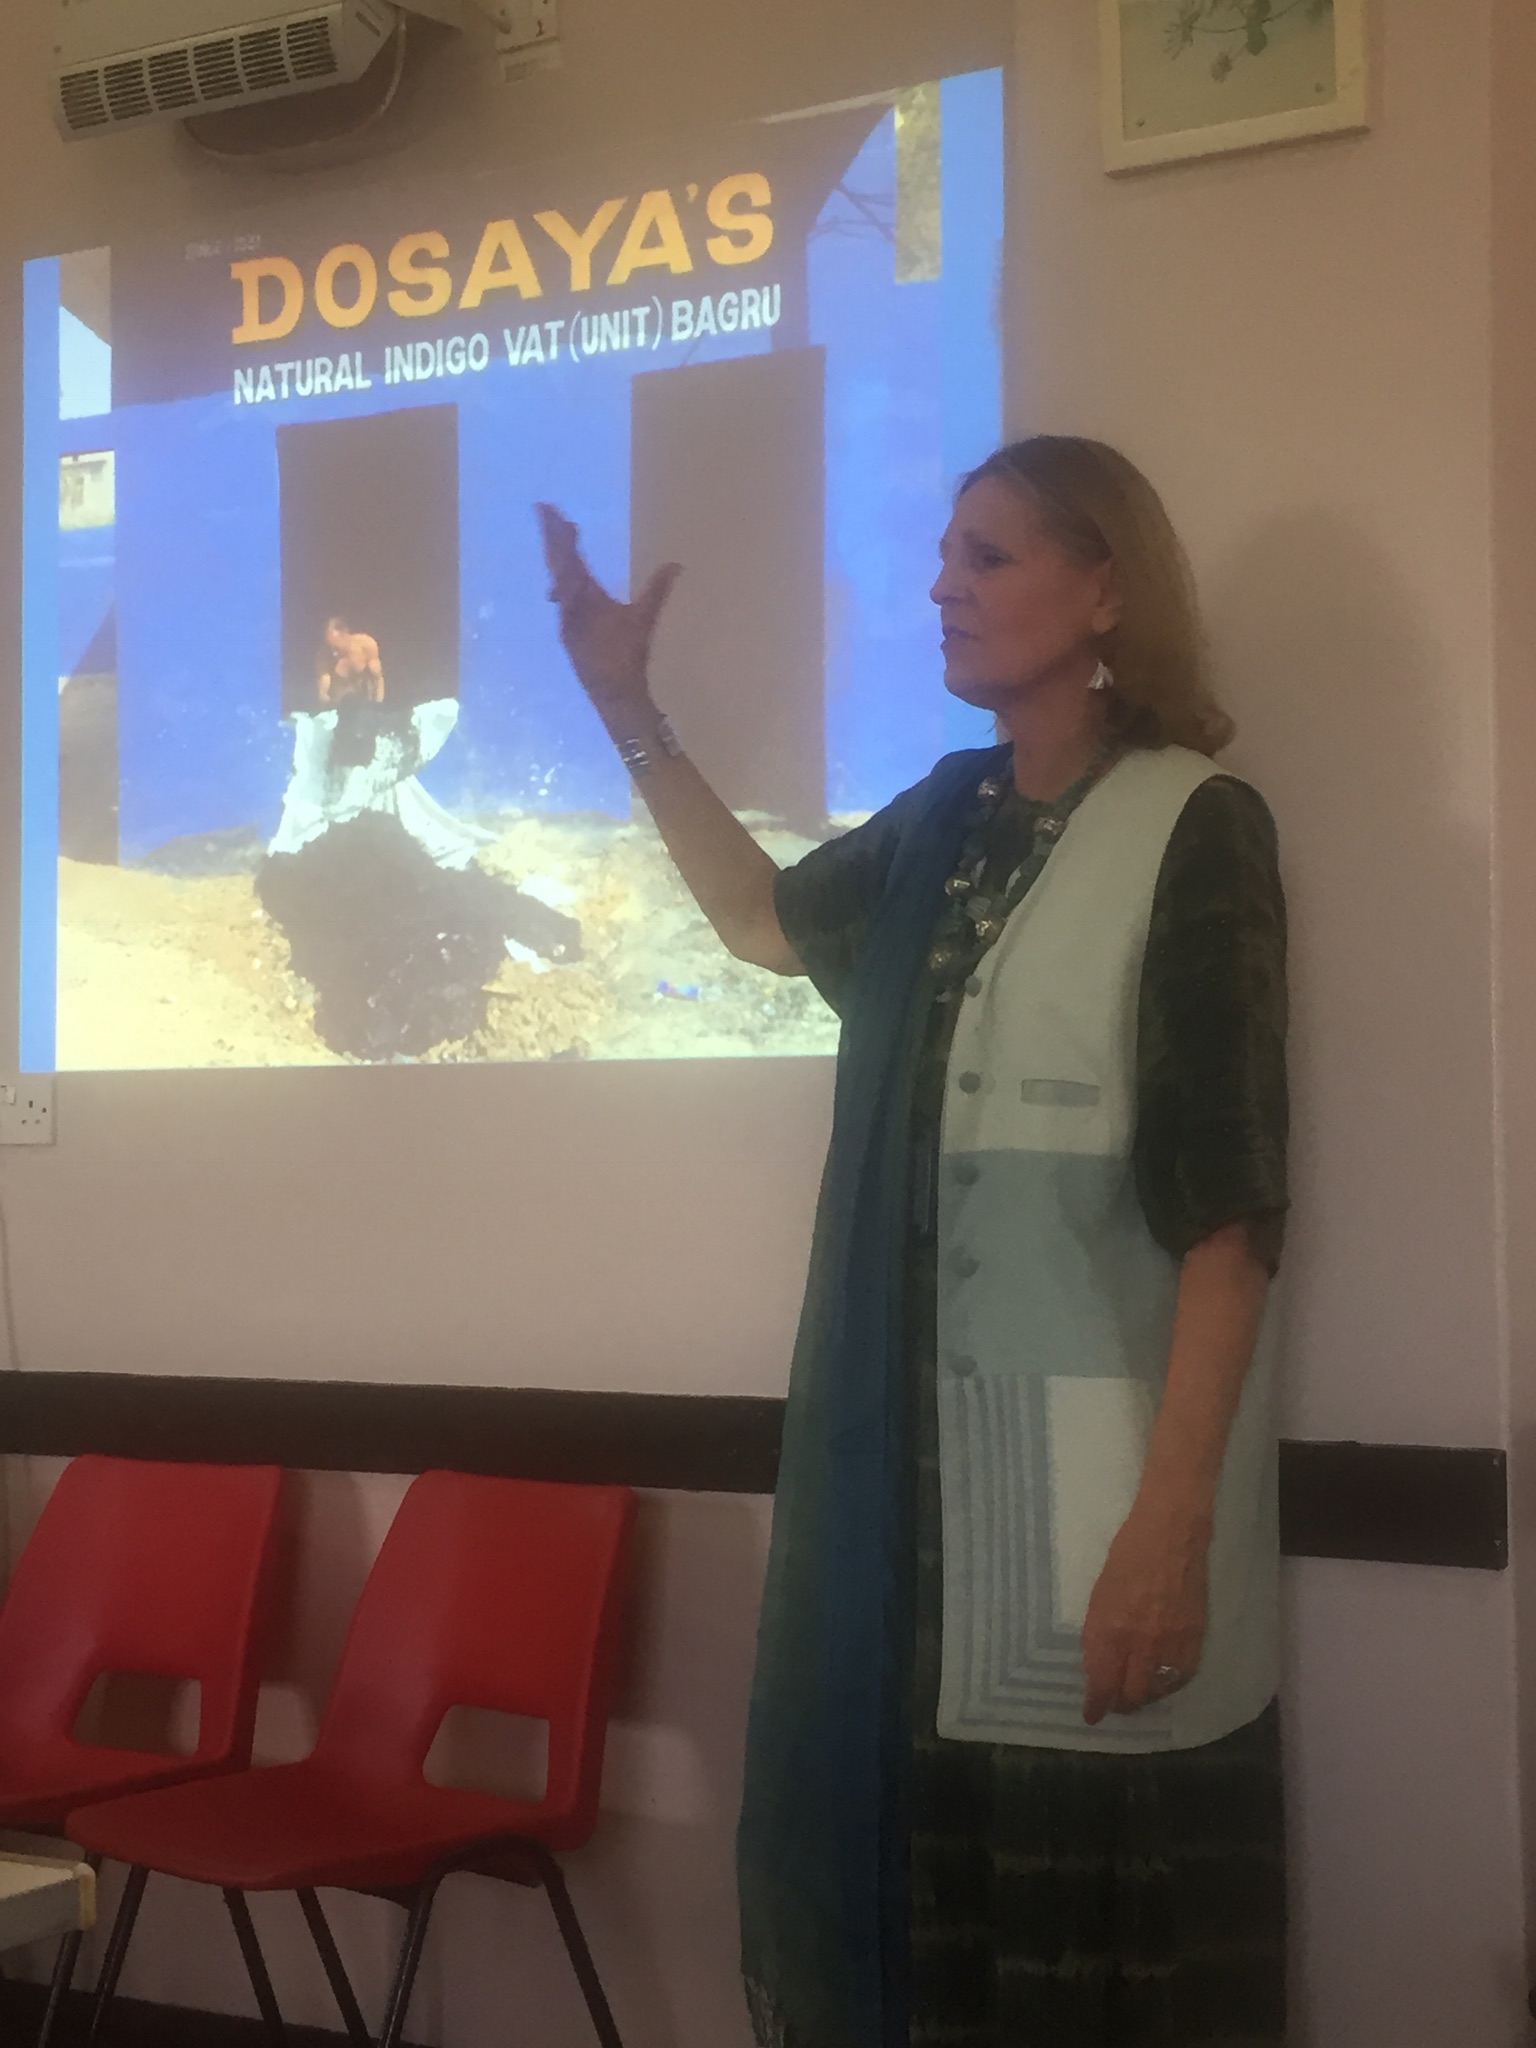
Jenny Balfour Paul
Recently my guild was privileged to host Jenny Balfour Paul, a world expert on the history of indigo and its use by different peoples. That history is a global story of chemistry and dyes that goes back at least 6,500 years.
“It’s unbelievably ancient this dye. All the other dyes change. Indigo is always blue,” she said.
Balfour Paul’s lifelong study of indigo started mainly by chance as a project to document vanishing traditions so that when the time came they might be revived. Her work has taken her to Yemen, India, China, the Marquesas Islands and beyond.
“My life has been guided by a molecule. It’s a perfect molecule. Without indigo there would be no natural blue dye,” she said.
“Even indigo stories are based on chemistry. Indigo is invisible in the plant. It’s dyed cool not hot. It’s green in the leaves you have to extract the color with oxygen. No other dye does that. Everything about it is different. Indigo doesn’t absorb into fibers. It sits on top of it, in layers.”
But indigo’s story also has a dark side linked to slavery and exploitation, which in some areas is holding back its revival as an environmentally friendly alternative to chemical dyes. Balfour Paul does not shy away from this part of the indigo story, which she sees as the second part of the indigo tale.
The indigo miracle
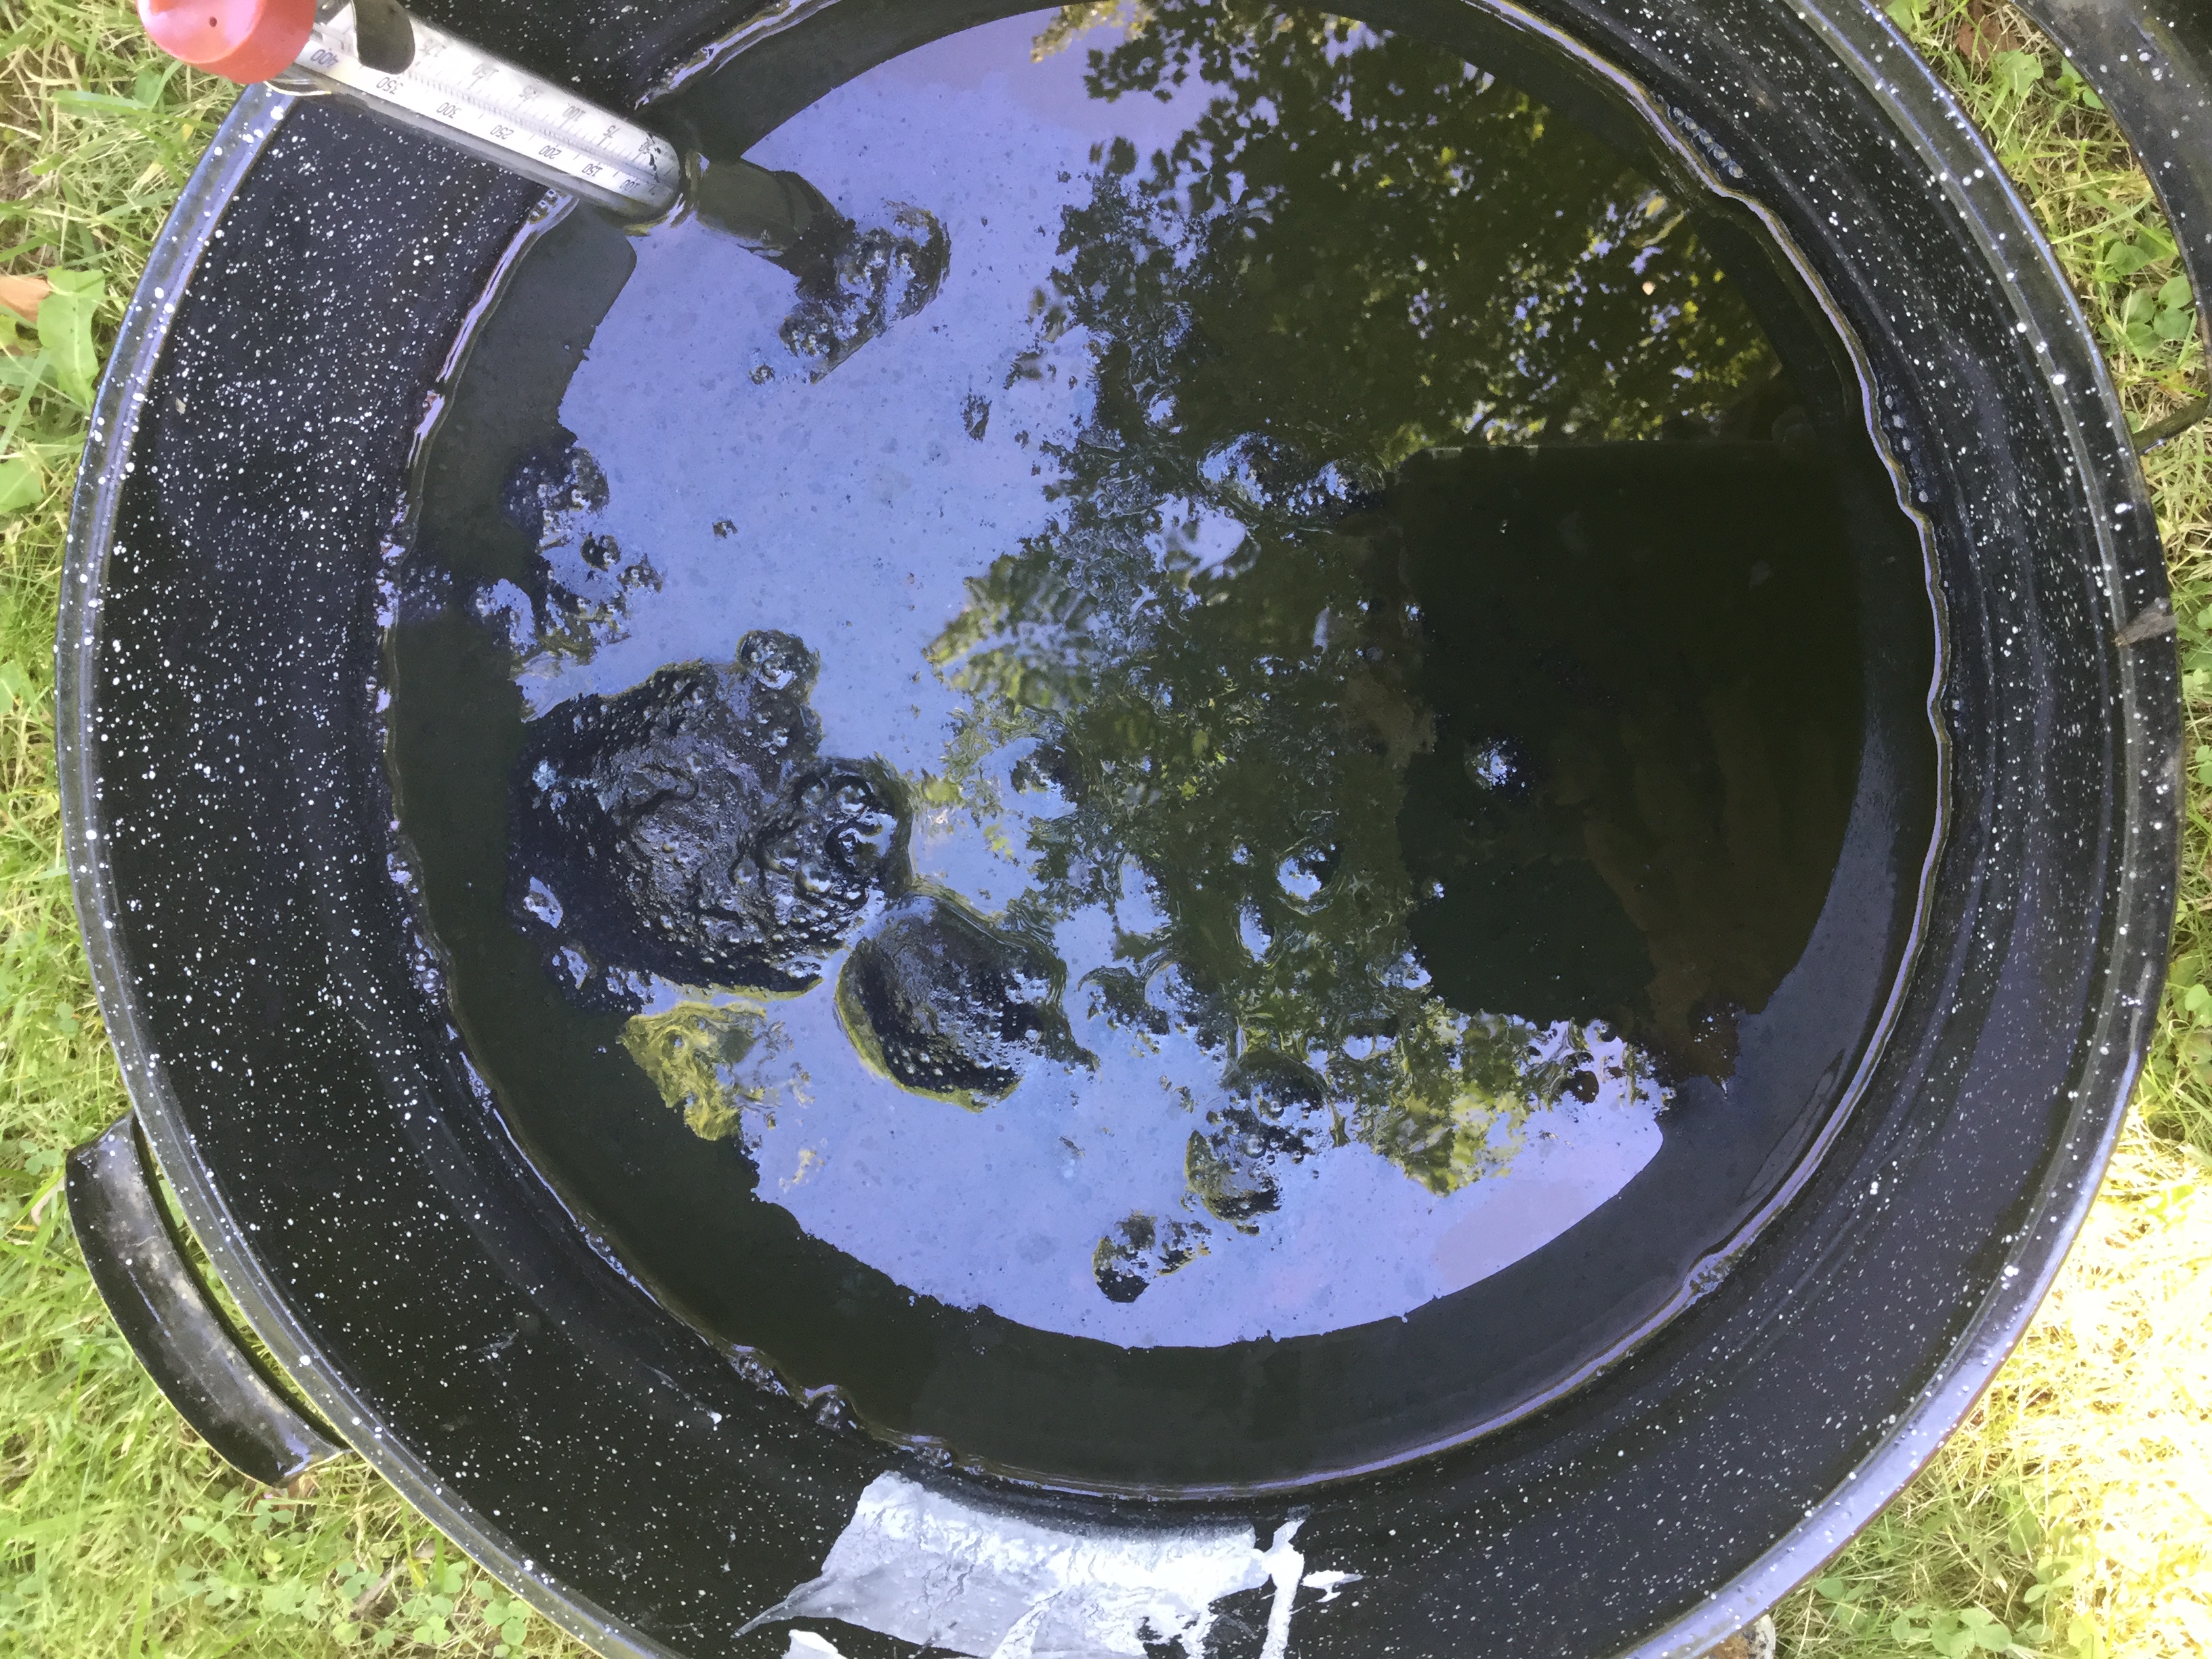
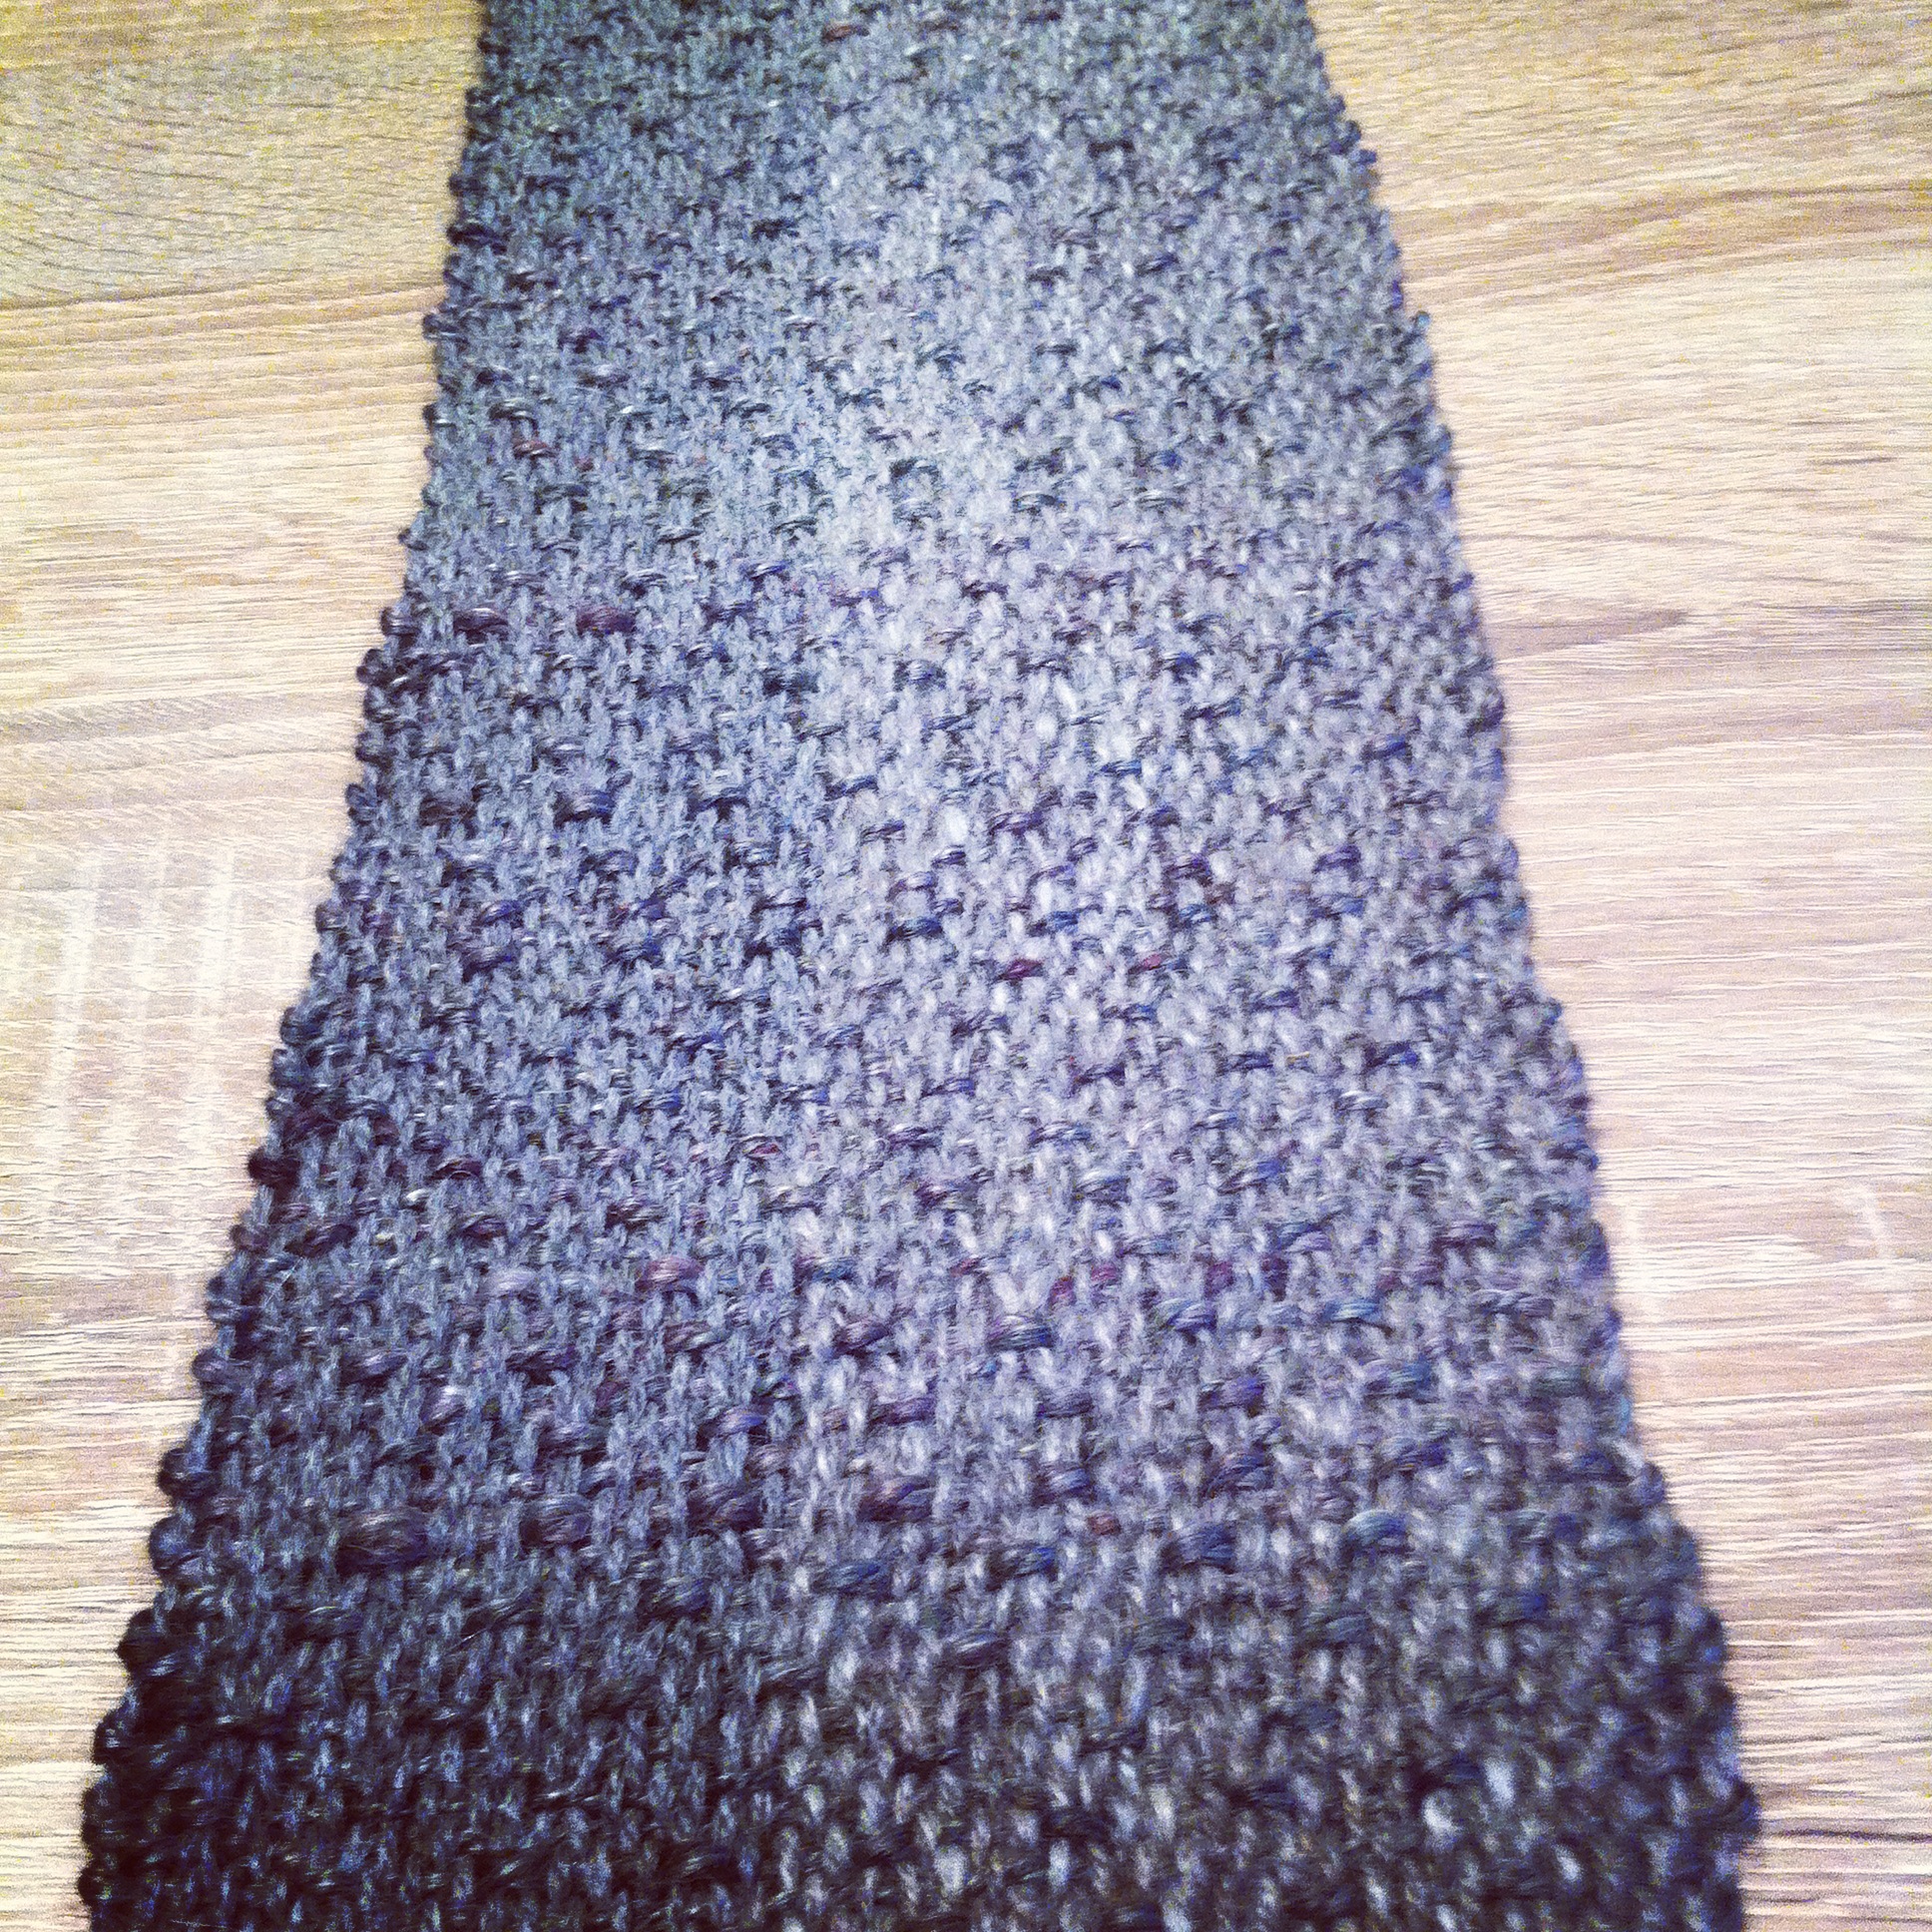
Indigo vat
The first chapter in the indigo story is—broadly— the incredible story of how indigo pigment, invisible in its host plants, was detected, extracted and used by humans in the first place. Indigo shows up in different plants around the world. It’s the same molecule, but in Europe it’s found in Woad, in Japan it’s polygonum and in Mali it’s Lonchocarpus cyanescens.
How did humans happen upon this miracle molecule? No one really knows. What we do know is indigo dyeing traditions developed worldwide and many of them have since vanished. Or in the case of indigo dyeing in Yemen, it’s literally being bombed out of existence.
Slavery and exploitation
The middle of the indigo story is enmeshed with slavery and exploitation in the US, the Caribbean and India.
In the US, indigo was introduced into colonial South Carolina in 1740 where it was grown on plantations by slaves. It became the colony’s second-most important cash crop after rice.
Jamaica’s first colonial crop was indigo, again grown on plantations by slaves.
In India, farmers were forced to grow indigo and workers’ conditions were appalling. Indigo was big business and in 19th century half the exports from Kolkata were indigo.
That all came to an end in the early 20th century as synthetic indigo had almost completely replaced the natural pigment by about 1914.
Revival?
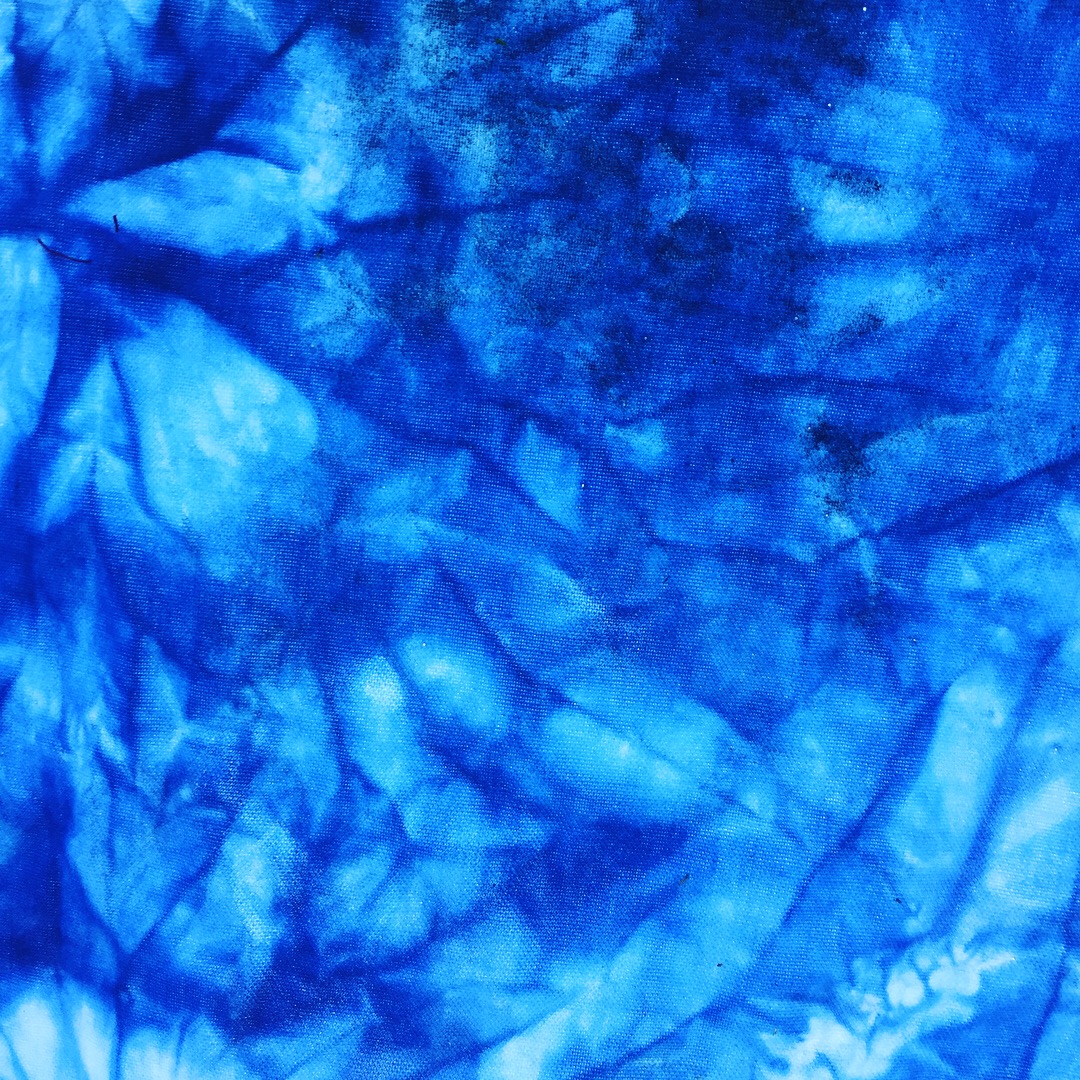
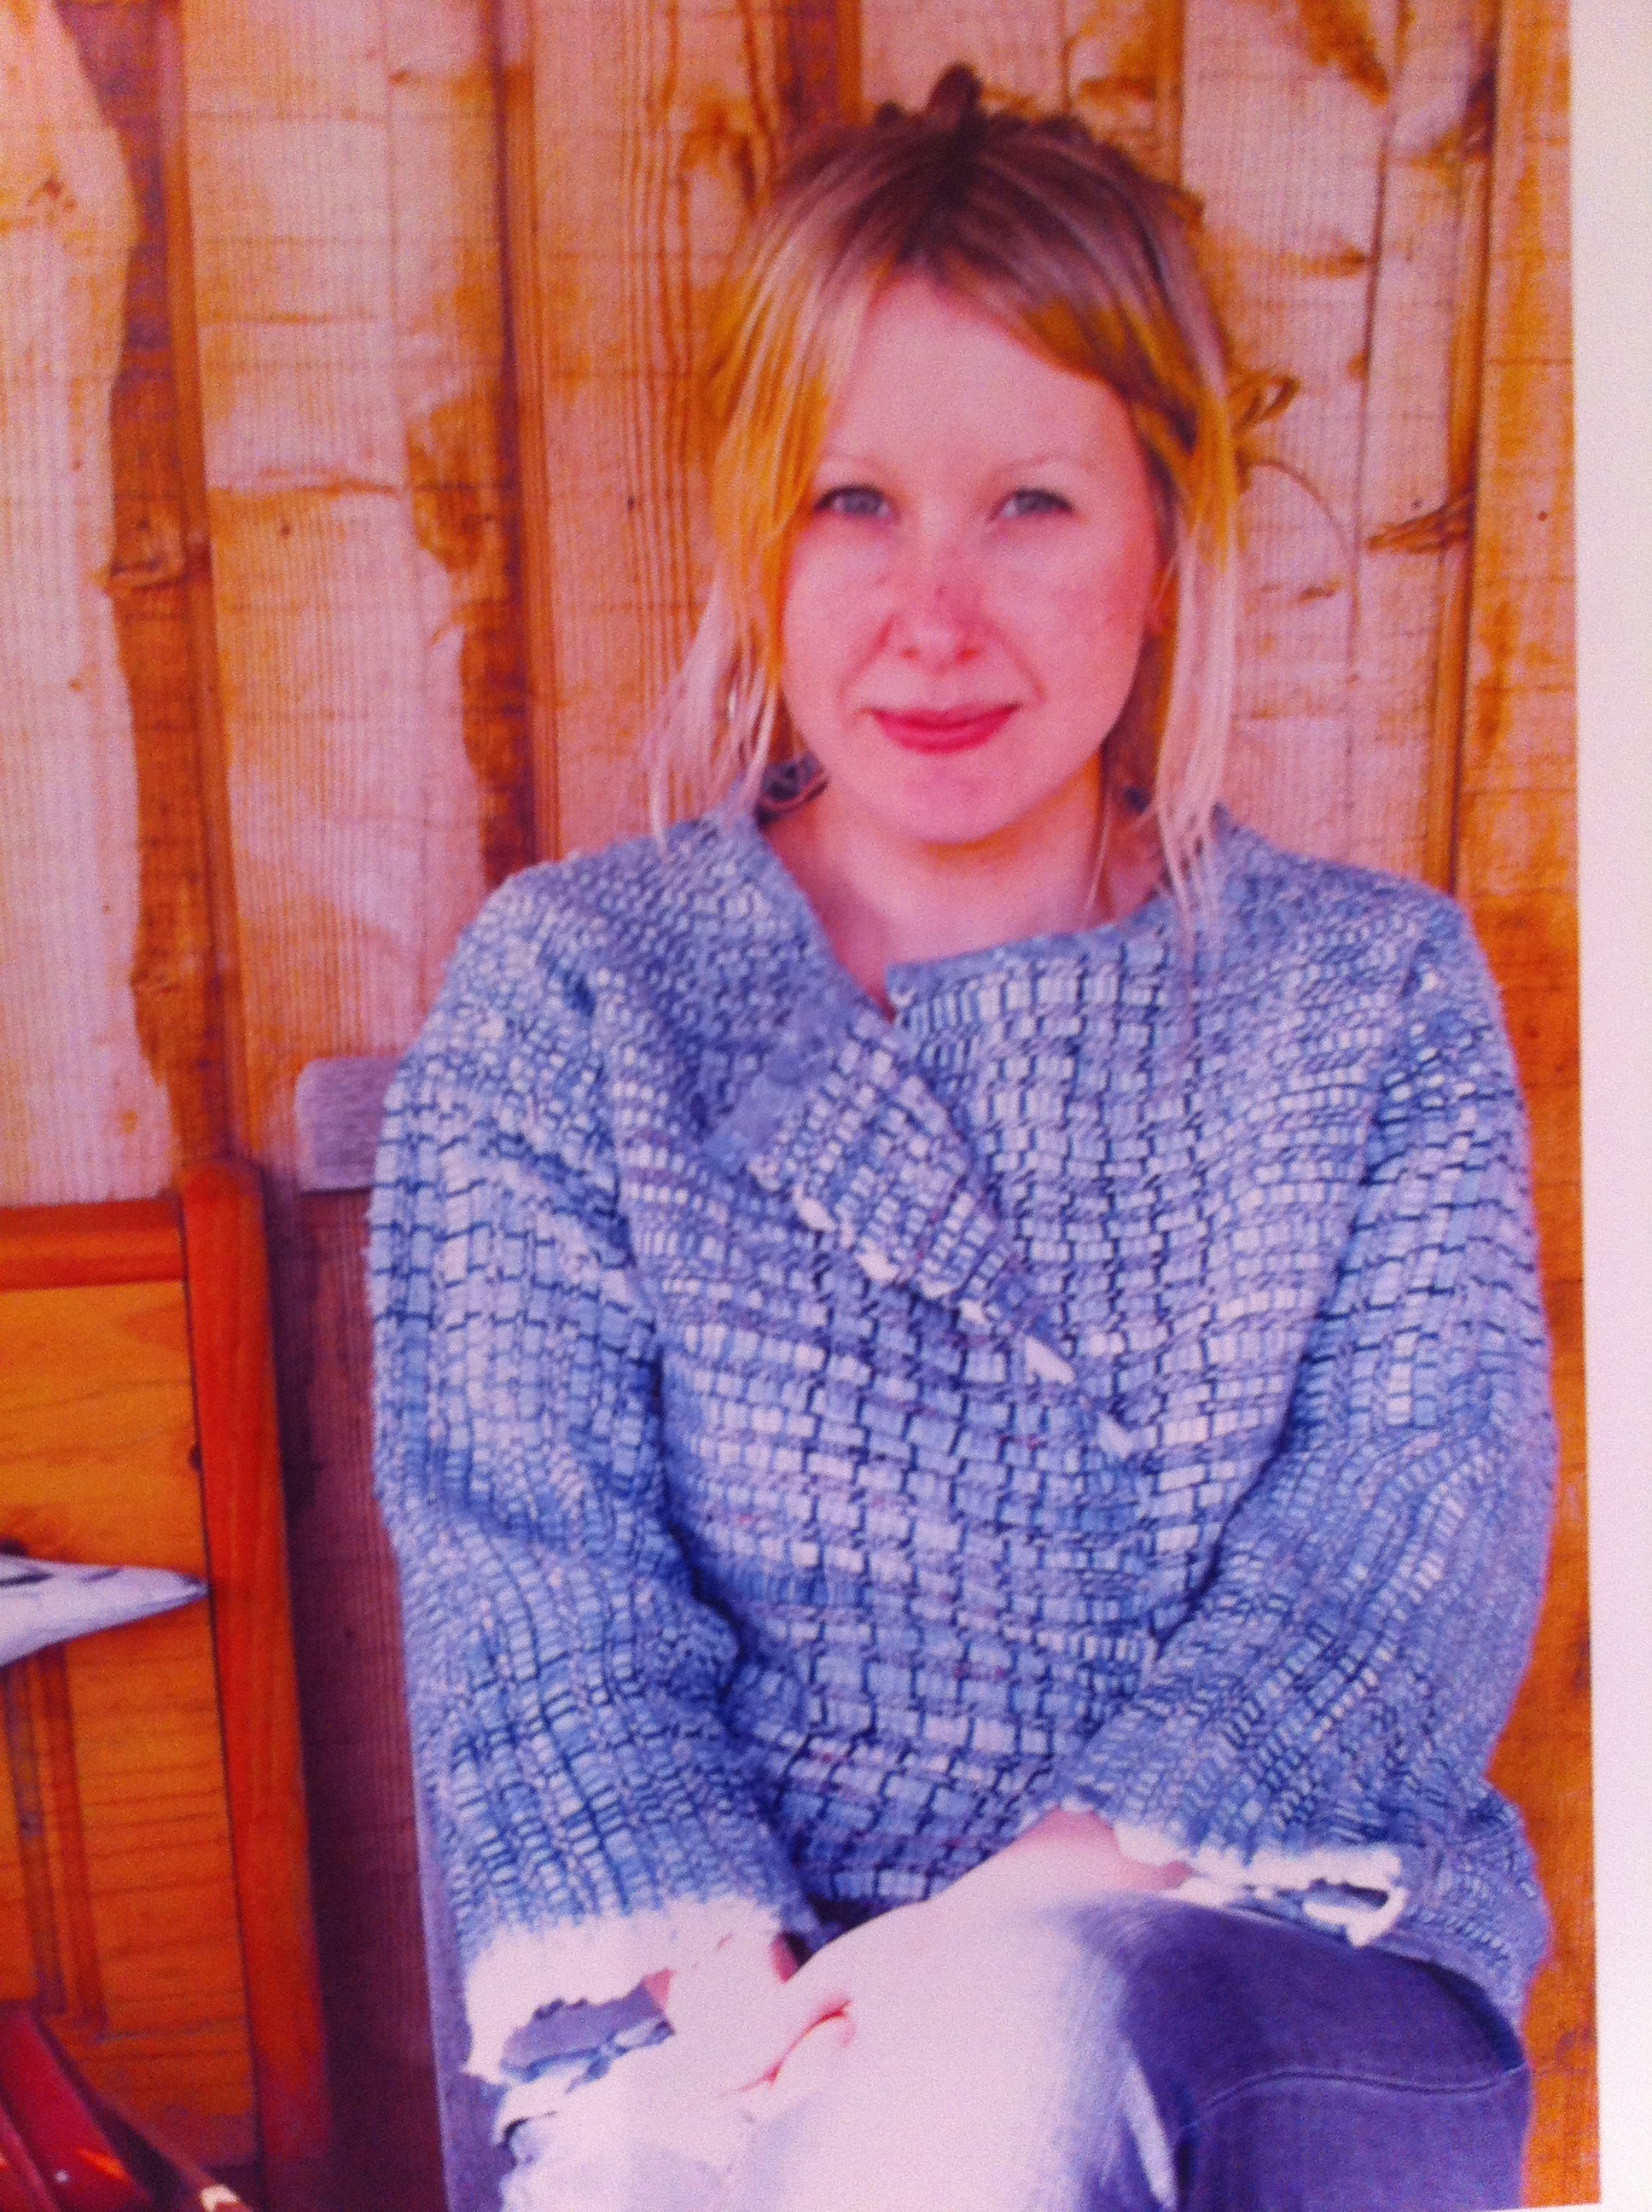
Shibori dyed with Indigo
Indigo has struggled to overcome its cultural baggage particularly in India, says Balfour Paul. She is optimistic however that the page has turned for indigo.
“Now it’s a story about revival and environmentally friendly dyeing,”she says.
In El Salvador indigo is now vacuum packed or canned as a paste. The revival of indigo in El Salvador being used by Gap, Levi’s and Benetton for baby clothes, because they know synthetic indigo is toxic, said Balfour Paul.
In 2013 Levi’s 511 collection featured organic, indigo-dyed jeans. People really need one pair of organic jeans, not 10 from discount retailers, says Balfour Paul.
Jamaicans are revisiting indigo and in Kolkata and throughout Bengal there are efforts afoot to reintroduce natural dyeing.
Sustainability and slow fashion are the way forward, said Balfour Paul: “I’m going with it.”
What’s next for Jenny?
Jenny Balfour Paul continues to follow the indigo molecule. She is now working now with Dominique Cardon—another natural dyeing superstar— on the Crutchley Archive at the Southwark Archive in London.
According to the University of Glasgow’s Centre for Textile Conservation and Technical Art History:
“Thanks to descendants of the Crutchley family who owned and ran a dye company on the south bank of the River Thames 300 years ago, rare records from this era have survived. The collection includes sumptuous pattern books with samples of wool ‘topped’ with red from madder and cochineal dyes, dyeing recipes and instructions, and customer names and amounts of credit.”
“In 1740 they could colour match as well as any modern dyer. The archive is full of dye recipes,”Balfour Paul said.
I personally can’t wait to see the fruits of their work. It’s bound to be fascinating for any student of natural dyeing.
Jenny Balfour Paul bibliography
Indigo in the Arab World (1996)
Indigo: Egyptian mummies to blue jeans (1998)
Deeper than indigo (2015)
Jenny on the Maiwa podcast


