The test results are in! At our February Guild meeting, everyone brought their projects from the Kool-aid dye challenge.
Here are the winners, as voted by the Guild members:
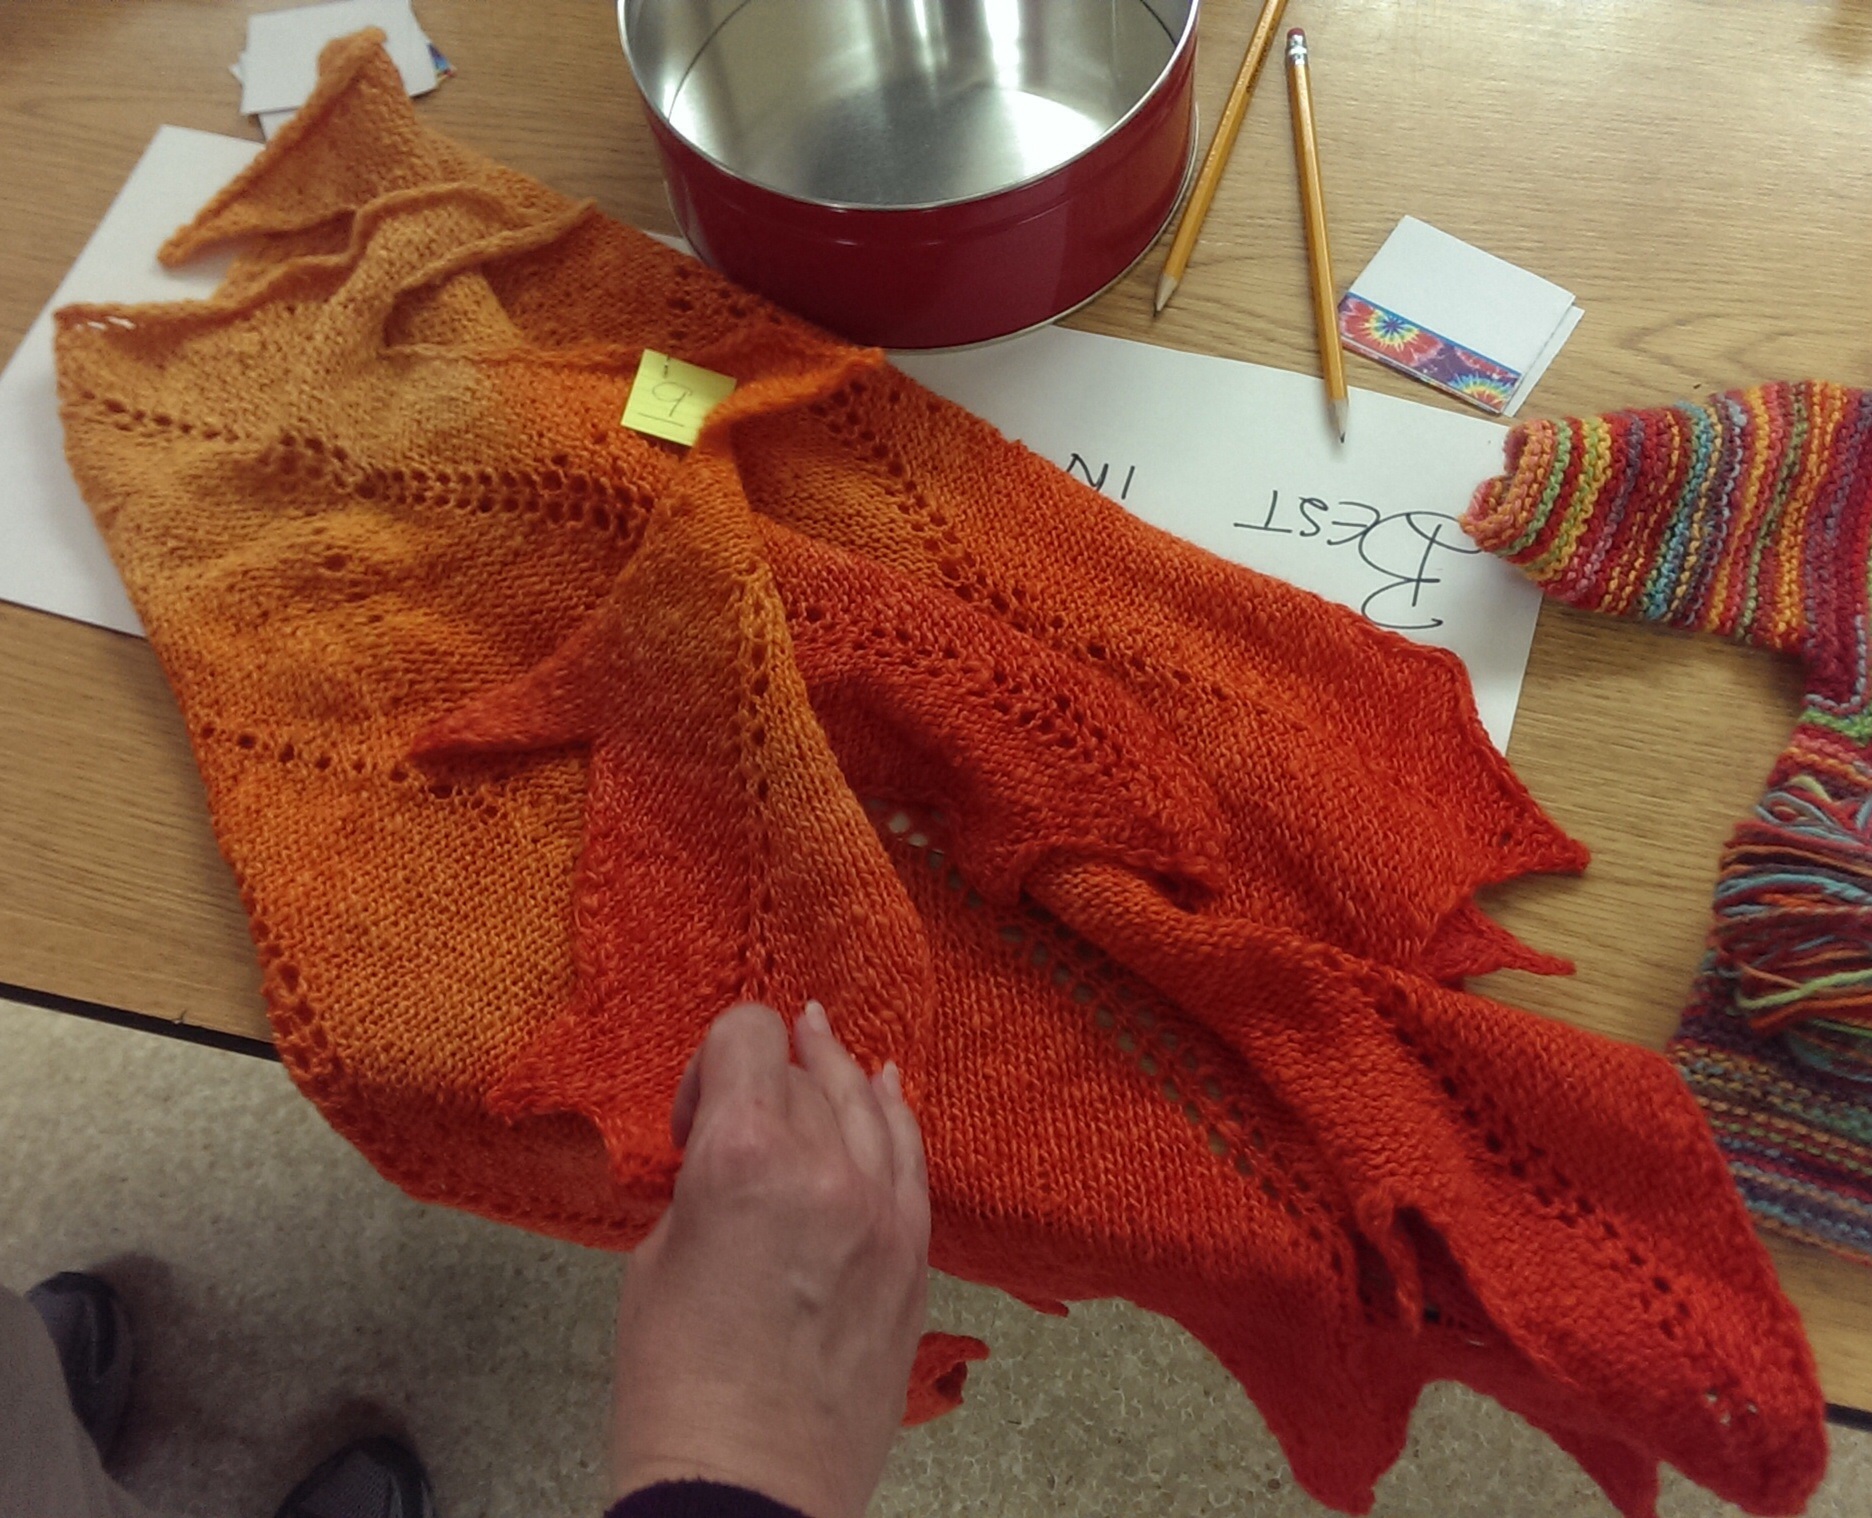
Leaf shawl, from different strengths of orange, then overdyed to mitigate the obvious stripes. Lovely.

Saori scarf woven on rigid heddle loom, using blue and red dyes for a purple effect.

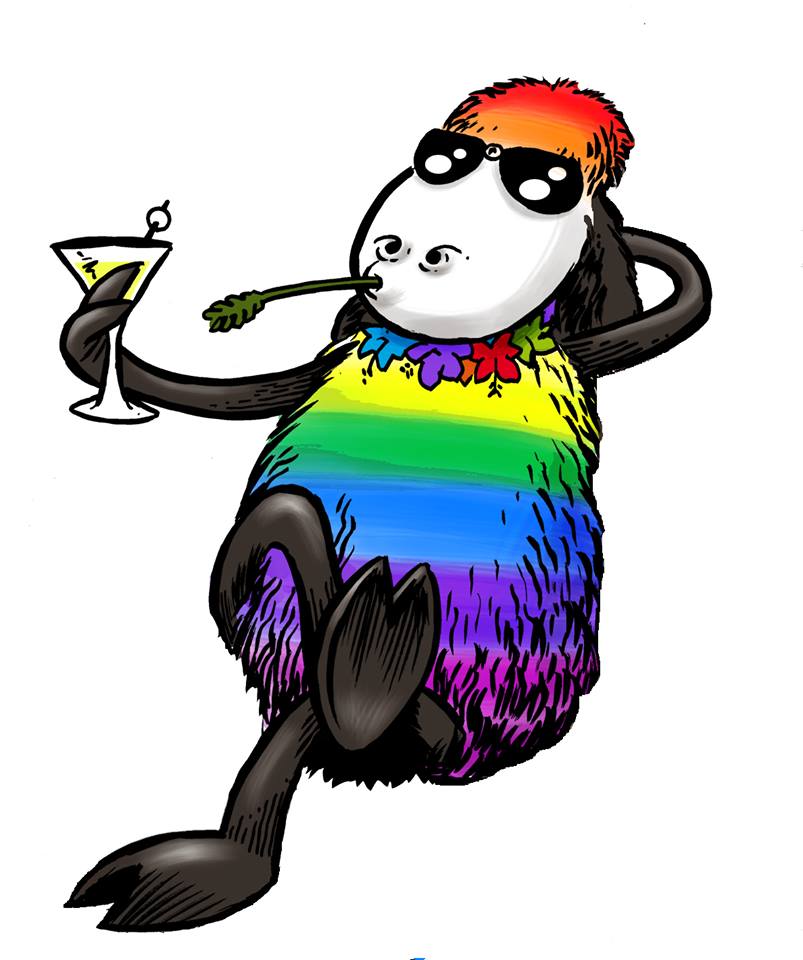
Grand prize winner. All colors used. Too adorable!
Here are some examples from people who have dyed with Kool-aid before, and know that it takes a lot of dye to get a lot of color:

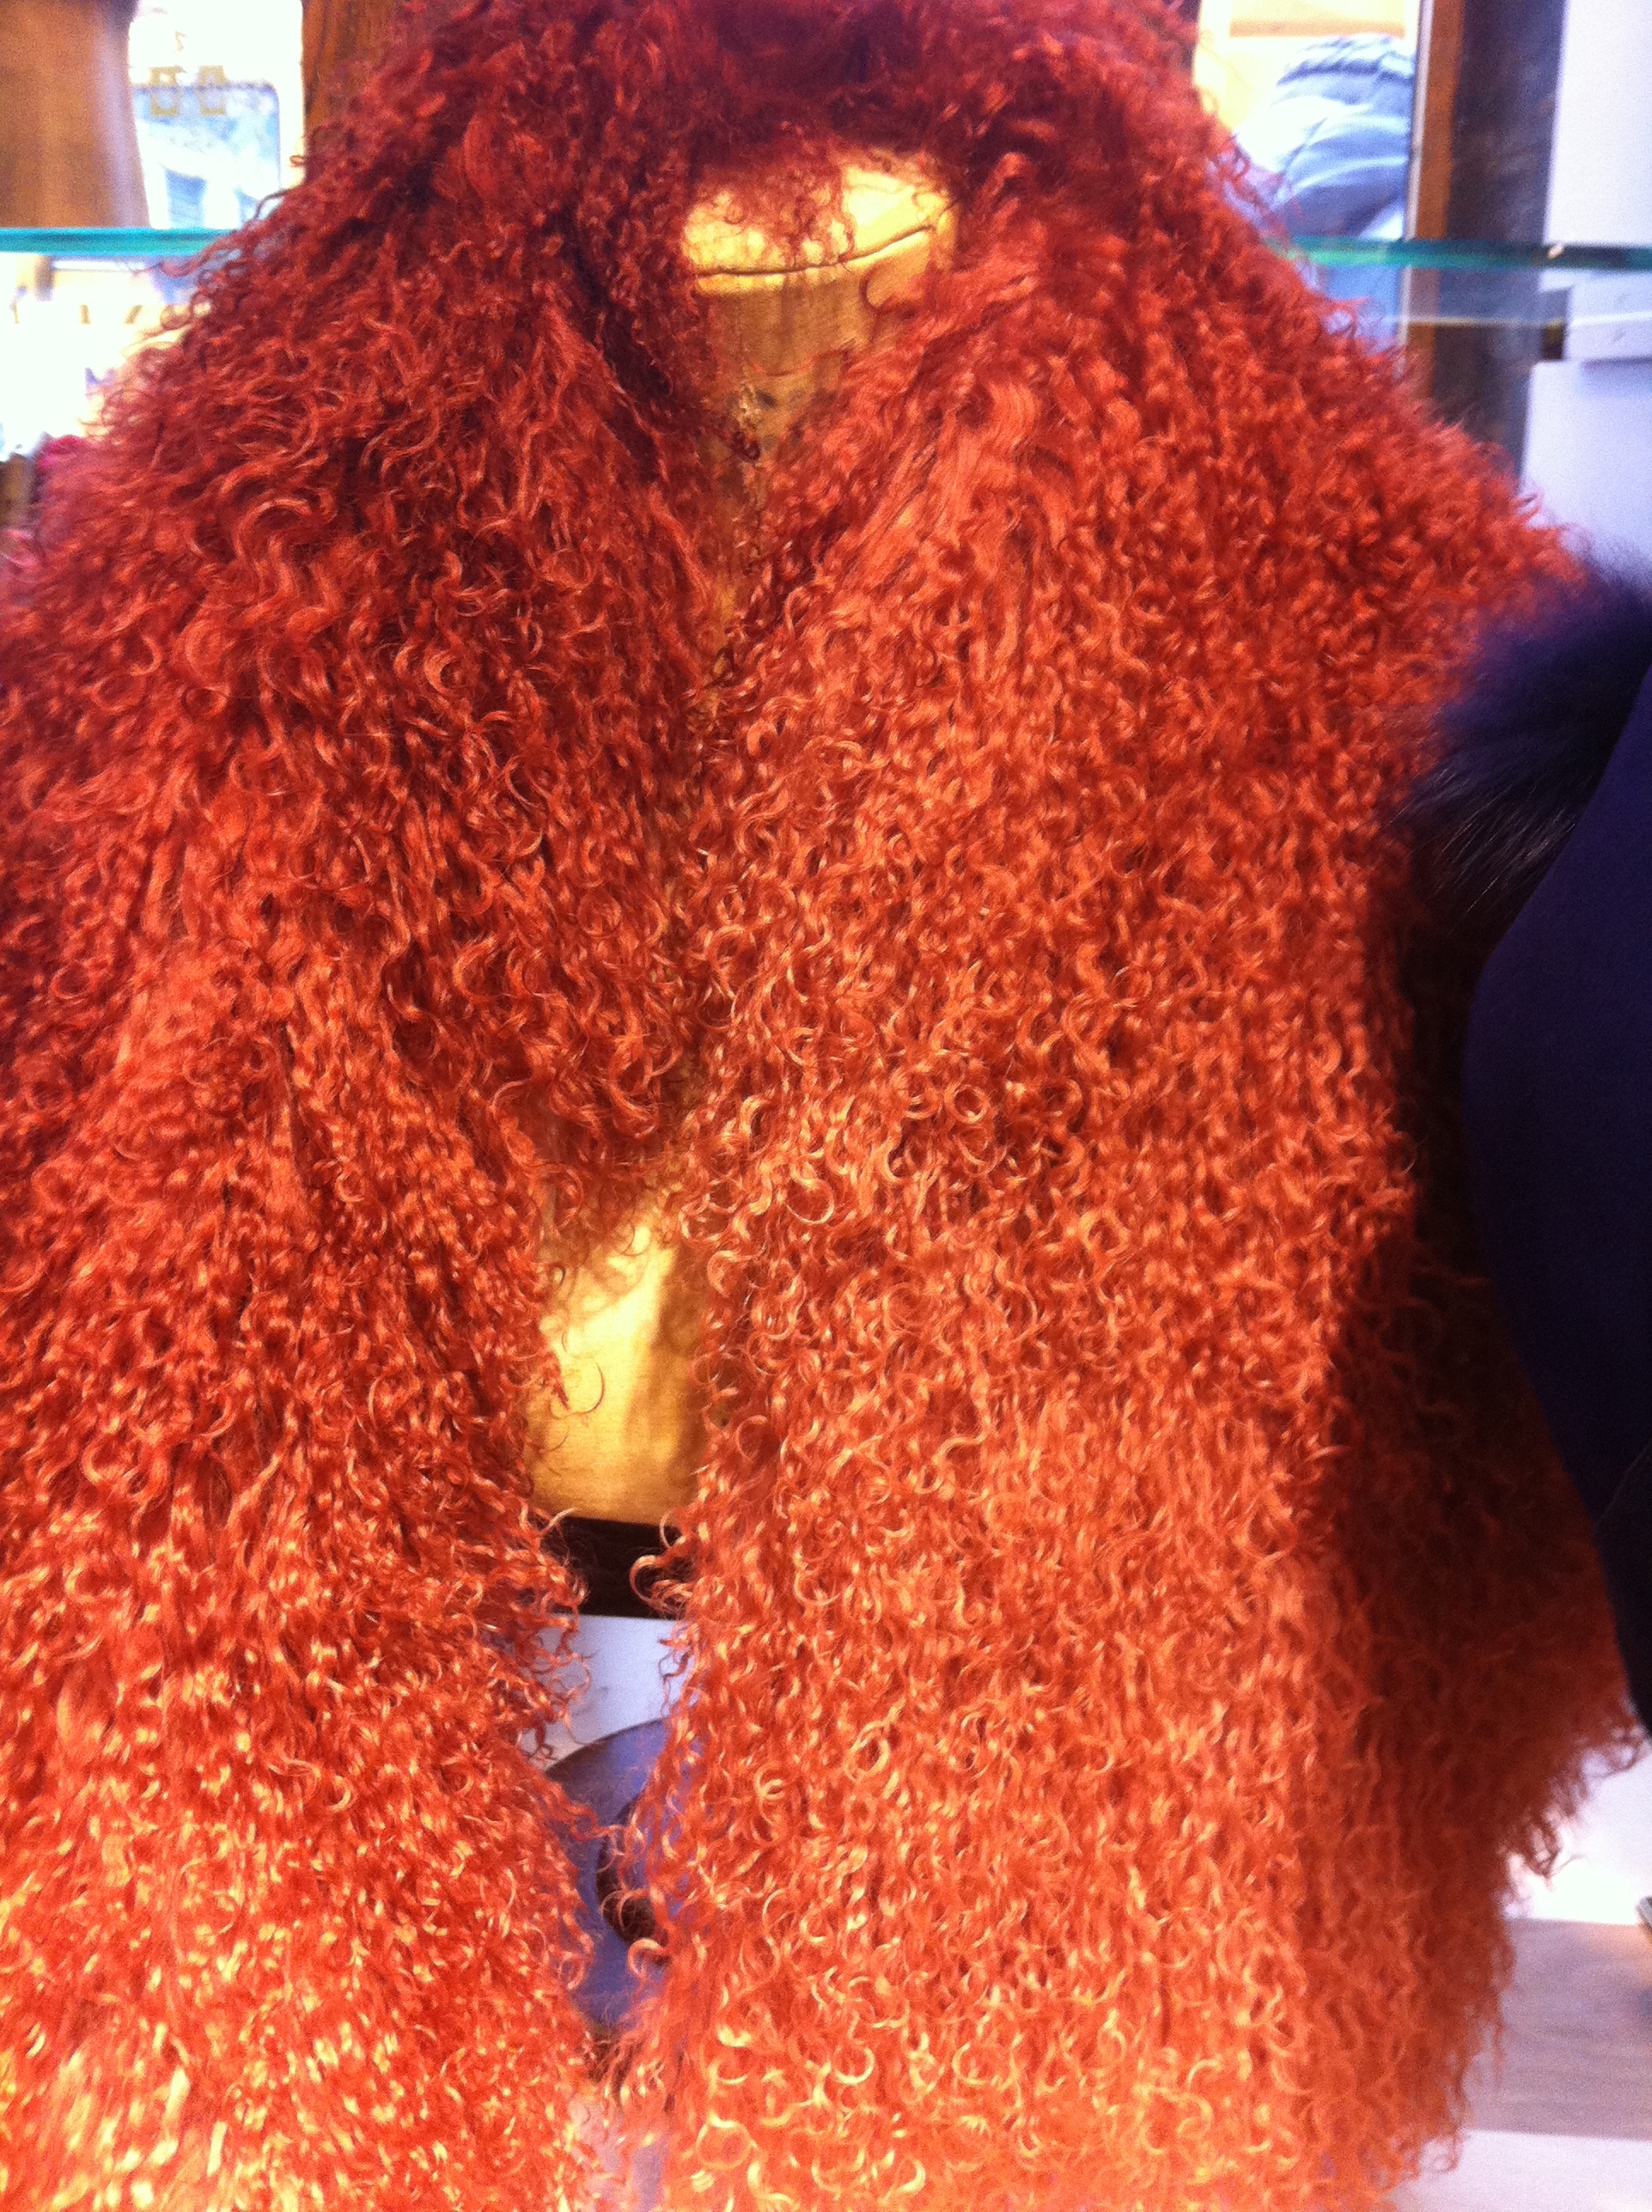
Child’s jacket made from mitered squares. Love the intense colors.
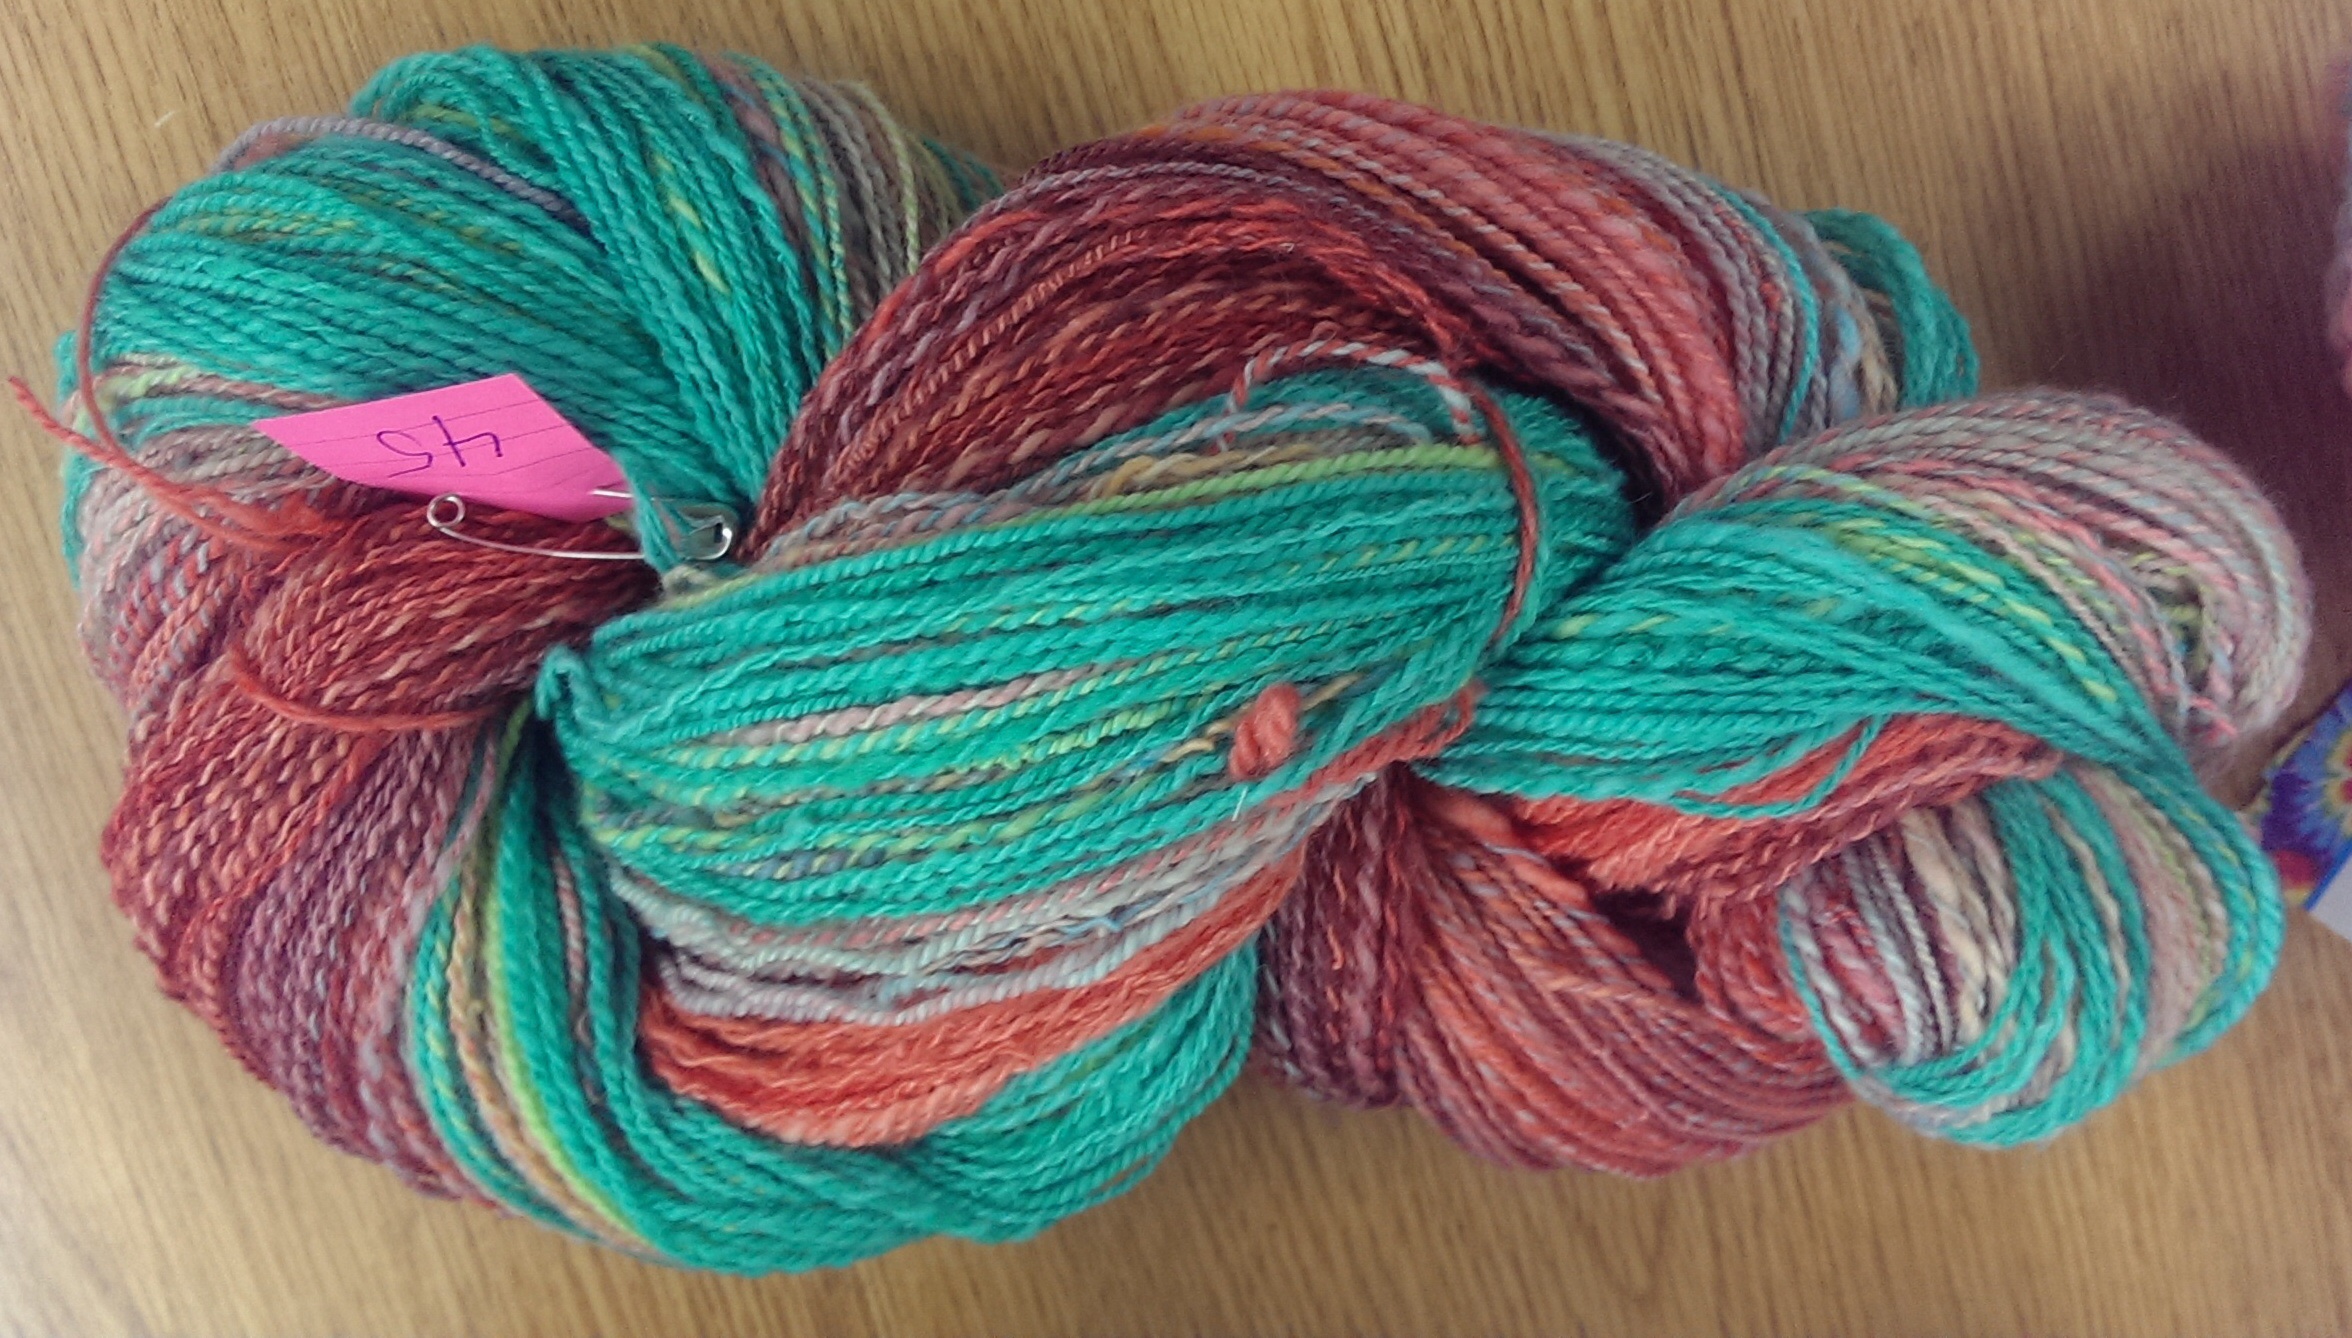
“Sunset Colors” yarn. The turquoise shade is great.
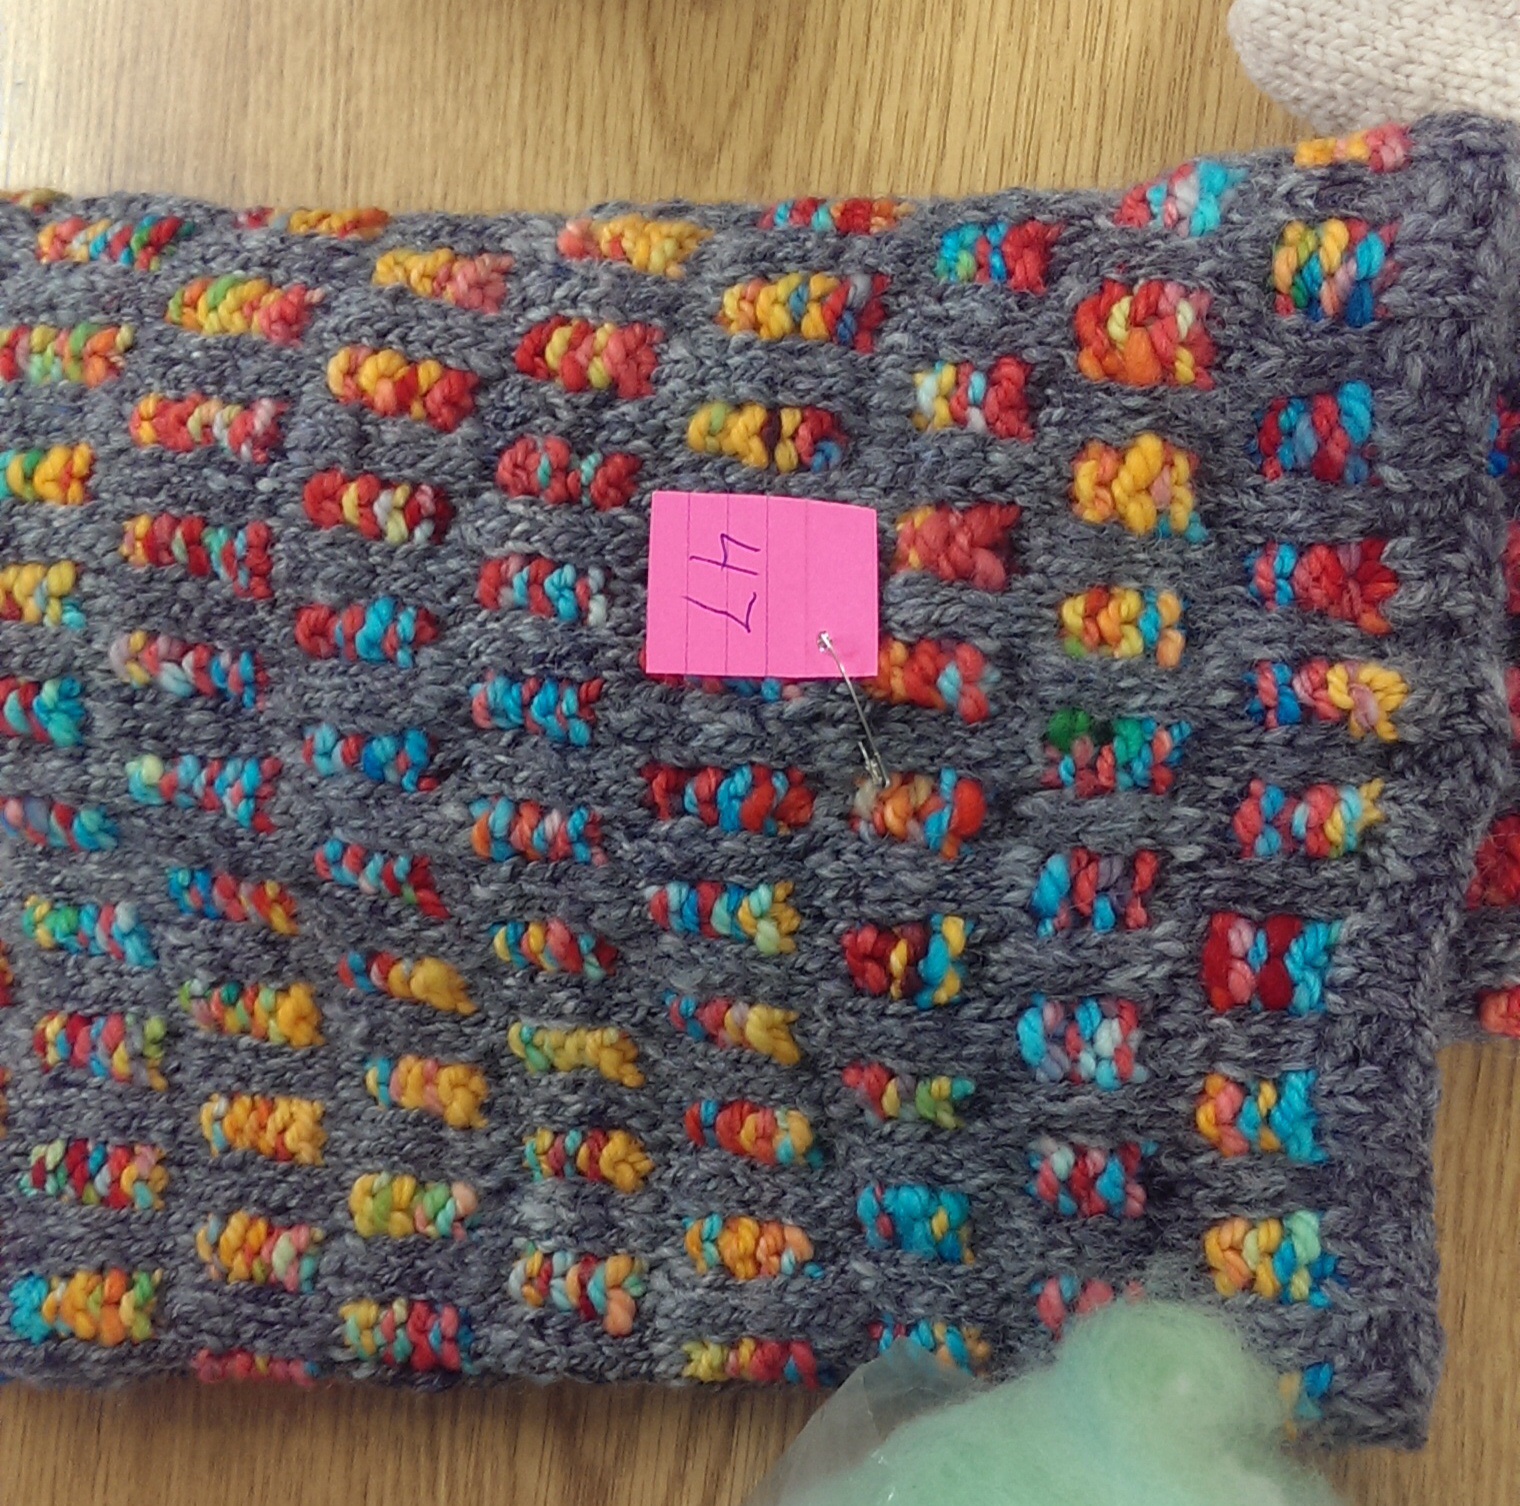
Knit cowl. The charcoal grey tones down the vibrant colors.
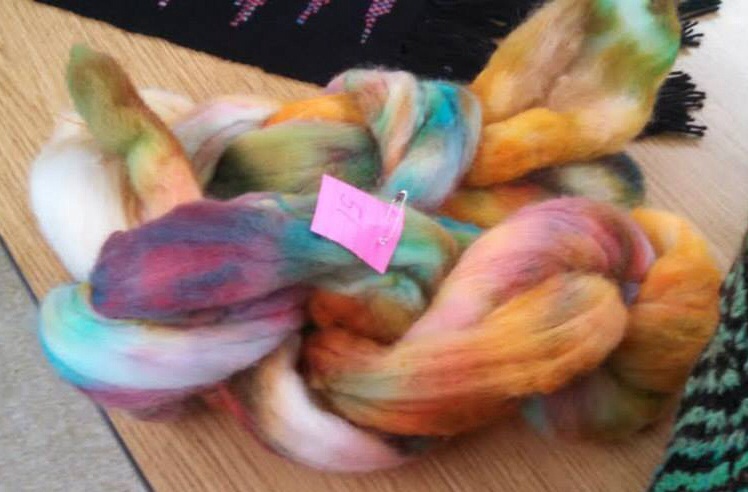
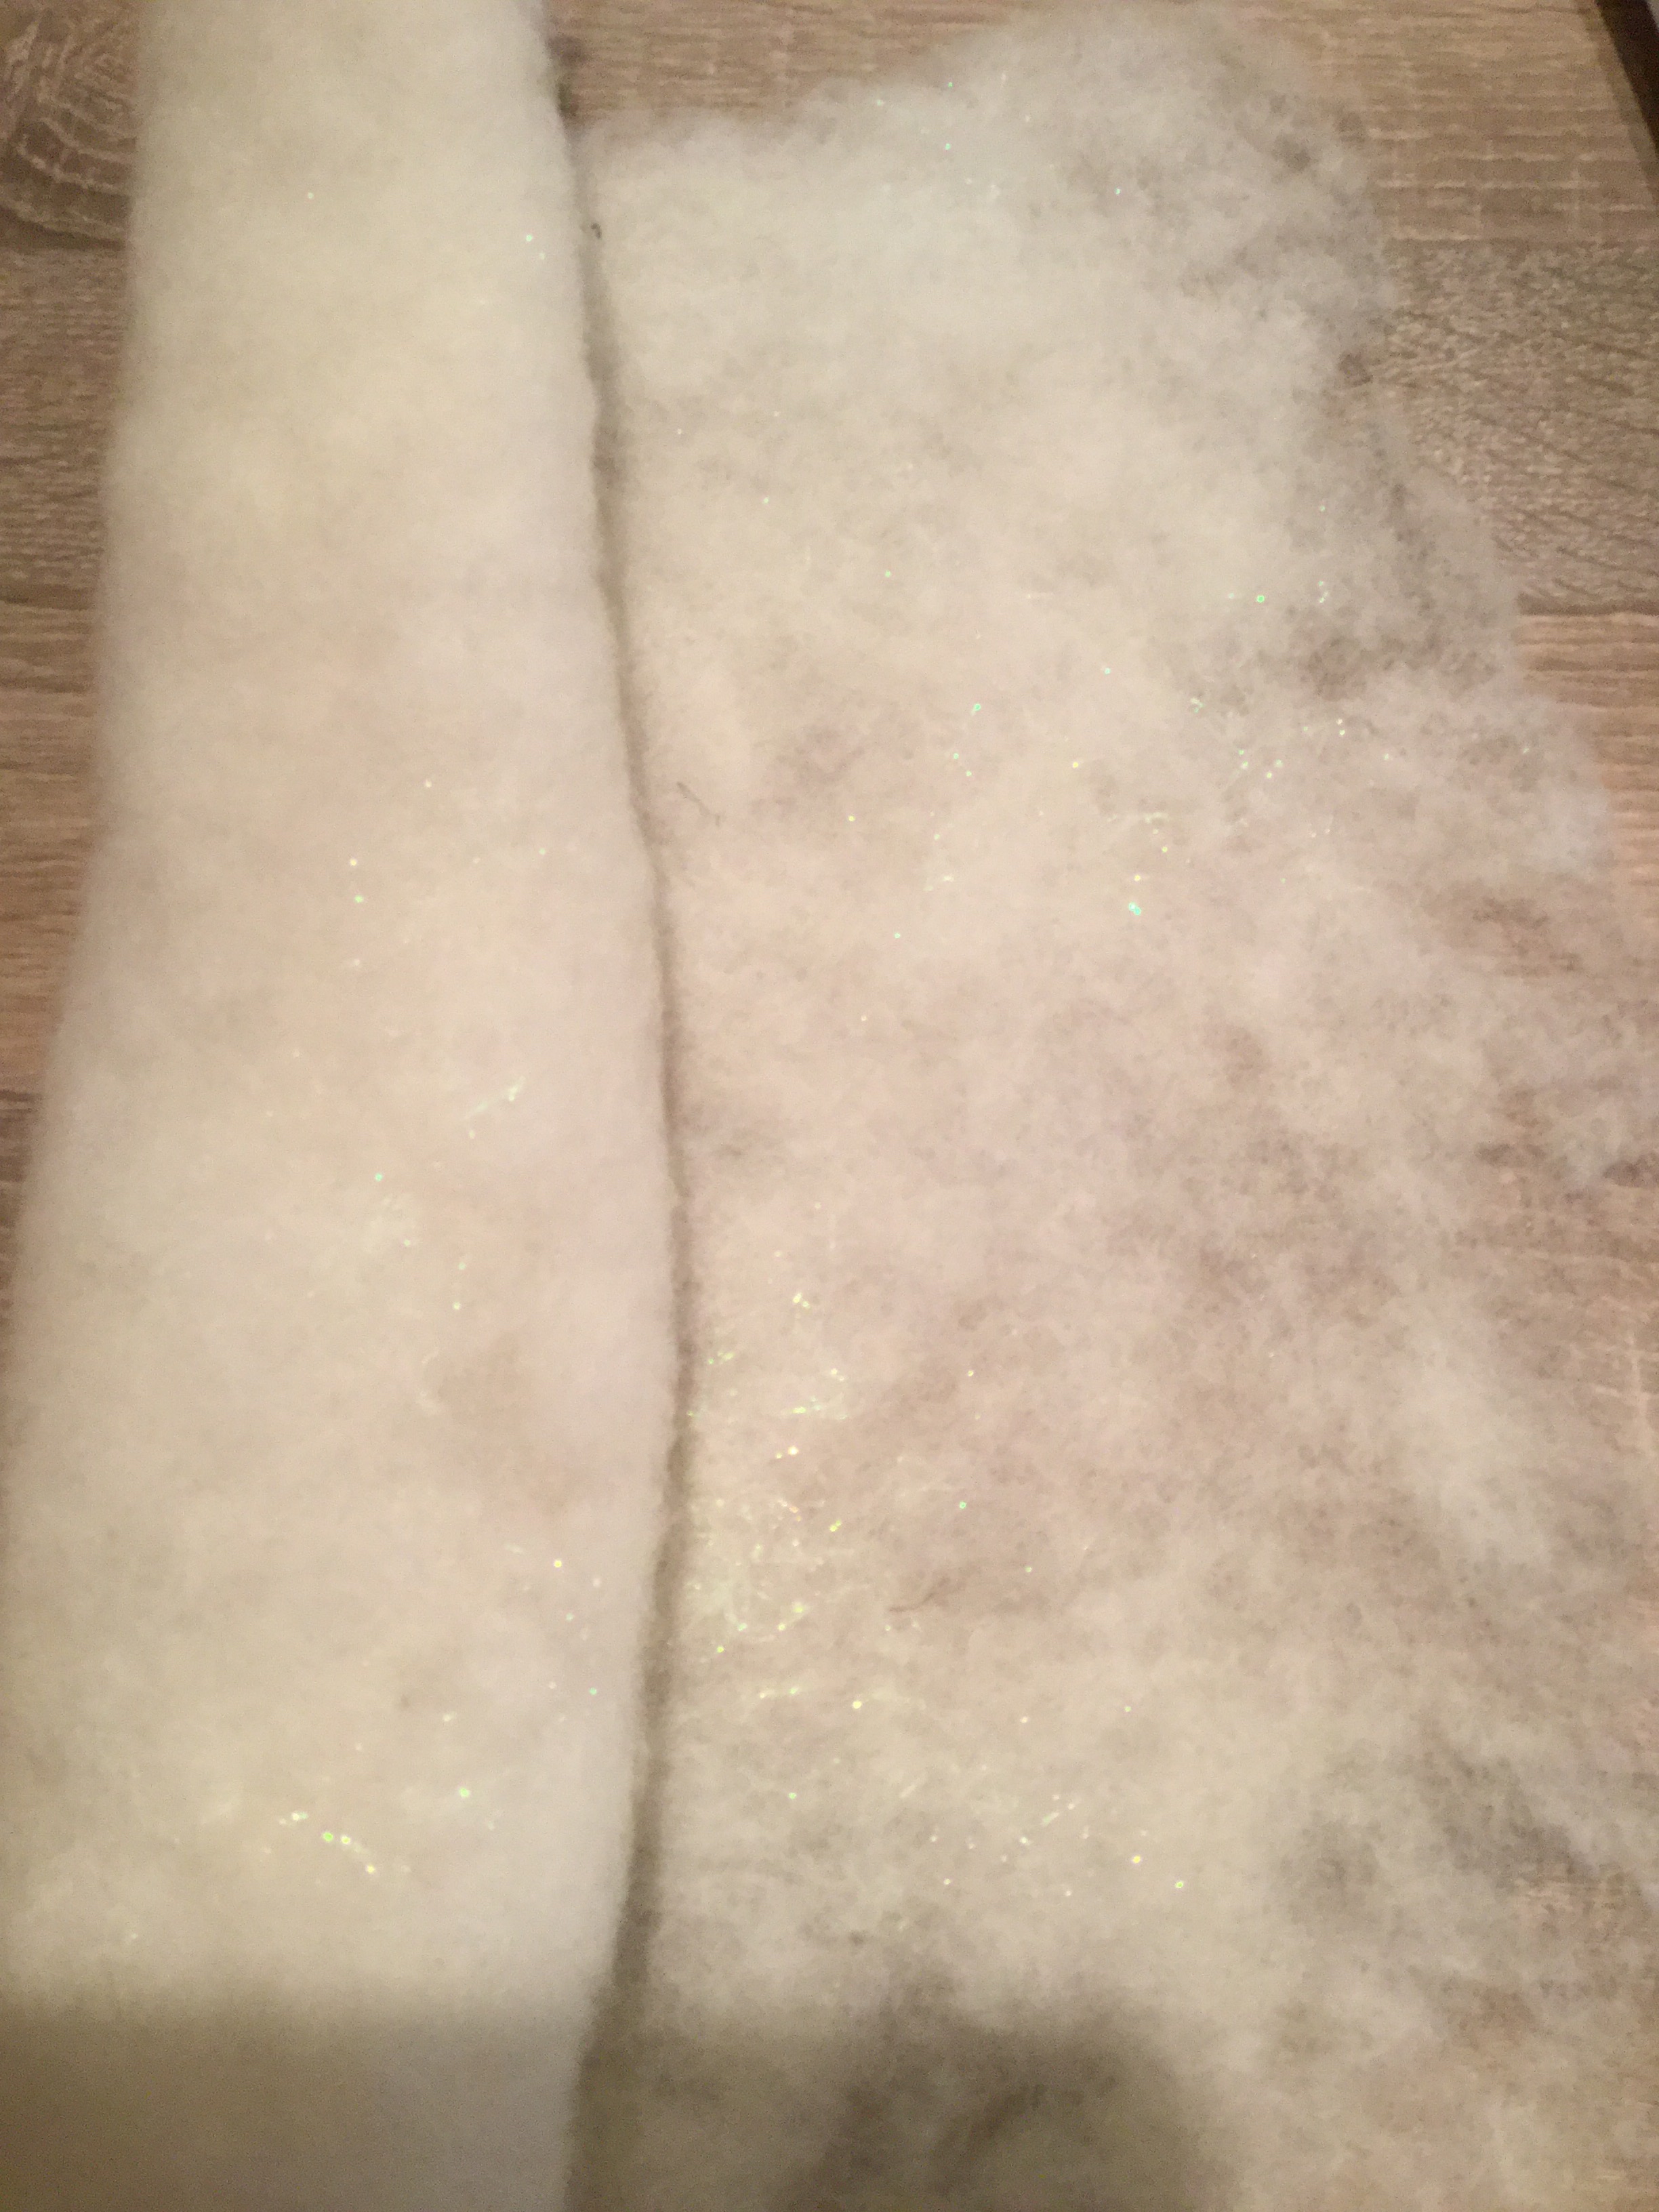
Sophisticated roving with color blending.
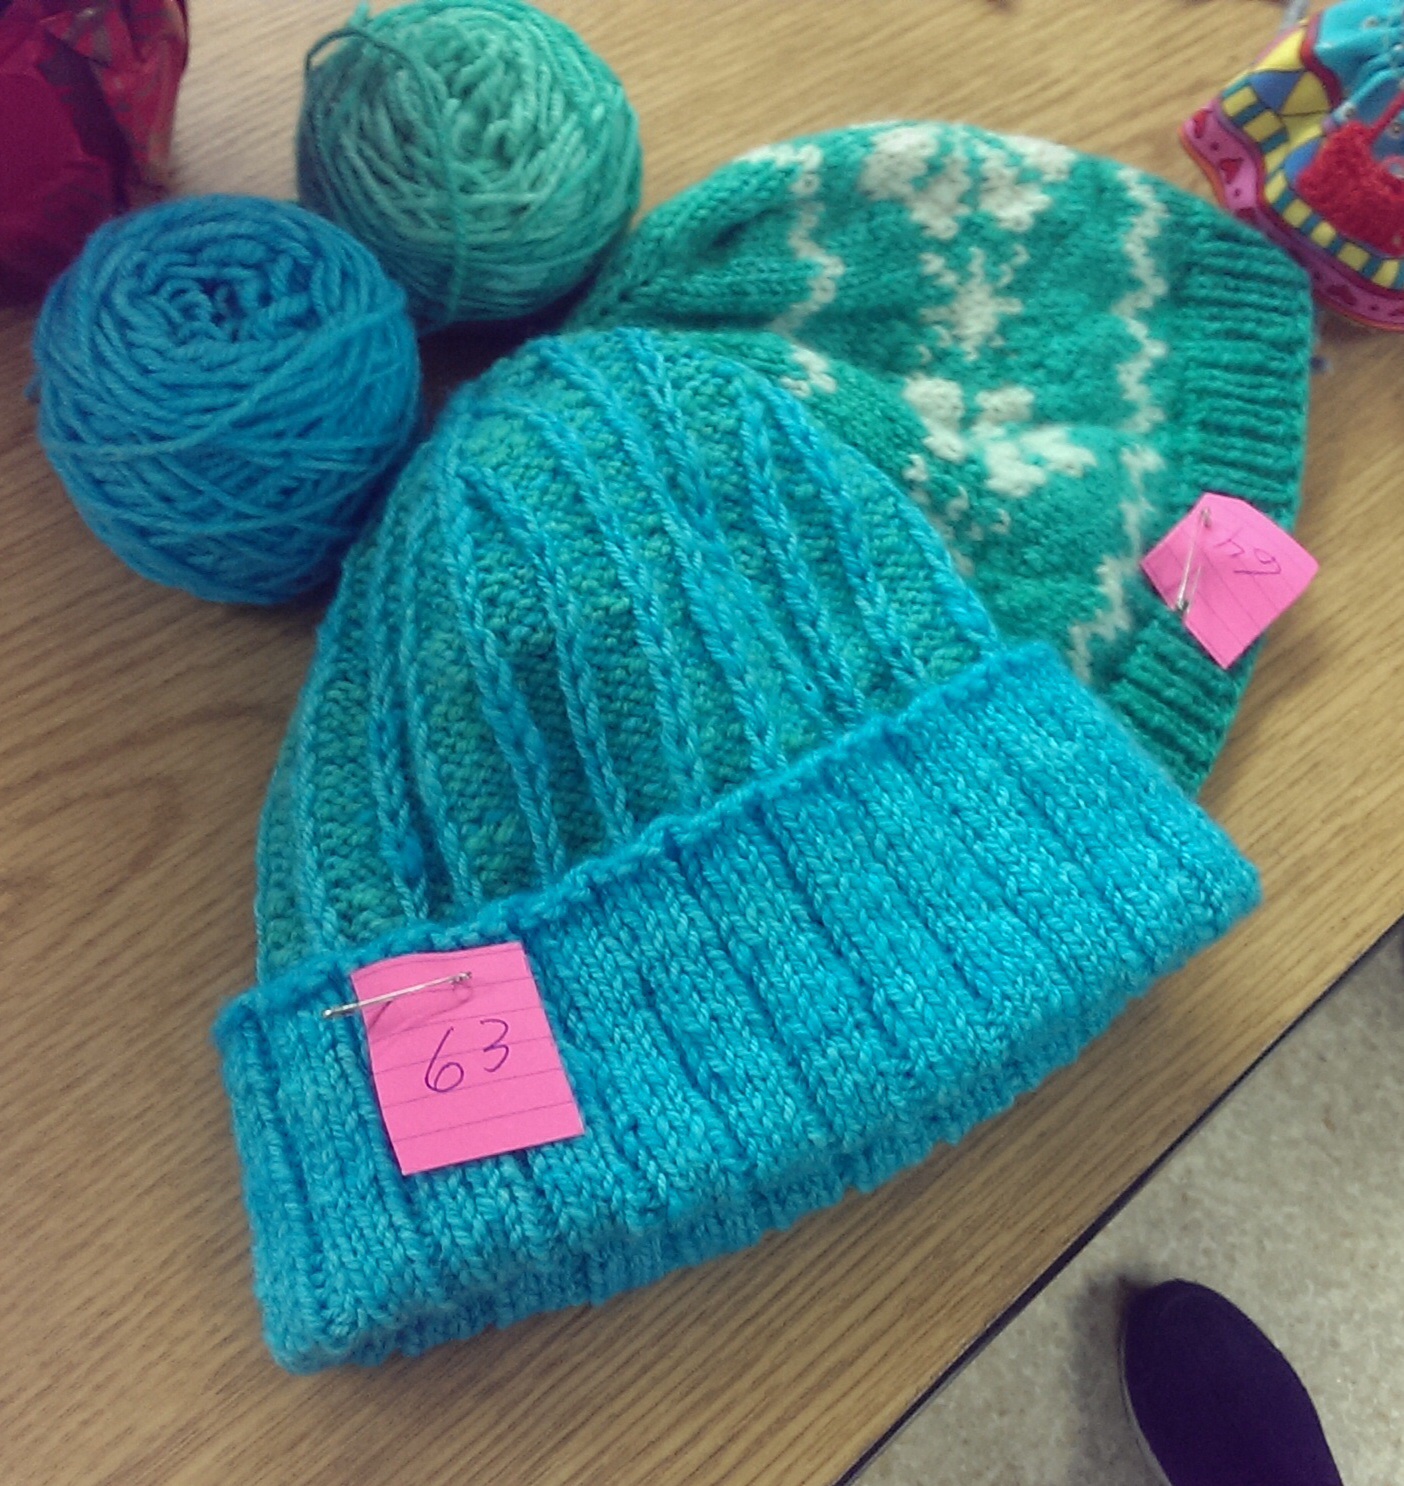
A pair of green and blue hats.
Here are some examples of using less dye to nice effect:

Knit cowl with pastel colors and grey alpaca for a tweedy look.
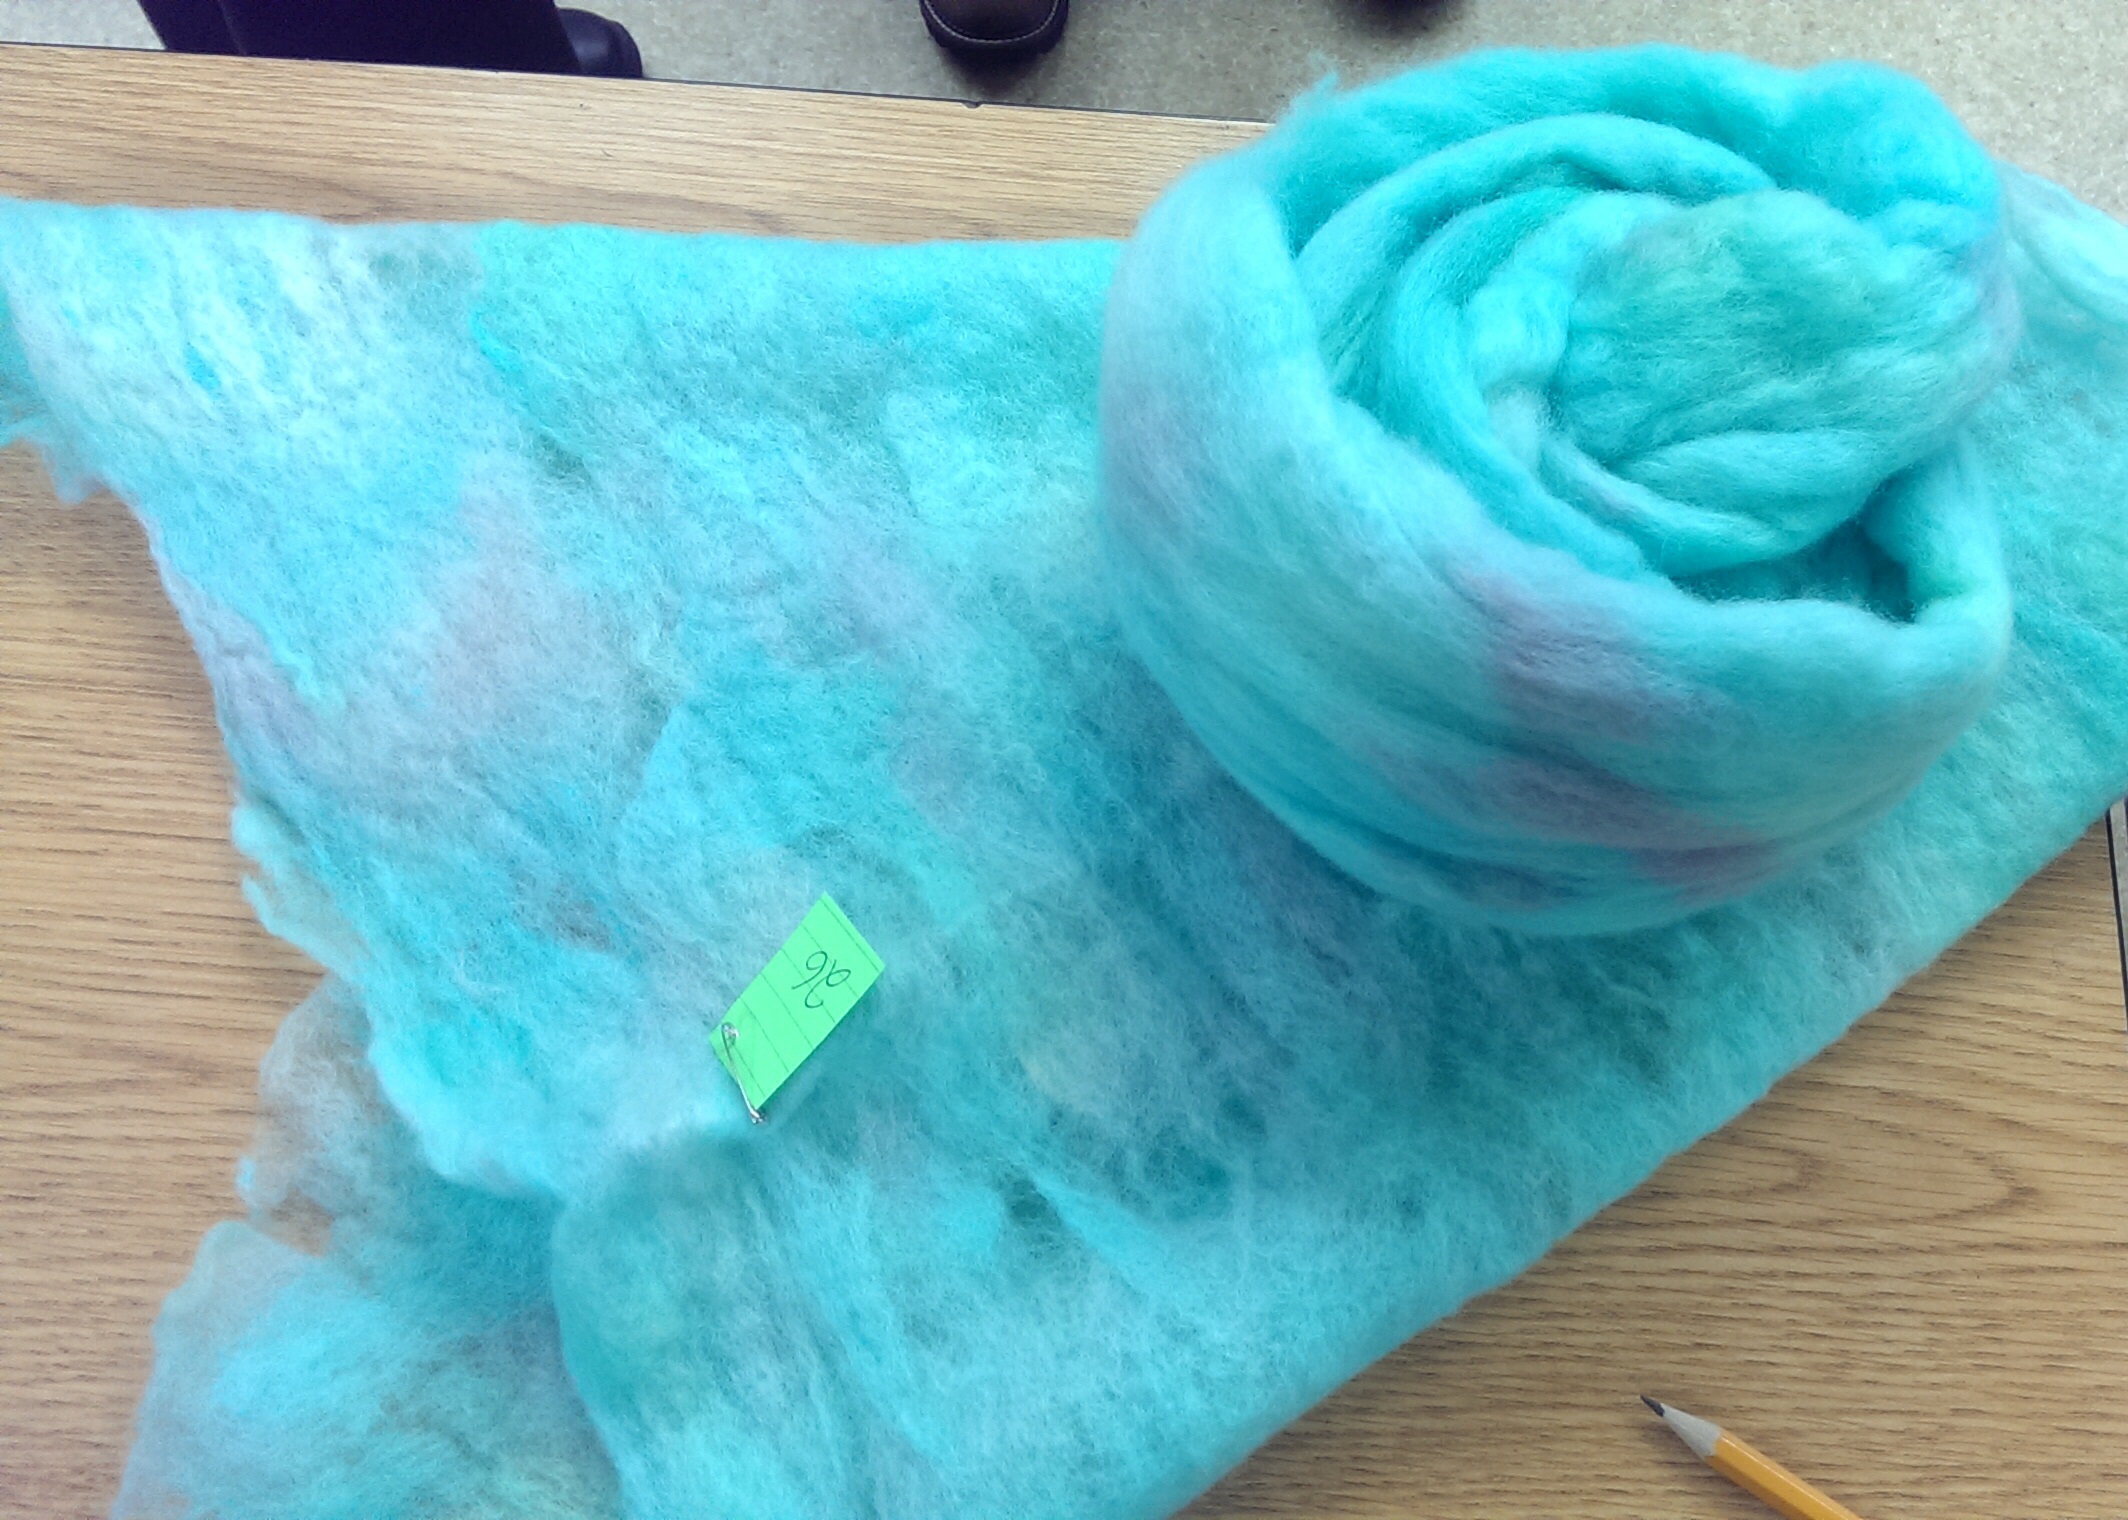
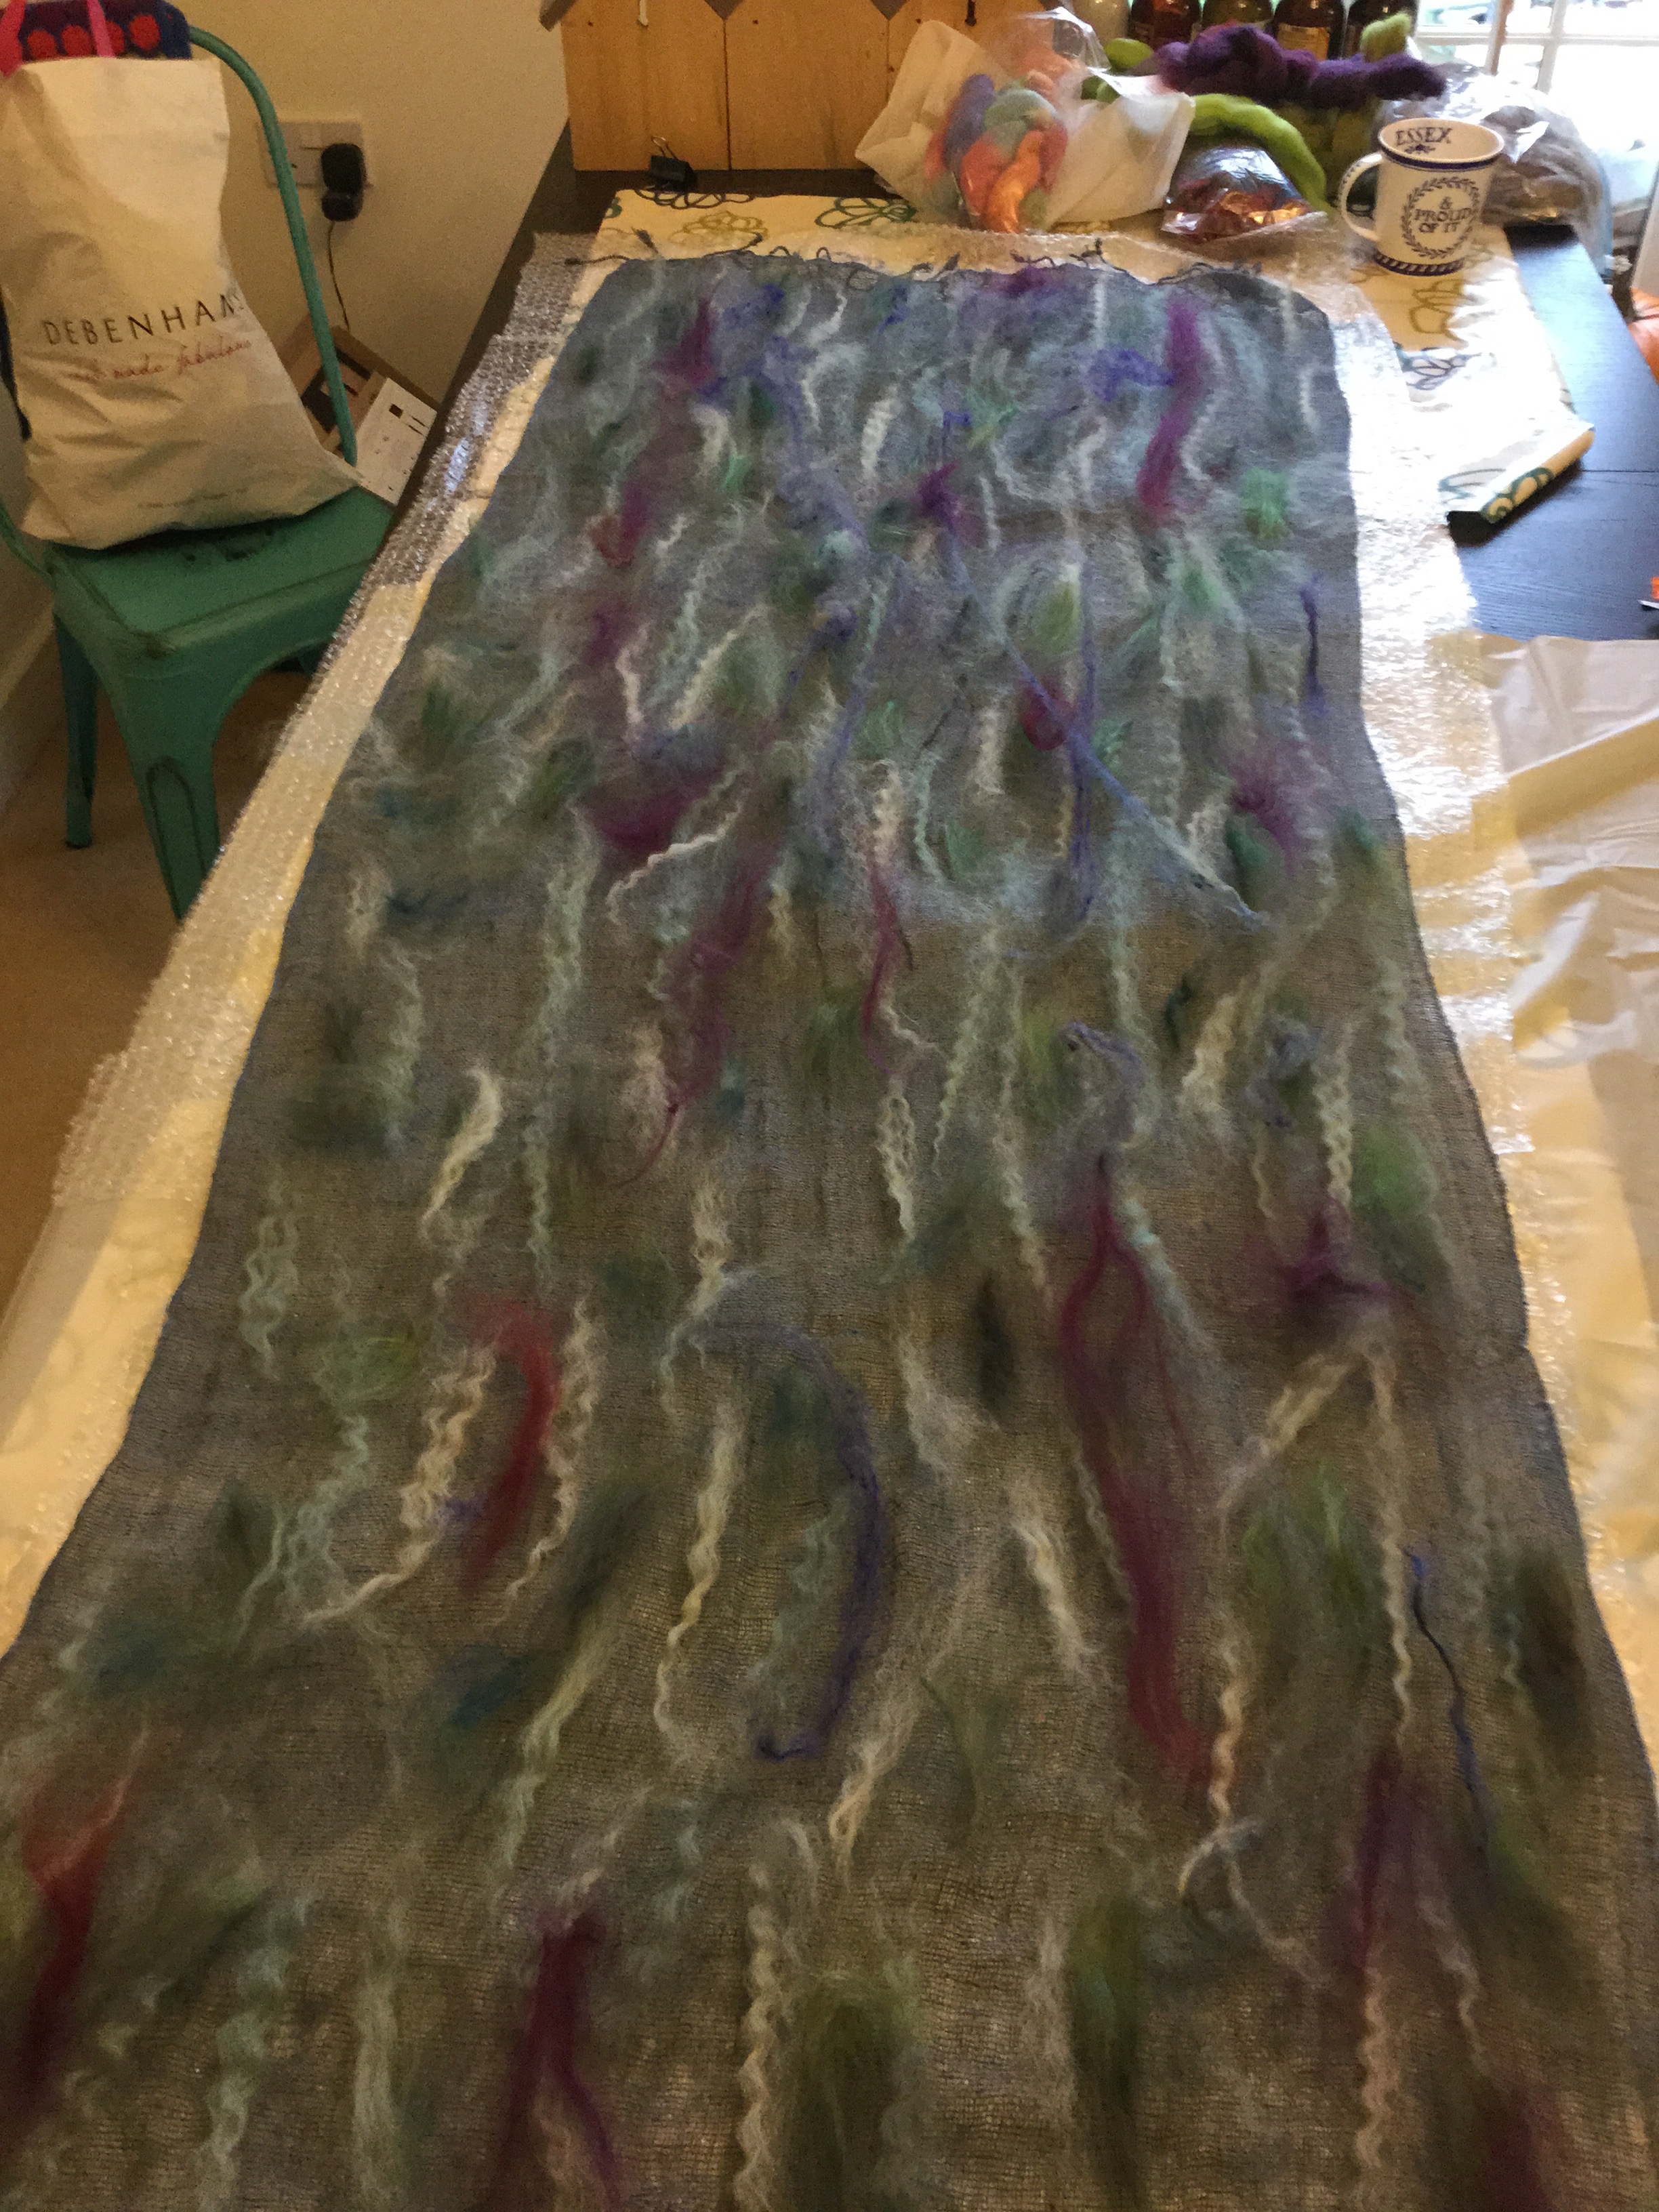
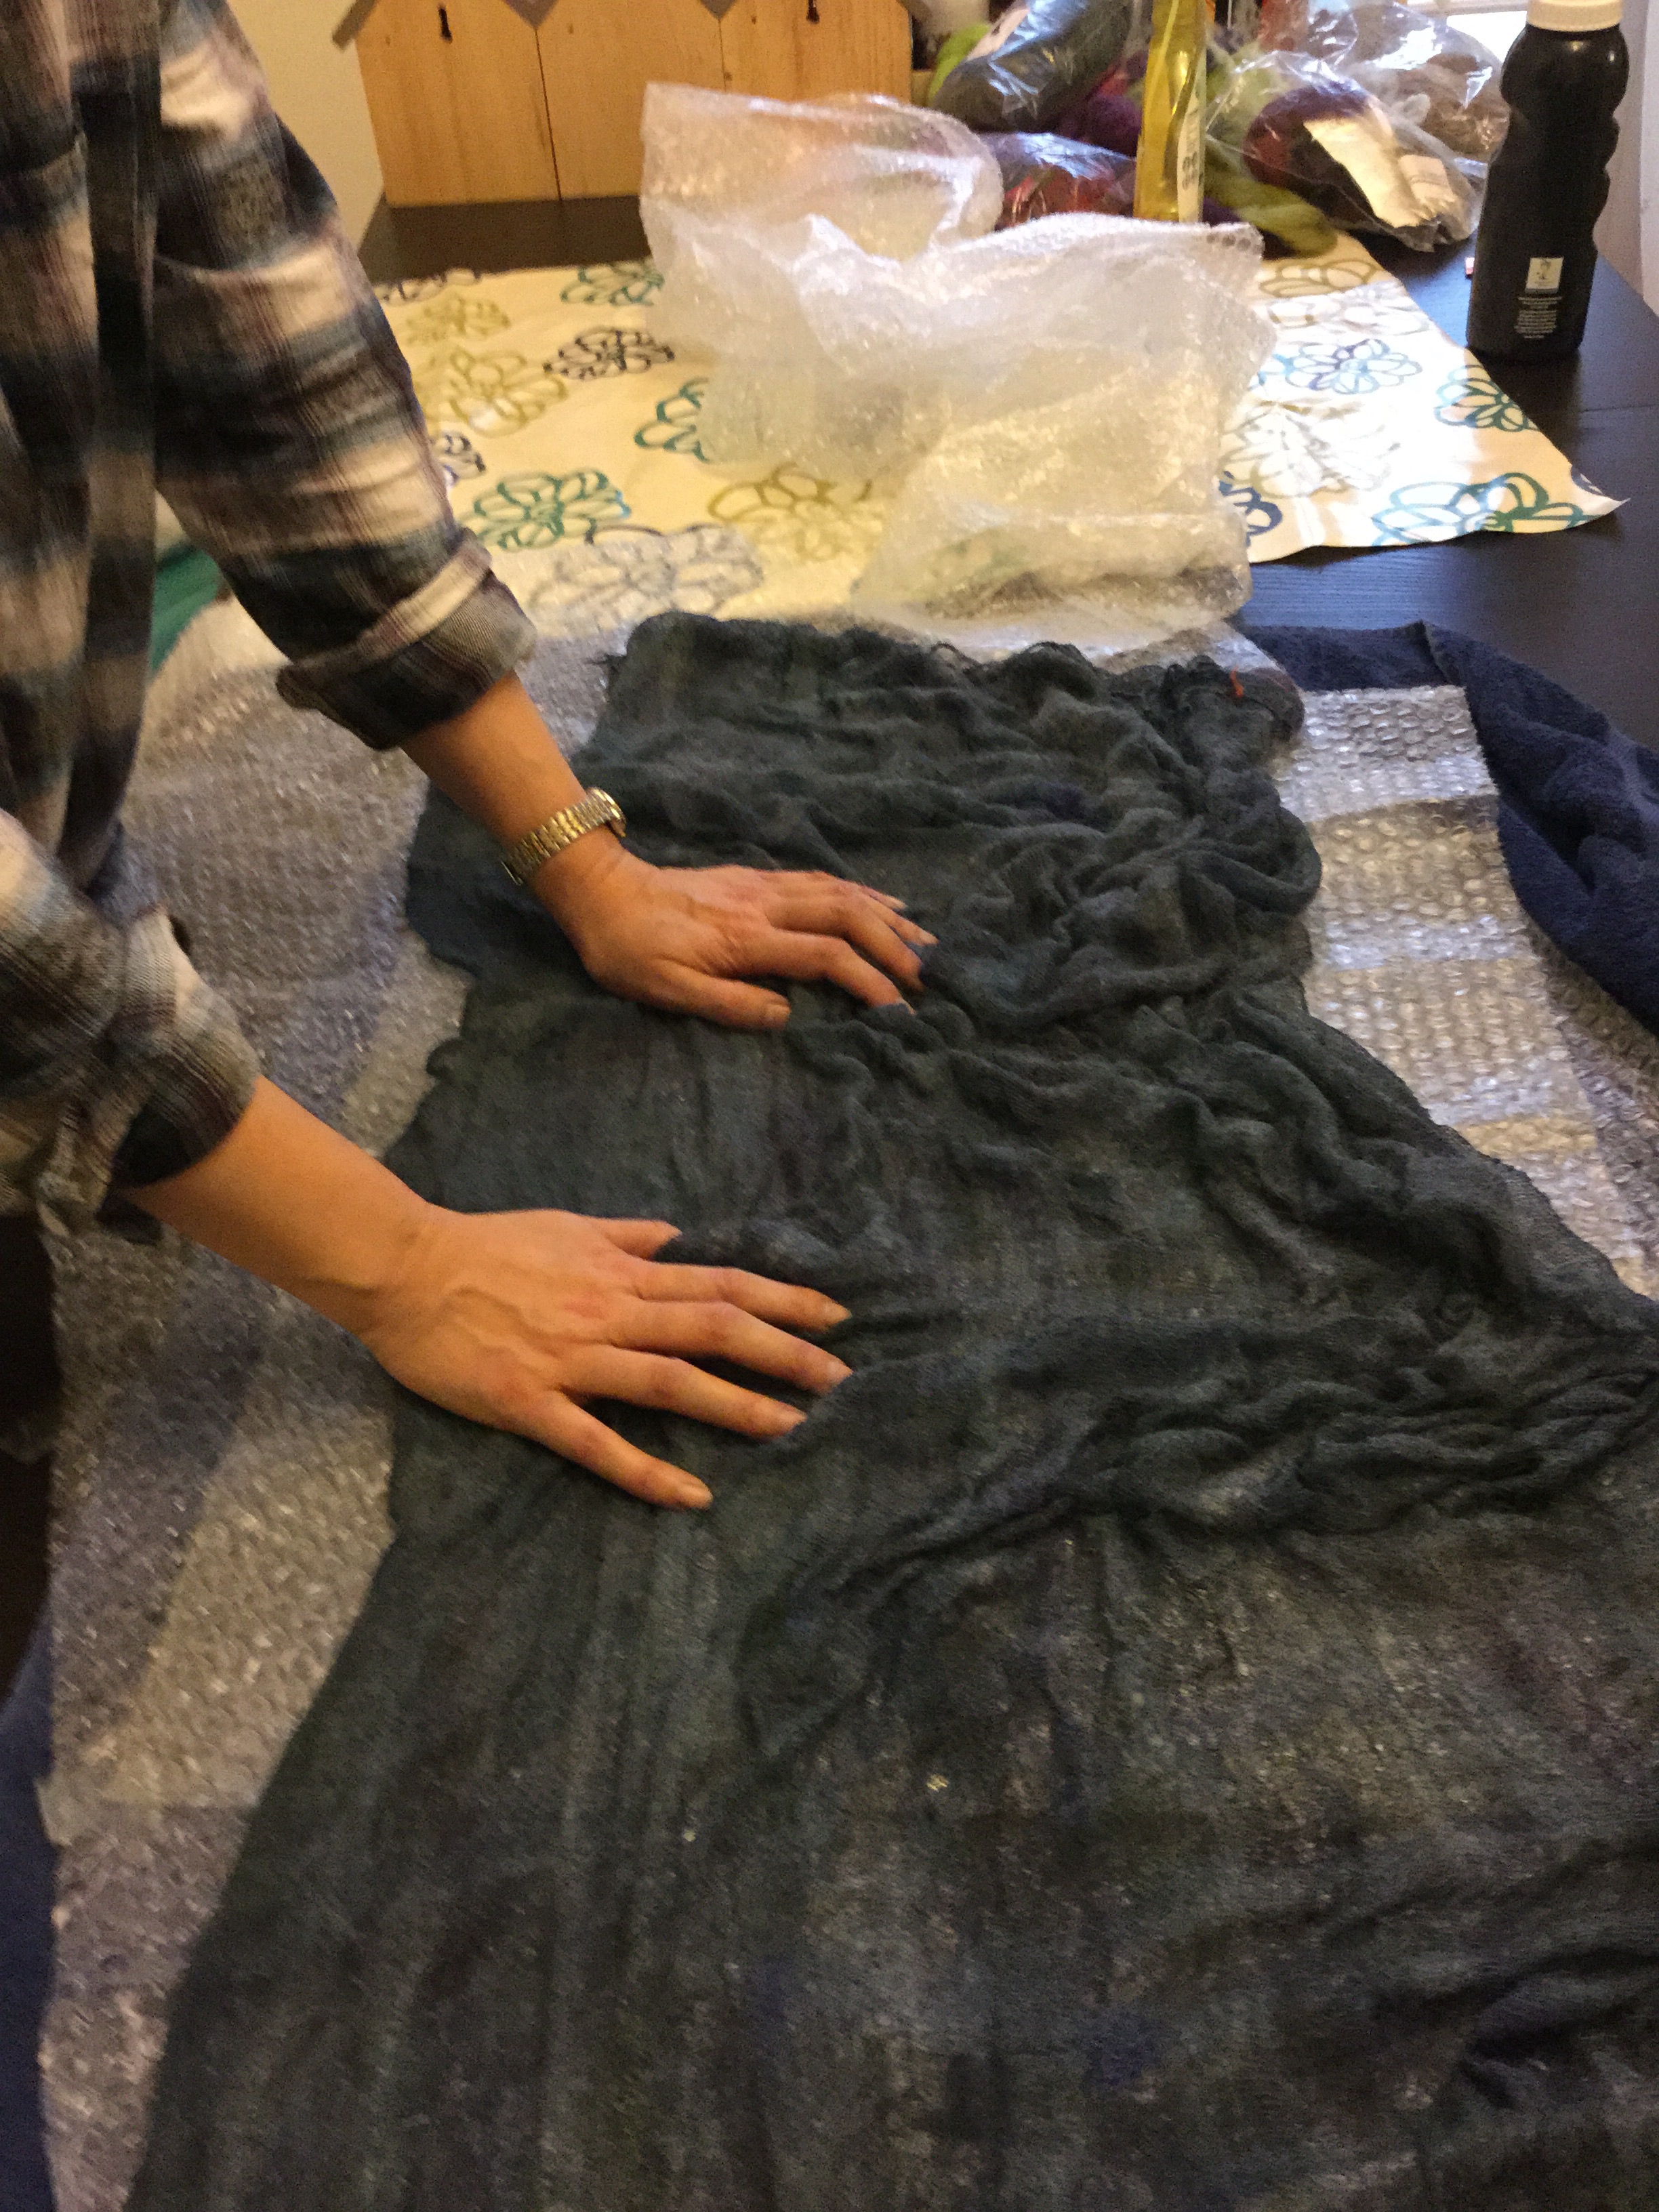
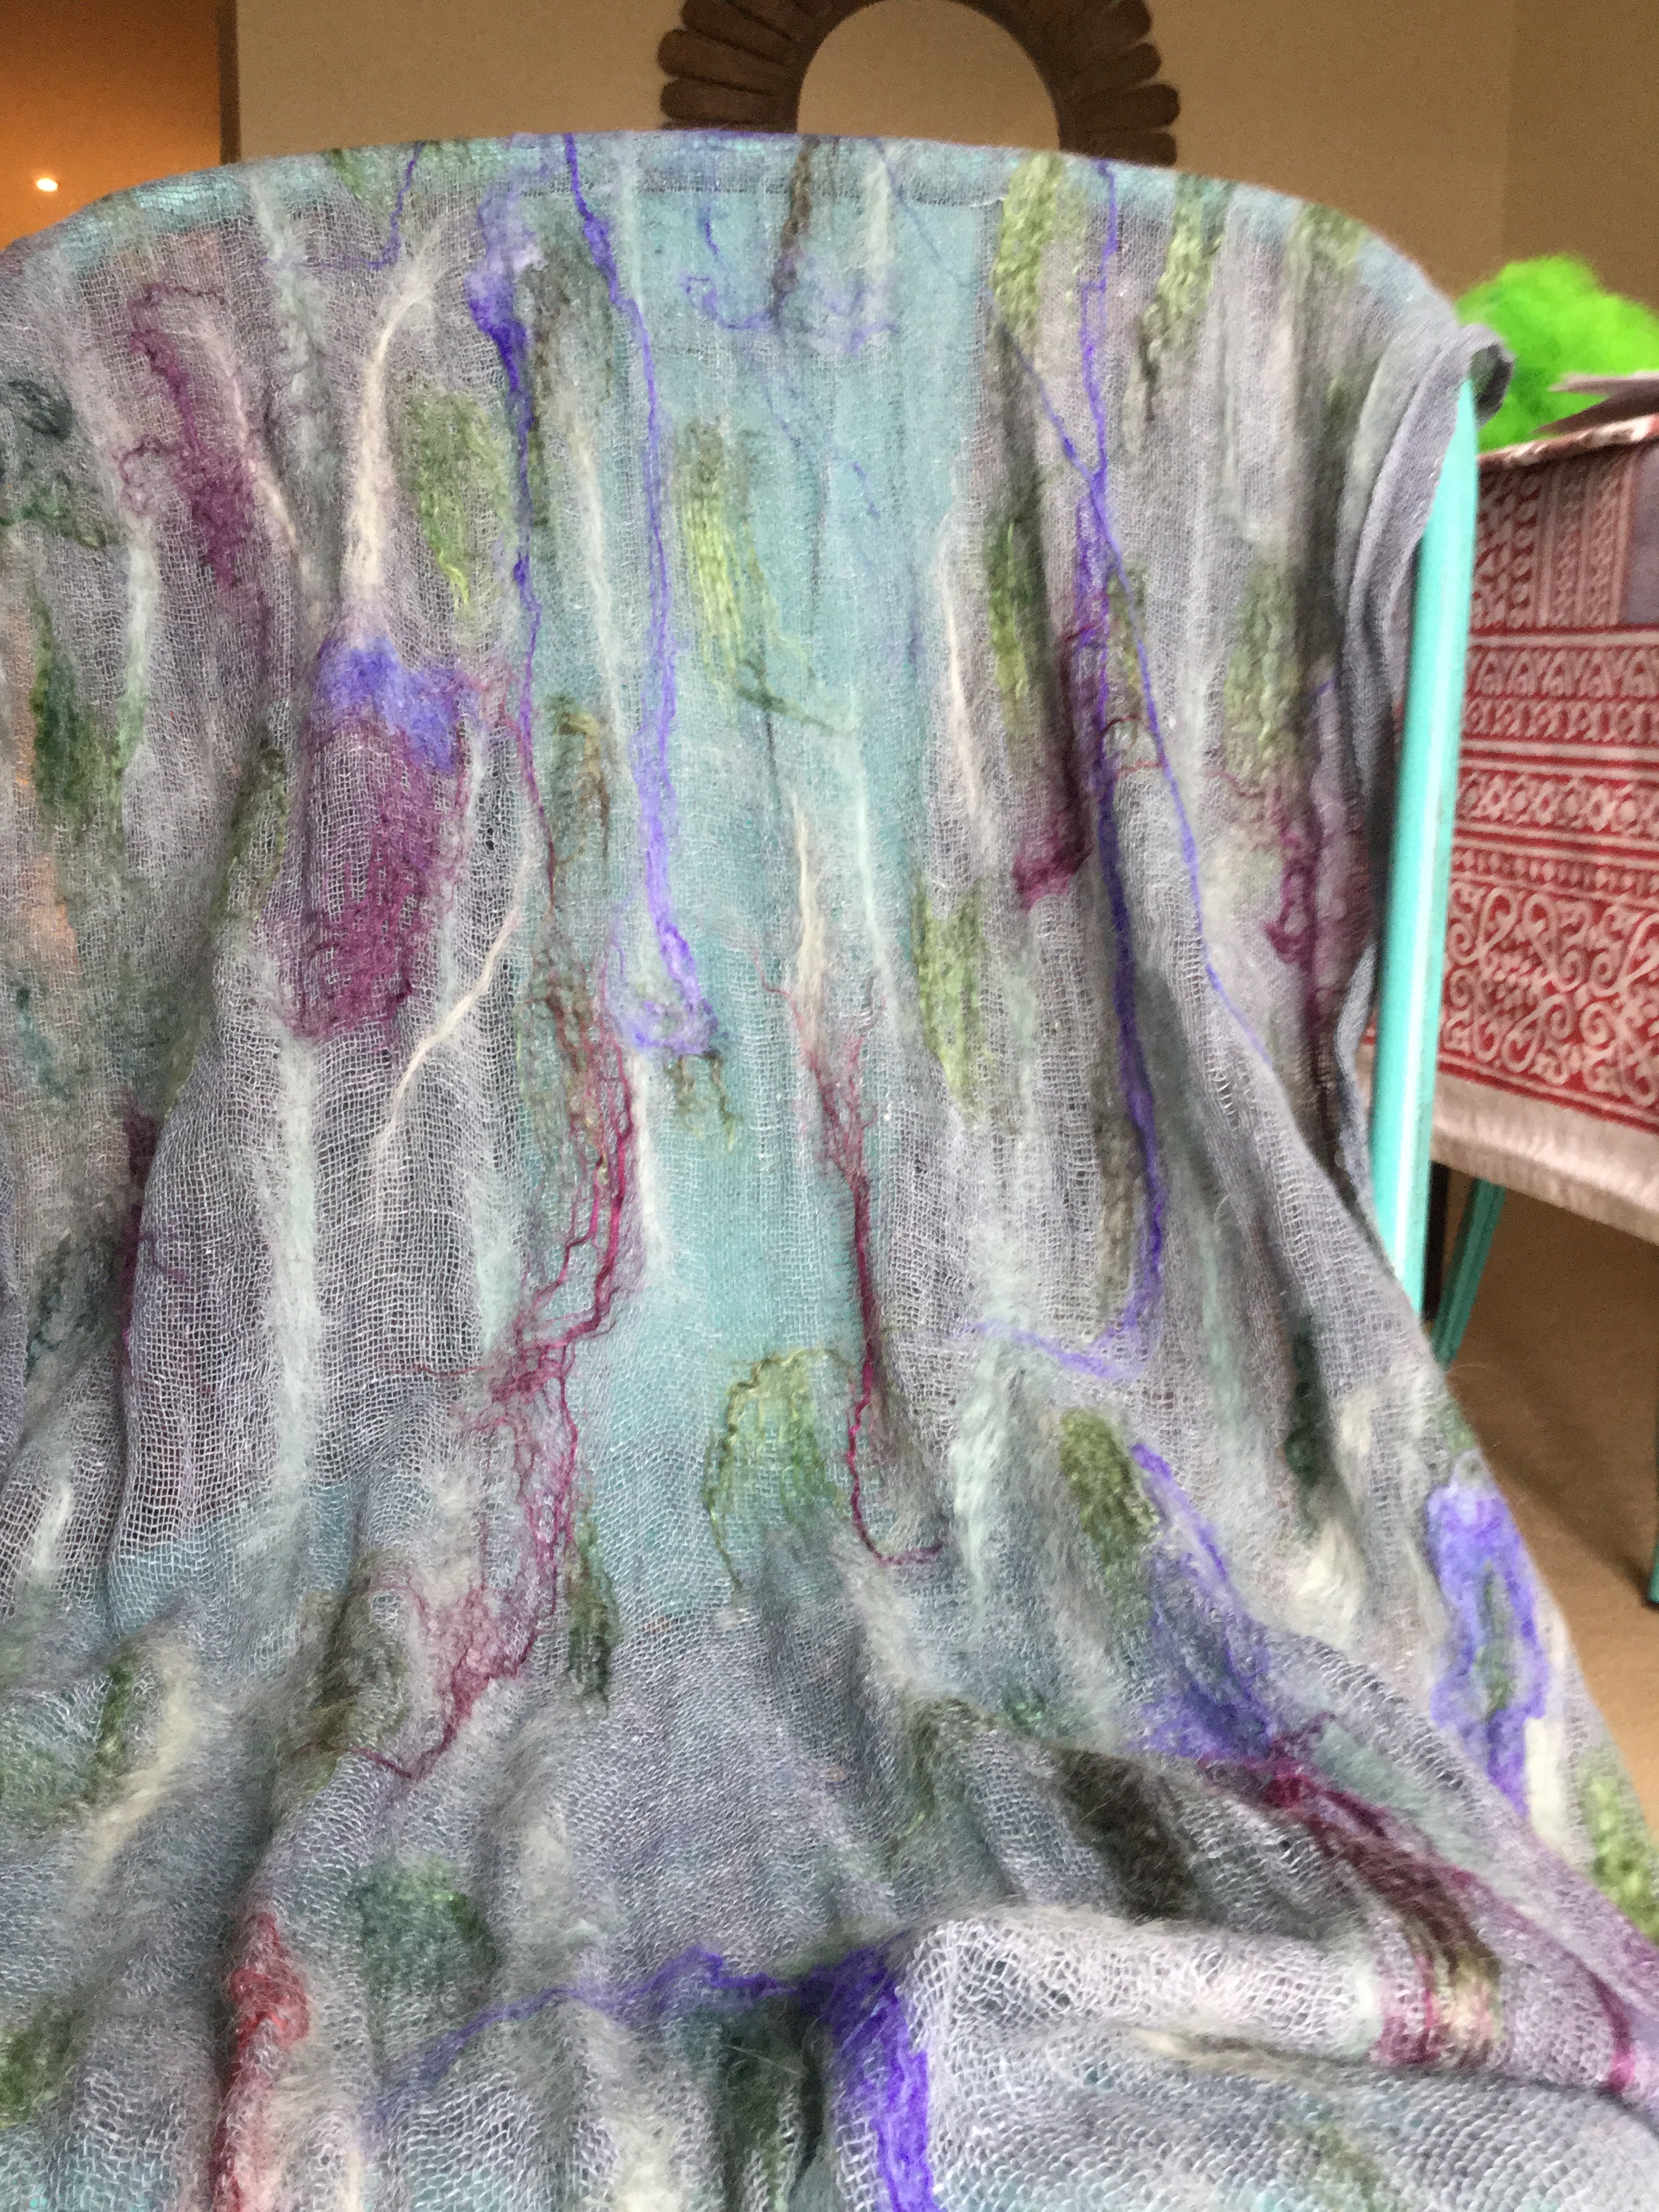
Nuño felted sky blue cloth with lavender undertones.

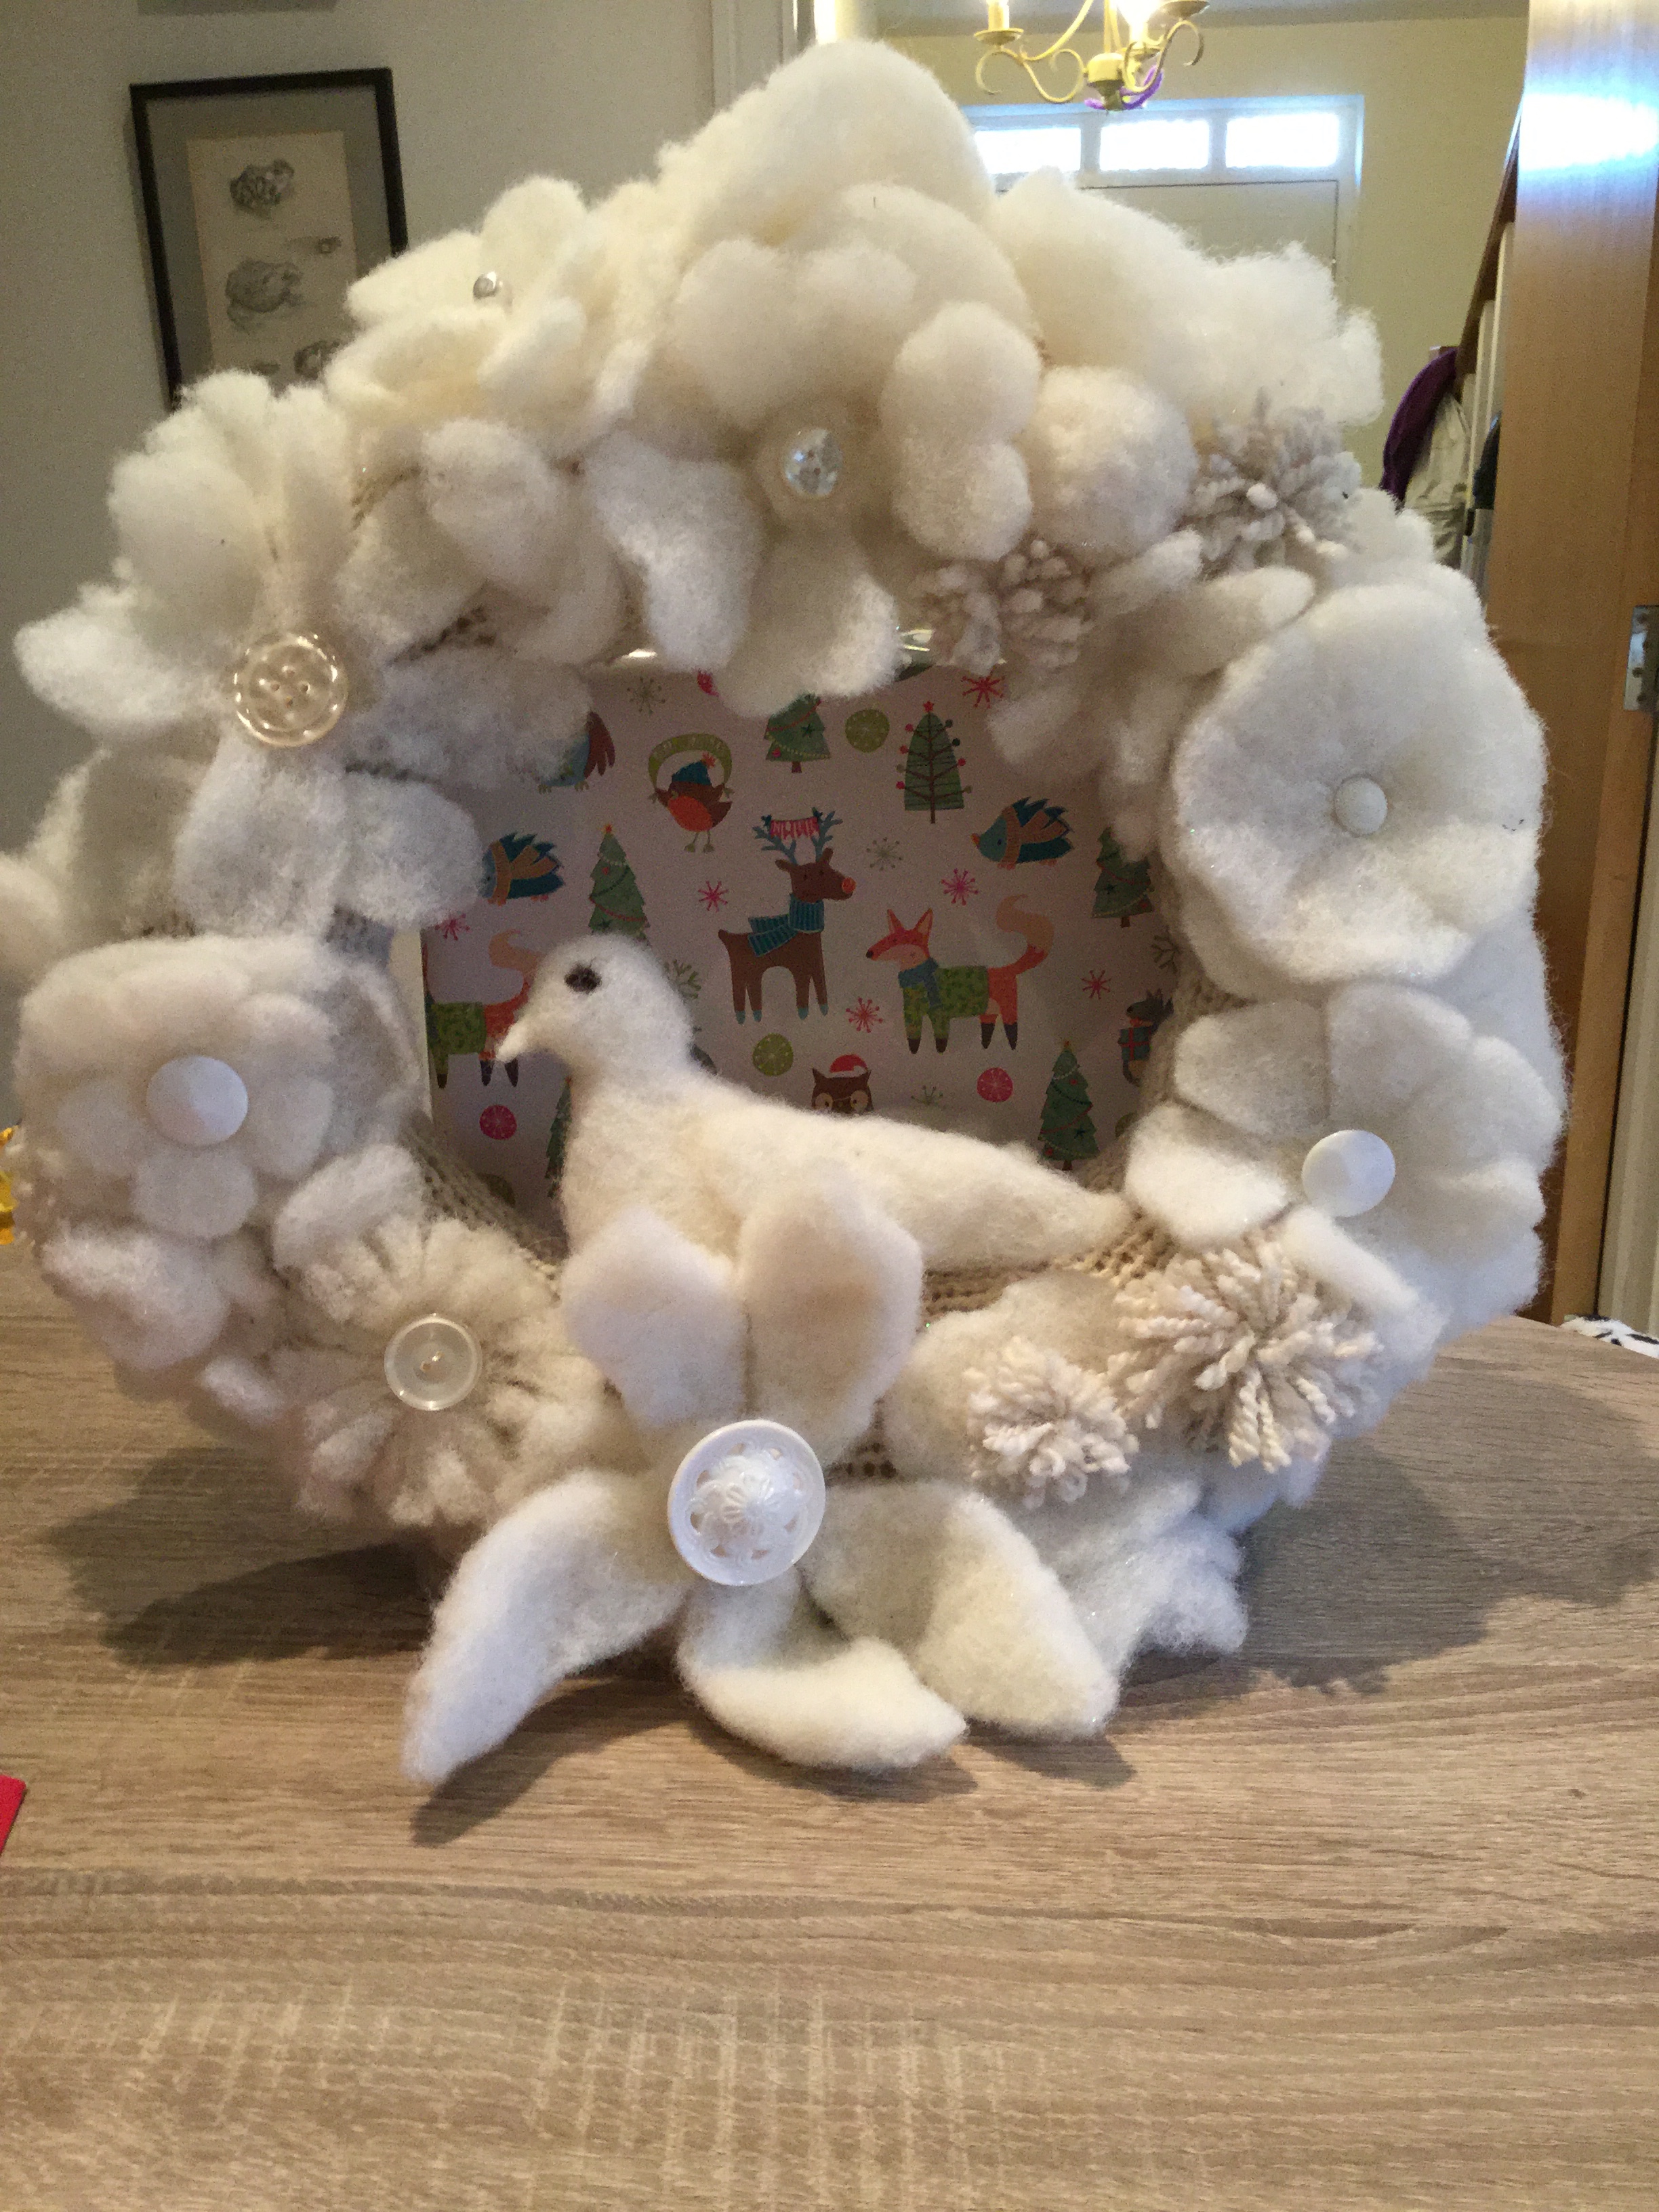
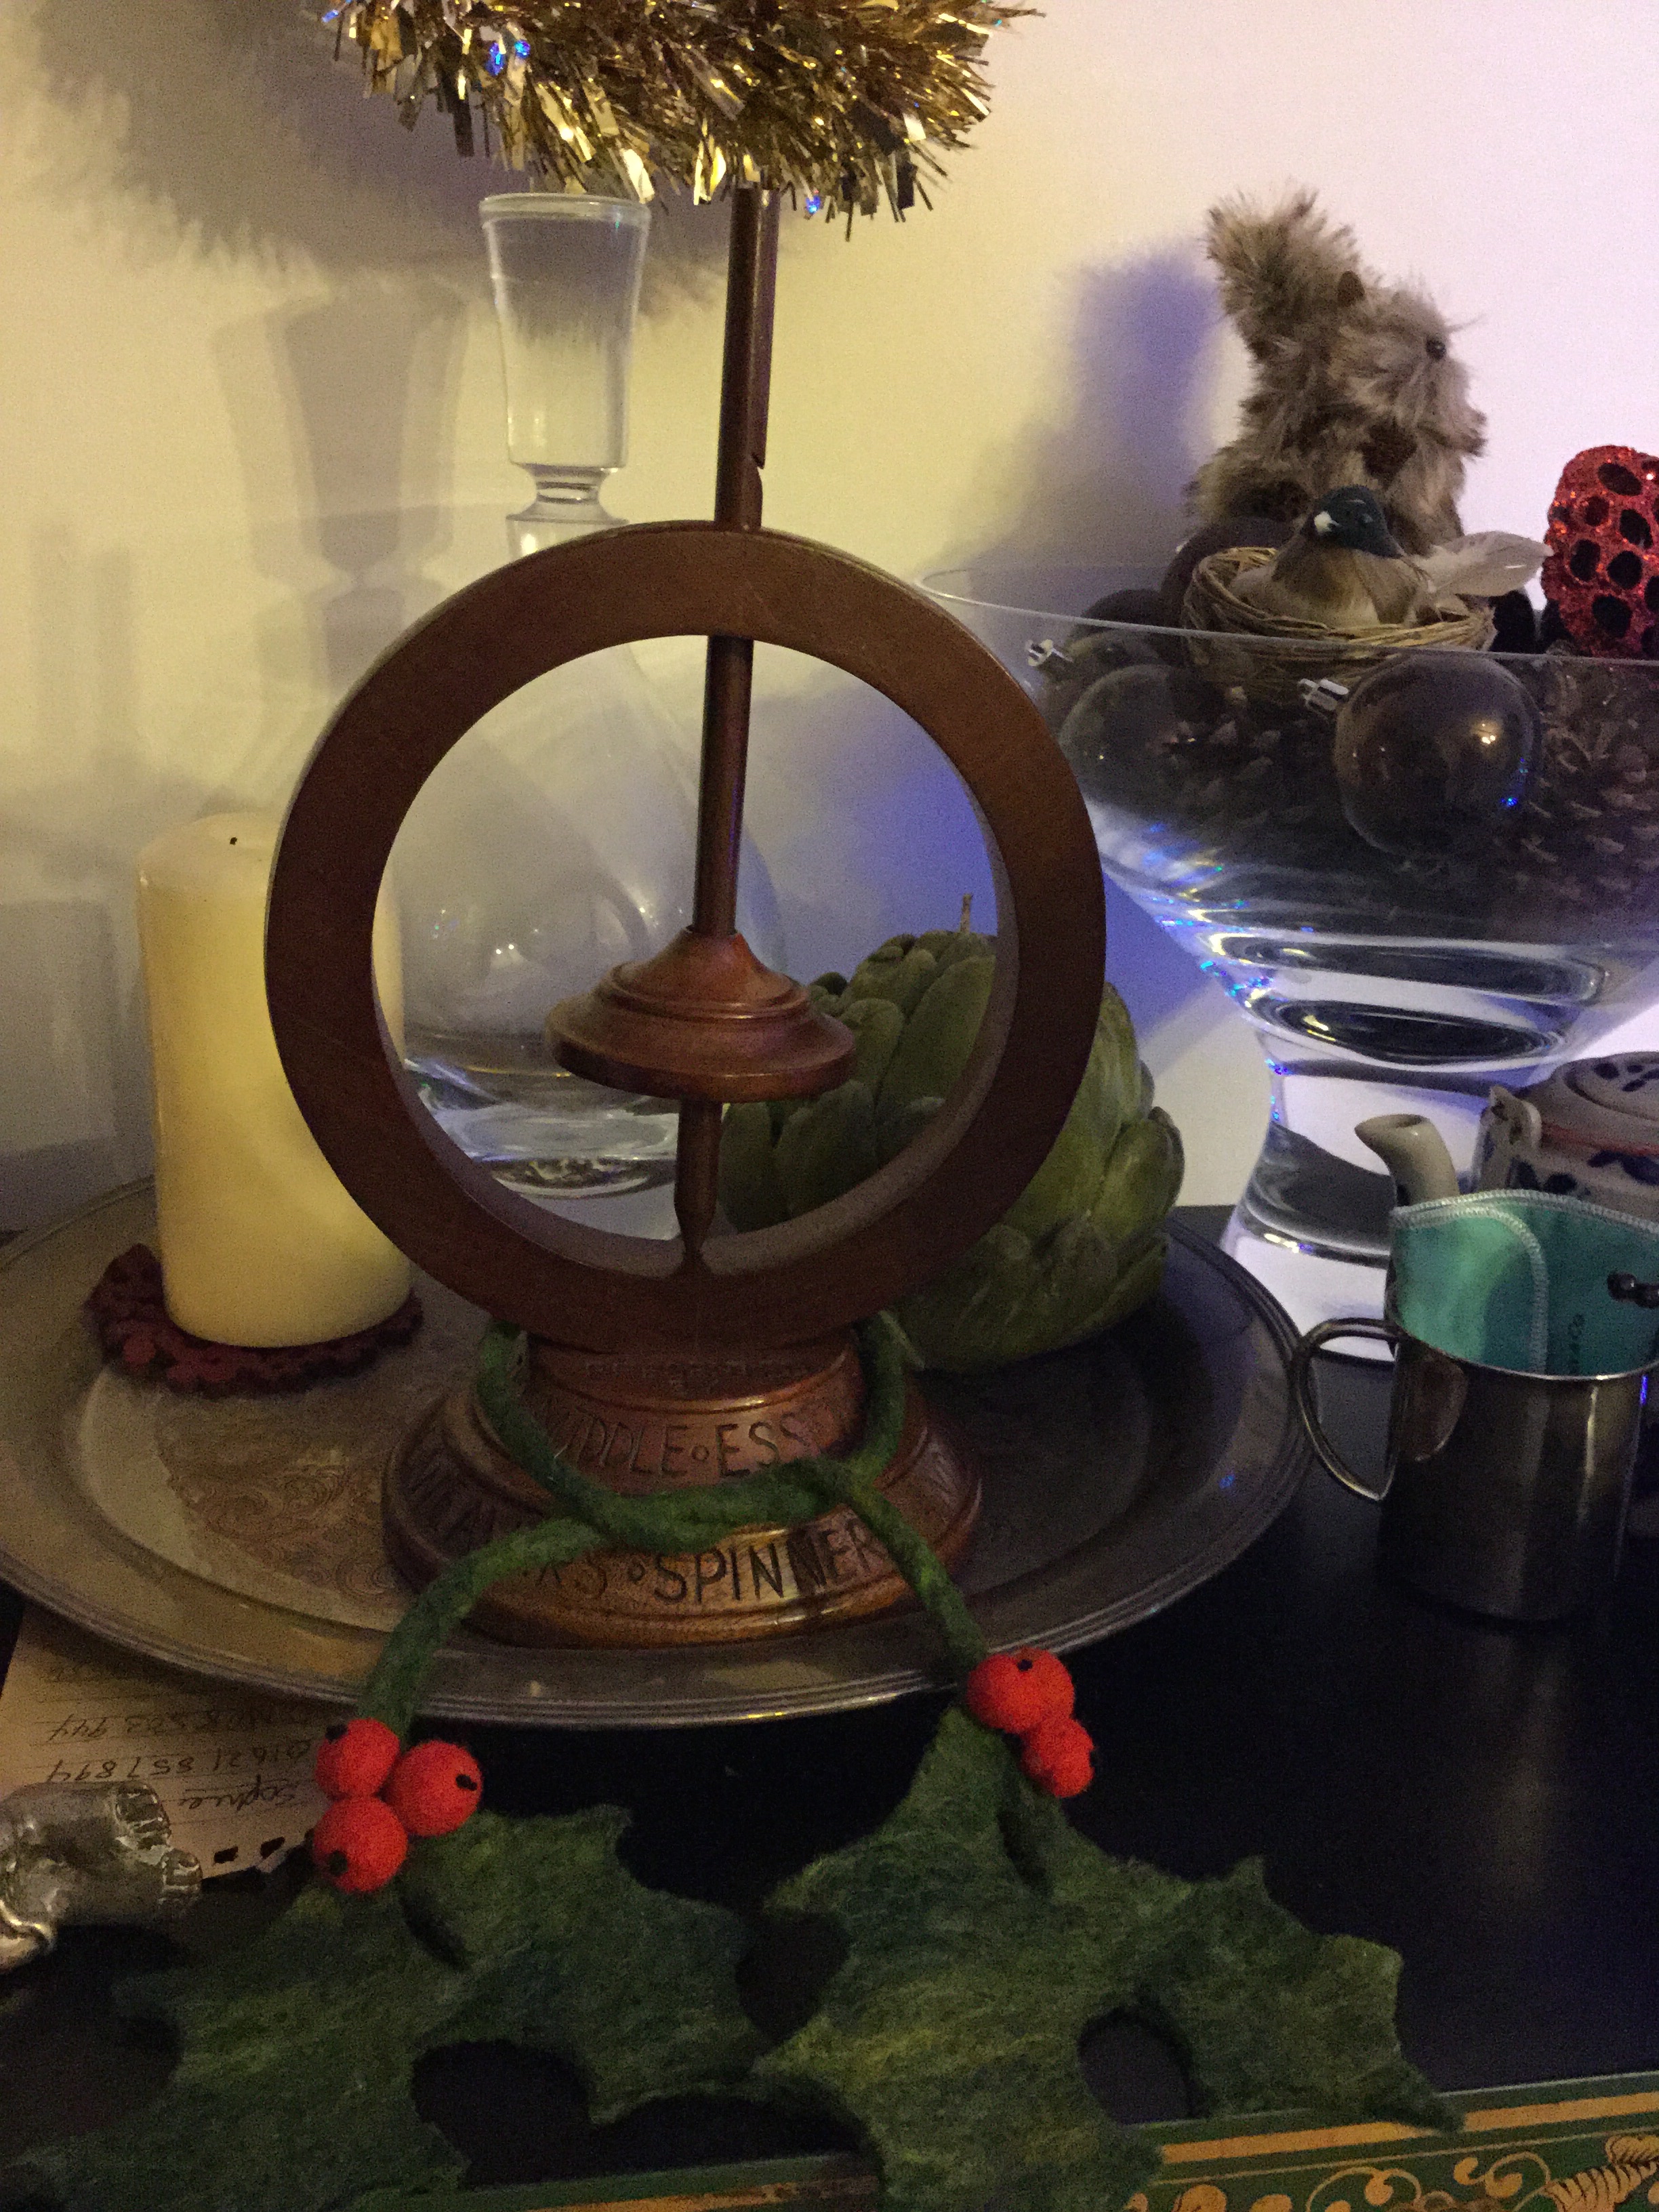
Tea cozy topped with knit flowers, which were hand painted with Kool-aid, just as one would marzipan.
Some excellent examples of blending with neutrals:
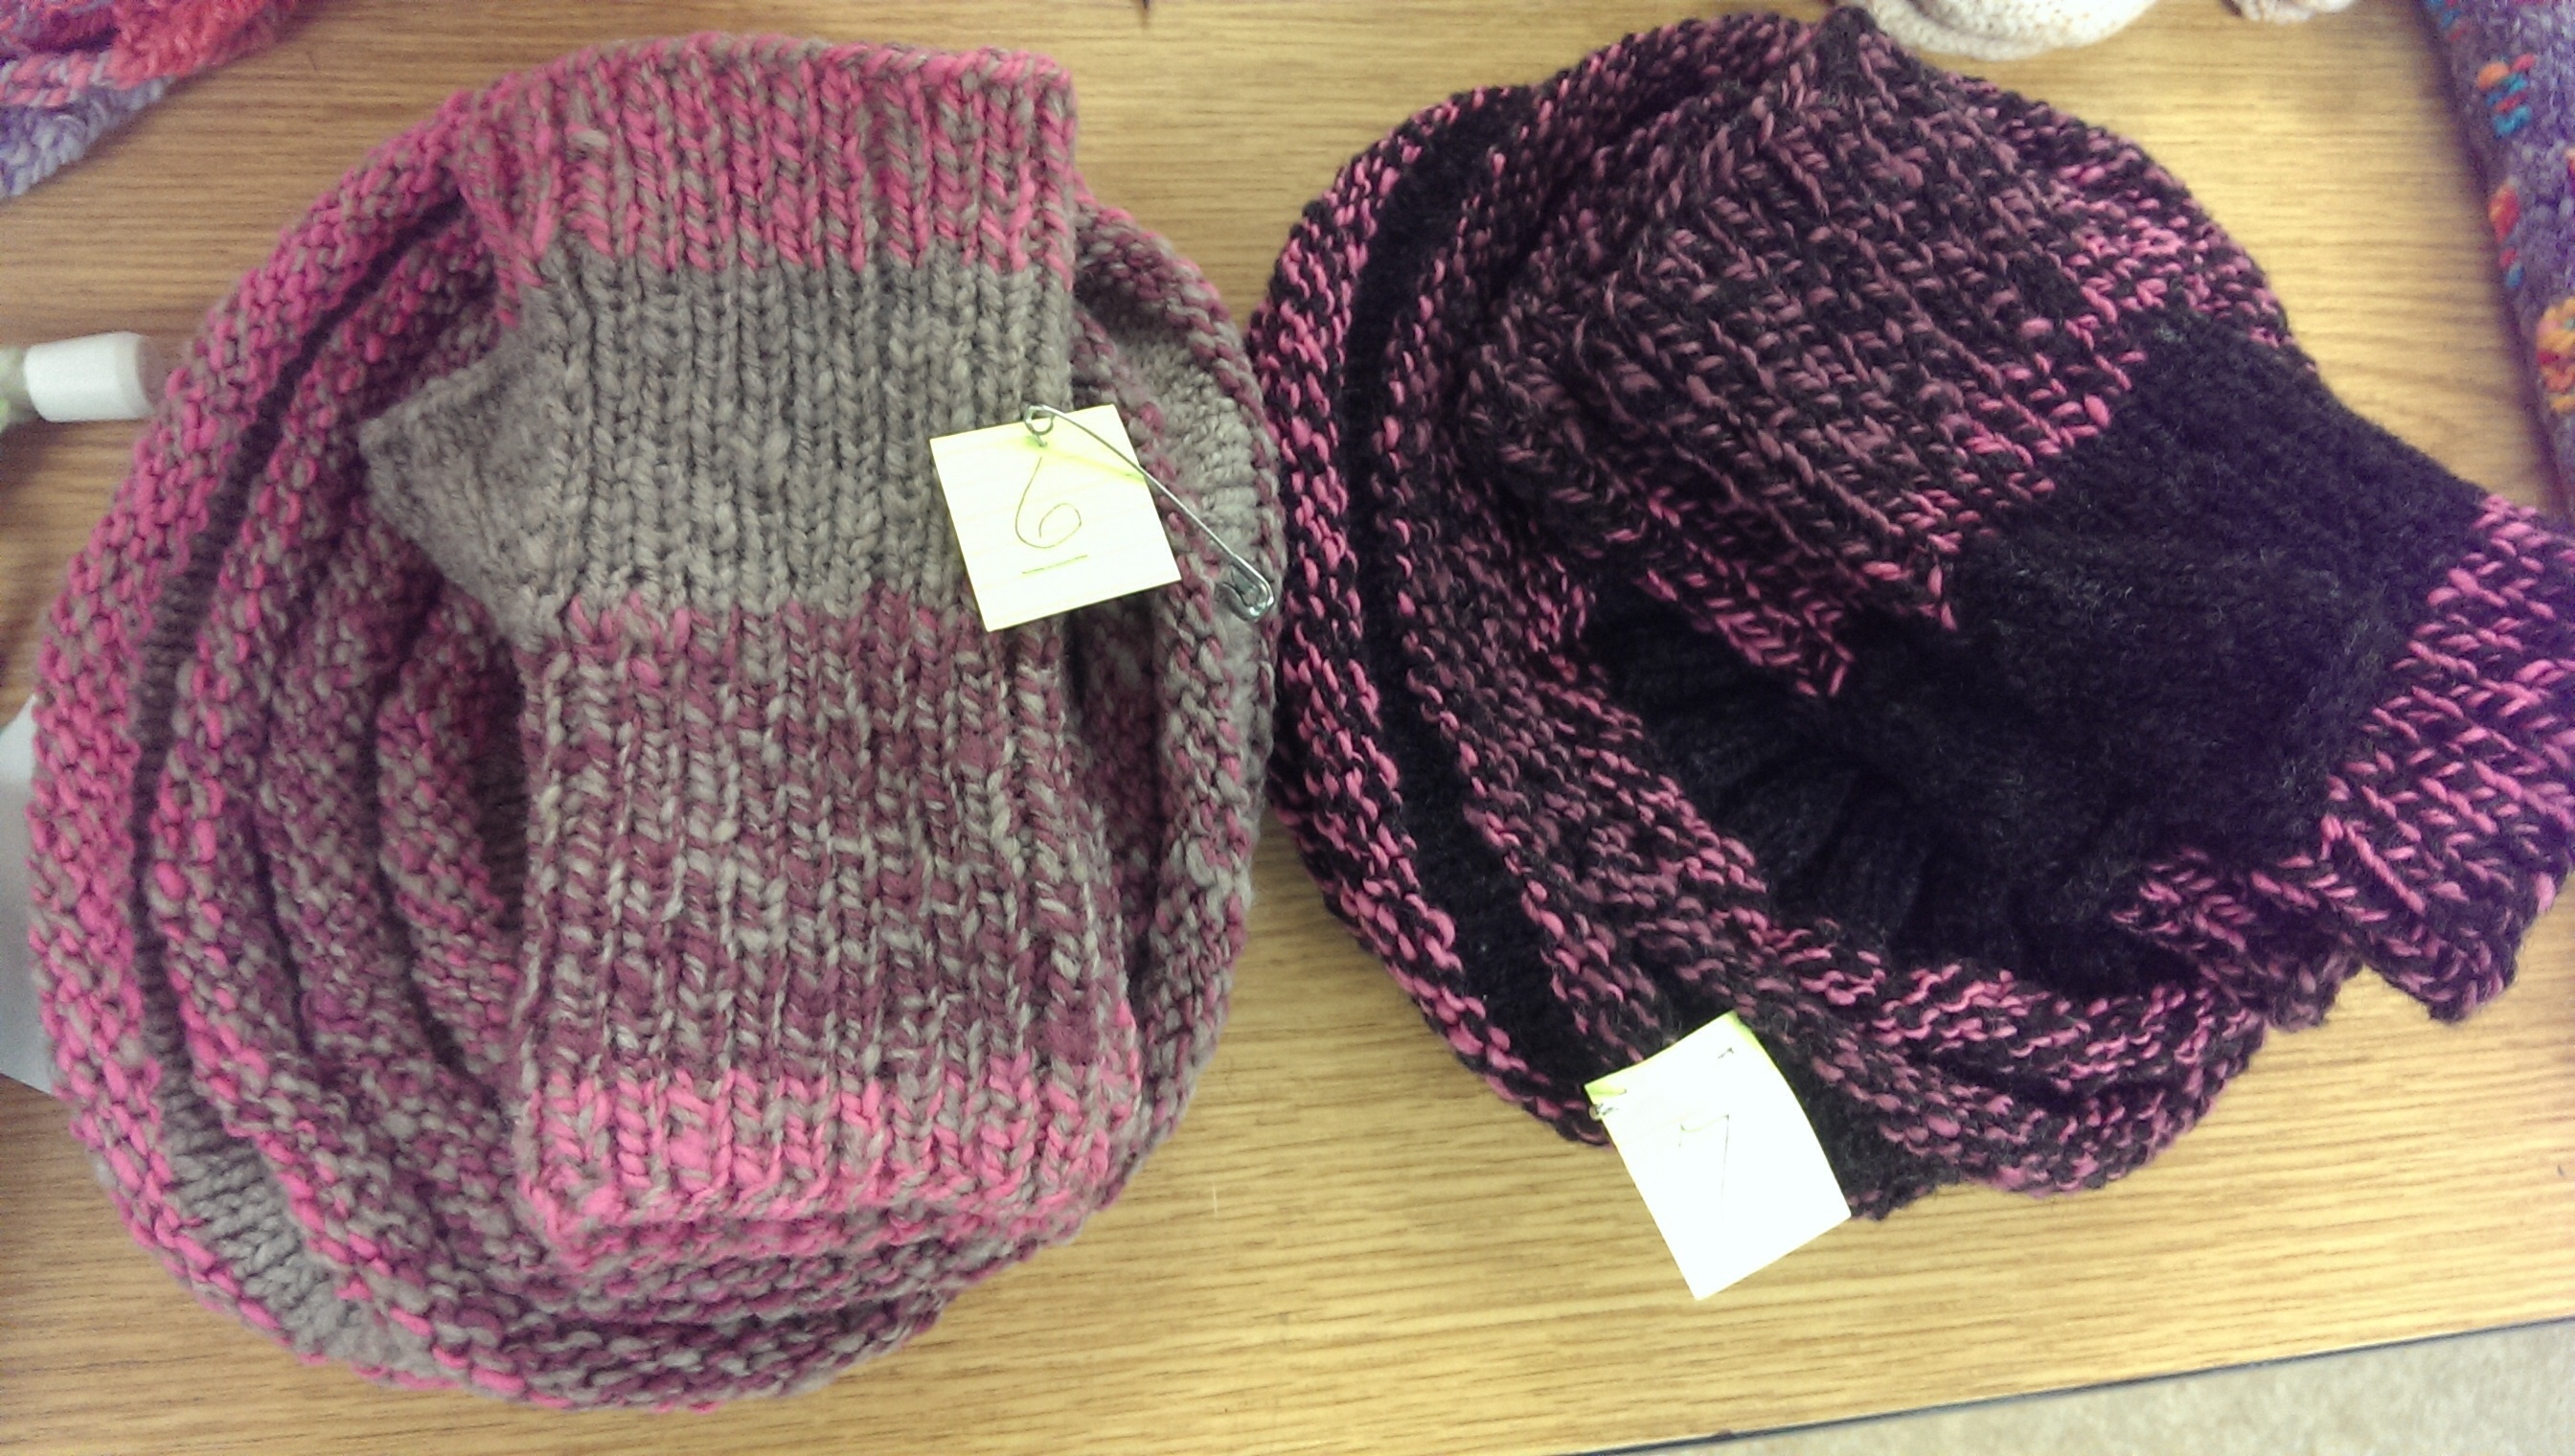
The same hat-and-mitt set, two ways.

Knit socks, blue and orange. The heathered blue tones down the orange.
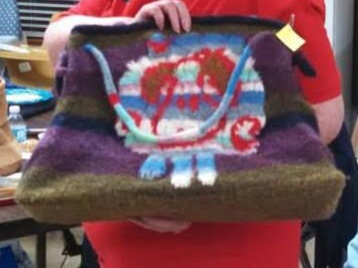
Felted bag with sheep. Lined and reversible!
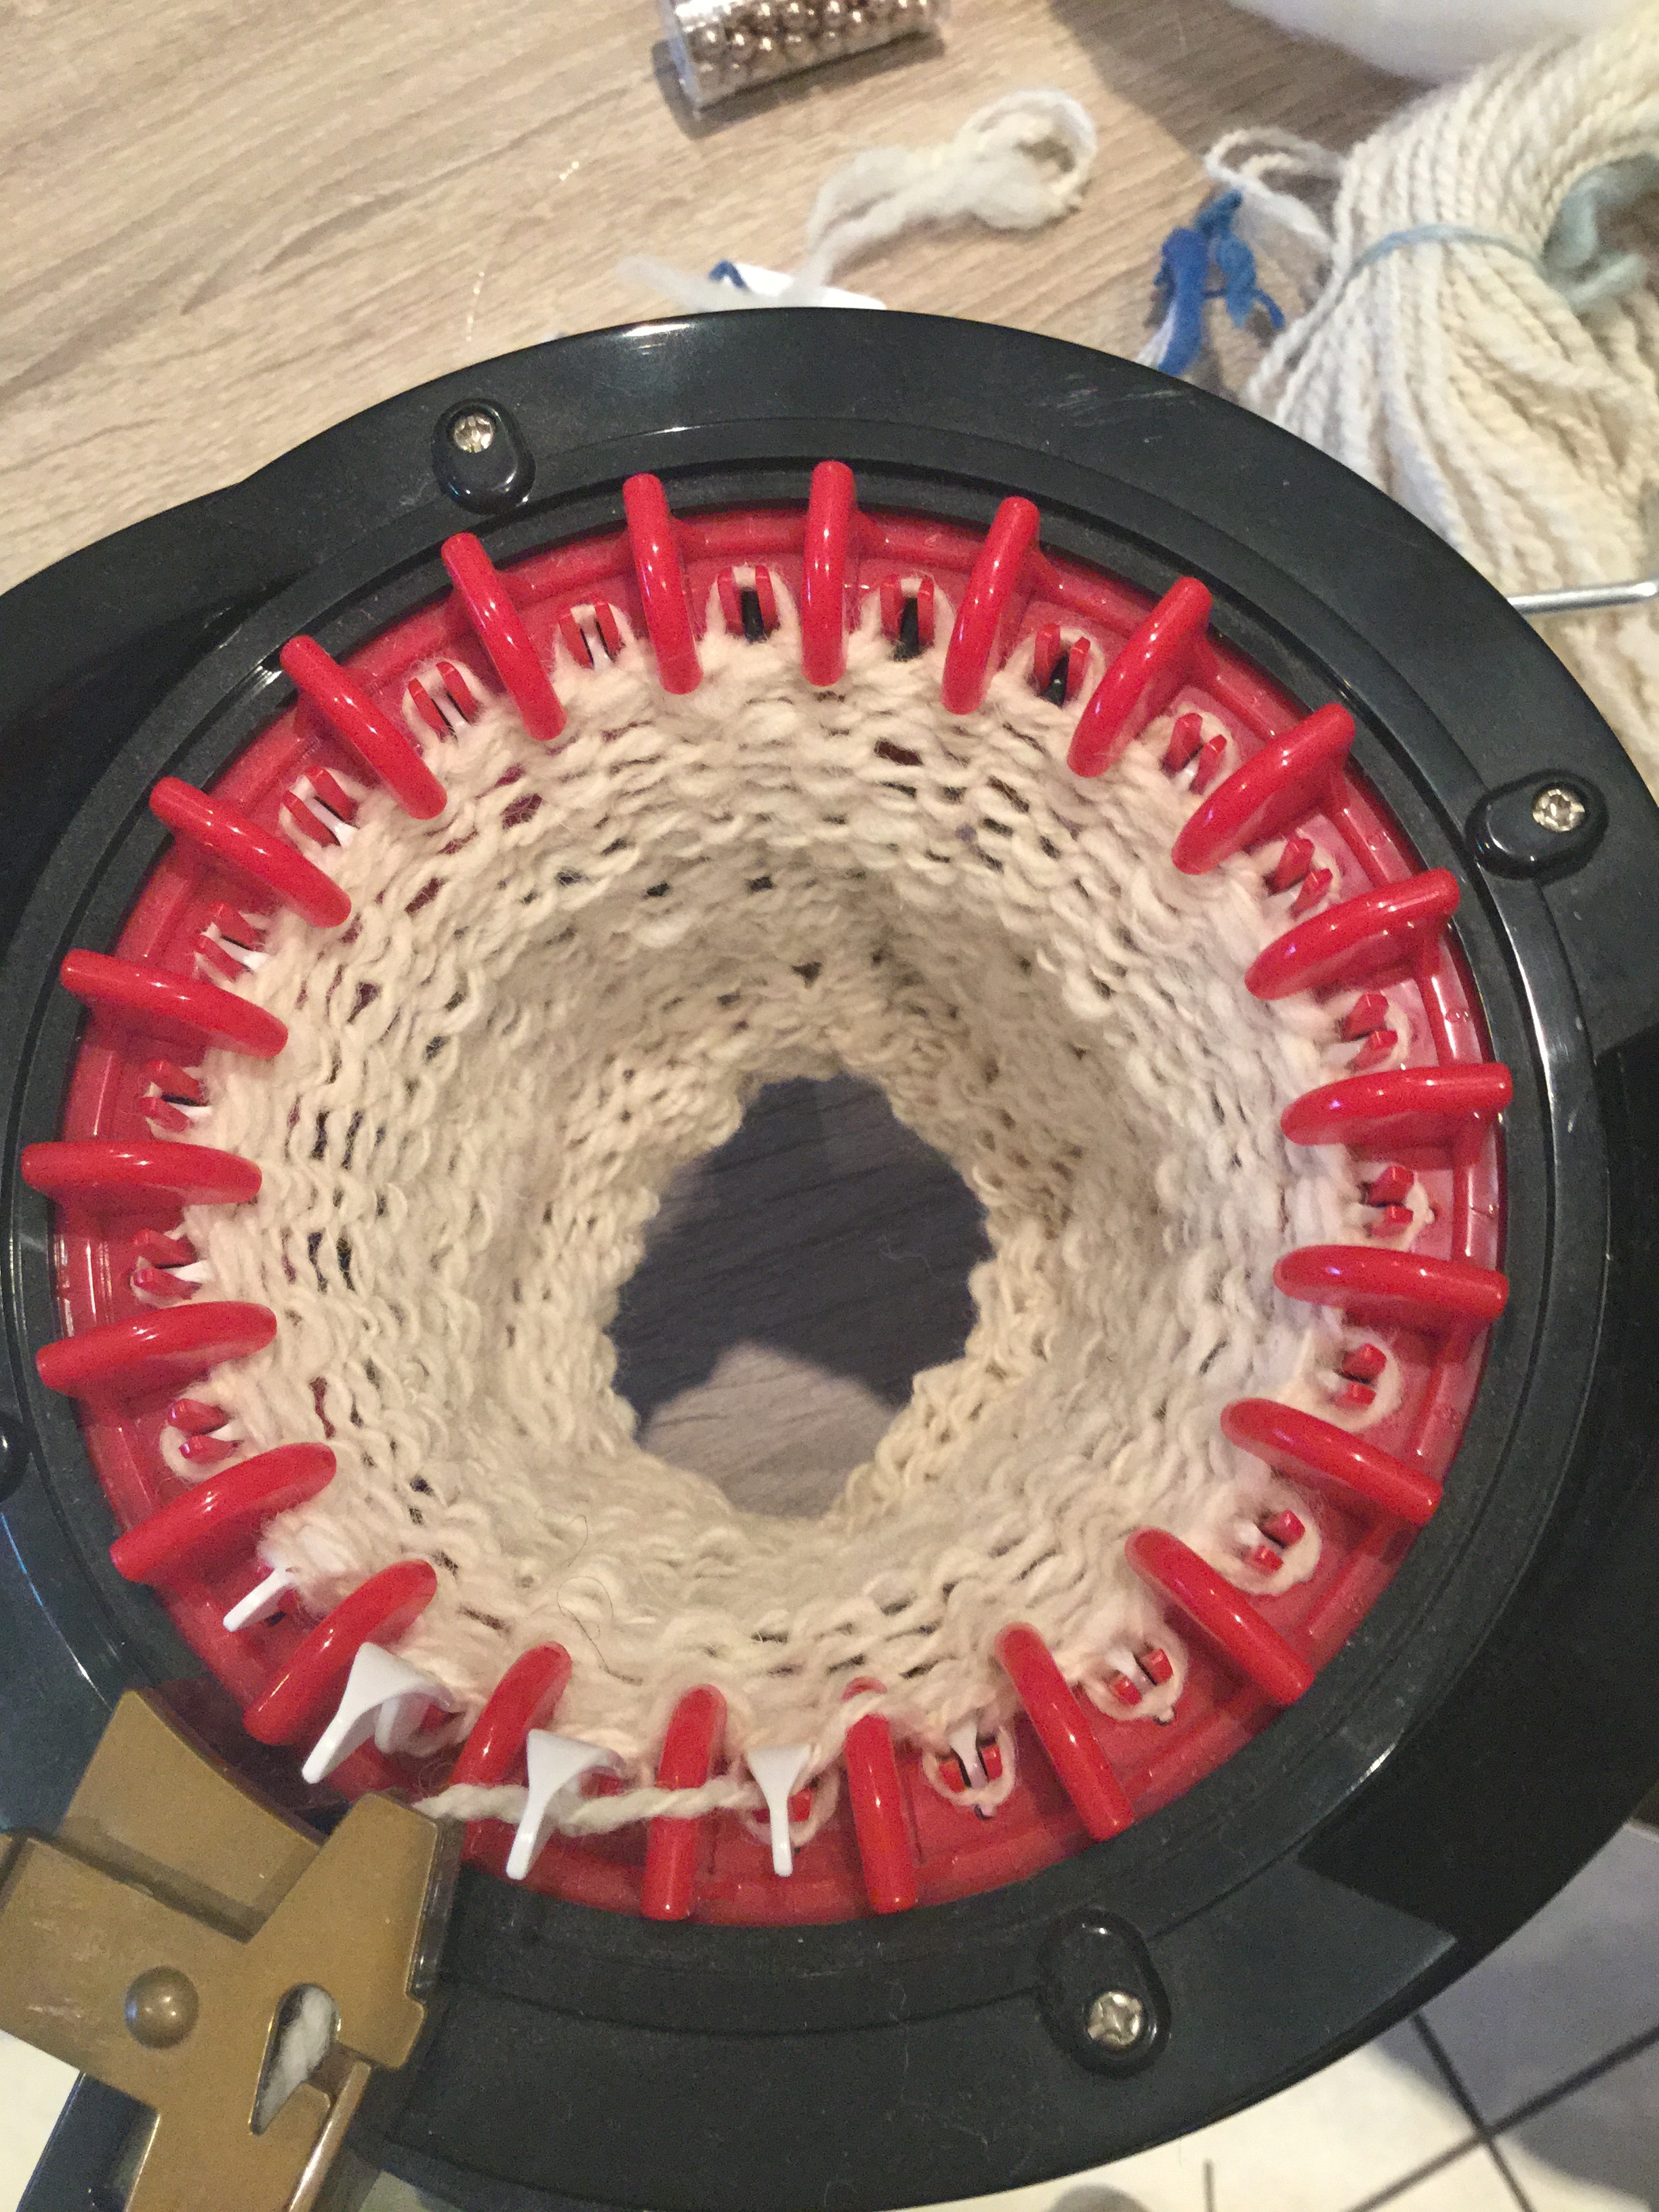
What did I end up doing? My initial attempt at using Kool-aid ended with yarn that I hated. I went off on a tangent and dyed a lot of fiber with candy. I made this project bag. I got Spinner’s Block. I got over it. And in the 11th hour, I spun and dyed this:

Targhee two-ply, dyed with a jawbreaker, tic-tacs and sprinkles, then gradient dyed with red-to-blue Kool-aid.
I didn’t win, but I learned a lot, including an appreciation for dying spun yarn, not just wool. Up next: bring on the natural dyes!