Andrea Mowry and Color Confidence

1

Last October I took a class from Andrea Mowry, of the popular “Fade” patterns on Ravelry, called “Color Confidence”. The class was paid for by a scholarship from my Guild, one of the great benefits of being a member. Her color change patterns are similar to an ombre, but instead of going from light to dark, they go from one color to another. My hope was to learn through her color combination techniques, ways to use various 4oz braids that we all seem to purchase without necessarily having any plan for. Her patterns primarily use the speckled, hand-painted yarns that are so popular right now, but there is a lot of handspun that also ends up being colorfully variegated, so my thought was that handspun would be a reasonable substitution.

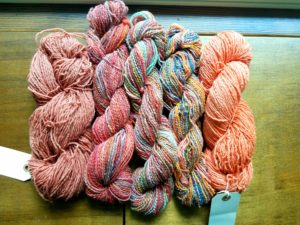
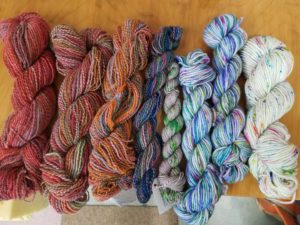
Speckled commercial yarns; hand-dyed handspun yanrs

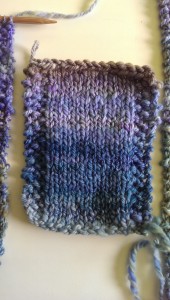
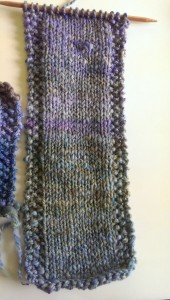
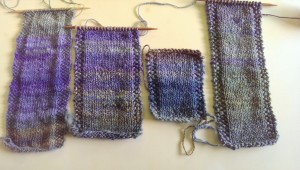
The first part of the class was learning how to do two-color brioche knitting, which is one of her favorite techniques. Although it involves brioche-specific stitch names, once you get the hang of it it’s fairly easy to see how it works, especially if you are using dissimilar colors. It also helped that Andrea was a good, patient teacher! If you think you might be interested in learning the brioche stitch, I would recommend actually taking a class. You will end up with a lightweight, two-sided fabric, with the background color having the effect of “muting” the foreground color.

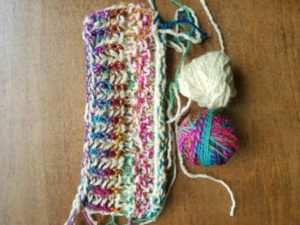
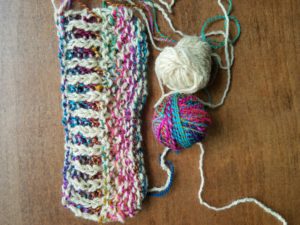
Brioche stitch side A

Brioche stitch side B

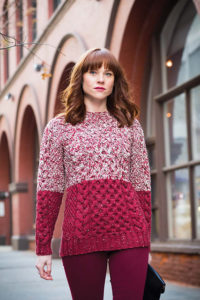
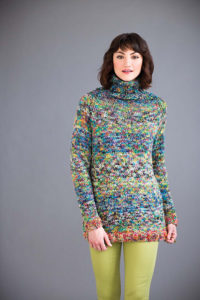
The rest of the class focused on Andrea’s techniques for combining color, or in her words, “painting with yarn”. The first technique she discussed was the marled effect you can get by simply holding two strands of different yarn together and knitting. This look seems to go in and out of fashion, but it’s been very popular in Vogue Knitting for the past several years, and it is an interesting way to do optical blending. This is also easy to replicate with a two-ply barber pole handspun.

Vogue Knitting Late Winter 2017

Vogue Knitting Late Winter 2017

She then discussed color pooling, and how she breaks up the occasional patches of color that can show up in odd places in your knitting. She is a big fan of using textured stitches, like garter stitch and lace patterns, to visually visually break up the pooling. We knit some samples of two yarns held together in garter stitch, and I chose a solid red and a red-with-lots-of-other-bits-of-color handspun, and I was surprised how much the garter stitch toned down all the other colors. Visually the swatch looked mostly red. After thinking about it, I shouldn’t have been so surprised: a yarn that’s 100% red combined with a yarn that’s 50% red will end up looking 75% red. Combining that with garter stitch, where you are basically seeing only every other row, and of course it will tone down the variegation dramatically.

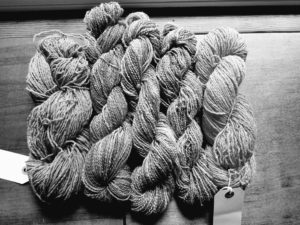
We then talked about color value, or where a particular color falls on a greyscale. For colorwork such as Fair Isle or mosaic knitting, Andrea recommended having high contrast in value, otherwise the finished motif will look “muddy”. For her Fade technique she recommends using a low contrast in value. When considering whether the colors you like actually work together as far as value, she showed us that by taking a black-and-white picture of your fiber on your cell phone, you can easily see if you’ve got a high or low contrast, because the photo will take away the hue and leave only the value. When Andrea picks yarns for her Fade patterns, she is looking for a greyscale gradient.

Natural-dyed and ice-dyed yarns

The same yarns in greyscale

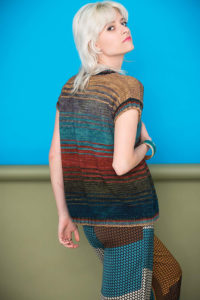
Finally, she discussed how she transitions from one color to the next. She recommends using yarn from the same dyer when you first start trying her patterns, because you will be able to find families of color combinations to help your Fade blend smoothly. If you are the dyer, so much the better! One of her techniques is to use the Fibonacci sequence to gradually decrease one color and increase the next color, rather than just dropping one color and starting the next.

An example of the Fibonacci sequence, Vogue Knitting Early Fall 2017

Reverse stockinette stitch will hide lines between color changes more easily than regular stockinette. Adding mohair or another fiber with halo will help blur or “fuzz out” color changes. And finally, you can always Fade into a neutral!

For me, the biggest tip was her advice, when choosing colors, to pick something that will look good with your skin tone at the part that’s going to be up by your face. That way your finished project will look good on you, and you will still have the freedom to experiment with colors that you wouldn’t normally think you can wear.

Taking this class really made me consider the role that stitch texture and the physical structure of the yarn being used plays in the perception of color, which I will definitely keep in mind for future projects. Added to that, Andrea was charming and generous with her knowledge: if you are a class-taking sort of person, I would certainly recommend her.
How To Cheat at Yarn Samples

2

I’m a half-hearted swatcher at best. And I’m lazy. If I have a very specific project in mind then I’ll sample and swatch to make sure the colors, gauge and finished knit sample are what I want. But I will also admit to buying pretty dyed braids solely because I’m intrigued by the color combinations…and I will just sit and admire them without a plan to best showcase them. I hate doing spinning swatches with these braids, in part because I only have 4oz in that colorway, and if I don’t like the result I end up with less finished product once I come up with something I do like.

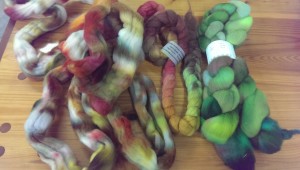
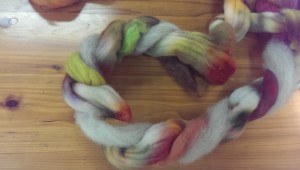
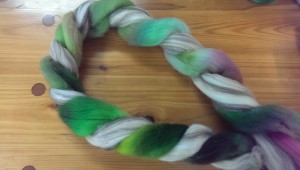
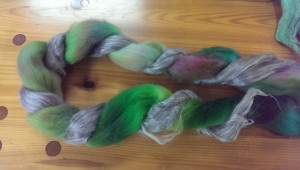
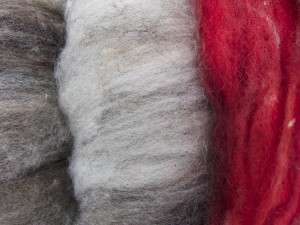
I bought these three braids last year, thinking they went together color-wise. I’m sure I could make a Knitty möbius shawl, or I could send them through the drum carder a little and they would blend together nicely. But I bought these braids because the colors are placed together as they are, and I’m interested in how plying can bring out the best (or not) in a finished yarn.

What to do with you braids?

What to do with these braids?

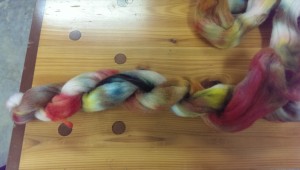
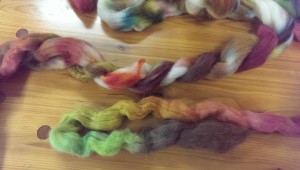
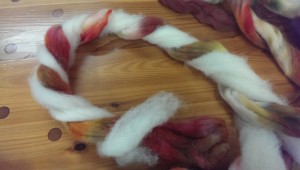
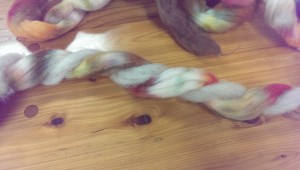
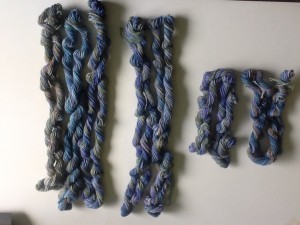
I had an idea: if I treat each braid as a macro single, I can get a reasonable idea of how any sort of finished yarn would look. It’s not a complete replacement for making sample yarn, but it gives a fair idea of how the end result will read. I simply put some twist into the roving and away I went. Here’s the roving on the left, plied onto itself:

Two-ply

Two-ply

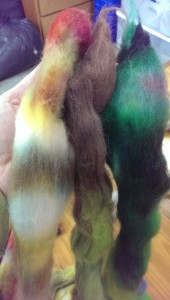
All the white in that braid really shows up. It’s kind of busy. Here it is as a two-ply with the alpaca braid in the center of the first photo:

image

Two-ply with alpaca braid

This isn’t displeasing to me. The alpaca definitely cuts down on all the white.

Here are the three braids plied together in a three-ply:

Three braids...

Three braids…

image

…three-ply

Now that I look at them like this, I can see that the sea-foam blue in the mostly-green braid really doesn’t look good to me with the other colors. What are you doing there, sea-foam?! The good news is, I haven’t spun any yarn yet.

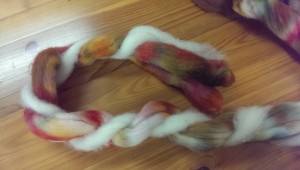
Here are some more options, plying with white Shetland roving from my sheep:

Two-ply

Two-ply

image

three ply

I like the two-ply, I think the three-ply has too much white. However, with the right project it could be nice.

Some more options, with a natural brown ply:

Two-ply with brown

Two-ply with brown

Three-ply with brown

Three-ply with brown

Three-ply with alpaca and brown

Three-ply with alpaca and brown

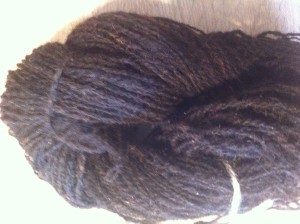
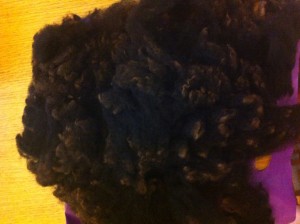
I think if the brown roving was a little richer in color it would look fabulous. I could either over-dye that brown roving, or actually clean and card the lovely brown fleece from Charlie that’s sitting in the barn.

Here’s what I finally ended up with, and the good news for me is that it might enable me to start in on a project that I’ve had in mind for a while. I split the difference between the brown and the white roving, and tried a white with red-tipped Shetland lambswool fleece that I bought:

Brown and white heathered roving

Brown and white heathered roving

Two-ply

Two-ply

Three-ply with heathered roving and alpaca

Three-ply with heathered roving and alpaca

I really like this. The bright colors pop without being too garish. I think it will be a pretty, interesting yarn that I will be excited about spinning and knitting with.

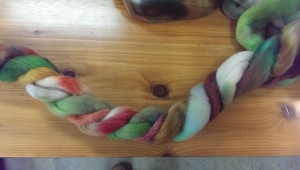
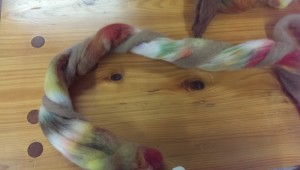
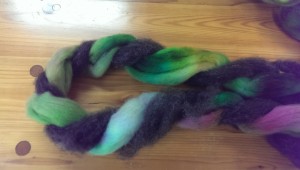
Now for the green braid that didn’t actually go with the other two. I sort of assumed I’d ply it with black:

Two-ply with charocal

Two-ply with charocal

But that sea-foam is still a problem to me!

image

Two-ply with cyan

Again, the white parts just really stand out in a clunky way for me.

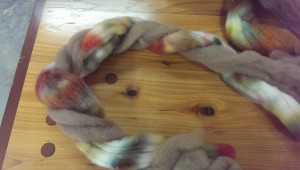
Here we have plied with a natural-colored merino blend:

Blended colored merino roving

Blended colored merino roving

image

Two-ply

I like this better than plied with the dark colors, which surprises me. If I’d been spinning to swatch I don’t think I’d have even bothered to try this. The other thing I like about this technique is that I can get an idea of how the barber-pole striping might look.

I also like this option, plied with a yak/silk blend:

Two-ply with yak/silk

Two-ply with yak/silk

For me, this is the winner. This might motivate me to spin up some Blue-the-goat mohair and do a boucle with this. In any event, I’m excited about this braid again, instead of feeling vaguely guilty that I haven’t done anything with it.
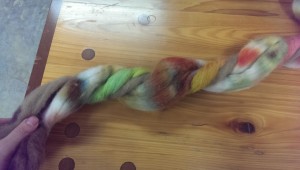
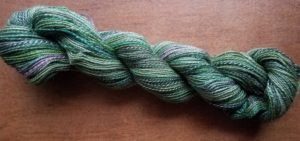
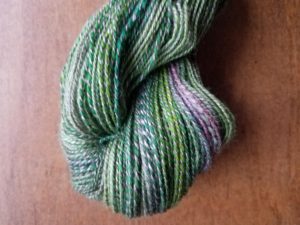
Update: here is that green braid actually spun up with the yak/silk. As I was playing it I felt disappointed in the result, but once I skeined it, it really loosks just like my quick sample, except much, much nicer:


Here is La Technique:

image image image


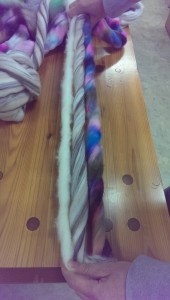
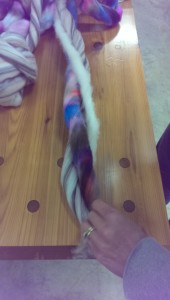
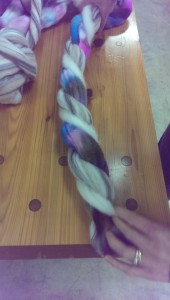
Add twist (in the same direction) to your “singles”. Hold them together, then turn them back around each other in the opposite direction until you have a nice ply. It took me just a little practice to get the hang of it, and now I can make mock-ups of all kinds of yarns. I’m pretty excited about this, because now I can make decisions without making any commitments.

Gift Ideas for the Fiberista

2

Rachel suggested we put together a list of fun or useful gifts for the fiber fanatics in your life. Which is funny, because every year before Rachel’s birthday or Christmas I get an email from her husband asking for gift suggestions. In Rachel’s case I’m at an advantage, because we talk about our fiber plans daily, but putting this list together I’m at a disadvantage because nothing on this list is on the list I made for Rachel’s husband! My spinning Guild also has it’s year-end gift exchange in a couple of weeks, so it seems like there’s always an opportunity to buy (or make!) a well-received gift.

Here are some useful tools:

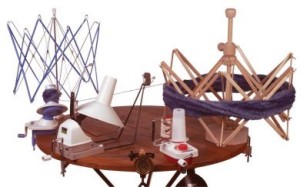
a ball winder

a ball winder with yardage counter

a yardage counter

a swift

Ball winders and swift

Ball winders and swift

a niddy noddy. Make a custom-sized one on the cheap out of PVC.

small scissors

measuring tape

a wraps-per-inch gauge

blocking pins

a diz:

Diz

a hackle

a blending board

a dog comb or flick carder for preparing fleece

a few extra bobbins for their spinning wheel. These are always welcome, but be sure you know what kind of wheel your friend has—different manufacturers make different sizes and they’re not always interchangeable.

soap nuts

spinning wheel oil! I’m always having to depend on my fellow Guild members when my wheel starts whining during meetings, because I don’t have a small travel tube of it.

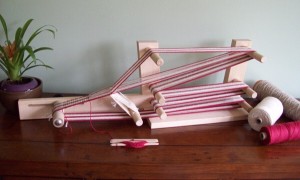
Does your friend weave? How about a travel loom, a pin loom or an inkle loom? There are plenty of instructions online on how to make a PVC inkle loom.

Inkle loom

Inkle loom

Does your friend only spin wool or alpaca roving? Maybe a gift of cotton, flax, an interesting synthetic fiber, or silk hankies. Rachel and I have found that spinning different types of fibers really helps with our overall technique. A tip: if you give silk hankies, include a bottle of talcum powder. It smooths over the rough places in your hands and makes mawata spinning a breeze.
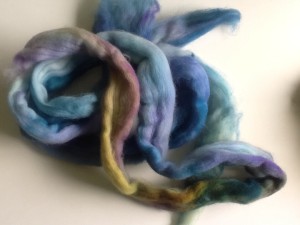
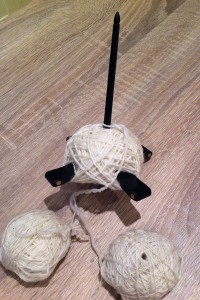
Does your friend have a drop spindle? A Turkish drop spindle? There are lots of beautiful hand-made spindles out there. Look on Etsy or search online for hand-crafted spindles.

Turkish spindle

Turkish spindle

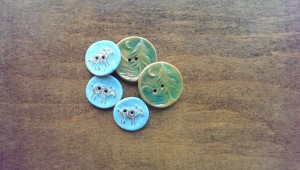
Notions. I love giving and receiving buttons. I find they inspire new projects, and you can usually find designs for anyone’s favorite interests. Etsy is also a great place to find handmade notions and shawl pins, by artists local to your area or from around the world.

Locally crafted ceramic buttons made by BeadFreaky that I found on Etsy

Locally crafted ceramic buttons made by beadfreaky that I found on Etsy

A salad spinner. These work great for getting the wet out of small batches of fiber. If you think your recipient will be confused, include a little unwashed fiber in the basket. Another tip: if your friend is in need of a salad spinner for, well, salad, definitely get her two! Thrift stores are a great place to find perfectly good second hand salad spinners for fiber processing.

Knitter’s graph paper. Great for charting things or keeping track of where you are in a pattern (ahem, Rachel). We happen to have a handy-sized Sheep Cabana version available in our brand new Etsy shop:

Sheep Cabana Knitter's Graph Paper

Sheep Cabana Knitter’s Graph Paper

Books. We are a bit on the fence about books. I like ones that are reference books, stitch dictionaries, and other how-to types.

If your friend really likes making socks, the latest sock-pattern book might be up his alley. I would check out his library first. Your friend’s Ravelry queue or Pinterest boards are also good places to check for favorite designers and designs. Some designers on Ravelry also give the option to gift patterns electronically, which is great. Support your indie designers!

There are some novelty books out there which non-knitters tend to give knitters. Coffee table books, if you will. If you’re tempted by something like that, ask yourself how many faux-taxidermy meerkats or rustic-modern crochet ponchos your friend is going to make. If it’s a resounding “That many!” then go for it. But still: if your friend has an e-reader, consider the e-version of the book.

One last idea is project bags and small notions cases. Lots of people make these, probably people you already know in your Instagram feed.

If I’ve left anything off this list, it’s because it’s on Rachel’s surprise list. However, as far as gift giving goes, if in the long run your recipient would rather have something useful than be surprised, just ask them what they might want! I find that that’s often the most appreciated gift of all.


Plying is Blending

2
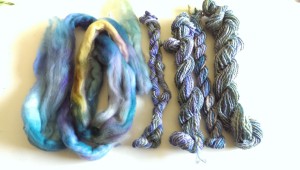
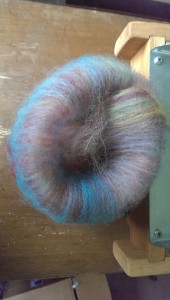
Malabrigo Nube roving Indiecita colorway

Malabrigo Nube roving Indiecita colorway

During my candy-dyeing experiment, I made roving that I was pleased with, but once I’d spun it and plied it with itself, I didn’t like the resulting yarn. I couldn’t find anything on the interwebs about how color changes through plying the same colorway. There are numerous examples of plying with neutrals, and there’s this nice Knitty article about how color changes when drafting vs. plying. So this experiment is to try and sort out how color changes through plying within the same colorway.

Here’s my singles laid out for plying: (from left to right) a single, chain-ply three-ply, two-ply, and three-ply.

Singles for plying

Singles for plying

Here they are plied:

Roving, single, two-ply, chain-ply three-ply, three-ply

Roving, single, two-ply, chain-ply three-ply, three-ply

The three-ply appears obviously different. But the proof is in the pudding (or as Rachel says, the proof of the pudding is in the tasting), so I did some swatching:

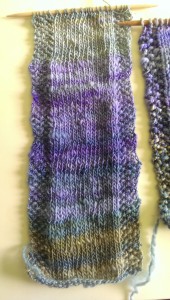
Single ply yarn

Single ply yarn

I didn’t really enjoy spinning this roving because it was a bit felted and didn’t draft very well. This resulted in a slubby single, but knit up I like the texture the slubs add. The colors and striping are the same as the roving. So if I like how it looks as a single, any plying is going to modify the colors and texture.

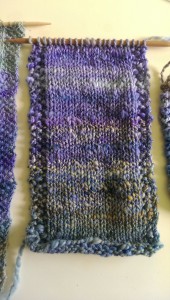
Two-ply

Two-ply

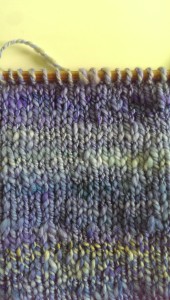
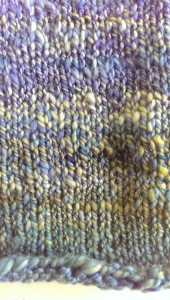
This swatch ended up being the most dynamic, color-wise. The areas of high contrast (the yellow bits) give it a marled look. Depending on the project, this could add a great deal of interest, or just make it busy. There is some color striping but it’s pretty random. The areas of low contrast, with blues plied with each other, are less vibrant than the same color in the single.

Two-ply close-up: muted blues

Two-ply close-up: muted blues

Two-ply close-up: marled yellows

Two-ply close-up: marled yellows

The chain-plied three-ply I expected to maintain the striping of the single swatch, just with thicker yarn, but the plying softened the color changes, and actually muted the colors:

Chain-ply three-ply

Chain-ply three-ply

I picked the three most contrasting singles for the three-ply to try and get the maximum color variation:

Three-ply

Three-ply

The color changes have been blended out, so while there are areas of different color, the overall effect is a very gradual shift. Except for one spot where all the slubs lined up, the slubbiness is gone too. I have an automotive background, so this really reminds me of a three-phase alternator, so made to cut down on the low-spots in alternating current and provide a smooth, constant flow:

It's all about the math!

It’s all about the math!

So: when plying with the same colorway, the ply is going to change the color. A two-ply will only have half of each each single, a three-ply will only show a third of each single. I definitely should have swatched the single I’d spun from my candy-dyed roving to see if I liked it as-is. Swatch early, swatch often!

image

Get Carded Sideways

1

In one of the rabbit-warrens of the internet I stumbled across this blog blurb by Stephanie Pearl-McPhee (aka the Yarn Harlot) about sending fiber through your drum carder sideways. I immediately alerted Rachel, that this might be a thing. We had to put it to the test.

I started with a Corriedale batt that I’d already sent through the carder normally:

Corriedale batt

Corriedale batt

I split it in half and sent one half through again sideways:

What! That orientation is wrong!

What! That orientation is wrong!

This is the result. The sideways batt feels thicker and fluffier. I should also note that the fiber piled up in the middle of the drum instead of being spread out evenly.

Left, standard carding, right, sideways carding

Left, standard carding, right, sideways carding

As a different test, I sent an assortment of different staple lengths and fibers through. Longwool, and very crimpy short wool. I didn’t pick the crimpy short wool apart.

Sideways potpourri. This makes it scientific.

Sideways potpourri. This makes it scientific.

Here’s the resulting batt. Then I spun it all up.

Assorted wools batt

Assorted wools batt

Rachel here: Excuse me while I butt into Sal’s post. First of all can I just echo the WTFness of this sideways drumcarding development. Imagine me sort of open mouthed and wondering wha??? and ??? And thinking, well if the Yarn Harlot AND Judith McKenzie say this is The Done Thing, well….

Like Sal, I had to try this sideways drum carding myself. Sal has already described what happens–smaller, fluffier batts. That’s what I found too. Instead of thick and sometimes compacted batts you get fluffy rolags, like the ones you would make on hand cards–but bigger.

These were very easy to spin, like rolags. There was none of that peeling apart and fussing around with a big batt. It was all the good aspects of a hand carded rolag, only bigger and no sore wrists.

Some of the fiber I used was polwarth/silk roving that’s been in my stash for awhile. It opened up nicely when carded sideways and was a breeze to spin.

Lastly I put some scoured fleece (just washed, undyed, still a bit of a mess) through sideways. Here I didn’t see a huge difference putting unprocessed fleece through sideways. The batts were about the same. Having said that, once I get to the stage where I’m going to blend some of this fleece with another fiber or other colours, I’ll be doing that sideways. I like those big, fat rolags!

Longwool single, twist set

Longwool single, twist set

Sally here again: I agree with Rachel, it does make easy-to-spin batts, especially with the longwool blend I tried. I suspect this may be because, by sending the wool through sideways, I’m actually spinning on the fold with the long fibers. I was also able to maintain some of the crimpy locks, which would have been carded apart going through aligned. I think this is definitely a great way to do an art batt.

Test single, both standard carding method and sideways

Test single, both standard carding method and sideways

When I was spinning the batt that was half normal/half sideways, I noticed a definite difference in how the yarn felt while spinning, which I would attribute to a worsted vs. woolen preparation. The sideways portion looked like it was going to have more of a halo due to the fibers not being lined up. If I look very closely, they may be slightly fuzzier, but after washing and setting the twist on the single, there is really very little difference.

So what do you think, Rach, is this actually a thing? My take, it’s definitely not NOT a thing!

Rachel: Sal, I have to agree with you. Not a Thing. I wouldn’t advocate a sideways-only approach to drumcarding. If you want to spin rolags, yes go sideways. If you want to open up some compacted roving, go sideways. But sideways only? I’m not so sure about that.

What I would suggest is being careful about how much fiber you load onto your drumcarder. Don’t overload.


Spinning in the grease

3

Sally and I talk about fiber preparation a lot. Conversations usually start off with a confession.

Rachel: “Um I just bought more fleeces.”

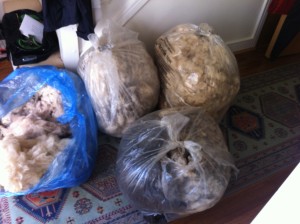
OMG! Where did these come from???

OMG! Where did these come from???

Sal: [laughs] “What are you going to do with them?”

Rachel: “Well right now, they’re in my closet.”

Then we discuss all the processes we could use to turn the raw fleece into The Ultimate Yarn. There’s scouring, combing, carding, dyeing and blending. Then there are infinite techniques–have you heard of the Fermented Suint Method for scouring fleece? Do you card your fleece or comb it? Do you put your fiber into the drumcarder sideways?

Last fall, after buying a few more Shetland fleeces I was so excited to try them out on the wheel that I pulled off some locks and started spinning. No fiber prep at all.

Spinning in the grease isn’t something I usually do, but a lot of spinners do. These are the people who look at you funny when you start talking about scouring fleece and the other fifteen steps you’re going to take before you spin any yarn.

What I learned was spinners who advocate spinning in the grease have a point. One is, if you have a beautiful fleece with nice crimpy locks, it’s a shame to process that out. It’s fine just to tease the locks out a little with your fingers and start to spin. I would recommend, however, picking through the fleece first and removing the dags (poo) and larger bits of vegetable matter. You don’t want that.

Here’s some Shetland spun in the grease. The yarn plumped up nicely after washing.

Shetland spun in the grease

Shetland spun in the grease


Shetland after washing

Shetland after washing

Here’s some Zwartables I spun in the same way.

Zwartables spun in the grease

Zwartables spun in the grease

Zwartables fleece

Zwartables fleece

Yes it is a bit smelly and you should clean your wheel afterwards. Really the final result is the same as if you’d spent days scouring and carding and combing and all the rest.

Safety Note. You do need to be careful handling raw fleece. Pregnant women should not handle raw fleece. Be aware that raw fleece is likely to have sheep excrement on it–so avoid handling that with bare hands. Choose from the sections of the fleece that’s not near the animal’s rear end. Give your hands a thorough scrub when you’re finished. Then wash them again!

From fleece to fair isle, part 1

0
Fair isle is trendy

Fair isle is trendy

For at least 18 months I’ve been telling Sally how trendy fair isle is. “It’s so trendy,” I say. “Look at how many fair isle designs are in the magazines!”

In theory, I love fair isle. The the colors and miniature designs are enchanting. I’ve bookmarked loads of fair isle patterns on Ravelry and I’ve amassed a pile of magazines full of patterns. Alice Starmore’s Book of Fair Isle Knitting is on my shelf and I’ve mentally knit every Kate Davies pattern. Mentally. I admit I’ve bought a few fair isle sweaters to soothe the fair isle itch.

I’ve knit a couple of fair isle items, but spinning yarn to knit up in fair isle intimidates me. Getting the gauge and color right just seems hard, especially if I were doing a whole sweater. So I’ve put it off.

Until the other day when I was beset by a fit of madness. The sun was shining and I set up the drumcarder on a table in the garden and started cranking out some batts. The idea being to spin up some yarn to make two fair isle hats.

Now the question is how do I turn this hodgepodge of fiber:

Hodgepodge

Hodgepodge

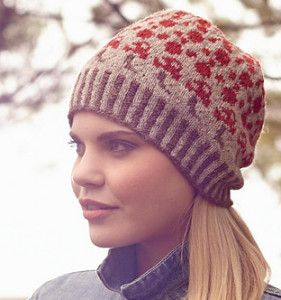
Into the Toadstool Hat.

toadstool hat

toadstool hat


After a bit of carding–using both the drum carder and hand cards–I came up with some shades that at least resemble the ones used in the patterns. I’ve used a real hodgepodge of fiber–shetland (some from Sal’s sheep Blackberry!), finn, a little alpaca here and there as well as some merino from the depths of my fiber stash.

Batts

Batts

Like I said, getting the shades to approximate those in the patterns will be a challenge. I’m not going to be upset if they’re not the perfect hue. Some of these will require further blending with hand cards before spinning. Hand cards are not just a color blending tool, but fabulous fiber fluffers. On a project like this spinning from fluffy rolags will be perfect.

What I am concerned about is thickness of the singles and the finished plied yarn. My yarn always tends to be a bit on the thick side. However I do have some Jamieson 2-ply to show me exactly what I’m trying to achieve. I’ve also dug out my yarn gauge.

Another resource is the Spin your own Fair Isle kit article from Knitty, which got me started on this in the first place. Lots of good advice and step-by-step instructions.

Now for the spinning.