Small: Why spin with a spindle?

2

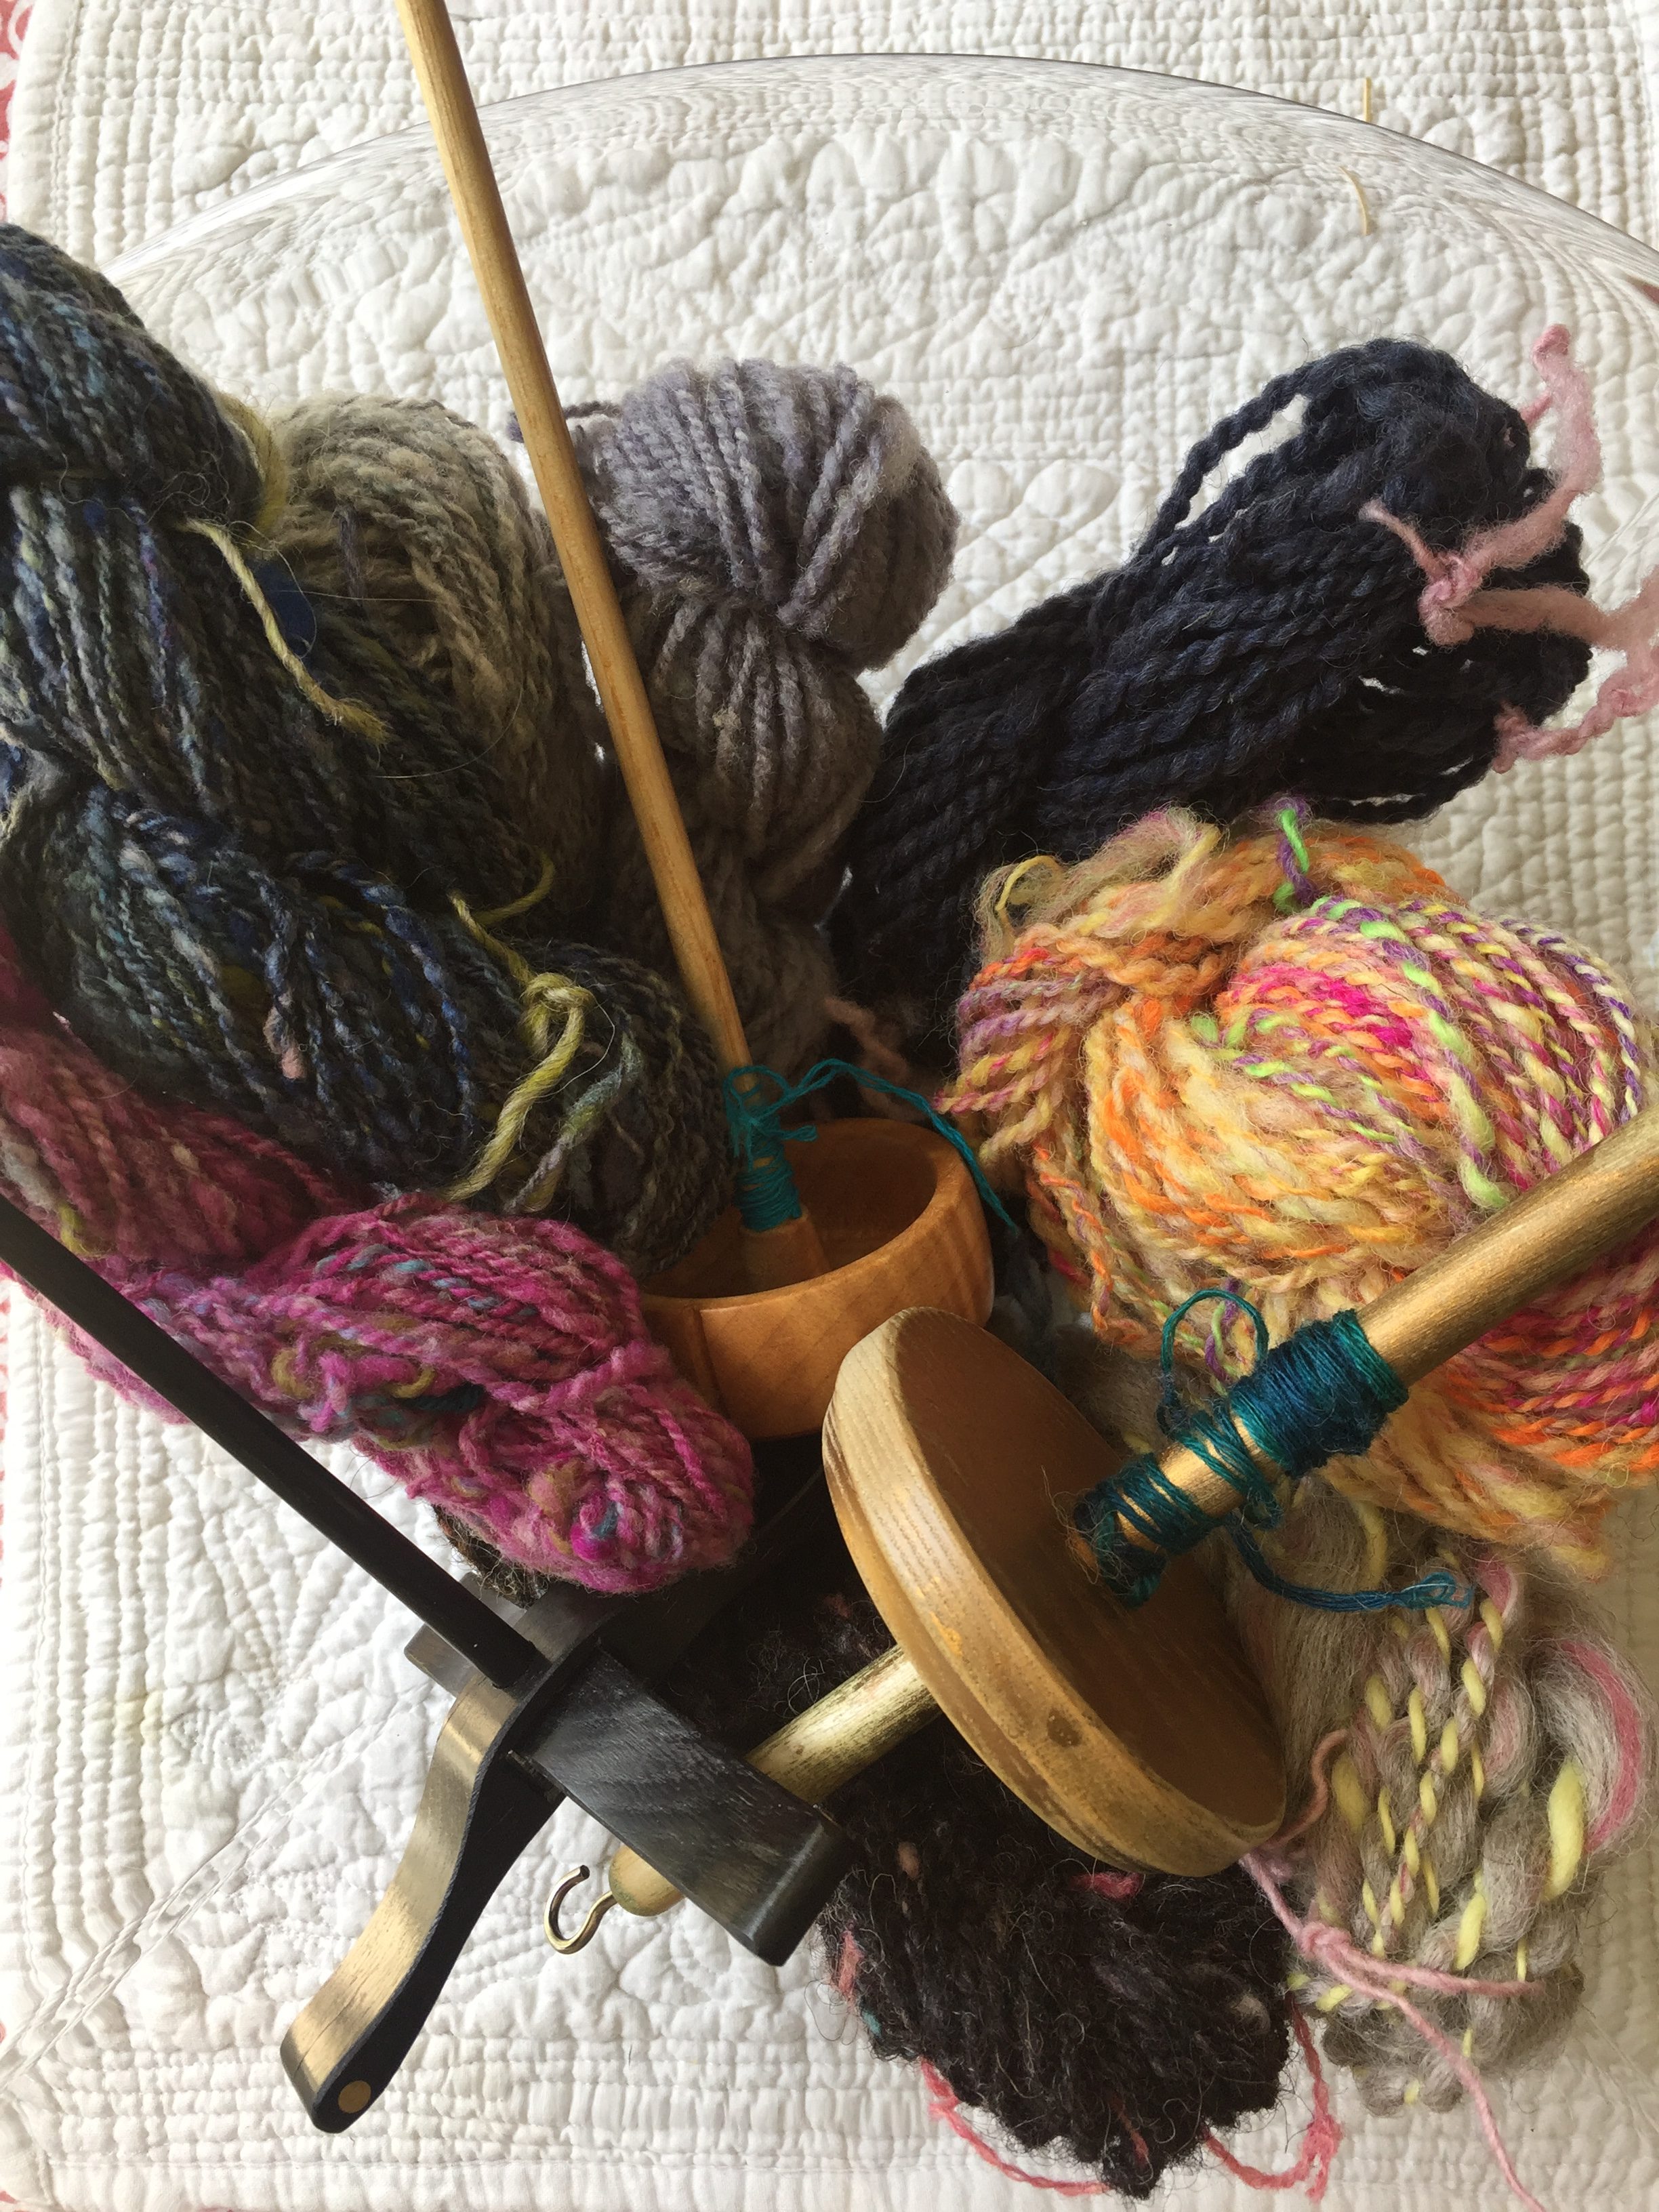
Spindles and mini skeins

Spindle spinning is cool. There are loads of devoted spindle spinners out there and those of us who favour our wheels are missing out. What do they know that we don’t?

Picking up a long thread 

Humans have used spindles–and even simpler sticks–to spin fiber into yarn for thousands of years. For me, using a spindle is a bit like time travelling with yarn. When I pick up my spindle I’m doing something very similar to our ancestors. That’s a powerful thing, literally picking up the thread begun by people who lived in a world completely different to mine. It’s a point of commonality–making threads to weave and clothe ourselves. 

Imagine how much work went into making garments before that process became industrialised. Clothing was something people held onto and mended. The idea of clothing shops, let alone throw-away fashion would have been unfathomable. 

Spindling reminds me of that.

Spindle as a symbol of female power 

Archeologists find whorls in excavations all over the world. Some viking women were buried with their spindle whorls (the weight) and weaving tools.

“[T]he presence of gendered goods at Viking controlled territories is a concrete indication of female burials. These gendered goods include “(pairs of) oval brooches, disc brooches, trefoil buckles, arm rings, necklaces, caskets, spindle whorls.” (Women Traders of the Viking Age: An Analysis of Grave Goods)
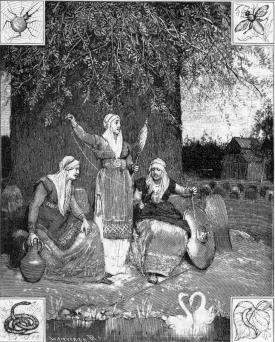
Norns

The spindle and weaving tools was associated with female power in some ancient Northern European traditions.

“According to Norse mythology, aristocratic women were associated with the Norns—the mystical weavers of fate who could spin or cut off the threads of human life and destiny. High status women were, therefore, felt to have an ability to influence fate.” (Ancient Scandinavia: Viking Women)

“She had the body of a Venus… with arms”

Venus: without arms

How is it the dumbest AC/DC lyric reminds me of spinning? Well. You know Venus. She’s the armless statue in Paris’ Louvre Museum. People like to take selfies with her. There are people out there who wonder what the Venus de Milo was doing… when the statue had arms. Some people believe she may have been spinning.

“One idea in particular piqued the interest of Elizabeth Wayland Barber, a professor emeritus at Occidental College who wrote the book Women’s Work: The First 20,000 Years. Perhaps, Barber thought, Venus was spinning thread. Spinning in ancient Greece had associations with fertility and sex — fitting for the goddess of love and reproduction. Women created thread, seemingly from nothing but a bit of fluff, similar to the mystery of birthing babies. Also, women on Greek vases depicted spinning are actually prostitutes occupying themselves as they wait for clients.” (Smithsonian Magazine)

The idea of a spinning Venus de Milo was tested by Virginia Postrel who hired San Diego-based designer and artist Cosmo Wenman to create a 3D model of Venus spinning. She talks about that process in a 2015 Slate article.


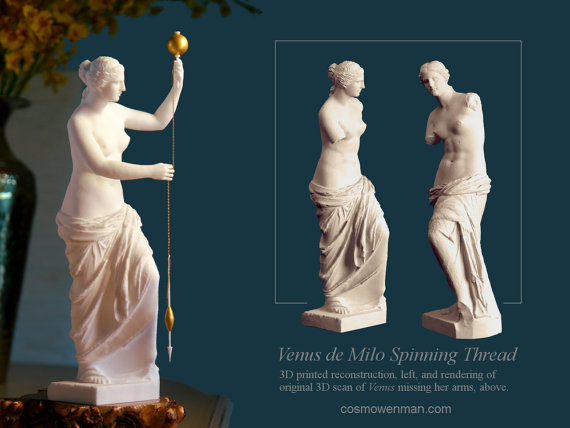
Cosmo Wenman’s Venus Spinning, arms imagined


The model he made is now in a museum in Switzerland–just in case you want to check it out.

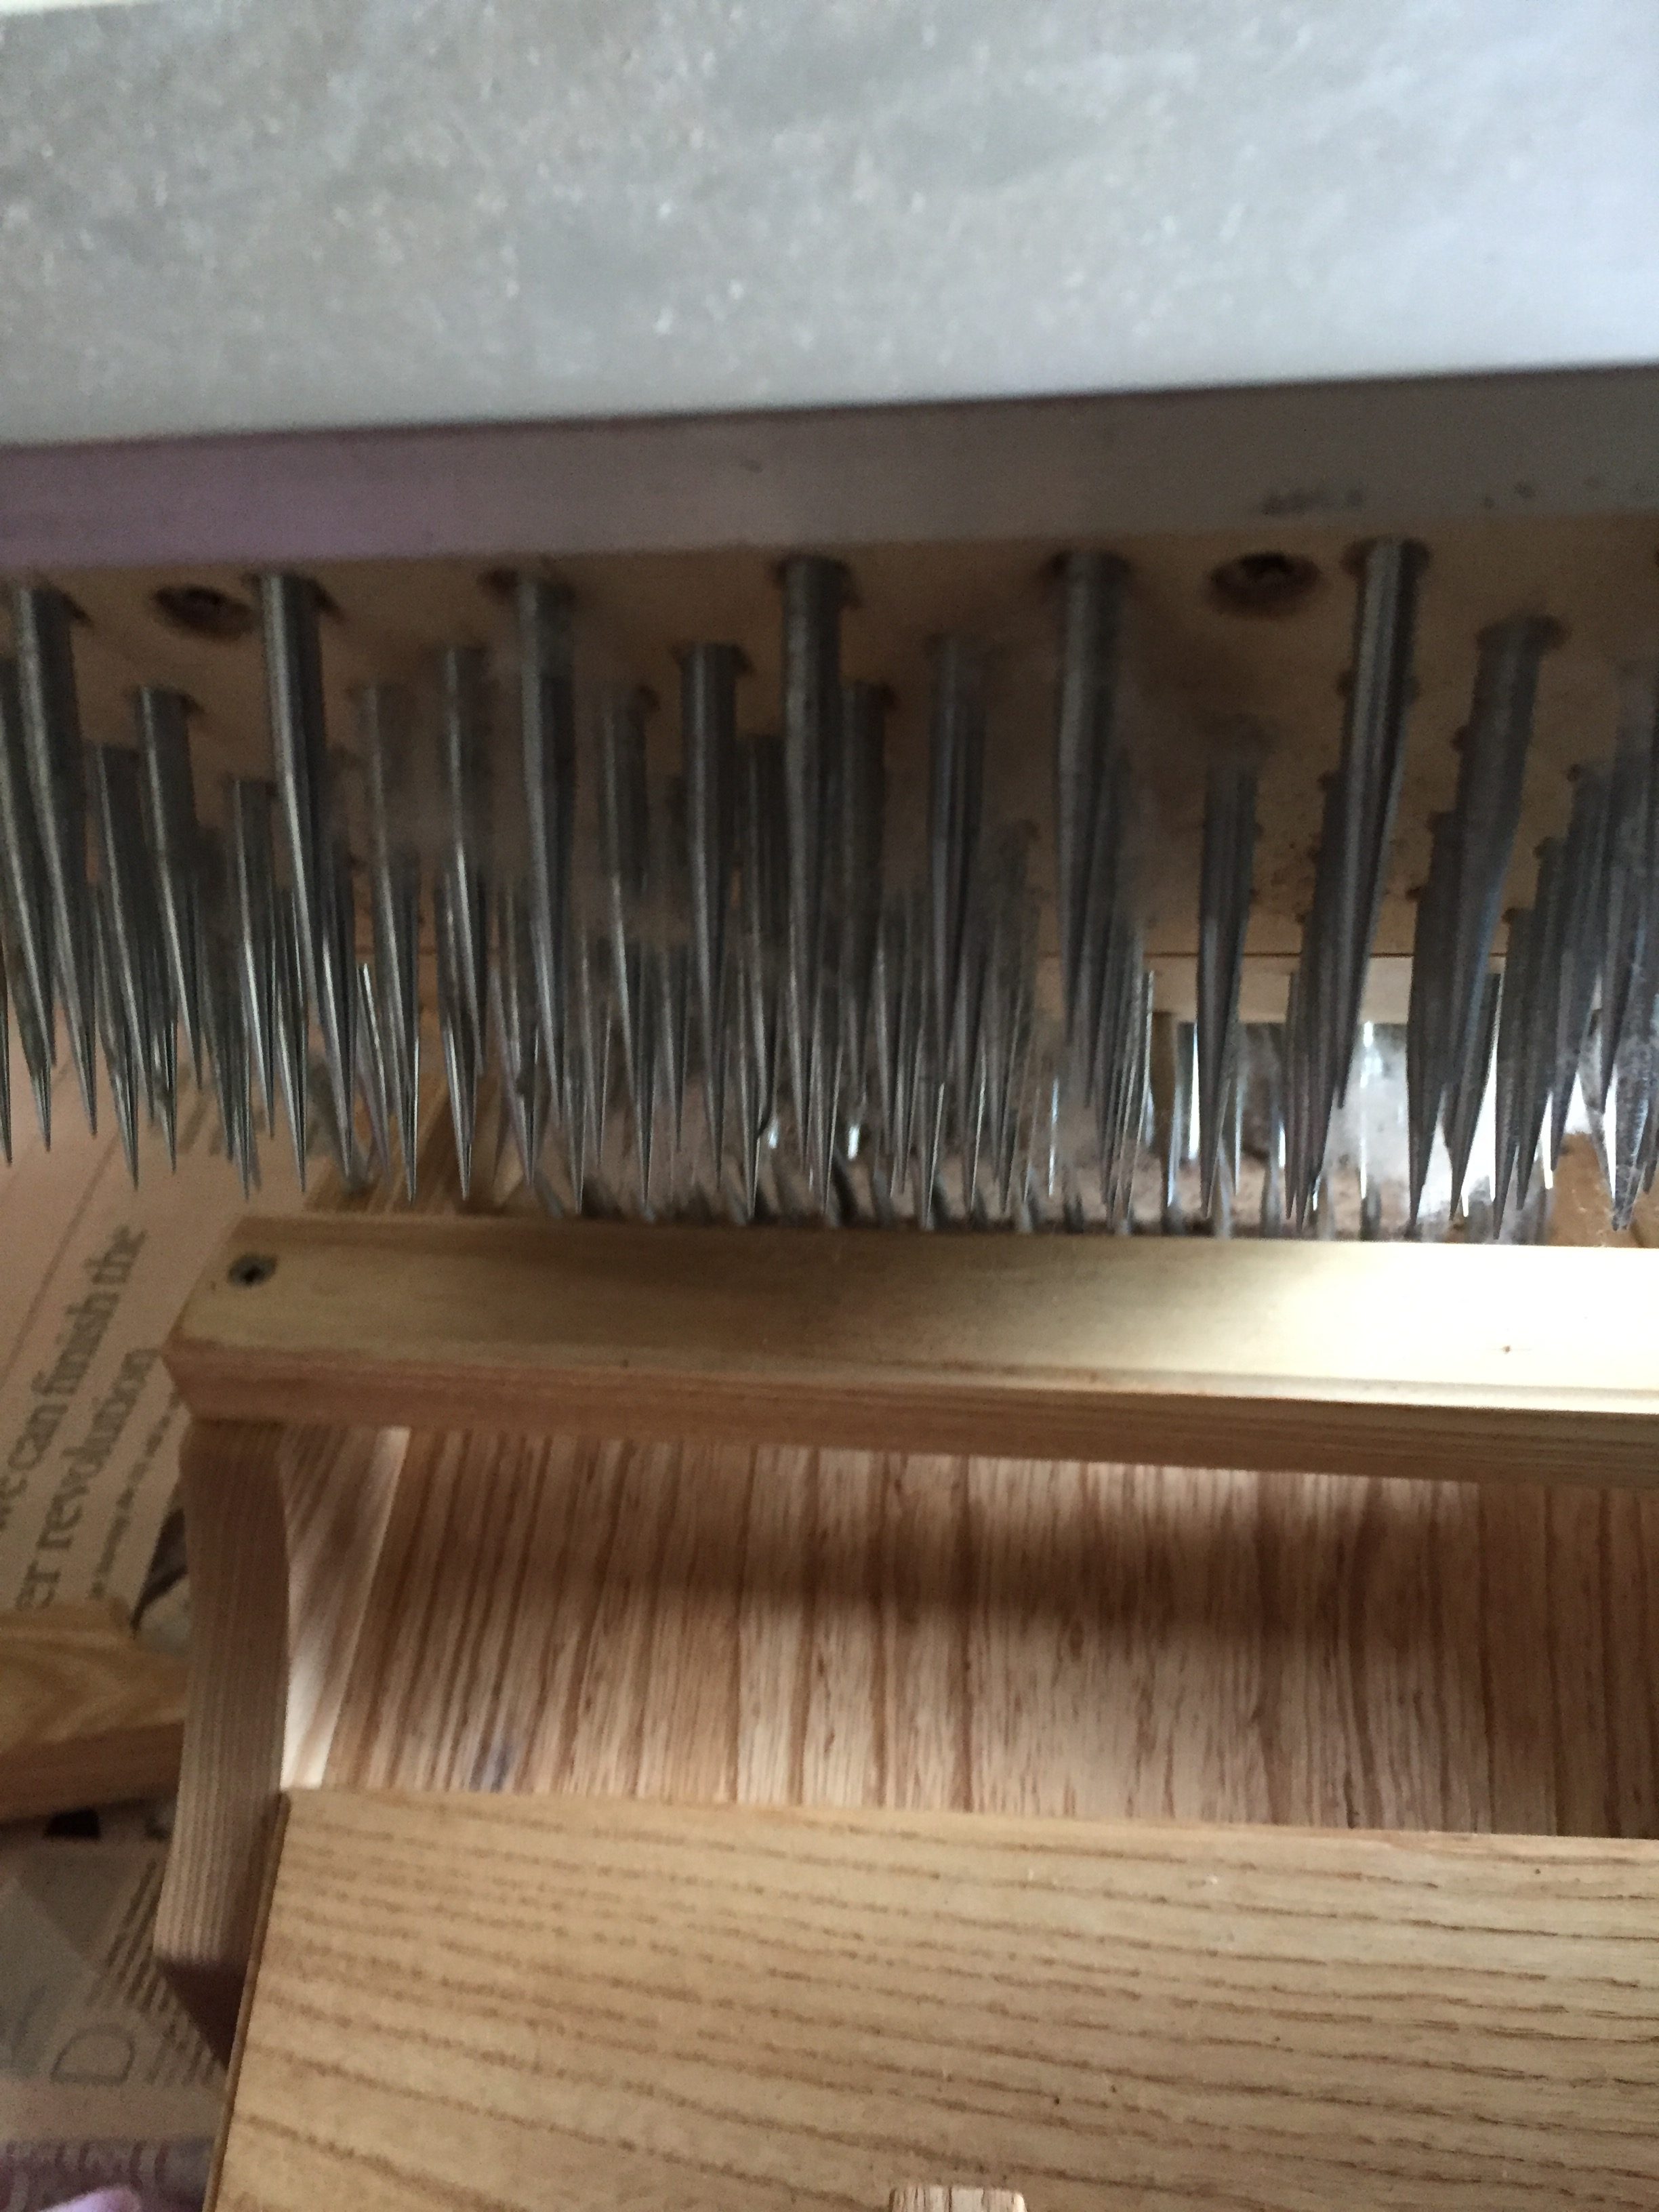
Simplest spinning tool

On a more practical note: spindles come in all shapes and sizes, and they are the simplest spinning tool. You can put twist into yarn using just a stick. I love that you can make your own spindle with a few dollars worth of supplies. I’ve made a spindle out of my childhood Tinkertoys.

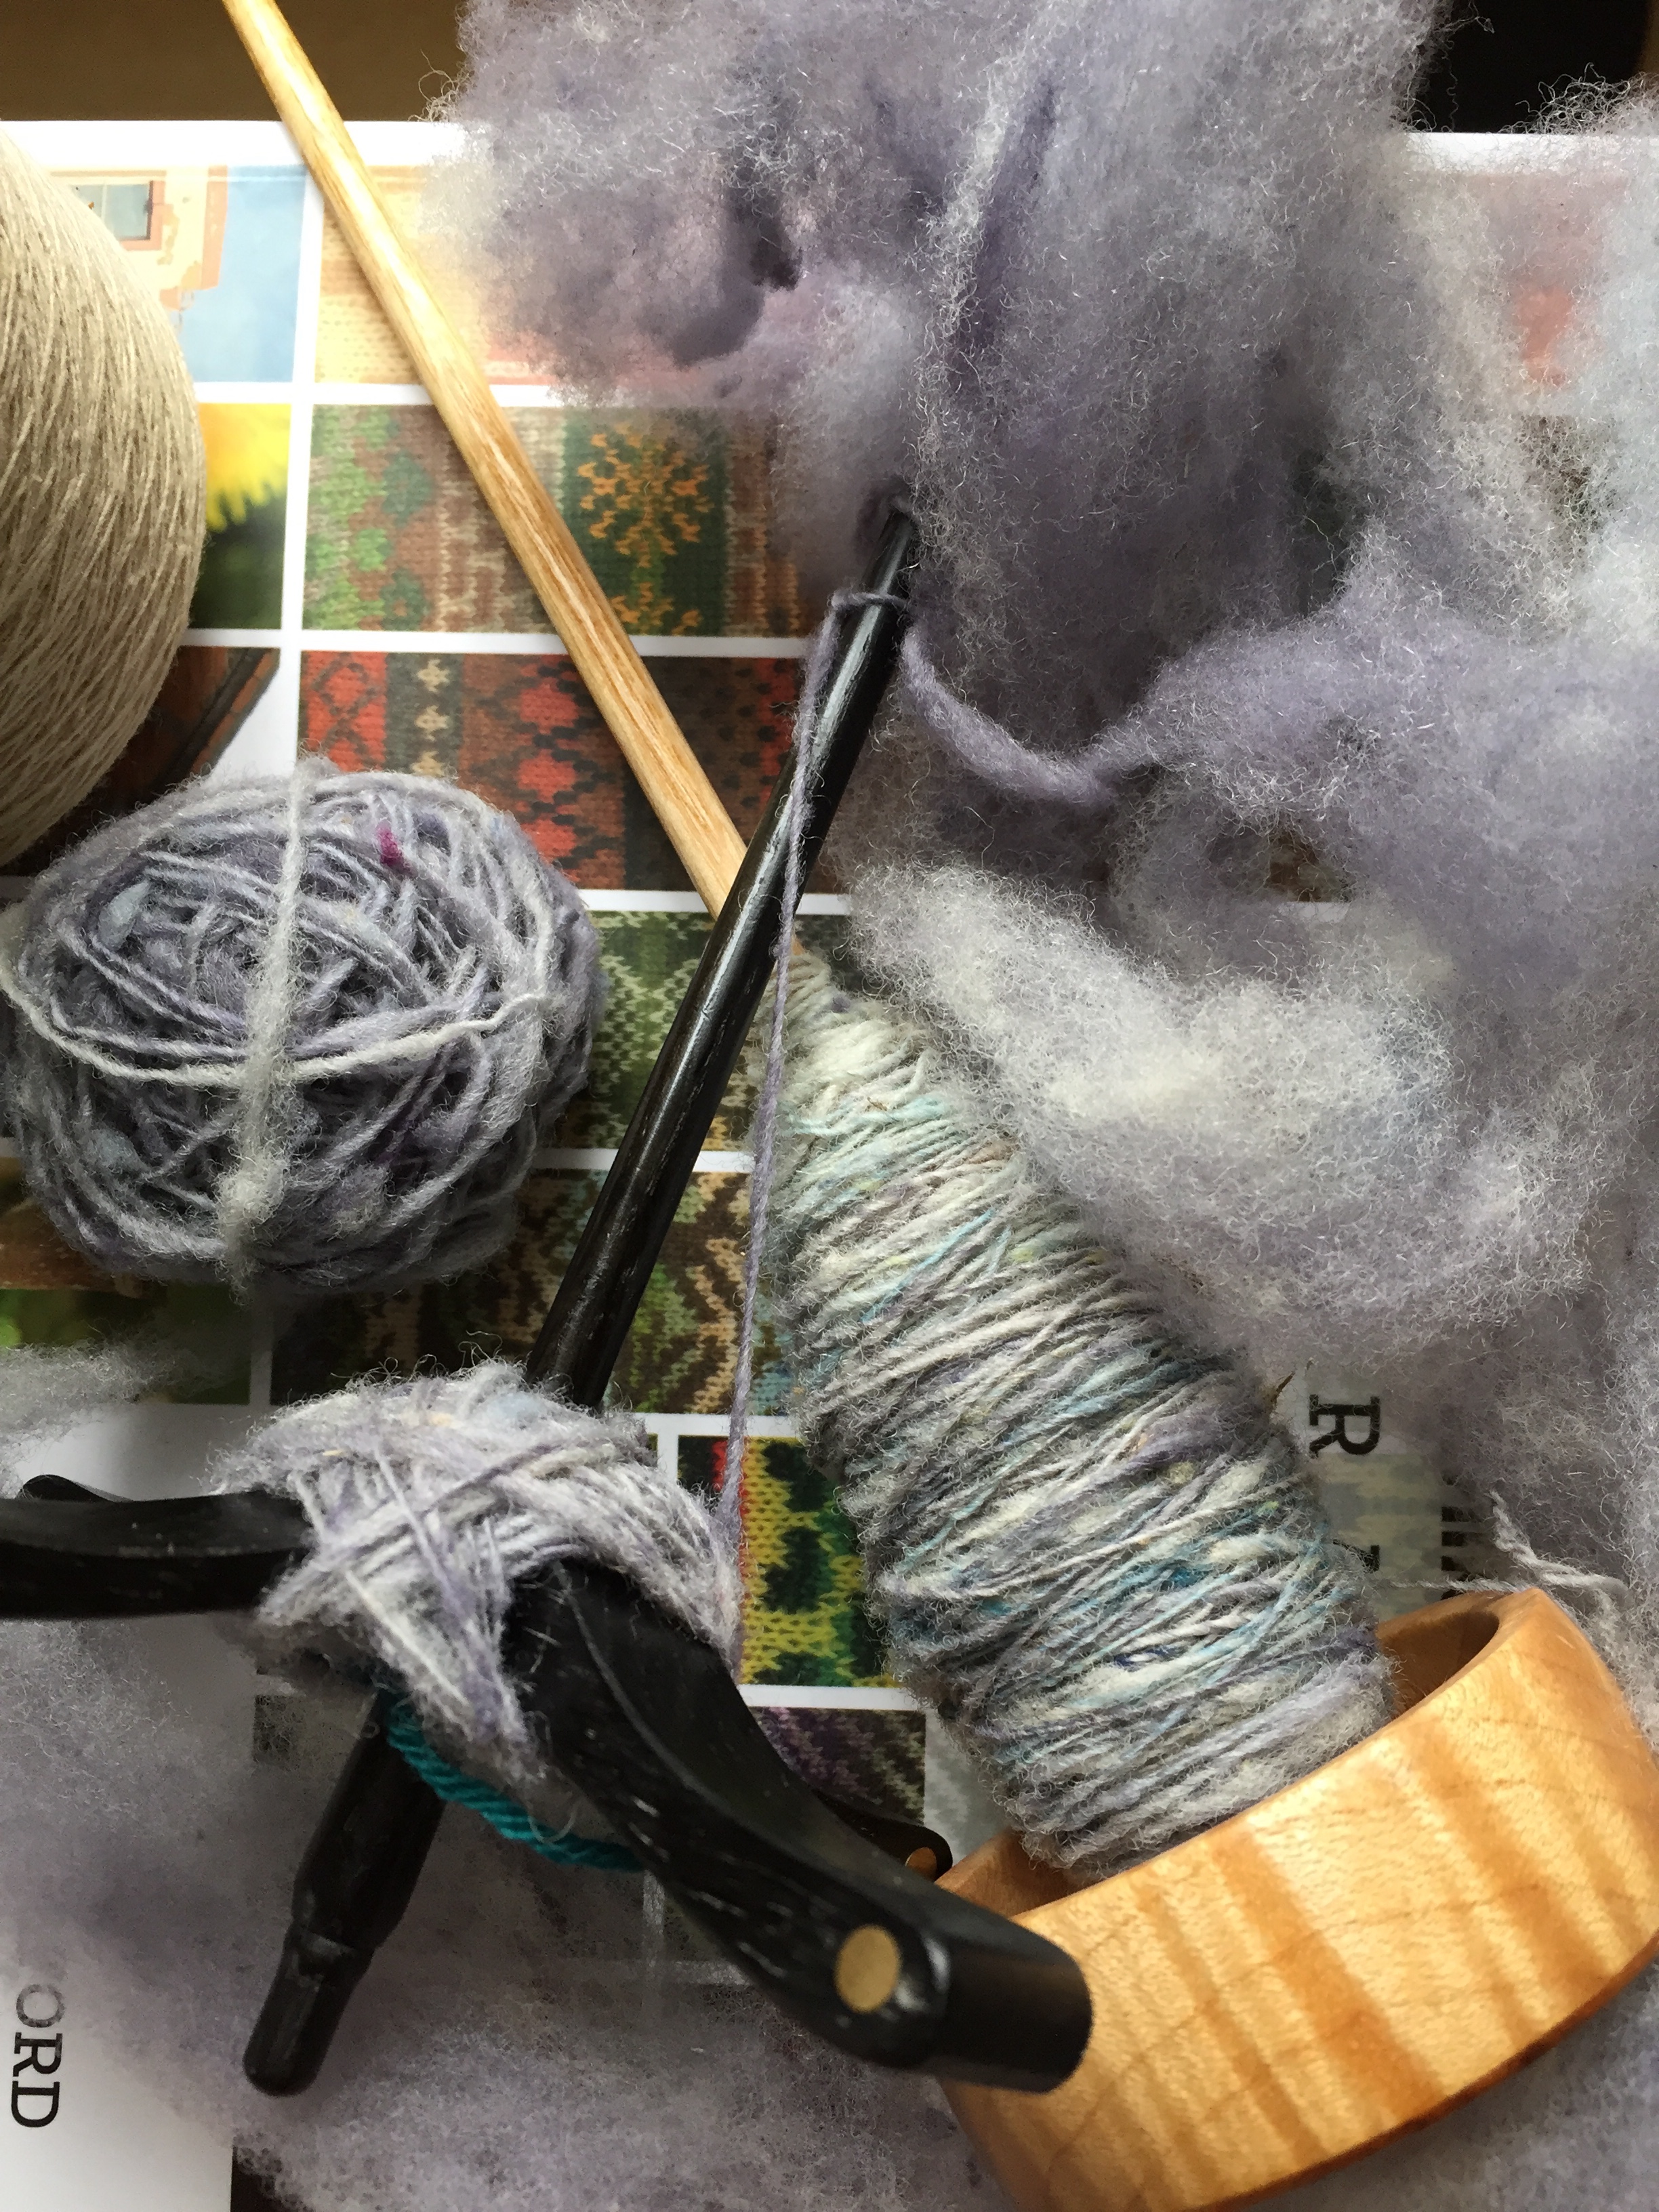
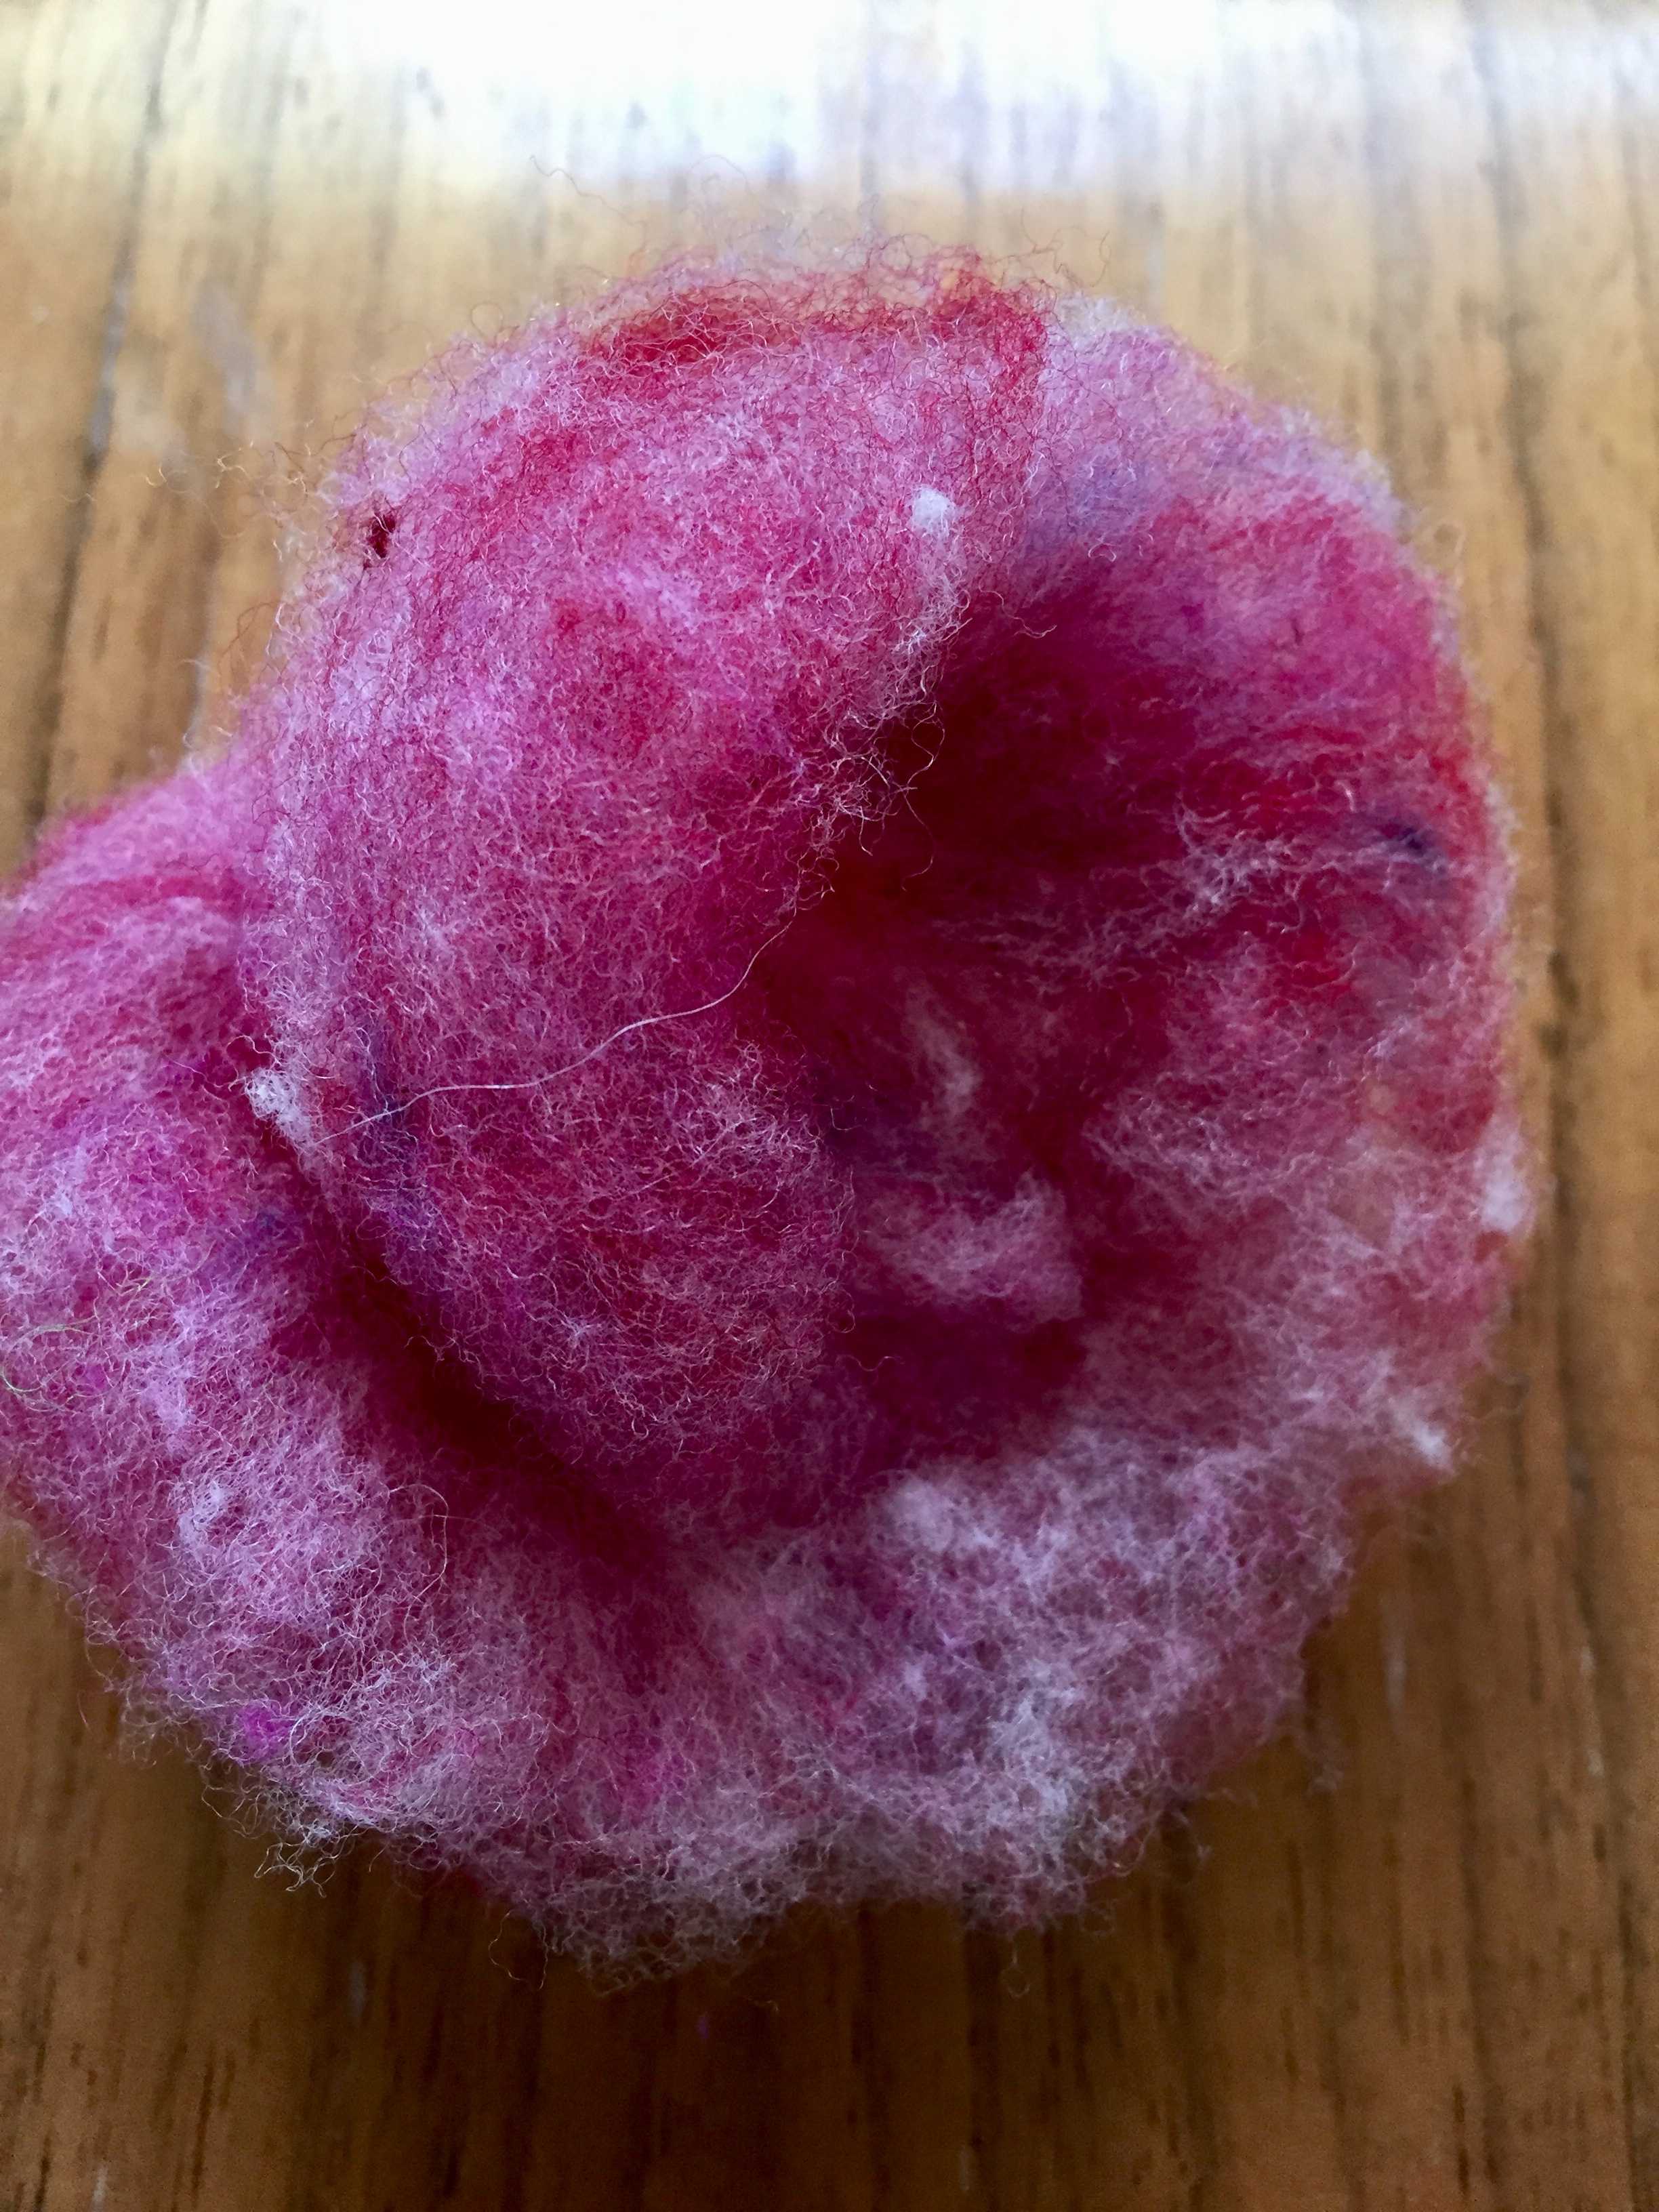
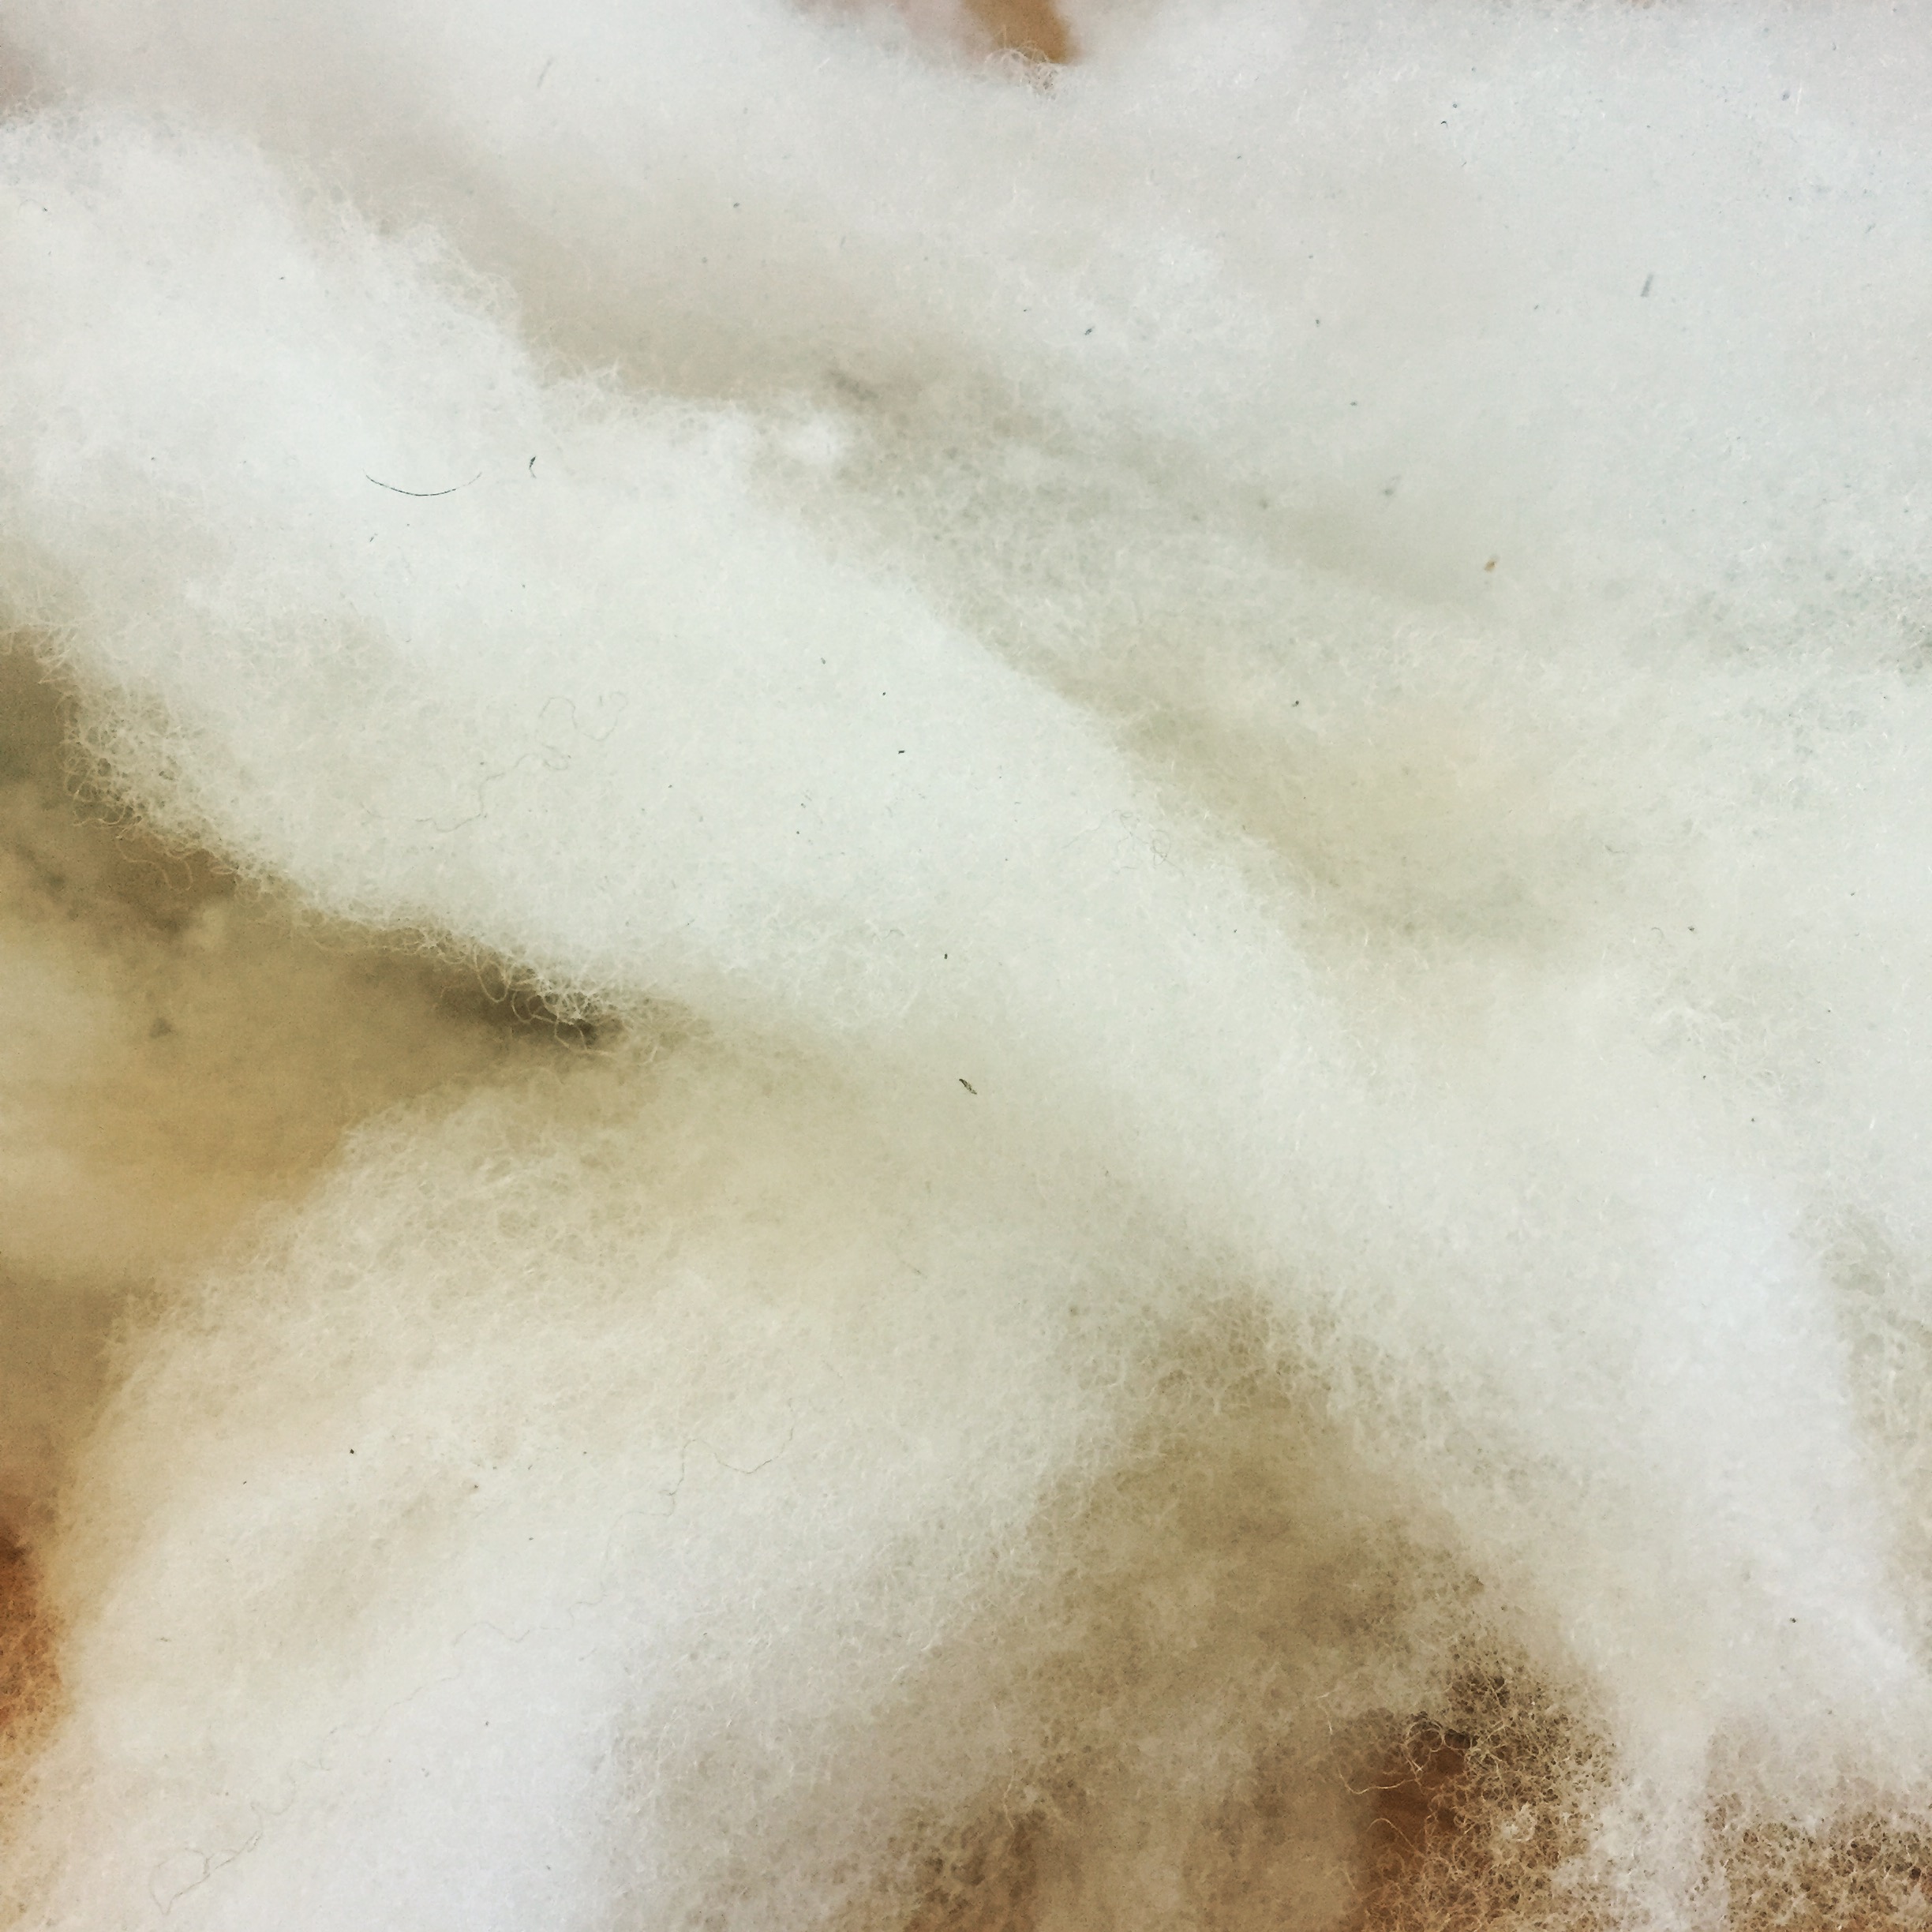
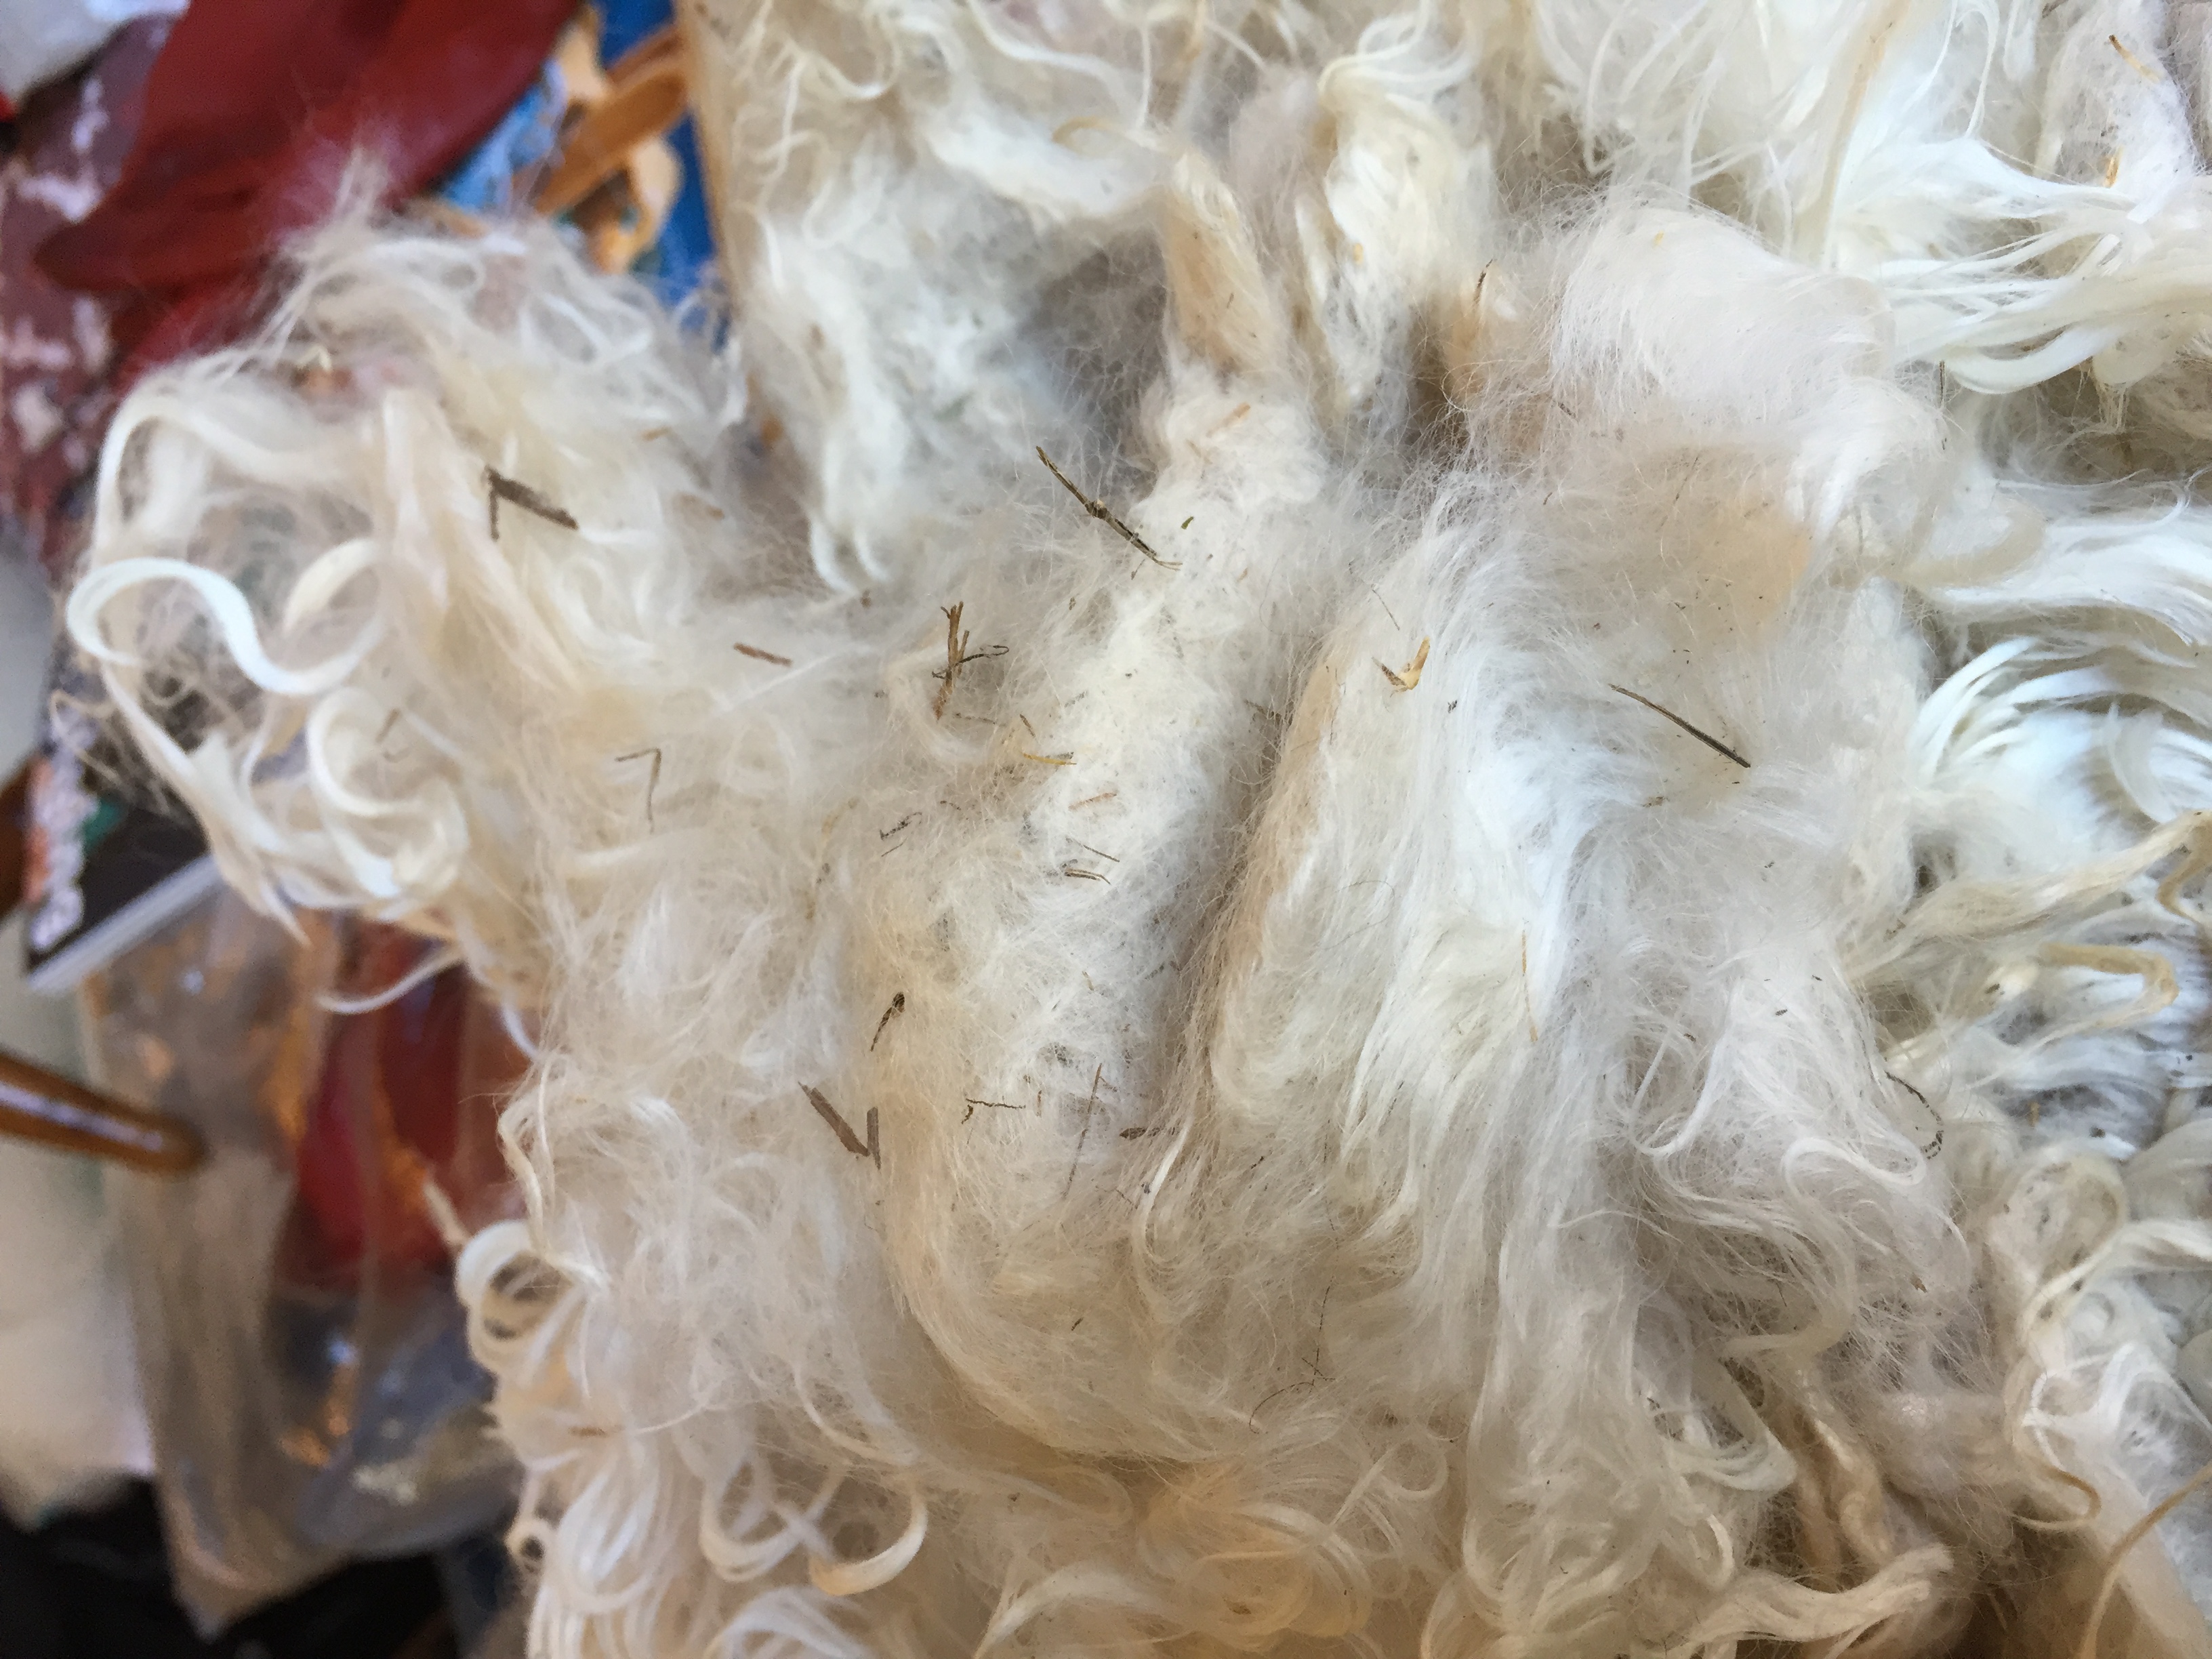
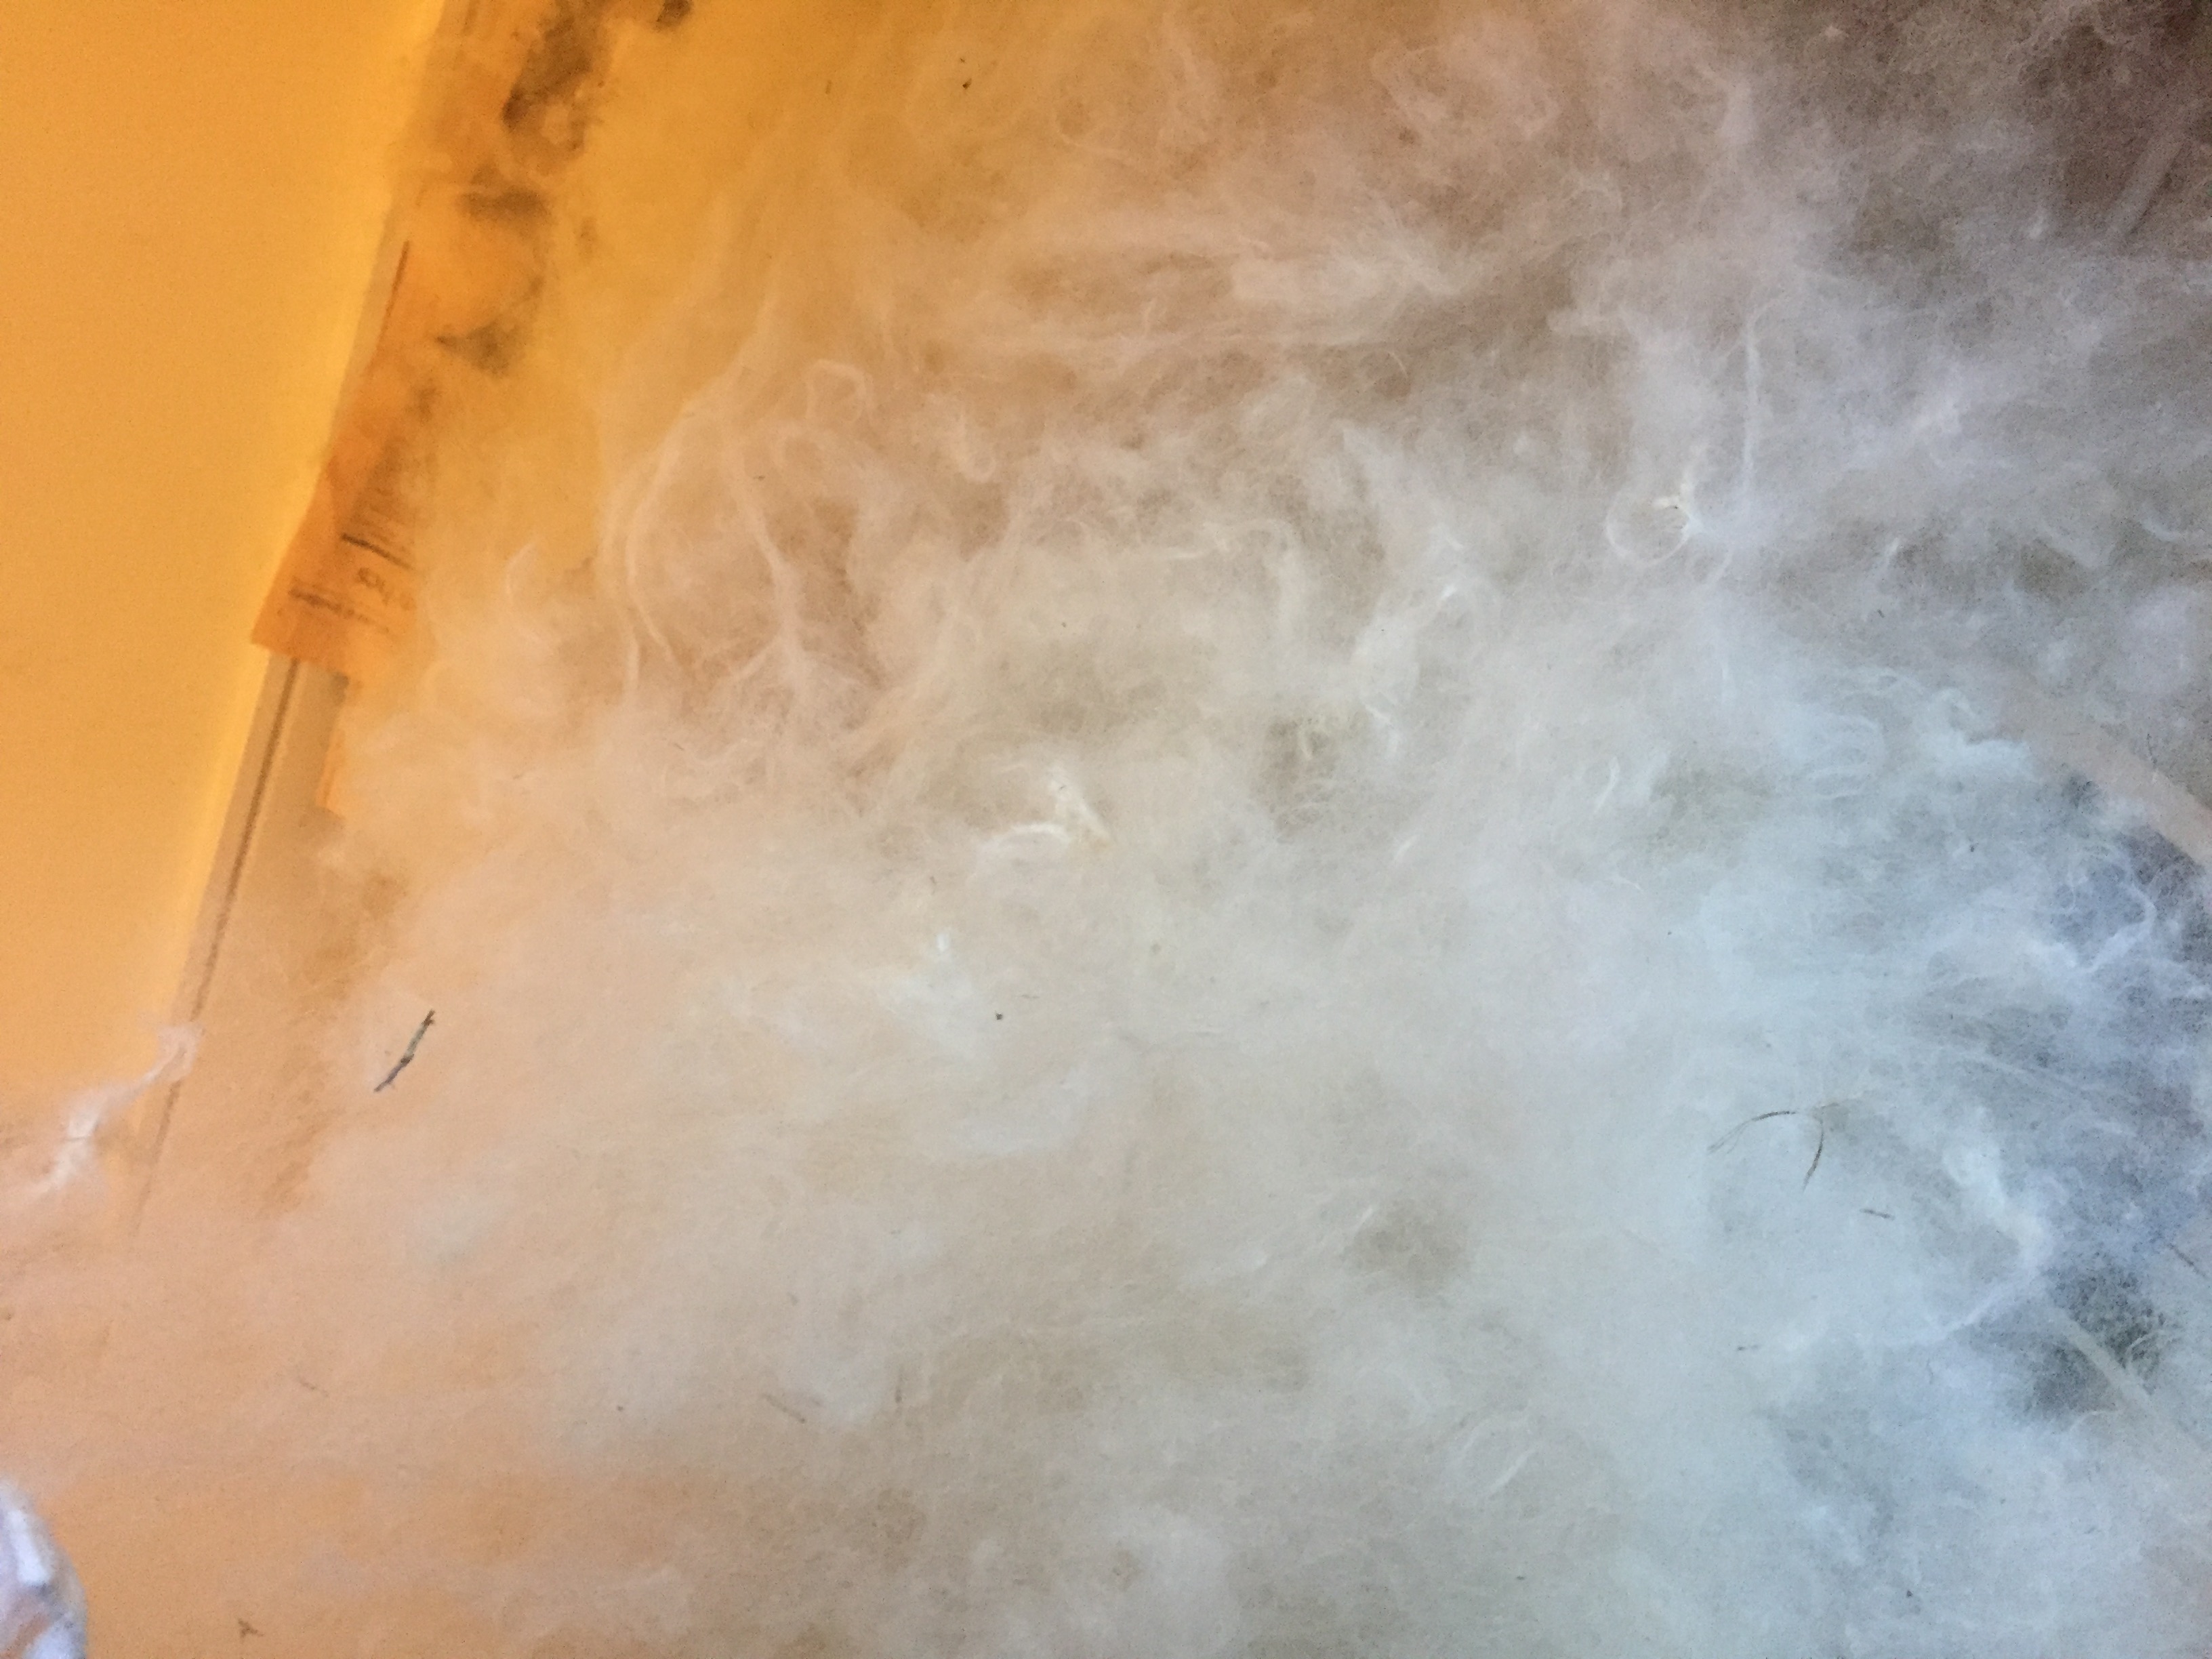
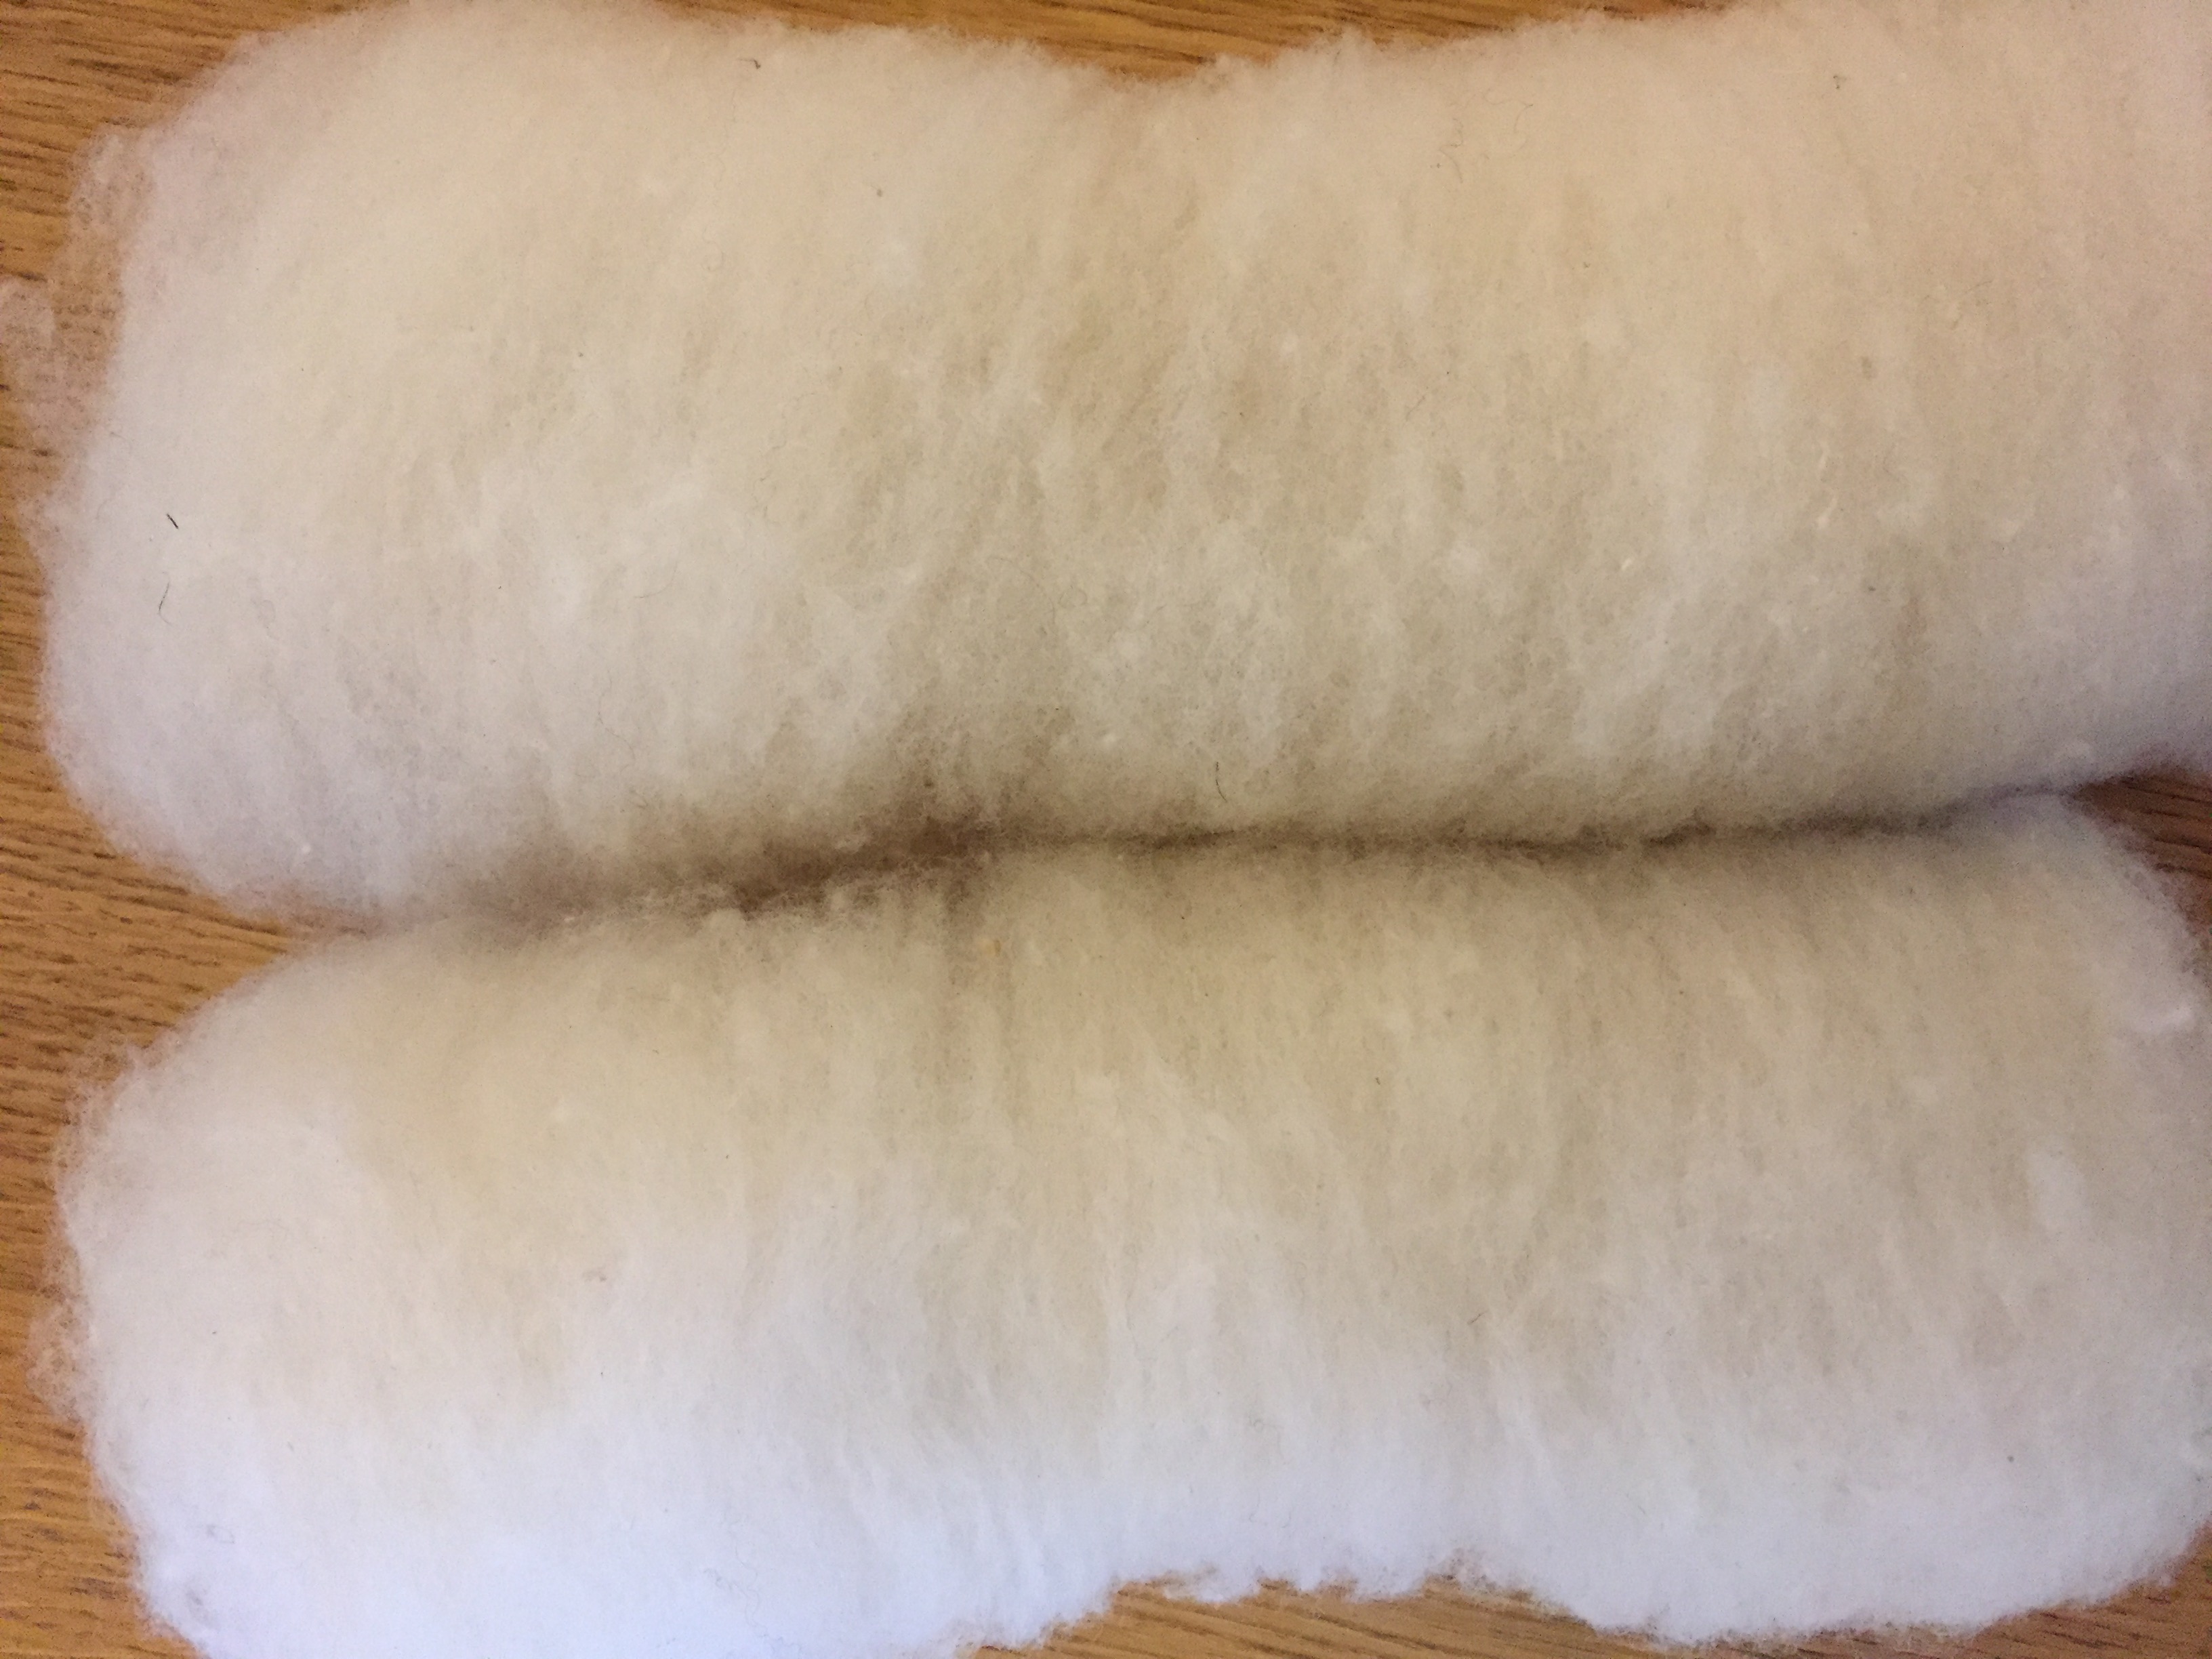
spindles, fluff and yarn

It’s simple. It’s easy. It’s accessible. Spindle spinning doesn’t have a financial barrier for entry. You don’t need a niddy noddy, lazy kate or a ball winder. You don’t need accessories. Just spin and make yarn. 

You can make any kind of yarn on a spindle–two-ply, three-ply any ply, fancy yarn or not. You don’t need certain types of spindles or to make any adjustments to make different yarns. Also, I as I pointed out a few years back, spindles are perfect for spinning on the go.

Stand and spin

My back has been bothering me recently. Sitting at my wheel can make it worse. I realised another great thing about spindle spinning: standing and spinning. Although after awhile my shoulders do get a little tight. Take breaks.

Spinning on a spindle reminds me that not every project needs to yield tons of yarn. We don’t always have to set out to spin a sweater’s worth. Spindles are perfect for making mini-skeins for small projects. 
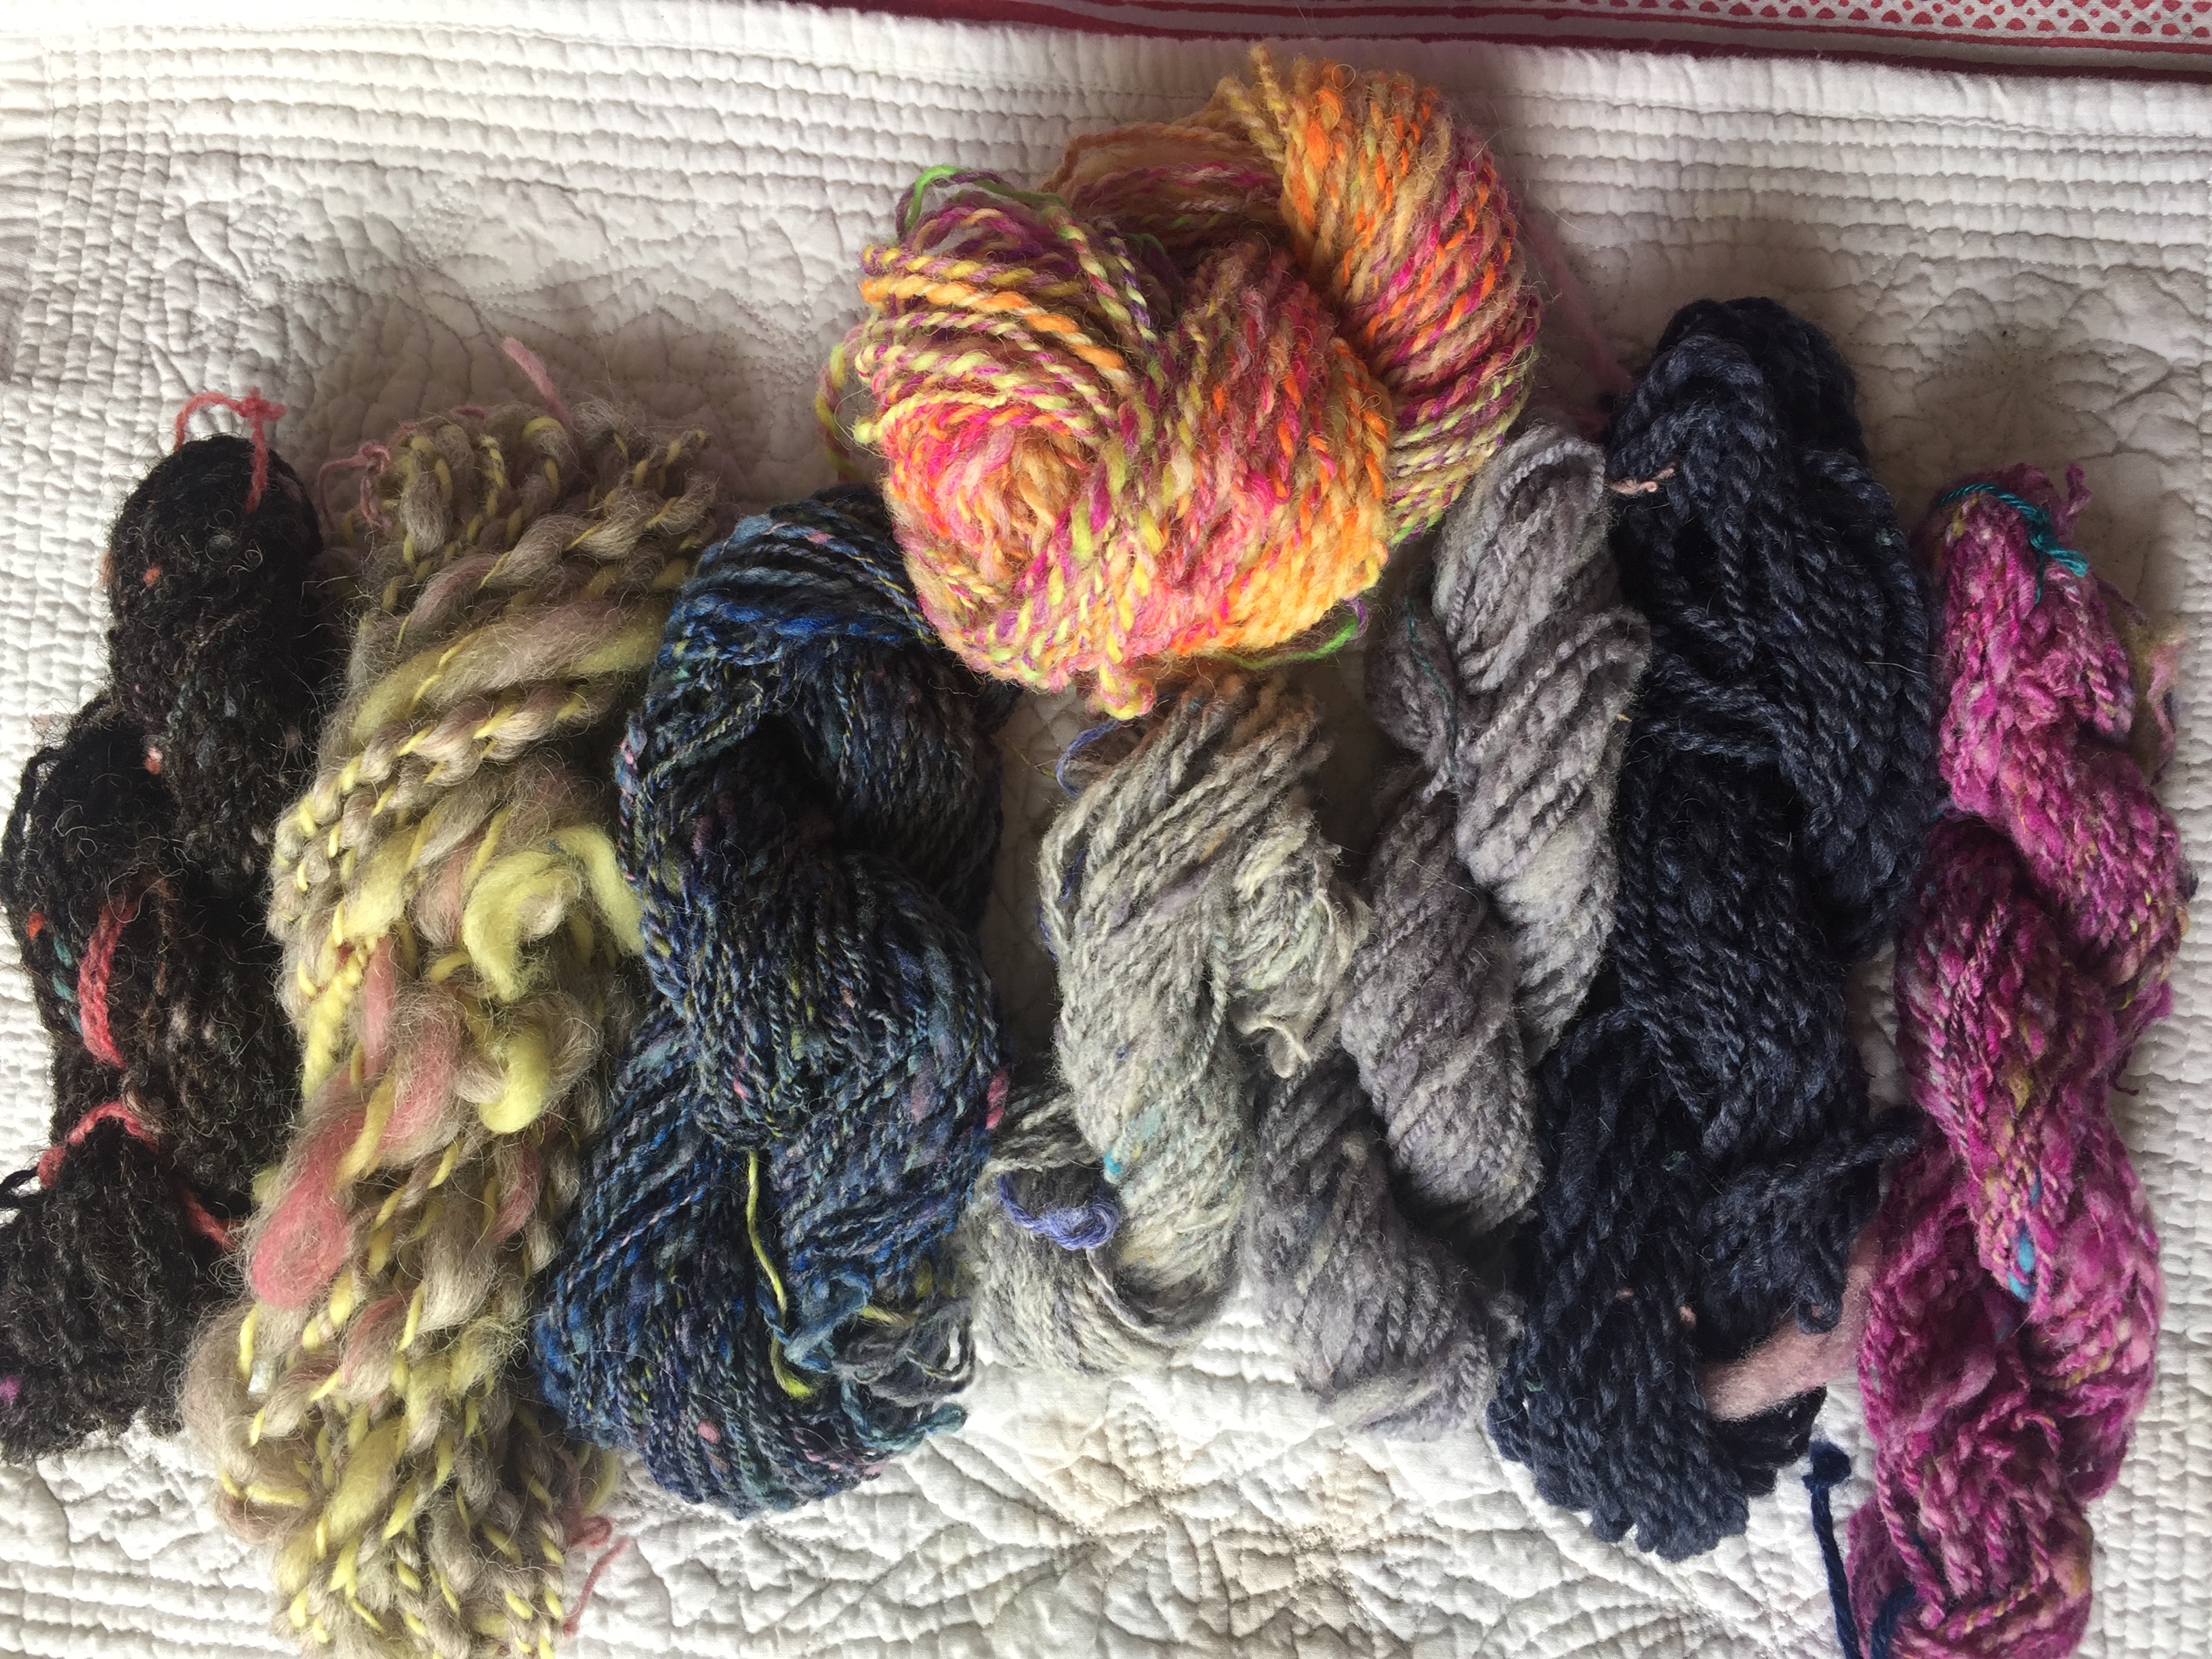
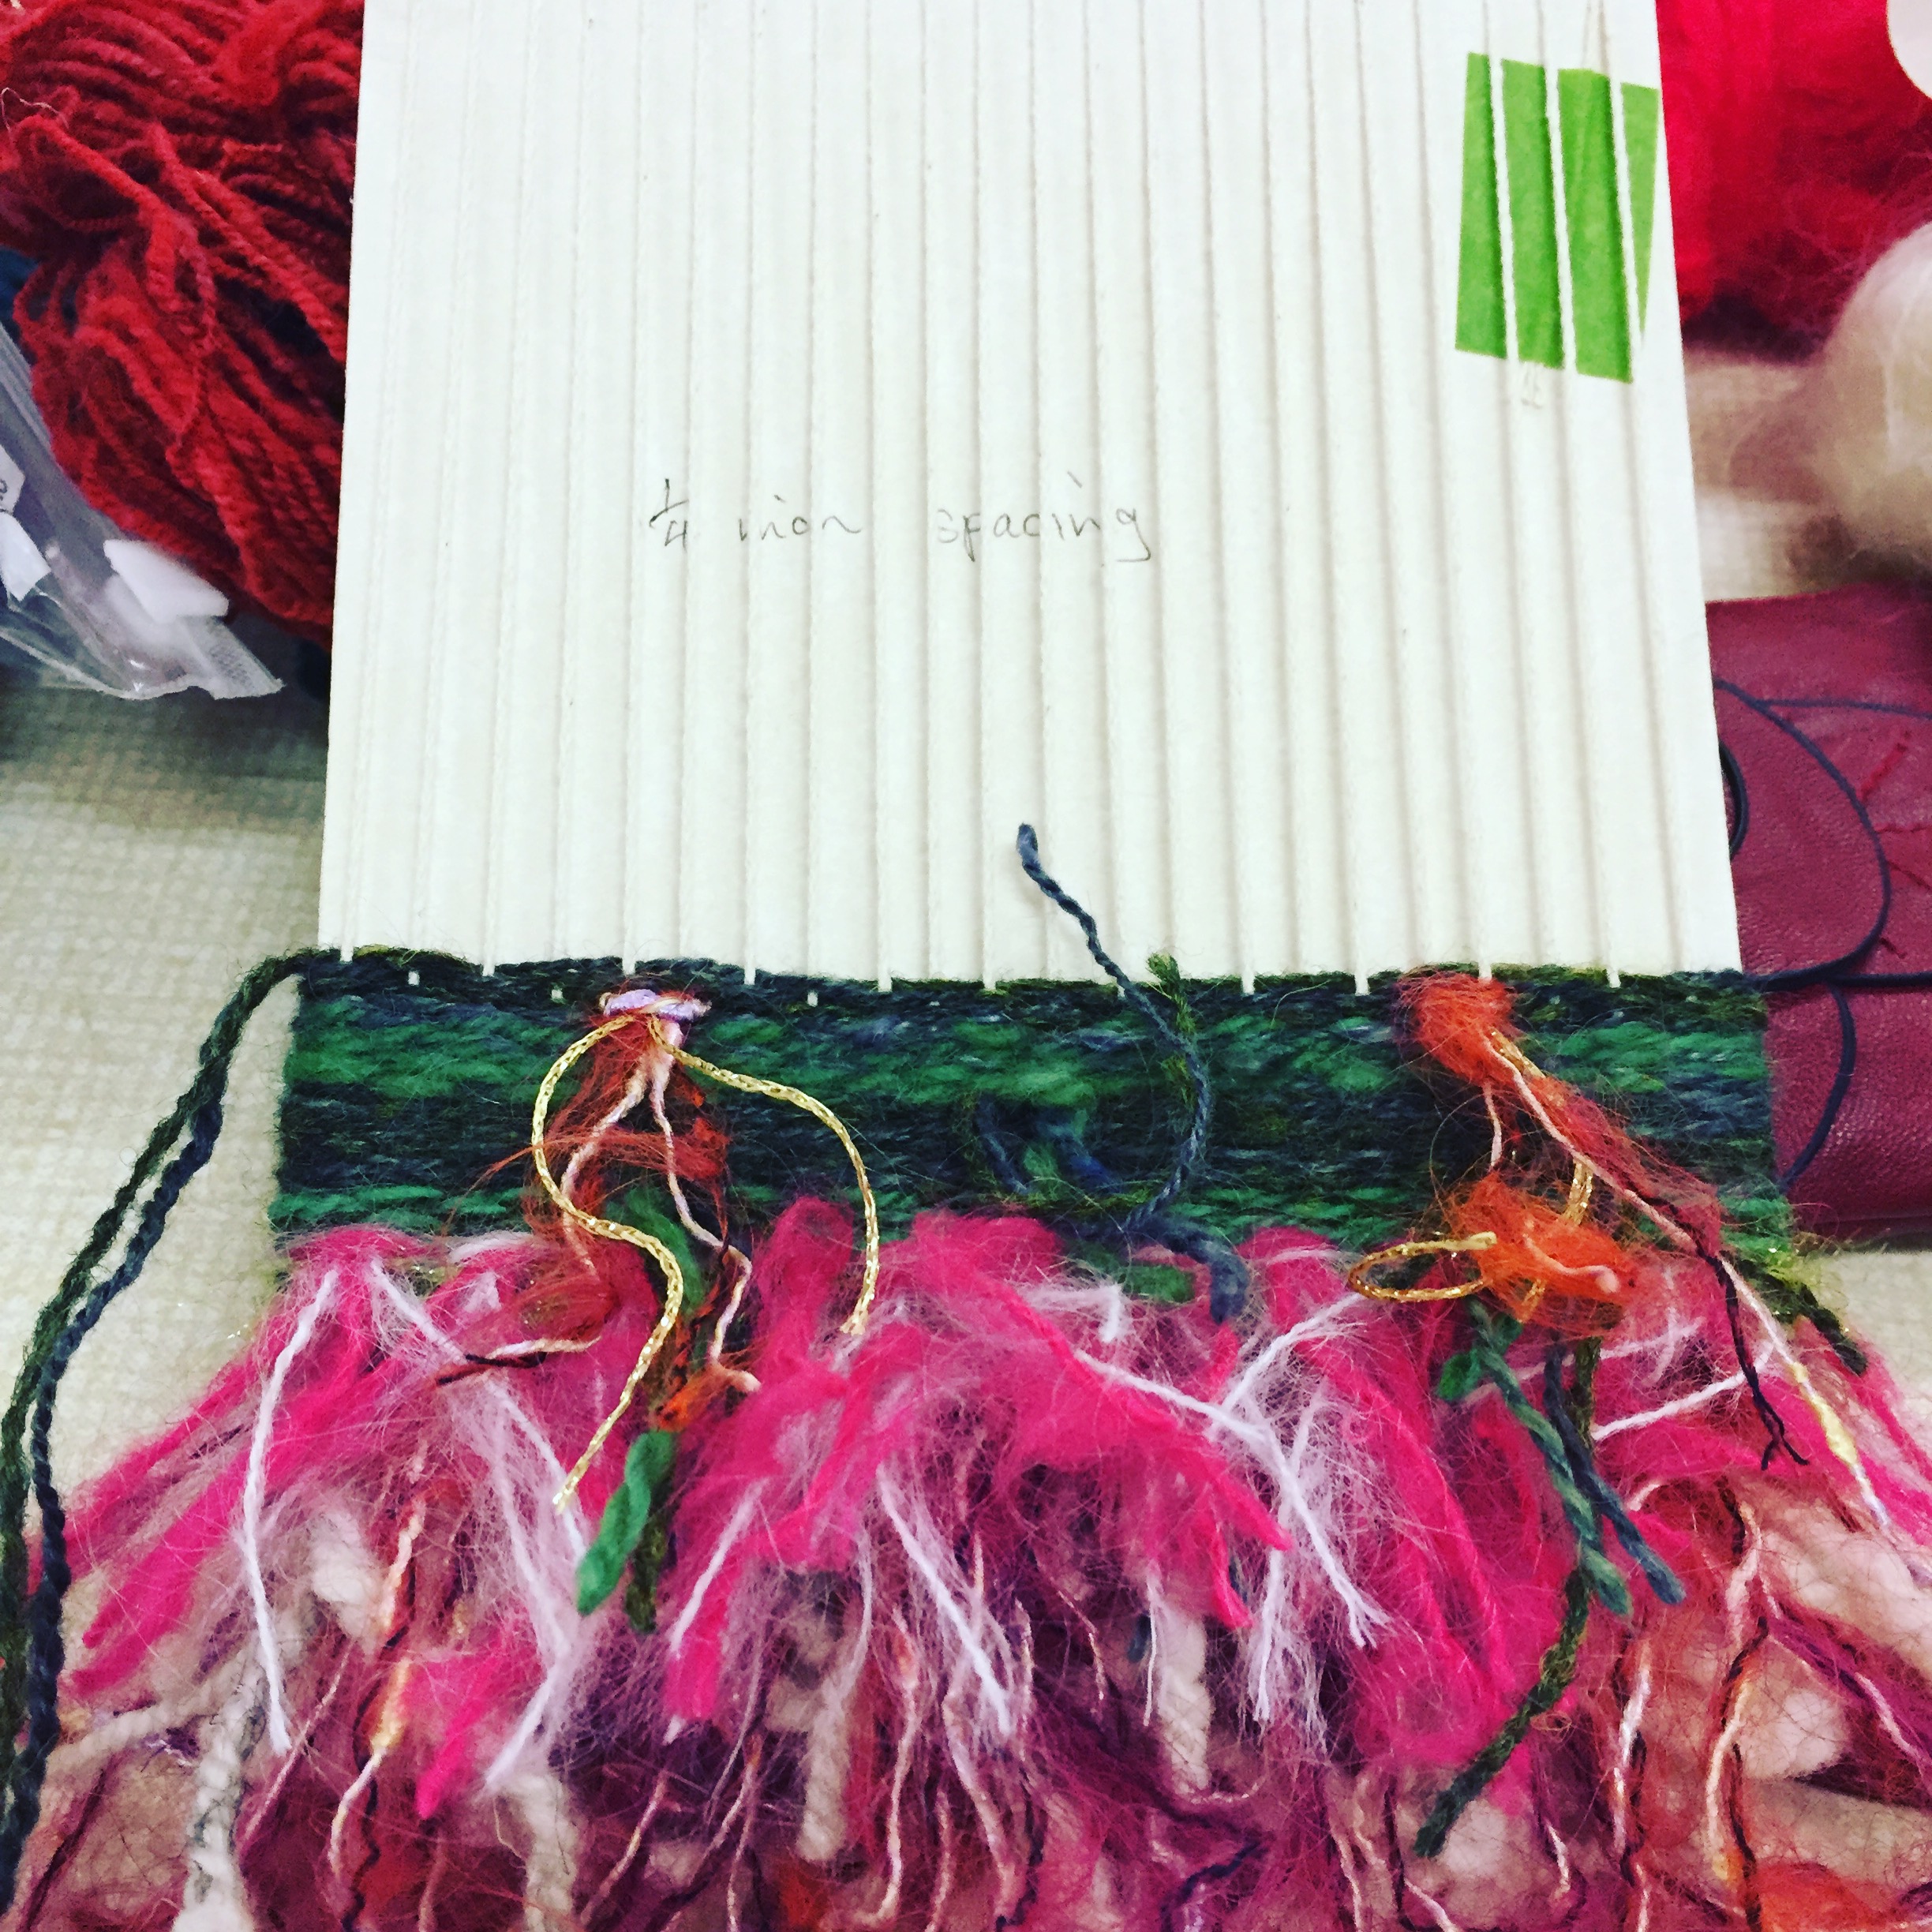
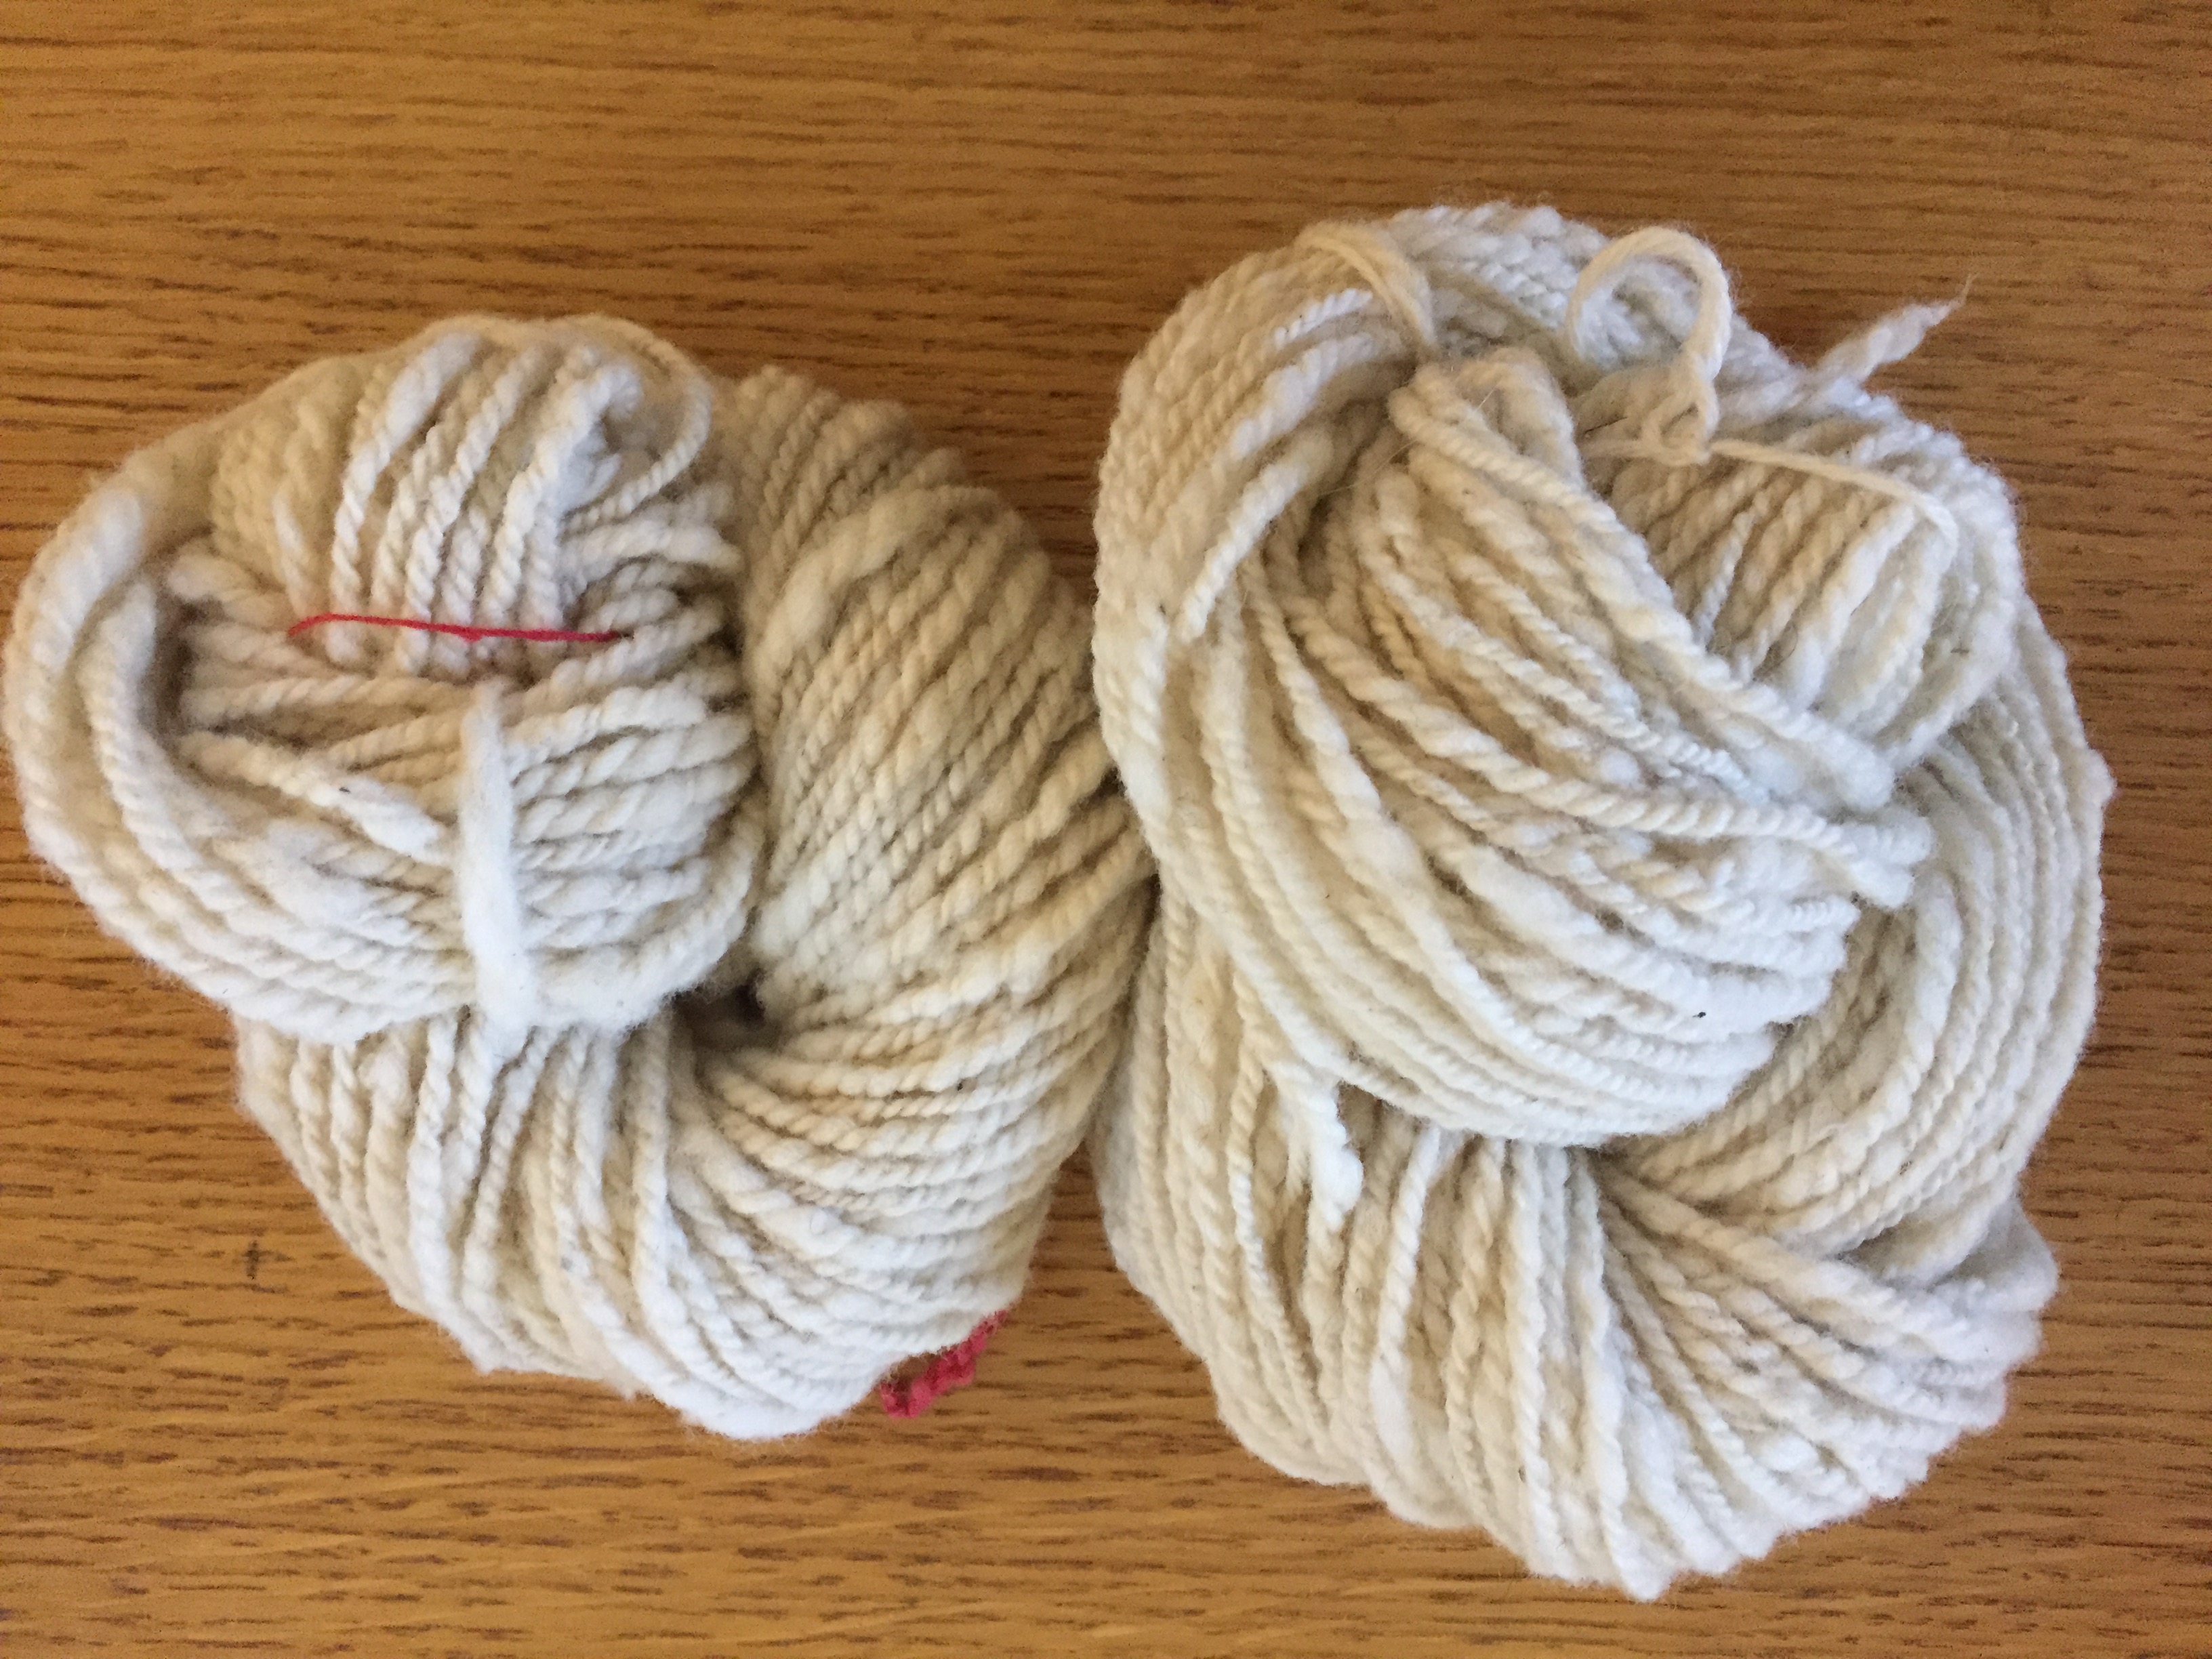
mini skeins

Many spindle spinners do spin lots of yarn for big projects. Check out the Spindlers Ravelry group and prepare to be impressed. Lots of inspiration.

I’d love to hear from people who like to spindle spin. What is it about this kind of spinning that appeals?

Small: three ways to make yarn without a spindle or wheel

0

Small

This post is part of our series about small things you can make with what you’ve got to hand. Projects don’t always have to be big, complicated and involve buying lots of new and possibly expensive materials.

Let’s start with yarn. Making yarn might seem daunting but the truth is there are lots of simple ways to make it. You don’t need any special equipment to make yarn. Just scissors and maybe some handcards.

sock becomes yarn

Rag yarn

Let’s start with some old socks. You know the ones where the heels and toes have worn out but the rest of the sock is fine and even made out of some warm fluffy material? Do you throw these away? Or make them into yarn?

Start at the cuff and cut a spiral around and around the sock, avoiding bits that are worn.

It knits up nicely

This yarn can be knit up, but unless you have lots of identical socks you’re not going to get tons of yarn from a pair. I would use this yarn for rag weaving. (future post!)

Obviously you can cut up any fabric and make it into yarn. There’s a cool Saori-made tool called a Sakiori cutter designed specifically to cut fabric into long strips for weaving.

Silk hankies

a dyed silk hanky

Silk hankies are squares made of cocoons that have been softened and then stretched onto a frame-layer upon layer. The hankies can be dyed and spun, but you can also use them for paper making or felting.

knitted silk hanky–no spinning

You can also knit straight from the hanky–no spinning! There are a lot of great youtube videos on silk hanky and silk cocoon uses. I’ve made a pinterest board showing some of them. Here’s a video on how to knit from the silk hankies–featuring a cat.

Silk hankies are cheaper than most silk you can buy to spin. You can even make your own. Here’s another helpful video if that’s something you’d like to try.

Finger-twisted ‘pencil’ roving

You don’t need to spin wool to make it into yarn. There are lots of roving-like (unspun) yarns on the market. Noro does one called Rainbow Roll. So does Alafoss an Icelandic yarn brand. It’s called Plotulopi. You can easily make your own using the finger twisting method or simply by pulling some combed wool through a diz.

I used my handcards to make some rolags which I then pulled out into a long, thin rope. You can knit right away, adding a little twist with your fingers as you go. Don’t worry if the yarn breaks. You can reattach it simply by twisting or rolling the two ends together with your fingers.

rolag rolled into a ball

small

2

Start small. Start with a scrap of cloth, a drop spindle, a silk cocoon, a few yards of yarn or grams of wool. See what you can make.

Start compact, like a seed, and grow into something bigger. Maybe your project is a seed intended to be a dye garden.

Think small environmental impact. Take something worn and repurpose it. Make rag rugs or an upcycled yoga mat. Get inspired to mend in the Japanese boro style.

weaving on cardboard

Use small tools– a felting needle, a drop spindle or a postcard-sized piece of cardboard repurposed as a loom.

Silk cocoon ornaments, Kyoto

Unravel a silk cocoon. Knit a fair isle square and then another. Crochet a toy for your child. Knit a sweater for your favourite teddy bear. Make a pompom. A tassel.

We’ve started a pinterest board with ideas for small projects. Throughout 2018 we’ll be developing this idea and seeing how big it can get.

Super slow yarn: adventures with a wool picker

2

Classic Carder Wool Picker

When Sal and I first started spinning and using raw fleece we spent a lot of time–and I mean a lot–talking about fiber prep. A lot of this conversation revolved around la technique and getting the best results we could with the tools we had.

Recently I had the privilege to borrow my guild’s brand new wool picker. I was excited to use the picker and once I got going with it, I started thinking on the whole process of prepping fiber at home.

The wool picker is a new tool to me. It has big sharp spikes which tease apart the fiber. Push in a little bit of washed fleece in at the front and then push away the boat (that big swinging part with spikes on it). In a few seconds light bits of fluff comes out the other side.

Sometimes fleece can be quite tough to open up after its been washed. The picker gets out a lot of the dirt and VM and pries apart the locks making it ready to card. If  you get a chance to use a picker, do it. The effect is truly incredible. If you’re used to prising locks apart with combs or hand cards the wool picker is faster, easier and doesn’t leave you with sore wrists.

Caution: Big sharp spikes

Pick, comb, card

I put through a shetland fleece and the picker did a great job opening up the fleece and releasing dirt. Seriously this was one dirty fleece! It is also a quite fine fleece and once the picker did its stuff there were tons of nepps.

combed Shetland fleece

At first glance getting out the nepps (unless you want them) looks a daunting task. Out came my wool combs which helped me get out most of the nepps, but not all. I put the combed fleece through the drum carder. There were still nepps, but my light and fluffy batts were lovely to spin.

I also put some Suri alpaca fleece through the picker and the results were great. Suri is tough to process by hand and the picker made easy work of it. I can’t wait to spin a test skein.

suri fleece before

suri fleece after picking

fluffy batts

Slow yarn

Processing raw fleece by hand is time consuming. I haven’t done a lot of big batches of fleece in awhile and had forgotten exactly how long it takes. It also can be a little intimidating when you see a massive pile of fluff that you then may need to go through several times–depending on how fine you want your yarn.

Bear in mind you are not a robot (obviously). Your two hands and some tools are not going to be able to replicate mill-made roving. There will be nepps. There will be a little VM. That’s all fine.

I carded some of the picked fleece into rolags, picked out some of the nepps and it spun nicely into a fat, fluffy yarn. You don’t need go crazy with fiber prep to get a nice, slow yarn.

fluffy shetland yarn

Handmade gift ideas for men

6

The leaves are just starting to change colour and fall, but the Christmas puddings are on the shelves at the shops and it’s just a matter of time before the first pre-Christmas sales begin.

Over the past few years my sister, mother and I have been giving each other handmade gifts at Christmas. Mom makes wonderful hooked rugs and cushions and my sister has made us beautiful felted stockings, knitted scarves and sweaters. I’ve woven wraps for my mom and made yarn and soap for my sister.

This year I want to make a gift for everyone in my family–luckily we are a small group! The problem has been coming up with something different and useful for my dad and husband.

I did a search for DIY/handmade gifts for men and the options some of the ideas were hilarious–a bouquet of bacon, flavoured toothpicks and “restore an heirloom axe“. Also apparently beard oil is The Thing, but we are a beardless bunch.

Not all the ideas I saw were totally crazy and here are some that aren’t beard oil, bacon, scarves or hats.

Utility tote by Don Morin

Utility tote by Don Morin

Man bag: I was telling Sal about this tote bag my dad uses as a sort of briefcase. It is a freebie from a pharmaceutical company he was given for judging a science fair. It is ripe for replacement.

I found this utility tote pattern by Don Morin. It’s perfect, and as Sal says all I have to do is stencil some drug logos on it.

There are loads of free patterns for messenger bags out there both knitted, felted and sewn. How about upcycling some jeans or natural dyeing or printing on some organic hemp fabric then sewing it up into a bag? There are so many ways to use your fiber arts and sewing skills for a messenger bag.

Finlayson "sweater" (Thread Theory)

Finlayson “sweater” (Thread Theory)

Sweatshirt: I love this Finlayson Sweater from Thread Theory. I’m going to make this up for my husband. I’ve got some jersey fabric in my stash. There are some nice organic jerseys available now that could be naturally dyed. Or maybe you have some handwoven you could use. Here’s a link to our guide to using handwoven for sewing projects.

For further inspiration: Independent designers have some beautiful sewing patterns for men now. Check out Walden, Thread Theory, Hot Patterns and Merchant and Mills.

Man scrub: Men like a good scrub just as much as women. Last year I wove washclothes using Syne Mitchell’s Loop-pile washcloth pattern from her book Inventive Weaving on a Little Loom. I used cotton, but she has a hemp/aloo version which would be a great alternative to those plastic shower poufs. Once this one has outlived its usefulness you can throw it on the compost pile and make another one.

There are knit and crochet options. Here’s a shower mitt from yarnspirations which could be knitted in hemp or cotton. For crocheters, here’s a loofah.

Do you want to make homemade soap? You should. Look no further than Humblebee & Me. Loads of idea not just for soap, but things like DIY tiger balm, after shave and lip balm.  This woman is a genius.

Slippers: Slippers are a classic dad gift. There are so many patterns to choose from including: Martha Stewart’s, Drops’ felted and these gorgeous ones from Arne & Carlos.

There are some upcycling possibilities here. Why not use old sweaters,  felt them and sew them into slippers. You could sew a bit of old denim on the bottom to make them sturdier.

Dice bag: Do you have any gamers in your life? How about a dice bag? Here’s a knitted one–twelve – sided no less! You could run up one on the sewing machine maybe with Doctor Who fabric? Or Space Cats!!!

Mug cosy: Another classic. Again there are loads of patterns on Ravelry. But you could easily use woven fabric or even sew them with your favourite novelty fabric. Free patterns galore online.

Other ideas might be making a belt on an inkle loom or knitting a pair of socks.

One last idea which is not sewing/fiber arts related, but I think is a great idea for a Fathers Day present–homemade barbecue rub. My dad would definitely use this! Thanks Martha.

Last year Sal wrote a post on gifts for the fiberista. Lots of good ideas here.

Please let us know your ideas for making for men.

How simple dye techniques can help bust your stash

1

This is the story of how a ball of pink mohair yarn, a bit of acid dye and a microwave helped me transform some long-forgotten yarn into exactly what I needed to knit the sweater I want.

Like many knitters, I have a lot of yarn bought in a fit of love at first sight, only to linger in a box for a few years. I keep telling myself it will all get used. Eventually.

When I was given a ball of hot pink mohair yarn last weekend, I thought: yes, I can use that and I think I have some yarn to go with it.

Turns out I had quite a few odd balls of mohair in my stash–green, grey, blue and light pink. I found this pattern on Ravelry and thought, that’s the one.

Belarus, by Kaffe Fassett

Belarus, by Kaffe Fassett

This pattern calls for nine colours. I had five–hot pink, light pink, green, grey and blue. My options were change the colour scheme set out in the pattern or dye the grey yarn I had to create four more colours.

Here I made some assumptions. The first was that the fiber content of the grey mohair would take the acid dye. It’s mohair, silk, nylon, polyester and metallic. I also assumed I could get good colours over-dyeing the pale grey yarn.

Selection of mohair yarn from my stash

Selection of mohair yarn from my stash

Luckily those assumptions turned out to be correct . However if you want to dye commercial yarn in a colour that might not look nice over-dyed… I would definitely test first. Also make sure to check the fiber content of the yarn. Protein fibers–silk, wool–dye the best with acid dyes. Some synthetics take acid dyes too. Cottons and other plantern-based fibers (bamboo, hemp, linen etc) require different dyes completely.

Once I planned out which colours I was going to dye my grey yarn, I got out my microwave (one I use for dyeing), a scale, a ball winder, some glass jars, the dyes and some vinegar.

1. Thinking I wasn’t going to need a full 25g of yarn for every colour, I divided two balls into four using my ball winder and scale. I ended up with four balls roughly 12-13g each. It’s critical not to wind the yarn too tight or the dye won’t penetrate into the yarn closer to the centre of the ball.

2. Soak the yarn in warm water and a bit of white vinegar. Easy does it. You don’t want the yarn to felt or get into a knotted mess.

3. Get your dyes out and prepare them. For small quantities of yarn you will need very little dye powder. I probably used about 1g of dye per 12g ball I dyed. Put the dye in some warm water, stir and add a little vinegar.

I used Ashford’s purple and black dyes to get the purple and dark grey colours. For the wine colour I used Jacquard dyes’ russet and a very little Ashford navy blue. For the red I used Jacquard’s fire red.

Put the yarn in the dye. Make sure it’s  not too crammed in there otherwise the yarn will dye unevenly.

Put the jar in the microwave for 2-3 minutes on high. Let it sit for 5 minutes or so, then give it another 2-3 minute blast. Let it sit and cool. If you haven’t overdone it on the dye, the water should be clear and the dye bath exhausted.

4. Carefully rinse the cooled yarn and squeeze out the excess liquid. Now let it dry.

I’m pleased with my results. The grey yarn took the dye nicely and the colours are close to the ones used in the sample. Sure they are not identical, but that isn’t an issue for me.

Nine colours ready to knit

Nine colours ready to knit

Next yarn to be over dyed: the balls and balls of yellow wool my mother gave me a few years ago. Yellow really isn’t my colour, but I’m pretty sure I can make them into something I will like.


Natural dyeing with cotton

5


left to right: onion skins, madder, indigo

left to right: onion skins, madder, indigo on organic cotton yarn

It’s funny what can get you off and running on a project. Dyeing cotton really wasn’t on my to-do list until I read an article in the Winter 2015 Spin Off where Dye-lishus premordanted cotton sliver was tested and reviewed. My first thought was, what’s the fuss with cotton that would make premordanted sliver desirable? Would it make dyeing easier?

One of the things the Dye-lishus premordanted cotton sliver apparently can do, which home mordanting can’t, is allow the fiber to take acid dyes, which are made for dyeing protein fiber (wool, silk, etc). Dye-lishus’s USP is: you can dye this fiber with anything–acid dye, food colouring, procion dyes–and it will stick.

However, my interest in mordanting my own cotton was stronger than my desire to try out the Dye-lishus fiber. Another day perhaps.

A quick internet search informed me that mordanting cotton for natural dyeing is a two- to three-step process, depending on the kind of cotton used. It’s not complicated. It’s not particularly labor intensive. It’s just one or two more steps than mordanting wool.

There are some important things you should know before mordanting and naturally dyeing cotton.

* Cotton is mordanted with tannic acid, then aluminium acetate. Those are different mordants than the ones used for wool. Both are available from natural dye suppliers.

* Depending on what kind of cotton you’re going to dye, you may want to scour the yarn or sliver. I washed my yarn in very hot water with soda crystals. If you’re using organic cotton, don’t bother with this step.

As with all aspects of natural dyeing–on cotton, wool or otherwise–there are many recipes. I used the simplest one I could find, which happened to be on the Wild Colours site. It has lots of information on natural dyes and mordants.

I used 10 percent of weight of goods (WOG). To mordant 100 grams of fiber and yarn, I used 10 grams of tannic acid and 10 grams of aluminium acetate. It’s worth getting a digital scale to weigh the mordants. Put a clean yogurt pot on the scale, zero it, then tip in your mordant.

Soak your fiber/yarn for a good hour before adding it to a dye pot in which you have dissolved 10 grams of tannic acid. You want there to be enough hot water to cover the fiber and give it a bit of room. No need to heat the pot, just leave it until you’re ready for the next step. I left mine overnight.

Repeat the process, but this time dissolve 10 grams of aluminium acetate and then add your wetted down fiber. Again, you need hot water to dissolve the aluminium acetate, but you don’t need to heat the pot. I left mine to soak overnight in a bucket.

When ready to dye the fiber, make sure to rinse it well to get out any mordant that hasn’t attached to the fiber. Do it now or it makes the fiber a bit chalky after dyeing. Otherwise make sure to rinse your fiber well after dyeing.

I dyed with madder and onion skins, because that’s what I had to hand. I soaked the madder root in hot water overnight. I used 50 percent WOG of madder. Onion skins are very generous in terms of dye yield. I used a few handfuls and that was plenty.

IMG_0410

cotton yarn, madder dye bath

Give the madder about an hour to simmer. I strained the root into a jelly bag, which I then returned to the dye pot. It saves you having to pick out little bits of madder from the fiber and makes sure you’re getting your money’s worth from the dyestuff. I fished out the onionskins with a slotted spoon put them in the compost.

Once the fiber was in the dye pots I left them to simmer for about an hour. I then removed them from the heat and left them to cool.

Dye baths made with natural dye stuffs do not exhaust the way acid dye baths do. That means there will appear to be a lot of color left in the dye pot. With acid dyes, you know the dye bath is exhausted when the water is clear. That doesn’t happen with most natural dye stuffs.

madder on cotton sliver

madder on cotton sliver

IMG_0416

top: cotton sliver, bottom: cotton yarn with onion skins

Rinse your fiber well and leave to dry.

Last, but not remotely least, cotton can be dyed naturally without any mordanting or pretreatment whatsoever. Just make an indigo vat, following Sal’s fabulous fruit vat instructions. Indigo is a substantive dye–like walnuts and lichen–and does not require any mordanting process. Just look at it. Beautiful!

IMG_0421

Indigo on cotton yarn (top), wool (middle), sea cell (bottom)