Soap nuts!
Have you heard of soap nuts? They’re the little glossy shells from the fruits of trees and shrubs of the Sapindus genus. They can be boiled in water to make a liquid soap or popped into a muslin bag and added to laundry. Even though they’re called soap nuts they’re not soap as is commonly known (lye plus fat). Soap nuts are lauded as a non-toxic and sustainable laundry alternative. Oh, and they’re a lot less expensive than commercial detergents.
So what does this have to do with scouring fleece? I started using soap nuts for my family’s laundry mainly because of their eco credentials, but also because they lack the heavy perfumes present in so many commercial detergents. Smelly detergents! Yuck! They worked incredibly well.
I also struggled to find an unscented, eco-friendly detergent to use on fleece and thought the fleece scouring solutions (like Power Scour) on the market to be on the expensive side. When it came to getting ready for a big fleece scouring session I thought, hey, why don’t I try the soap nut liquid on the fleece?
How did it go? Well, it worked.
I made up the soap nut solution–boil 50 grams of soap nuts in 2 litres of water for 10 minutes. Cool. Strain. (50g of soap nuts can make 12 litres soap.)

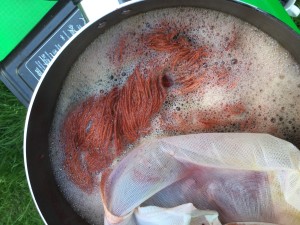
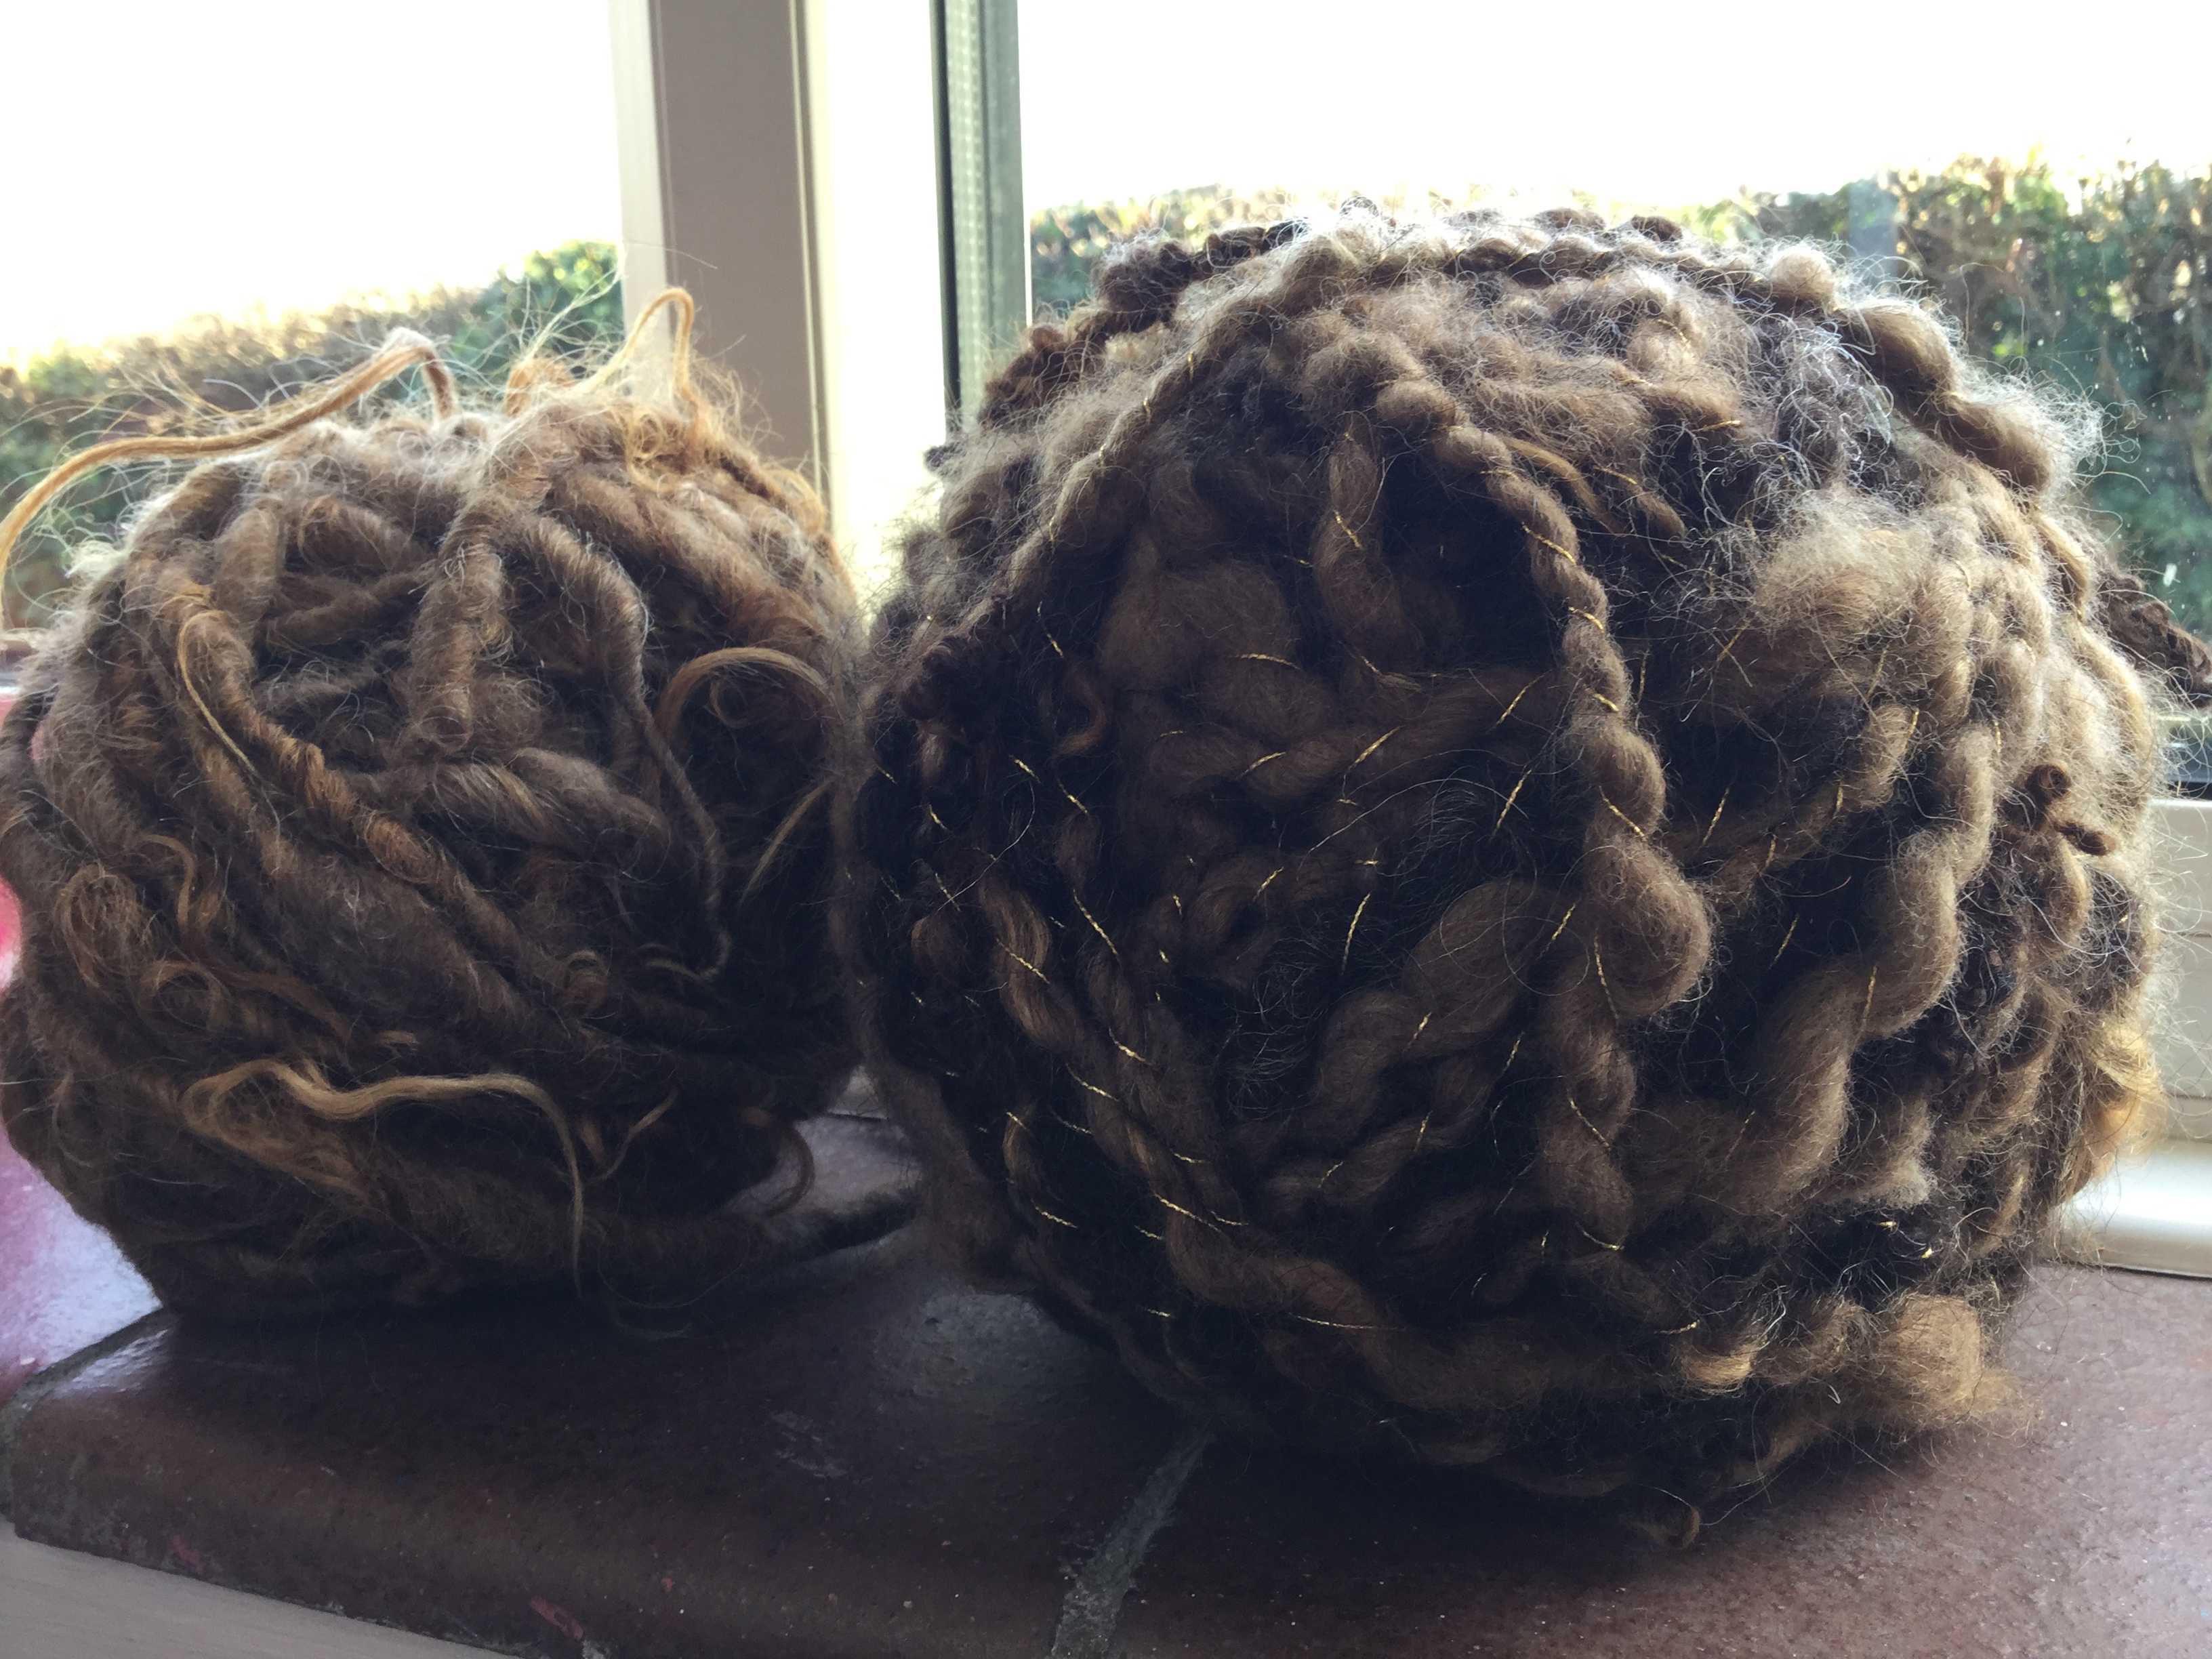
Bowmont fleece soaking in soap nut solution and hot water
I filled a bucket with very hot water, gently added about 250 ml (roughly 1 cup) soap nut solution and then added my fleece. Immediately I could see the water turing that milky brown colour you get when washing fleece. I let it sit for awhile before draining it and spinning it out in the washing machine.
Yes, I put wet fleece in my washing machine on the spin cycle. It’s the same technique Sally mentioned in her post on scouring fleece. Your fleece won’t felt. If you’re worried about smell you can clean your machine with white vinegar and baking soda. I didn’t have a smell problem.
The next step was to rinse the fleece in hot water. I had a very greasy fleece (Bowmont) and it felt sticky when I took it out of the washing machine. To address this stickiness I added a good dose of white vinegar to the hot water rinse. I figured hey, it won’t hurt the fleece, right? My theory was the acidic vinegar would help reduce the stickiness.
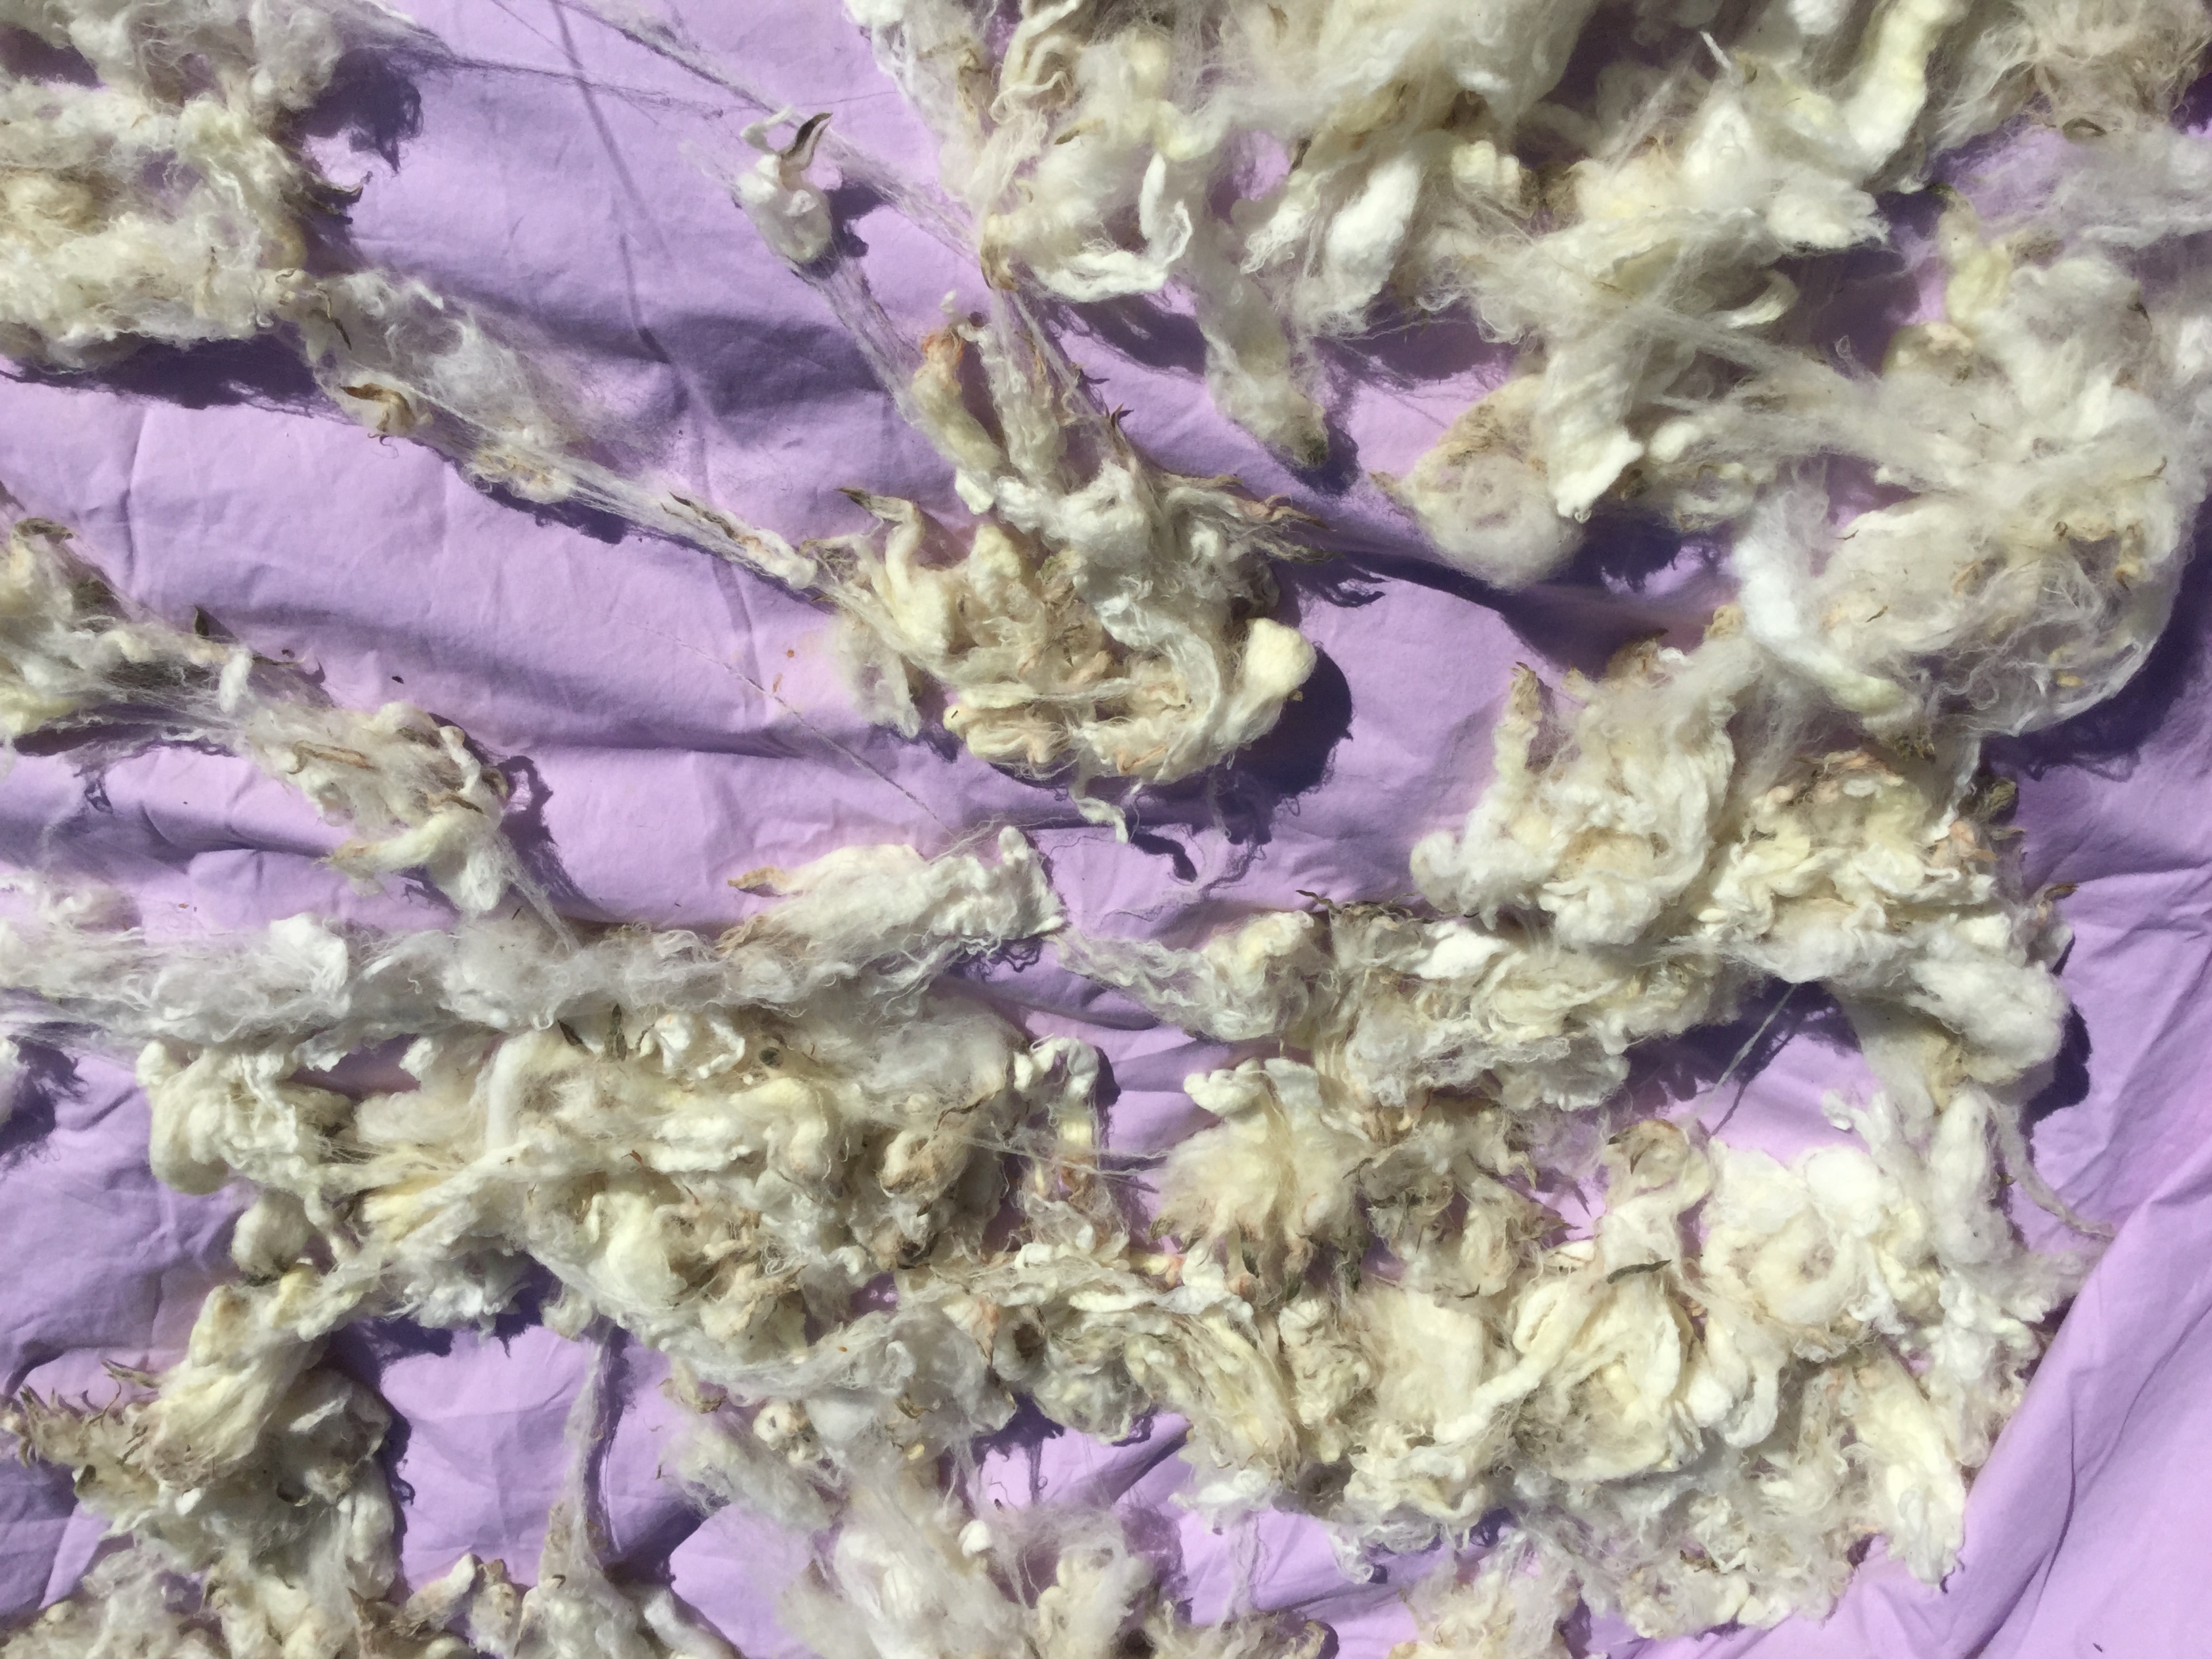
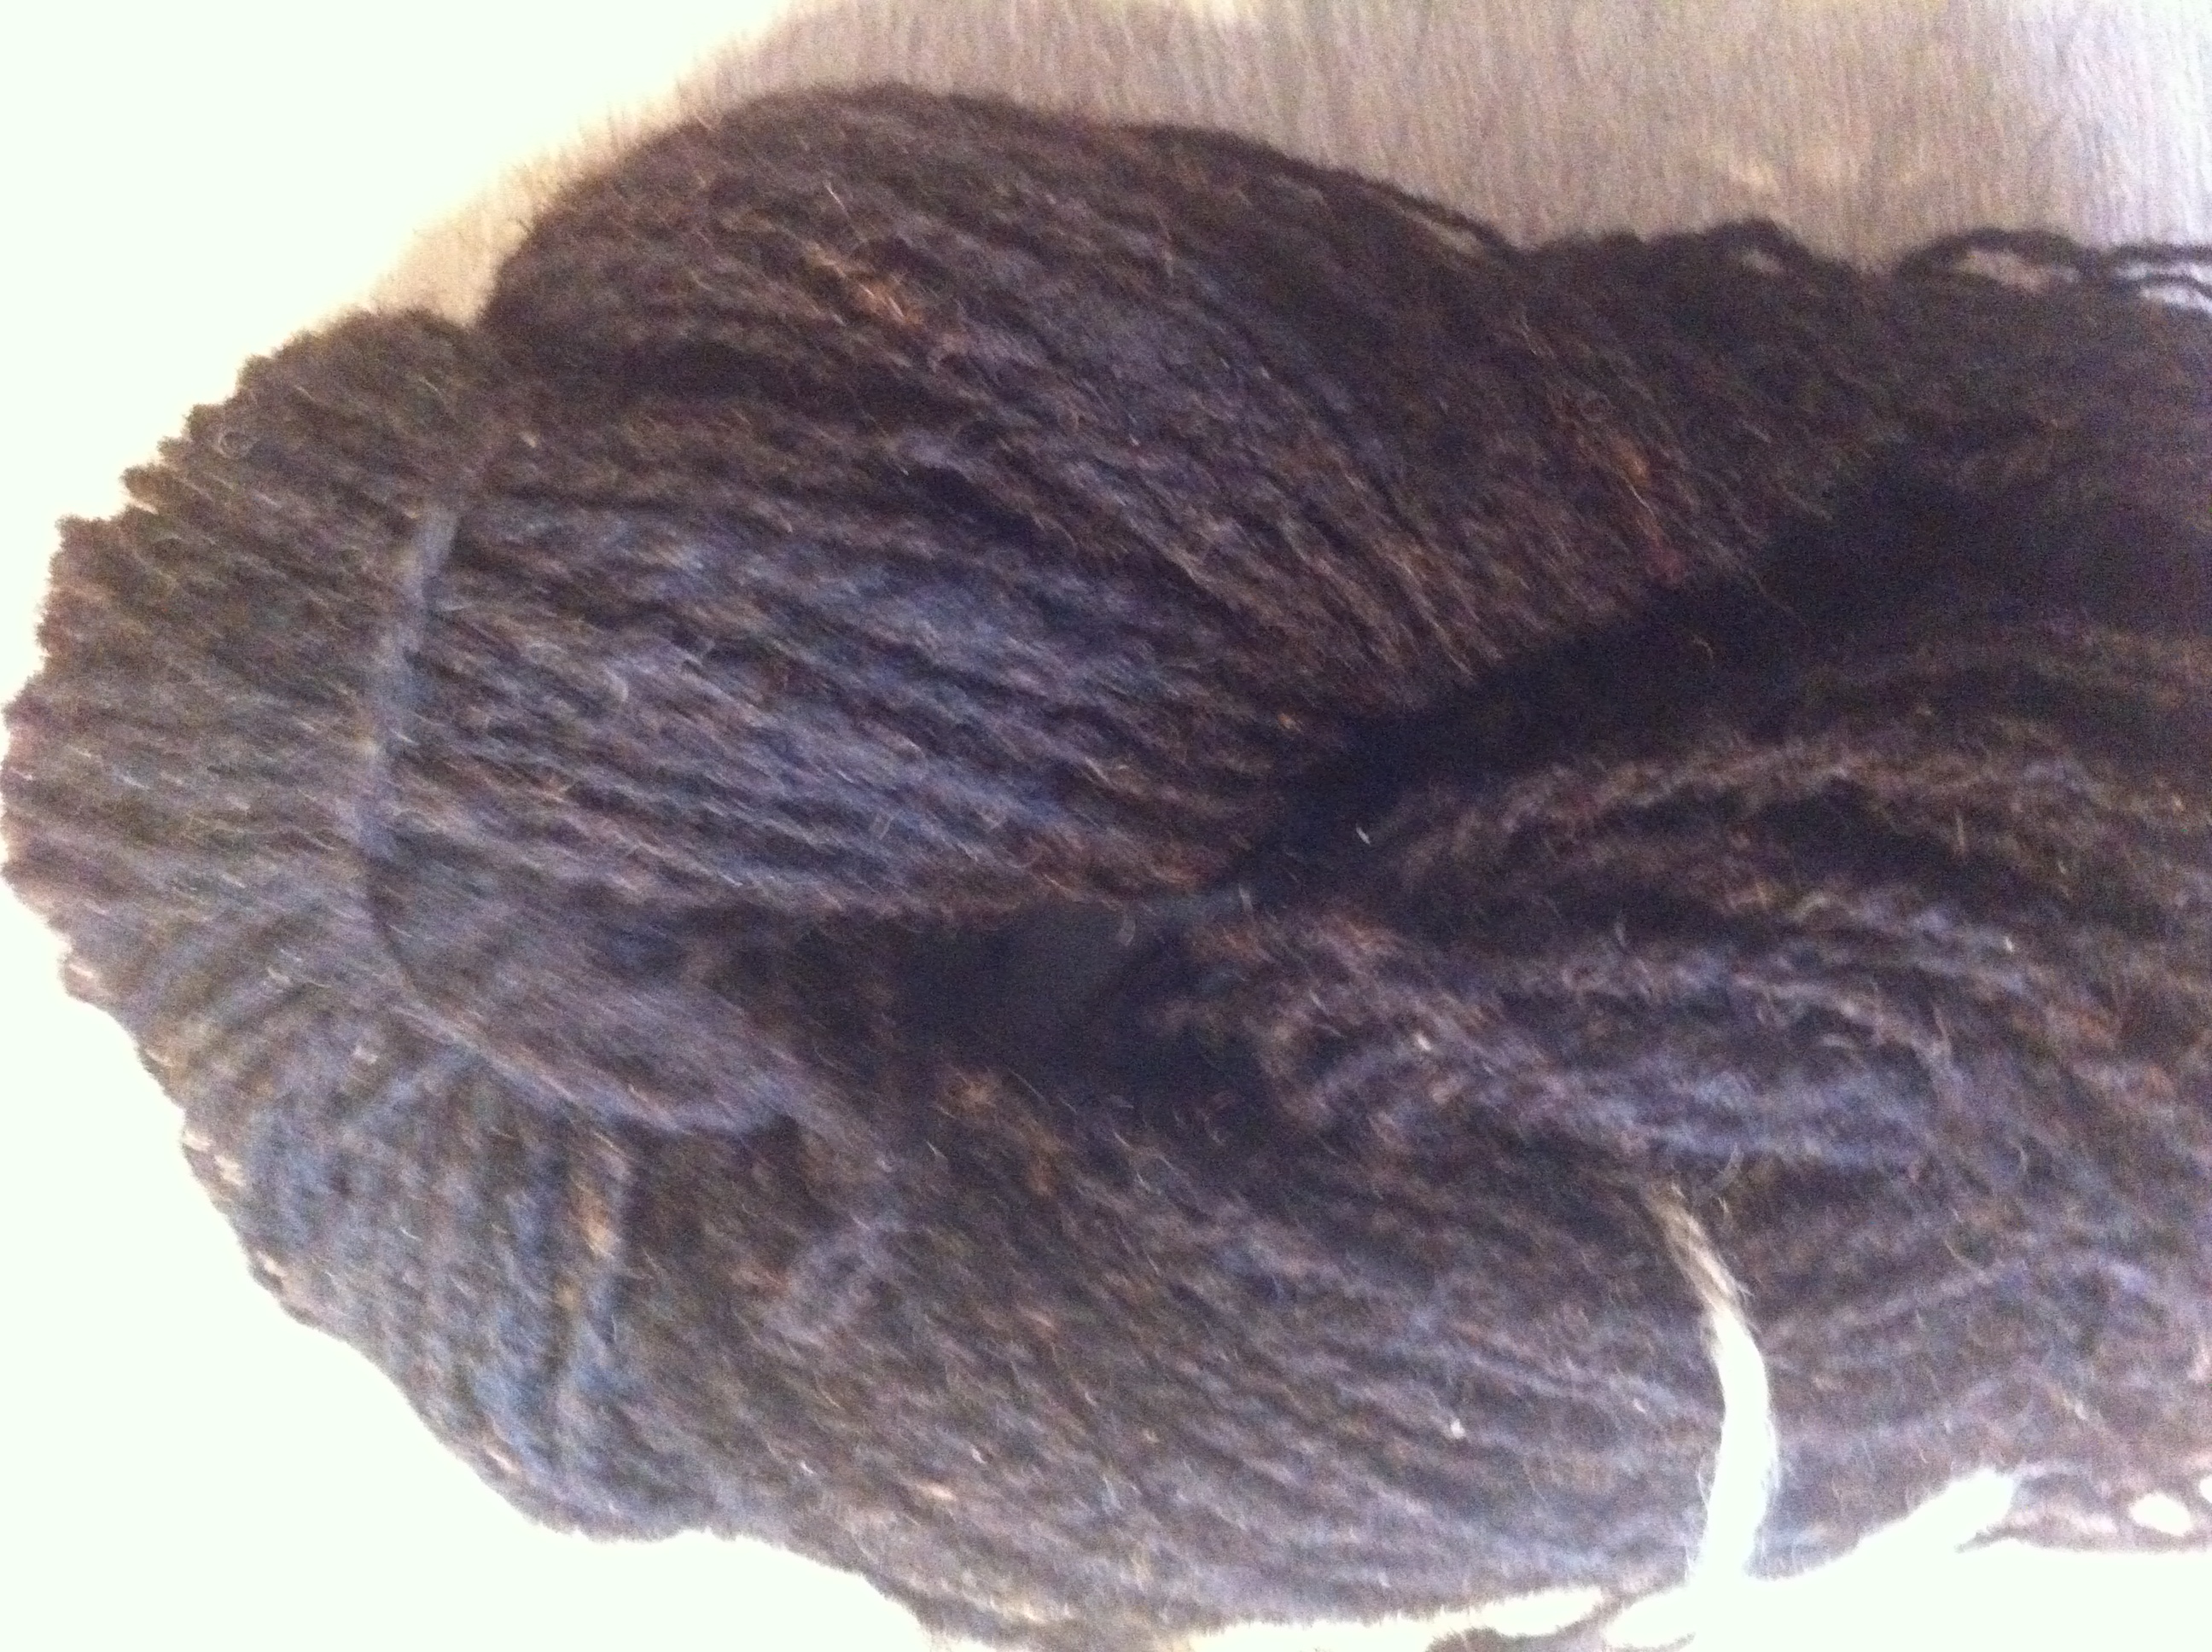
Bowmont fleece drying
When I added the vinegar the fleece fizzed and bloomed, opening up nicely. I let it sit for awhile before spinning it out in the washing machine and spreading it out on a sheet in the garden to dry. There’s no vinegary smell on the fleece either.
It occurred to me that I’d run this experiment on a relatively clean fleece–no muck, negligible VM. What about a muckier one? I found some fleece that needed a little more work, picked out the really gross stuff and soaked it in the soap nut solution and ran it through the same process in the washing machine and vinegar rinse.

Muckier fleece
This fleece is a 3/4 Southdown lamb and not nearly as greasy as the Bowmont. The soap nut and vinegar treatment worked really well.

Getting the dirt out! (3/4 Southdown fleece)
You get through a lot of water when washing fleece. I didn’t want to pour it down the drain and instead used it to water the garden. That’s another benefit of using soap nuts. Yes the water is a bit greasy and mucky, but there isn’t anything harmful to plants or the wider environment in it.
There is another way to wash a fleece without soap–the fermented suint method. Basically the method is: soak your fleece in rainwater until the suint (sheep sweat) ferments creating a kind of soap. I have not tried this method, but I’ve spoken to a few people who swear by it. Although apparently it’s better for low-lanolin fleeces and it’s even smellier than scouring fleece with soap.