Autumn Leaves and Contact Dyeing

2
image

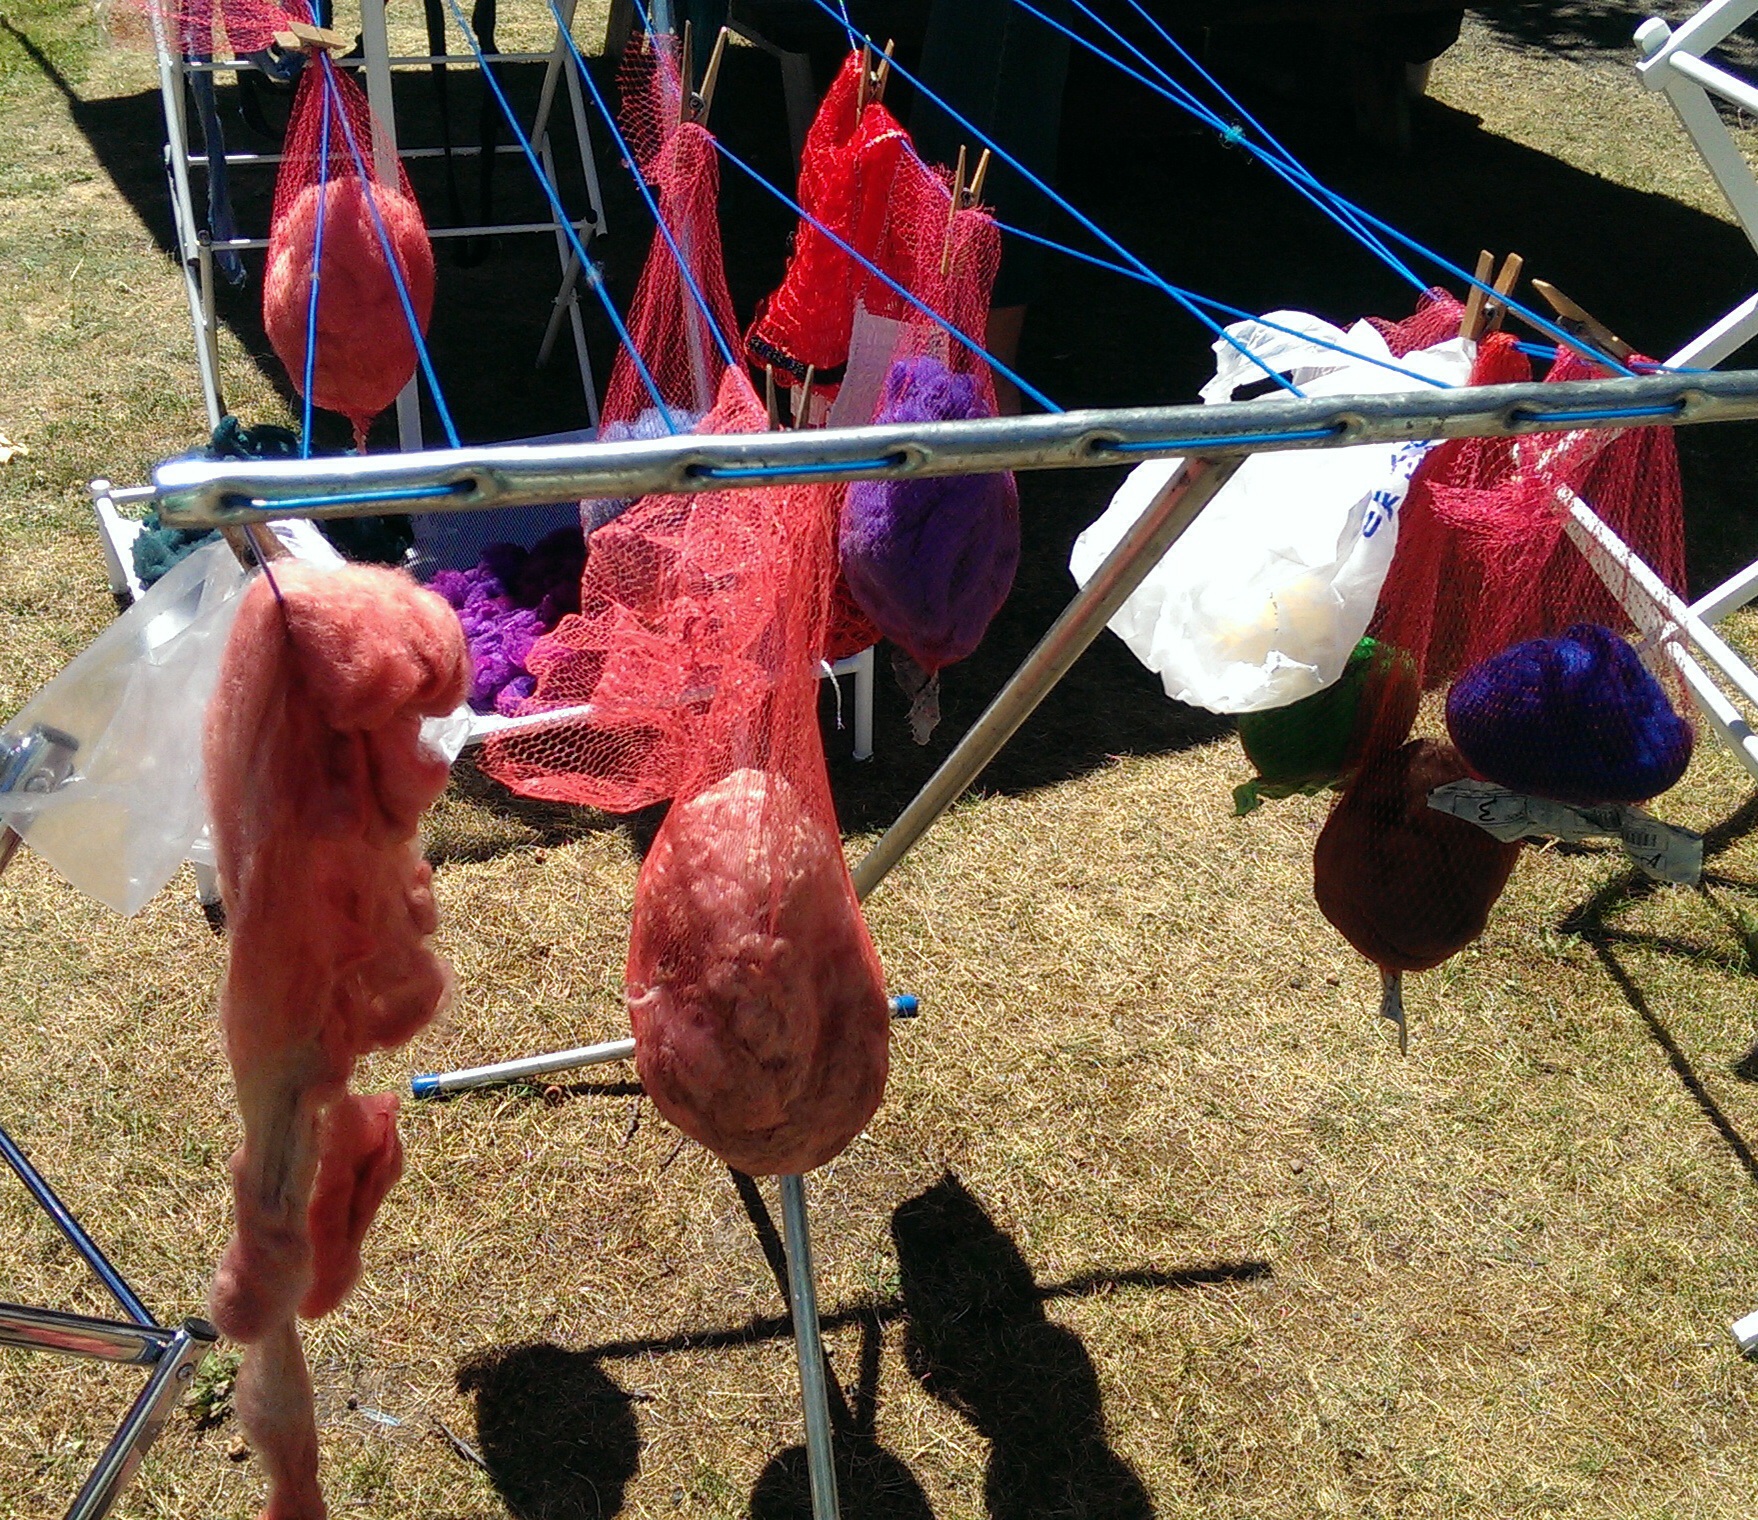
Instructor’s sample of leaf contact dyeing

I had my first Natural Dyeing class at the Oregon College of Art and Craft last week. We started by walking the campus and collecting various autumn flora: fallen oak and maple leaves, pink-backed cherry leaves, fresh comfrey, spotted dying blackberry leaves, walnut hulls, tupelo, madrone and walnut leaves, Indian blood grass, and anything else that caught our eye. The ostensible purpose of this was to collect material to make our own contact dyed projects, but really it was to get us excited about natural dyeing. This time of year in the Pacific Northwest the ground is littered with dyestuffs, and the quick and easy method we learned yielded pattern as well as color.

image

Once we collected our leaves, we laid them out onto fabric or paper, and either rolled up our fabric tightly around a stick (or for added color, around a rusty iron nail) or accordion folded and clamped for a shibori effect. These packets are then simmered in a water bath for an hour, and then removed and unwrapped.

image

image

What I found most interesting about this technique is that there is really very little dye in individual leaves (for the most part tannic acids) but because of the wrapping or clamping, the color can’t migrate anywhere other than onto the fabric or paper. In other words, the opposite of leveling. In a lot of cases, the color transfer is more akin to printing— the fabric or paper is not really dyed per se, but stained or imprinted with the actual leaf color, giving pinks or greens which don’t exist as an actual dye. Our instructor cautioned us as much, saying that these colors will fade with washing or over time. That said, there definitely was dyeing of fabric around the periphery from the tannic acids, and also where the rusty nails provided an iron mordant.

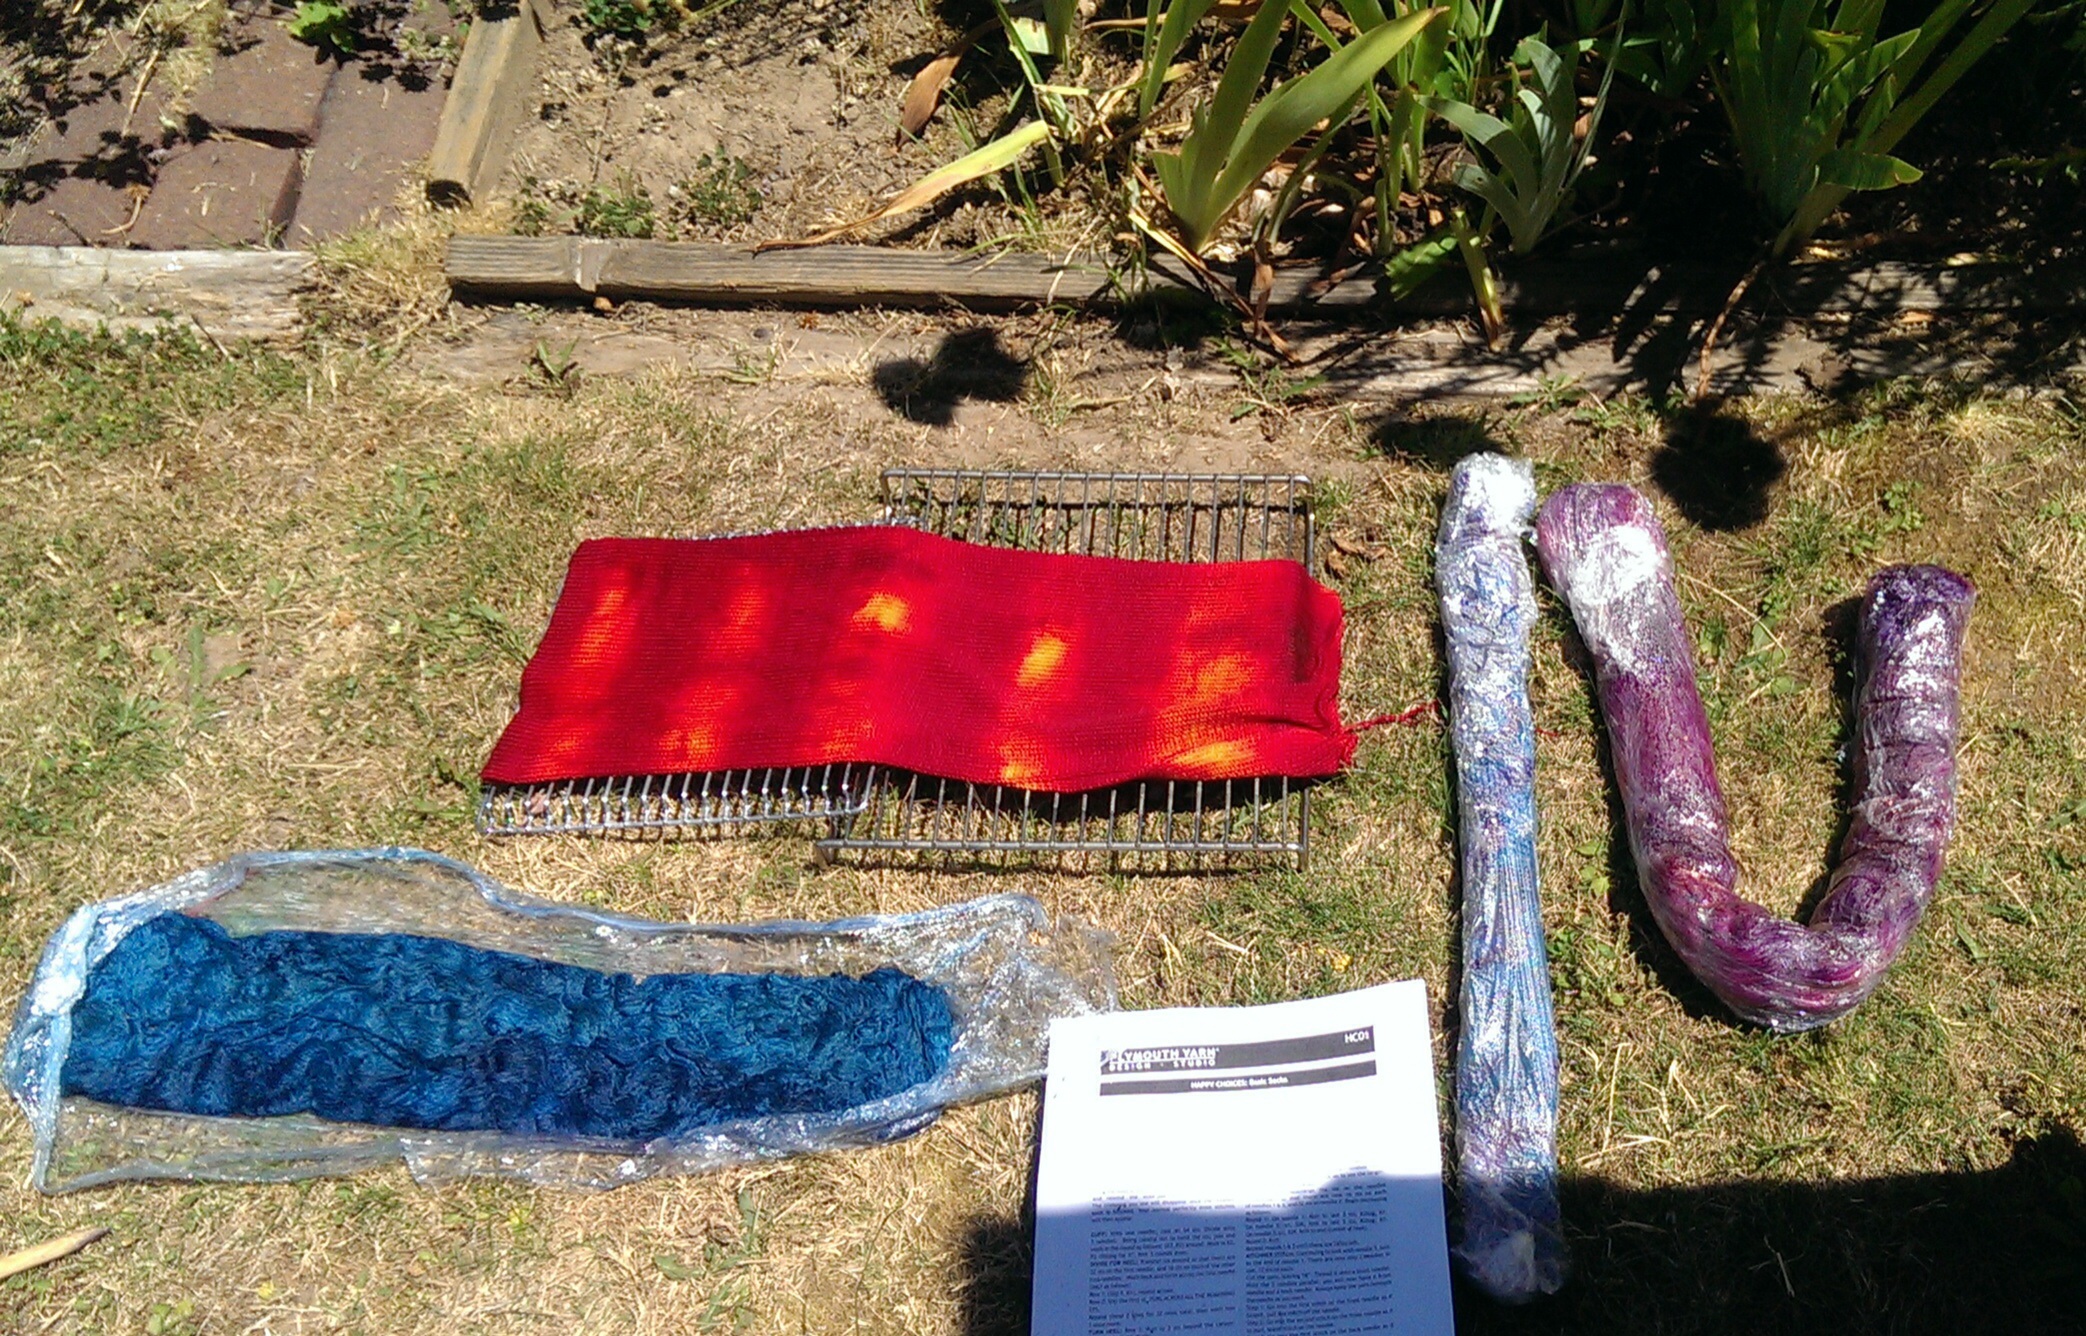
Here is a leaf print where I had an iron plate clamped to the outside of my fabric packet:

image

Leaf print on silk noil with iron plate

And likewise wrapped around a large rusty nail:

image

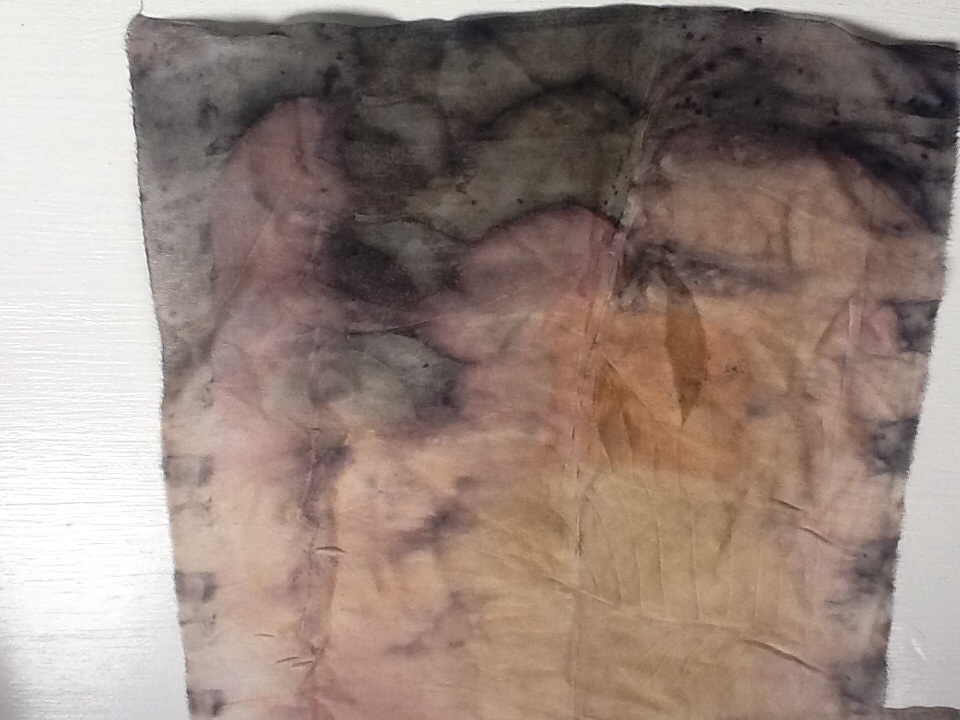
Silk charmeuse leaf print wrapped around iron nail

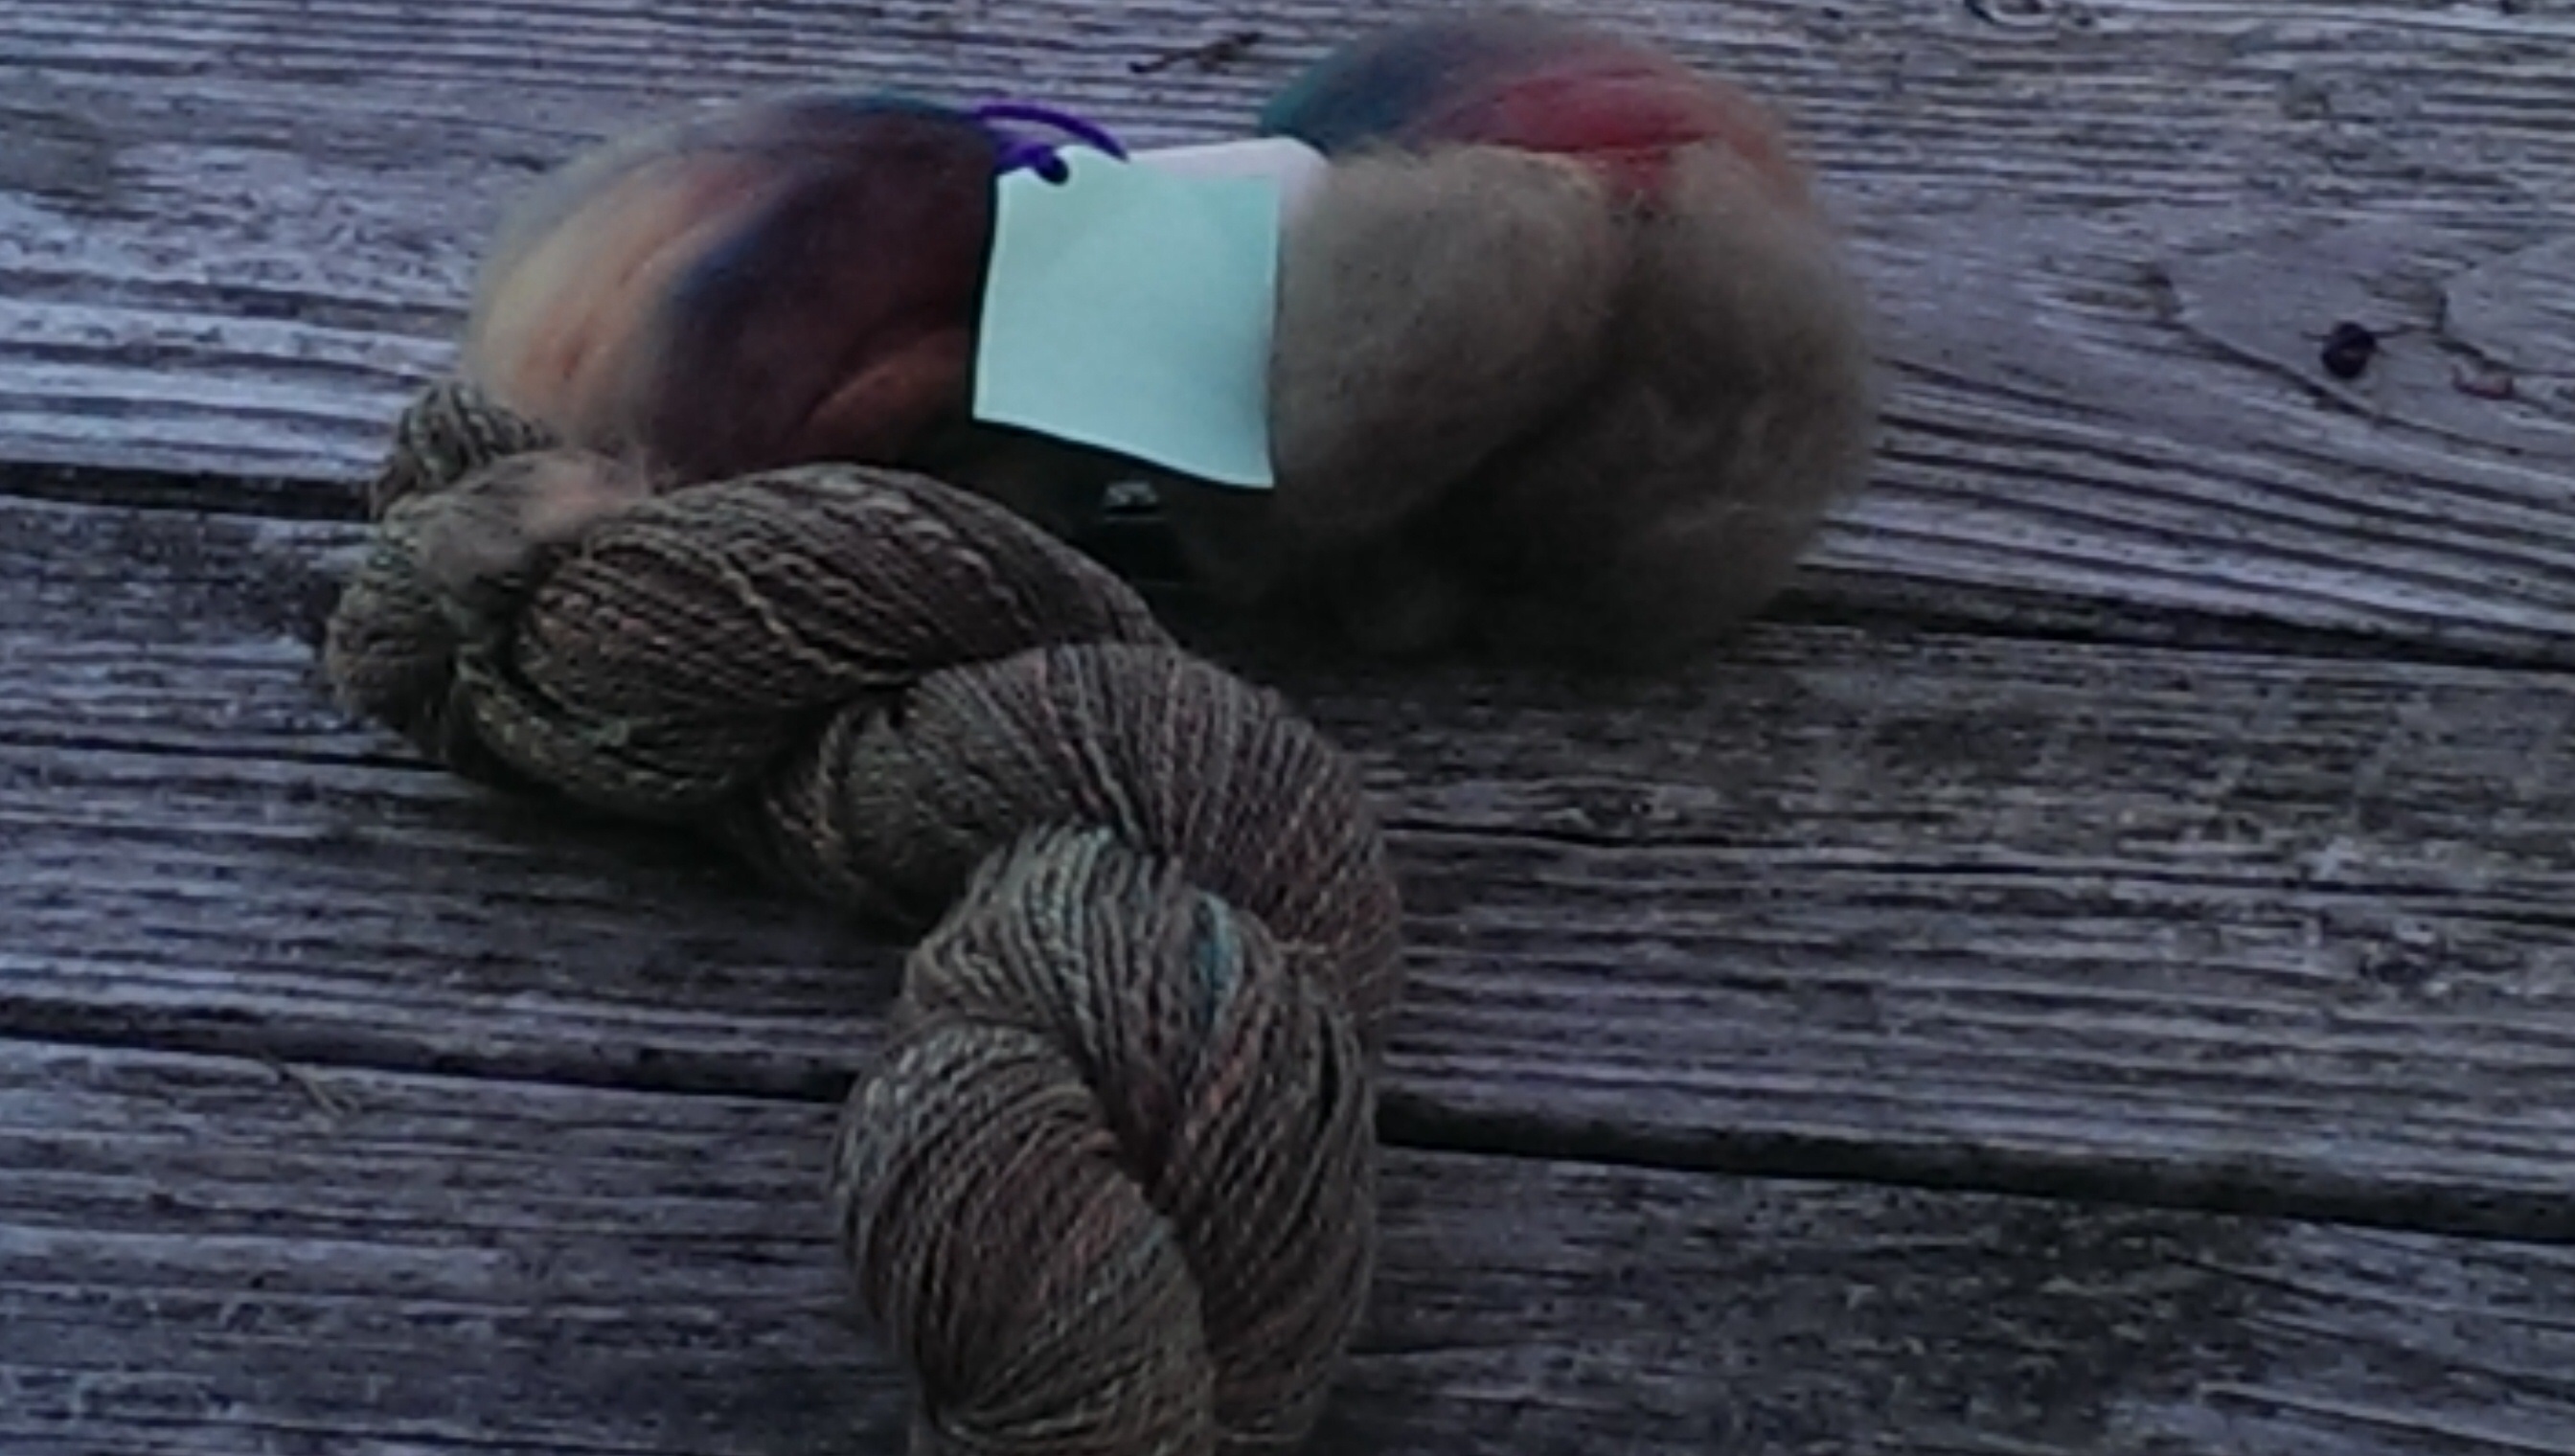
Here is the difference of the dyestuffs on cellulose. For one, I didn’t get my packet wrapped tightly enough and the colors ran. For another, the yellows and greens remained printed while the tans of the tannic acids didn’t penetrate as much. I expect this to be a function of the density of the cellulose in paper form, and I would expect better tans on cotton yarn:

image

Wrapped leaf print on paper

This technique also led me to revisit my forays into dyeing with candy. I’d encountered poor results with a lot of candies that contained very little dye. So I tried some candy contact dyeing:

image

image

The candy melted pretty quickly, so it was hard to keep the fabric tight, but the dye migrated onto the fabric rather than into the dye pot. I can see some candy-related shibori in my future!

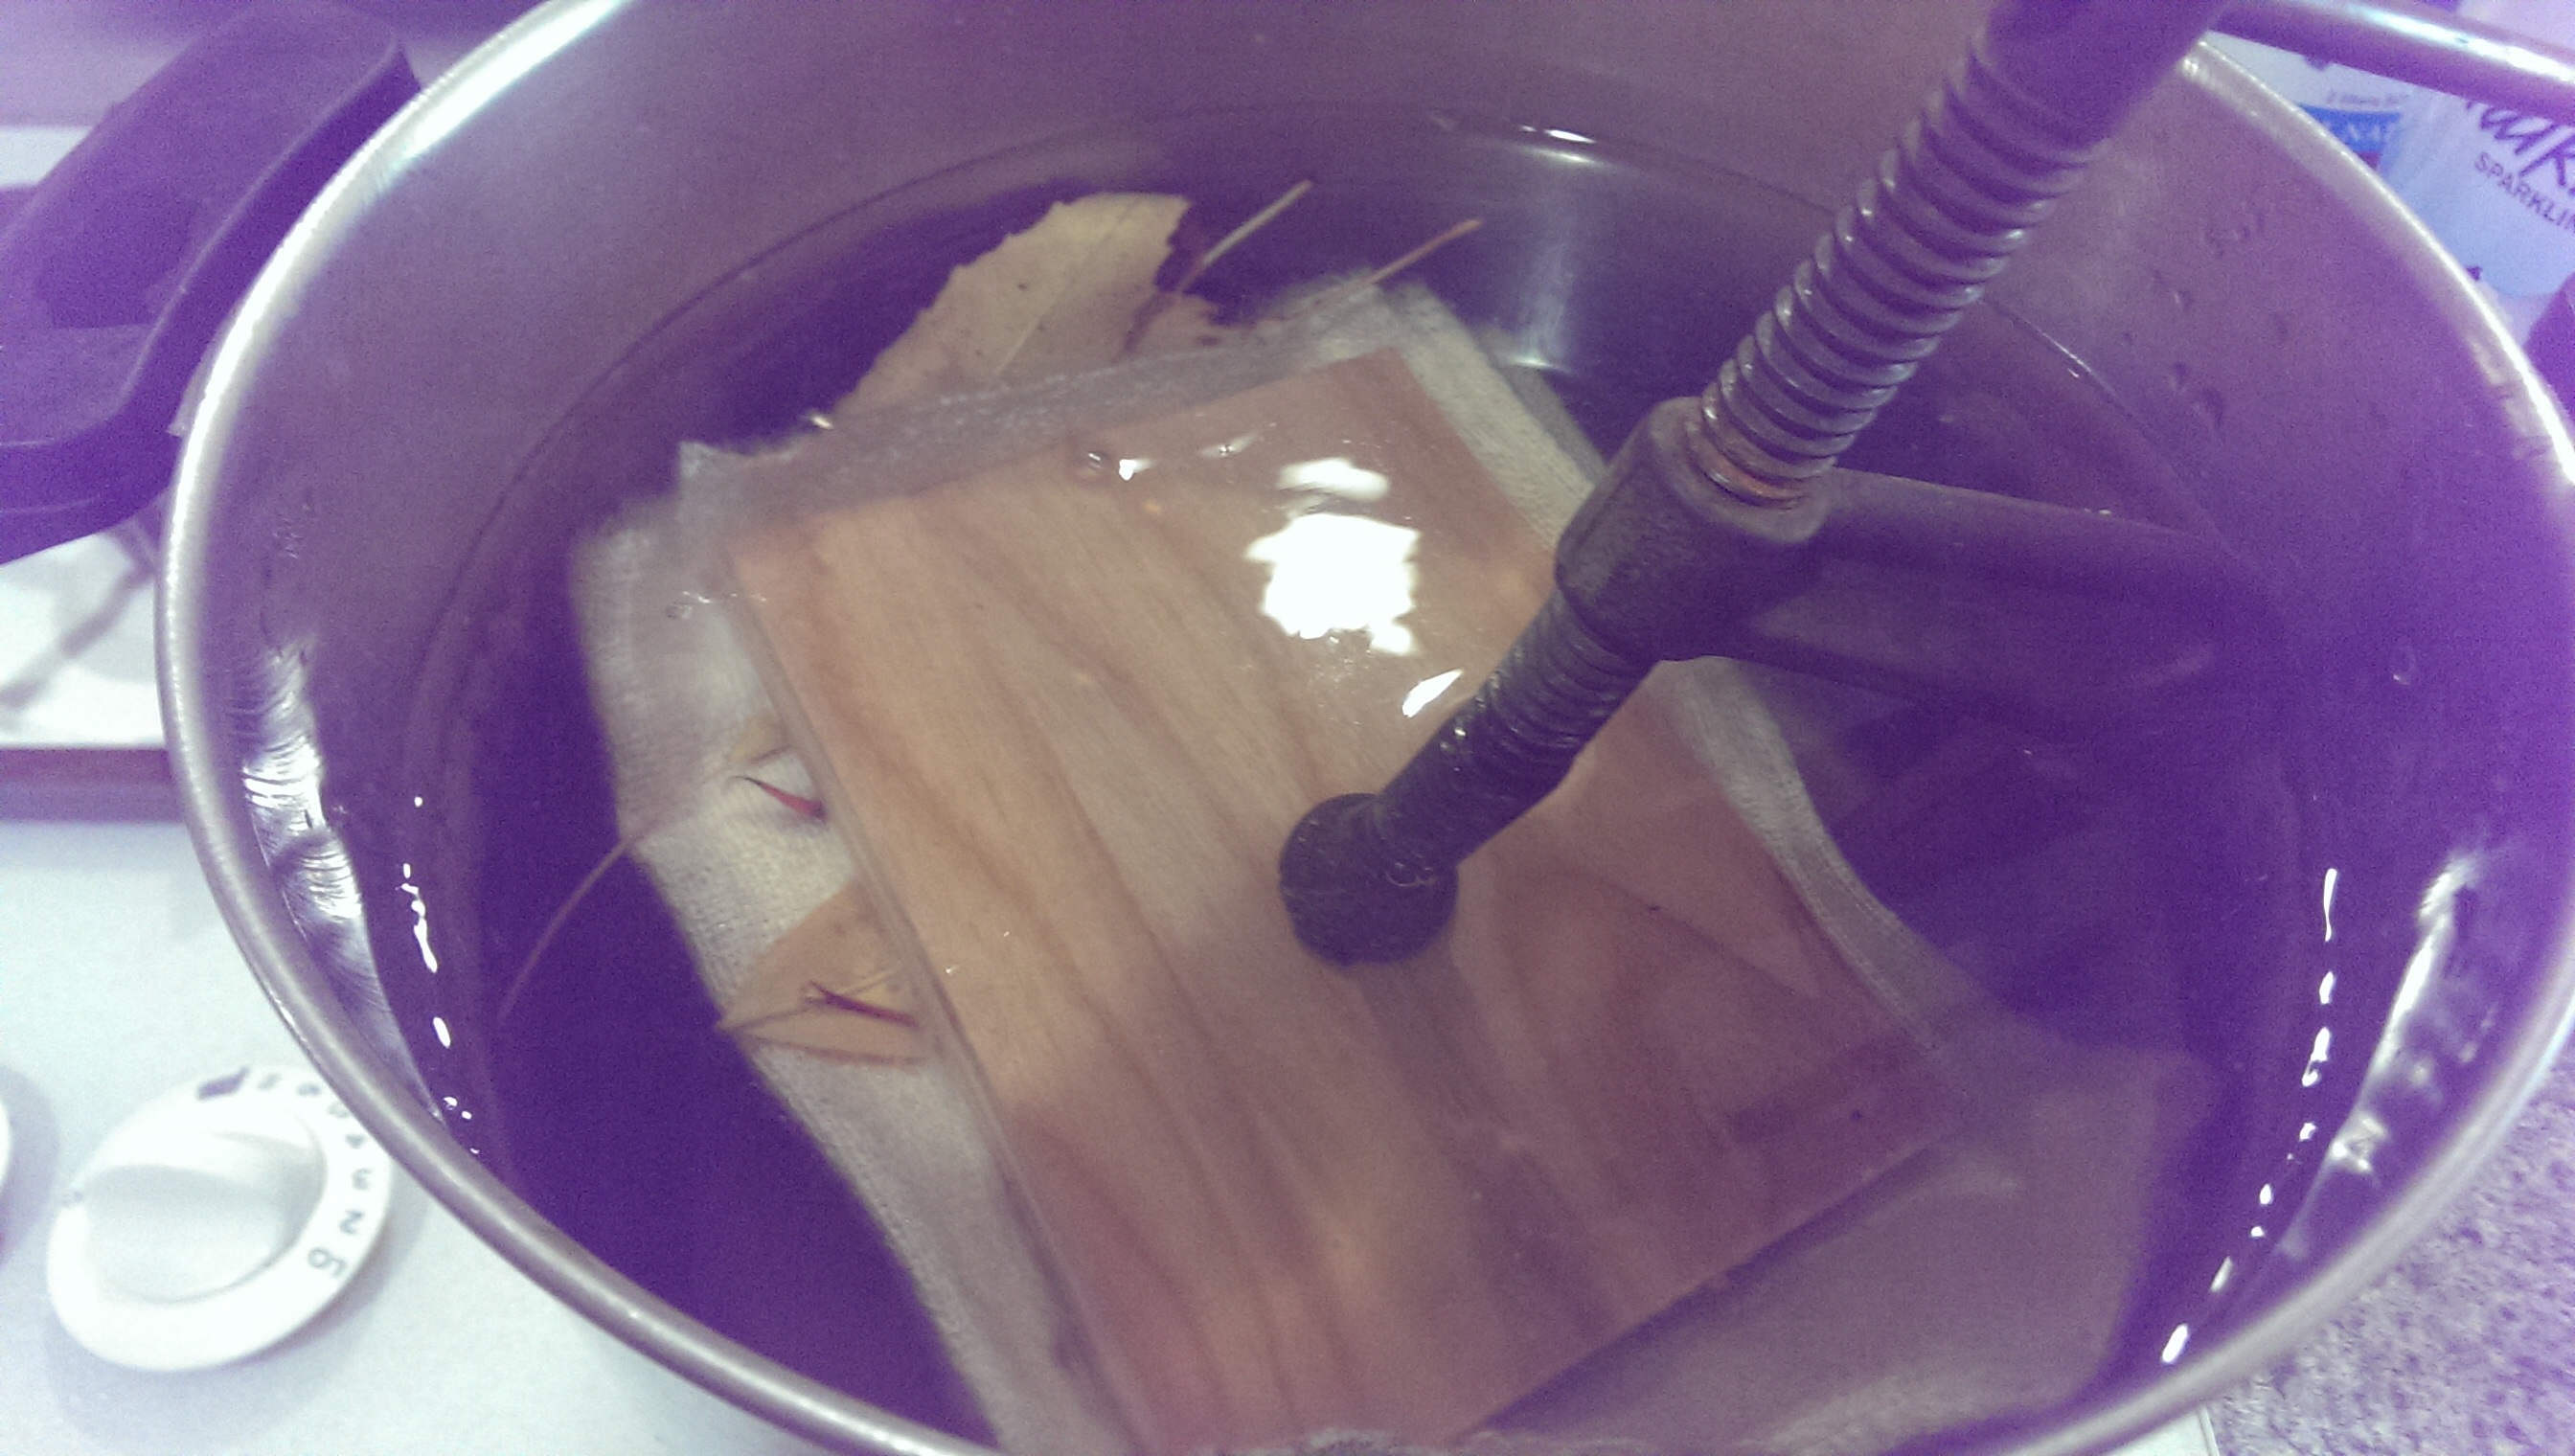
I’d also encountered  some inexpensive pomegranates at the grocery store last week, and per Rachel’s last post I bought them for some seasonal dyeing. Pomegranates contain ellegic acid, which are yellow tannins, so I thought this would be a quick way to see what sort of coloring I could get from them:

image

This is one slice of pomegranate:

image

Folded and clamped pomegranate slice on silk charmeuse

And here is multiple slices and layers, with the rest of the pomegranate in the dye pot:

image

Folded and clamped pomegranate on silk noil, over some walnut hull spots

Tight wrapping and clamping is the key to good transfer, but whether you are preserving autumn leaves, testing dyestuff potential, or finding another use for seasonal candy, it’s such a quick and easy technique that it’s definitely worth trying.

Guild Challenge: The Electric Kool-aid Fiber Test, Part 1

2
Jumping off point

Jumping off point


We received our new guild fiber challenge at the October meeting. It’s pretty straightforward: dye some fiber with some Kool-aid, and make something out of it. The only caveat is that the finished project must show some of the original color of the Kool-aid we used. We were given 4oz of Polworth roving and a couple of packets of Kool-aid to start us along. The final projects are due at the February 2015 guild meeting.

This project is a lot more open ended than the last one, where we had an upper limit of fiber and assigned colors to start out with, and for which my project won a prize. Because of that, I’ve been at a bit of a loss as to which direction to go. My tendency to overthink things isn’t helping. In fact, I’ve been overthinking this for almost two months now.

We were given a piece of paper with Kool-aid dying directions, and the link to this Knitty article. It’s like any other acid-dying, with the added bonus of Kool-aid already containing citric acid. I searched Ravelry for some Kool-aid dyed projects for inspiration, and I found this hat, which uses yarn that is gradient-dyed. She also has a nice blog post about gradient-dying. This is a pretty cool technique, but I’ve talked to a lot of my fellow guild members, and they all seem to think they’re going to dye their yarn after it’s spun. I don’t want to show up with the same project as someone else.

Saxarocks' gradient-dyed Chyrsanthemum Hat; pattern by Xandy Peters

Saxarocks’ gradient-dyed Chrysanthemum Hat; pattern by Xandy Peters

I also considered trying this shibori dying and weaving technique that Rachel did, but my loom is in limbo right now, so until I have a place to set it up, no weaving for me.

I decided to go with the challenge name itself for inspiration, based on The Electric Kool-aid Acid Test by Tom Wolfe, about author and Merry Prankster Ken Kesey (from Oregon!). I’ve read this book, along with Kesey’s One Flew Over the Cuckoo’s Nest. Kesey also has a book called Sometimes a Great Notion, which I bought at Powell’s and have started to read. It’s really, really great, and I regret not reading I sooner, and my finished project will definitely reflect this book in some way.

In the meantime, I’ve embraced the spirit of these books, and put my 4oz of roving in a dye pot along with my Kool-aid, just to see what would happen:

Sprinkle dying

Sprinkle dying

image

Sprinkle-dyed roving

It’s pretty, but one packet to one ounce of roving did not saturate the roving at all, and I’m left with a lot of white parts. I ended up blending the different resulting color ways on my drum carder, and then spun it according to color for a self-striping effect. This is what I ended up with, 275 yards of 2ply dk weight:

Weird pastel yarn

Weird pastel yarn

Verdict? I hate it. The colors are flat. Back to the drawing board.

Sheep Chic

4

One reason Sal and I started this website was to show how starting with a bag of fiber it’s possible to create luxurious handmade objects.  This week I went into the Liberty of London on a mission to find wool being used in high-end fashion. I found some great pieces that I’m confident could be handmade and certainly show what’s possible with wool.

Rowan thick thin yarn--wannabee handspun

Rowan thick thin yarn–wannabee handspun

Liberty is known for its art nouveau and arts & crafts-inspired designs in the 1950s as well as its range of print fabrics. Back in the dark ages -the early 00s–when there were no real knit shops in London, Liberty carried Rowan yarns and stocked needles.

These days Liberty has some super-expensive pieces that feature wool. Check out this handbag made by Marni.

Marni bag

Marni bag

It’s made out of leather and a panel of soft felt. It retails for £765. It’s a beautiful piece that’s an alternative to the leather and gold-plated-hardware style bags that dominant the market. I wouldn’t say this would be an easy project, but if you know how to make felt, have access to a sewing machine and a bit of imagination–it’s doable.

Then there was this wrap going for £195. It’s basically a big piece of felt. Made in Italy, it’s silky soft–probably merino–and quite thin.

Felted wrap--probably about £5 worth of wool on sale for £195

Felted wrap–probably about £5 worth of wool on sale for £195

I’d guess it was made using a felting machine, but this is precisely the kind of piece that can be easily made by hand. In fact, I’ve seen many more elaborate nuno and silk pieces for sale that show greater skill than this colorful rectangle. Still it was inspiring to see such a piece showcased at Liberty.

There was also this stole, which looked like a piece of shearling with a fabric backing. I didn’t see how much this piece was going for, but it’s part of the wider trend for all things shearling, soft and silky. Apparently the trend for these big fluffy wraps and collars comes from Game of Thrones’ popularity. I could see making something like this with tailspun yarn.

Shearling stole.

Shearling stole.

A Field Guide to Ponchos

2

Ponchos are everywhere right now. Here in Oregon it’s still warm enough to be poncho weather. I’m sure we will move on to bitterly damp soon enough, but in the meantime I’ve been daydreaming about knitting up a good poncho. Rachel has even said to me, “Sal, there is no good reason for you not to have a poncho.”

So I’ve been looking in my back issues of Vogue Knitting, and on Ravelry, and it’s true, there are a million poncho patterns out there. OR ARE THERE?

When I was a very small child in the 70’s, my mom and I had matching ponchos, that were handwoven! for us by a family friend of my grandmother’s. They were bluish, with mauve-y pink plaid, and I believe mohair because of the general hairy-ness of them. Then my cat got sick on my poncho, and that was the end of that. Cats are the worst.

So your basic vintage poncho is a bias-draped afghan with a hole cut in the center:

Afghan ponchos

Afghan ponchos

Now let’s look at the modern take on this.

VK Winter 2011/12

VK Winter 2011/12


VK Holiday 2010

VK Holiday 2010

VK Holiday 2011

VK Holiday 2011

VK Winter 2011/12

VK Winter 2011/12

Hey modern poncho, I get you. You’re a blanket that’s been folded in half with a neck hole added in. BIAS DRAPING IS SO LAST CENTURY !

But there are also some articles of clothing that are masquerading as ponchos:

VK Spring/Summer 2011

VK Spring/Summer 2011

Nope. This is a caftan. Note the deep v-neck: this is not a repurposed blanket.

VK Winter2011/12

VK Winter2011/12

Tres chic! But not a poncho. The button-up front indicates that this is a cape.

Pickles pattern

Pickles pattern

Rachel sent me this pattern. I love the geometric detail, but this is the worst offender as far as non-ponchos go: those sleeves someone added in mean this is clearly, NOT A PONCHO. This is unfortunately a very weird dolman sleeved…sweater. I have issues with sleeve fit in knitted garments. Ponchos bypass this by having no sleeves.

I hope this helps.

Un-ironic Holiday Sweater, Part 3

2
"Buck" from Classic Elite Yarns

“Buck” from Classic Elite Yarns

This is going to be my second holiday sweater. Two features have really drawn me to this sweater: one, the colorblocking, which will visually make the sweater look smaller even though it’s oversized, and two, the prancing deer motif, which gives the sweater a lot more movement than the traditional standing deer fair-isle motif. It’s active and sporty in appearance, while also being big and cuddly. That’s a lot to pack into one garment!

I have some taupe commercially made yarn from Araucania for the lighter part of the body, and I wanted to create some forest colored hand-spun for the darker parts. There is a lot of forest here in Oregon, and I wanted to really do justice to the depth of color and variety in conifers that we have around here.


Blue Spruce

Blue Spruce

This is a blue spruce that’s growing in front of our house. The new growth is a beautiful sage-y blue green, and the older growth is more of a yellow green. The Douglas firs around our house are more of a cyan, and there is a dramatic difference in shade between where the sun strikes the needles and the ones in shadow. I ended up blending five distinct color ways, and then blending those color ways further to create this yarn. I ended up deciding on a fat two-ply to match the weight of my commercial yarn, rather than a three-ply, because I wanted to leave enough variation in color once it was knit up.

Handspun two-ply

Handspun two-ply


Here is my swatch. The commercial yarn has some striation to it, which goes really well with my handspun, and also has some pink undertones to it, which compliments the greens nicely.

Swatchy goodness

Swatchy goodness


It’s being knit on #9 US needles, so it’s coming along quickly. I’m debating on whether or not to add some knit-in pockets. I think what I love most about this project is that it’s a representation of the trees in my neighborhood, in the summer, when it was pretty hot out, and I’ll be able to keep a little bit of that summertime feel with me once winter comes. It’s a little put-up job, like a jar of pickles or some jam.

View of summer from our screened-in porch

View of summer from our screened-in porch

Guild Dye Day

0

The Aurora Colony Handspinner’s Guild had it’s annual Dye Day recently at the Historical Museum in Aurora, Oregon, and I spent the day spinning, observing, and taking a couple of interesting seminars about hand painting yarn and roving, and different ways to spin up said roving. There were lots and lots of kettles going over portable stoves. There was some beautiful kettle dyed fleece:

Kettle dyed fleece

Kettle dyed fleece

Kettle dyed fleece, hand painted roving heating in the sun

Kettle dyed fleece, hand painted roving heating in the sun

There was some beautiful kettle dyed hand spun and roving:

Kettle dyed handspun

Kettle dyed handspun

Kettle dyed roving and handspun

Kettle dyed roving and handspun

Even some dyed sparkly stuff:

Kettle dyed "Flash" aka Firestar

Kettle dyed “Flash” aka Firestar

I found this to be a nifty idea: hanging smaller bits of fleece or roving to dry in up-cycled onion bags.


Drying fiber in onion bags

Drying fiber in onion bags

There was a demonstration of hand painted roving, using squeeze bottles to apply the dyes to fiber soaked in citric acid or vinegar, and wrapped in plastic to either sit in the sun or go into a steamer. The squeeze bottle recommendation is to source from beauty supply stores for better and more accurate dispensing. The tip on color placement is to keep the same order of color change all the way around the yarn or roving.

Handpainted scarves and roving heated in plastic wrap

Handpainted scarves and roving heated in plastic wrap

There was a neat little seminar about spinning from hand painted roving. Chain, or Navajo plying was suggested as a way to maintain color order, which works especially well when doing an ombré effect. Fractal spinning was also suggested as a way to introduce color shifts when plying. This Knittyspin article is great for explaining fractal spinning: Fractal Spinning

Finally, there were some samples of hand painted roving divided in half, and one half carded together to make a “neutral”, the other half spun as you normally would, and then these two color ways plyed together. The results of this last technique were pretty interesting, in that it didn’t seem to matter what the original colors were, the blended portion would always coordinate with the unblended portion, and even out and tone done what might otherwise be garish colors. This color way was muted to begin with, but the resulting yarn is quite sophisticated:

"Neutral" spinning and plying

“Neutral” spinning and plying

It’s always great to get a bunch of people together who share your excitement about fiber. As soon as time permits, I’m going to try my hand at some hand painted roving and experiment with these spinning and plying techniques.