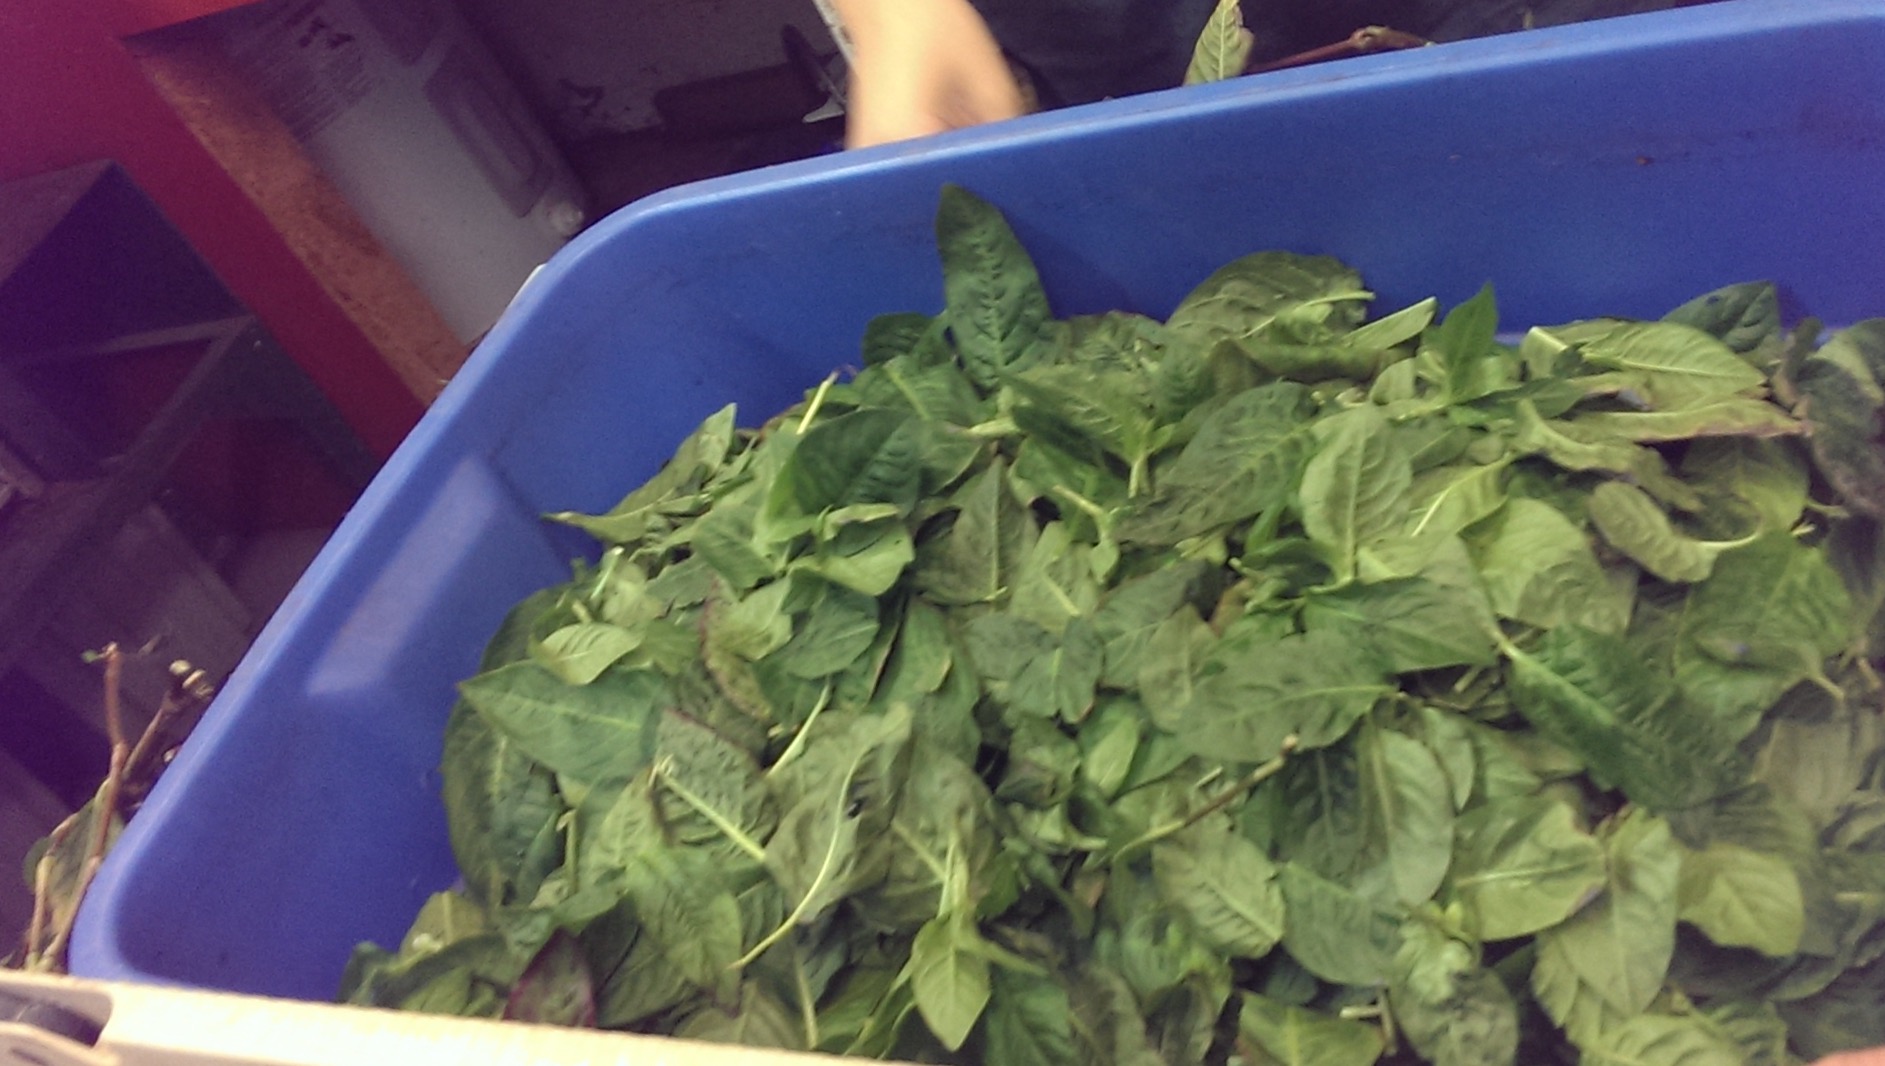
The hardest part about dyeing with fresh leaf indigo is growing the indigo. One of the people in my natural dyeing study group did all the hard work, and brought it in to share. This is what fresh Japanese indigo looks like:

Japanese indigo, persicaria tinctoria
The leaves are picked off the stems:
Then blended with ice water:

And strained through a cloth (in this case, silk):

We squeezed out the cloth to extract as much juice as possible, and this was our dye bath. We put our fiber in, a mix of wool, linen and silk:
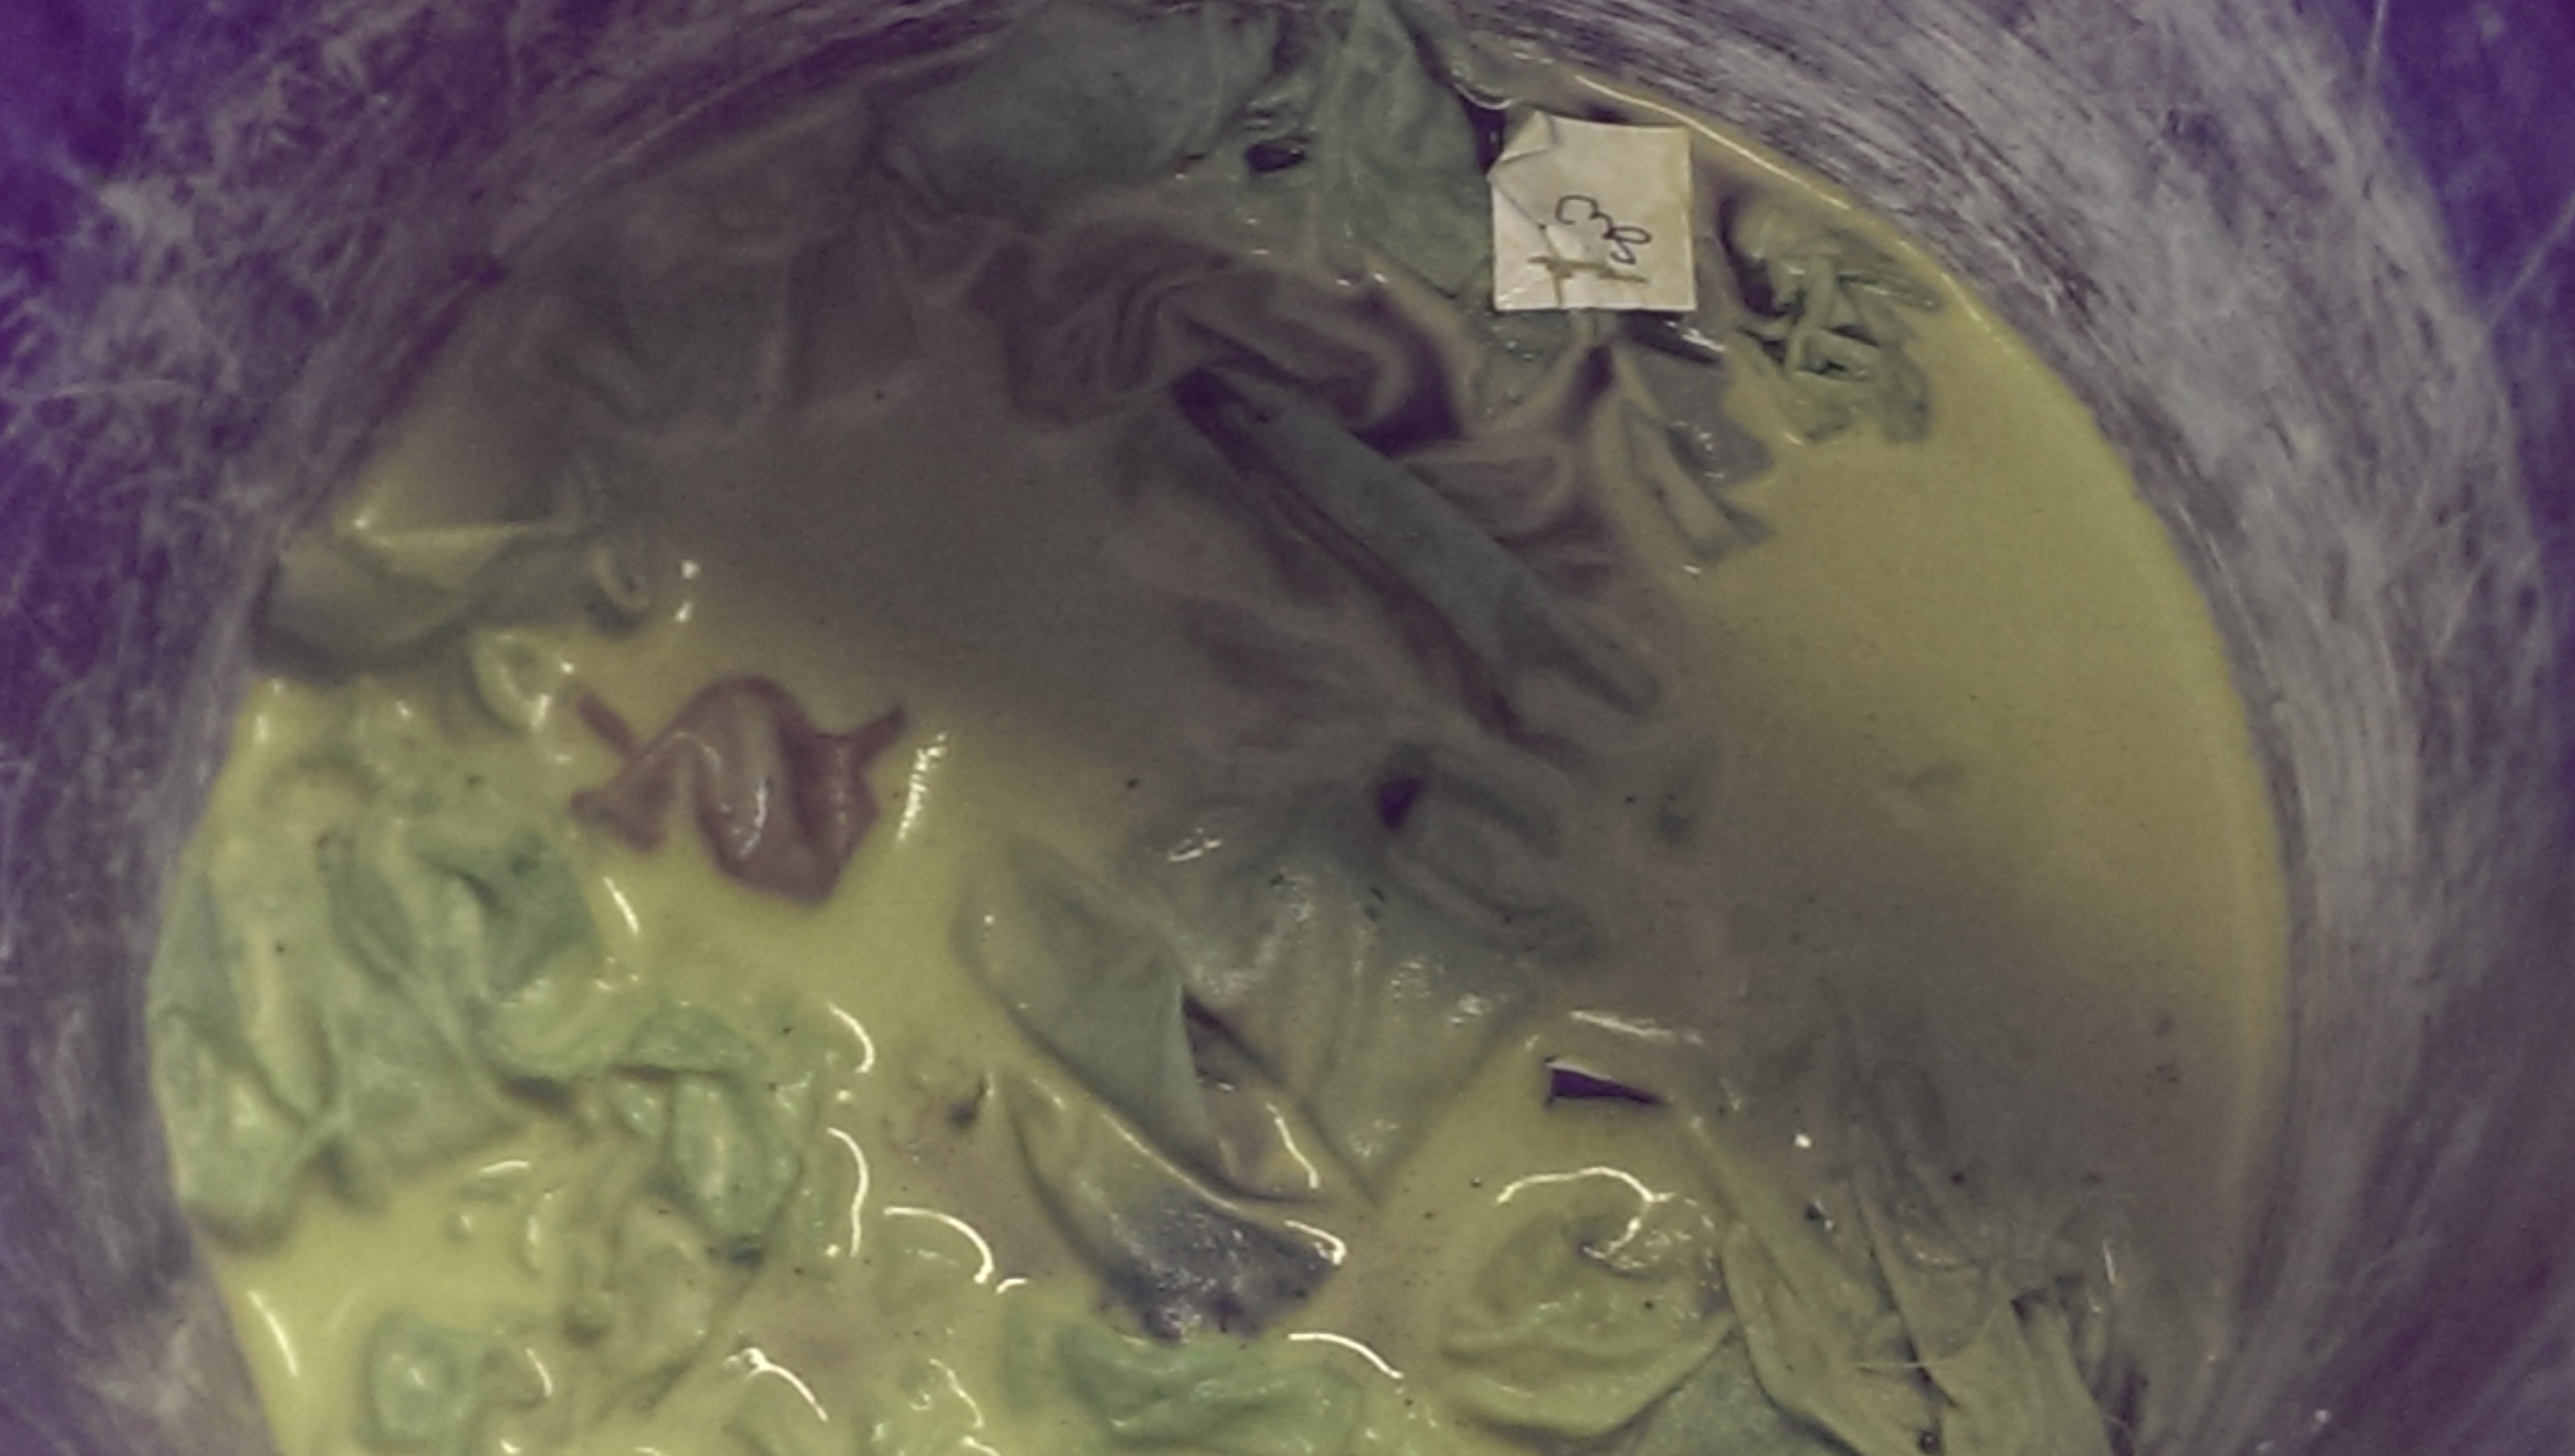
Fresh indigo dye bath
We massaged the items in the bath occasionally, and let them sit in the bath about an hour. The bath began to oxide:

We then removed the items from the bath and let them air out. The color slowly changed from green to blue on silks, a pale green on linen, and a dark blue-green on wool. The oxidation time was much slower than with a reduced-indigo vat.
This is the silk straining cloth:

Straining cloth after several batches

Straining cloth after half an hour
Bonus round: we also used the leftover pulp from the straining cloth to “paint” on fabric— basically rubbing it into the fiber like a grass stain.


We let the pulp-prints dry and oxidize before rinsing. And although we did not do this step, here are instructions to precipitate out the indigo from a fresh bath, to use in a reduction vat. It’s a great teaching article using fresh woad.
Japanese indigo seeds are available from various places on line, and the plants like a warm, humid environment. Humid places can get several crops per season before the plants die. Places that are dry in the summer (like western Oregon) can get one crop during the growing season with irrigation.
Growing indigo is the hardest part. I couldn’t even get it to germinate this year. I will be trying again in the spring.
Your results look great. And you can use the same method for woad?
The plants definitely need warmth, so you might want to try a greenhouse (with a heater!) for germination where you are. I’m going to try and convince a friend with a heated growing setup to start some plants for me.
The link at the end uses woad instead of Japanese indigo. I do think you would need quite a bit more woad to get the same color though, since the indigo-bearing content is so much less in woad. But you can also do multiple baths, just as you would do multiple dips in a reduction vat.
That’s a top tip on the woad. It grows easily here.
Pingback: Growing dyes from seed |