Herdwick: cute, but not a fleece for beginners
Buying my first fleeces to process at home for handspinning was hugely exciting. I’d just been to my first meeting of the Mid-Essex Guild of Weavers, Spinners and Dyers and it happened that two of the members were having a fleece sale that day.
I was lucky to have two experienced guild members there to show me how to look over a raw fleece. They unrolled the fleeces and talked me through what I was looking at, pointed out some of the desirable qualities that hand spinners look for in a fleece. Those are attributes like crimp, softness, good lock structure, cleanliness (no straw, grass or poo, etc). More on that later.
The first fleeces I bought were a Hebridean, a Shetland and a Ryeland. Maybe I went a little overboard. It took a lot of work to get the fleeces scoured, dried and ready to spin. And even though I benefited from having some experts on hand to help choose my fleeces, if I were to do it all over again I would have done my homework first.
Before buying a fleece, I recommend reading up on different breeds and the characteristics of their fleece. There are about 60 sheep breeds in the UK alone and all their fleeces are a little different.
Some, like Cotswold, Teeswater, Lincoln, Leicester and Wensleydale–longwool breeds–have fleeces that are more hair-like, lustrous and require some experience to spin.
Then there are the Downs breeds–Southdowns, Oxfords, Hampshires, Dorsets for example–which have dense fleeces with short staple-lengths, but feature lots of crimp and bounce.

Fleece sale!
Then there are the many other breeds that are favourites of hand spinners, like the Shetland, Blue-faced Leicester, Cheviot, Manx Loaghtan and Jacob, which all have their own characteristics. There are also plenty of breeds which aren’t particular favourites of spinners, either because their fleece is too coarse or just not suitable for spinning.
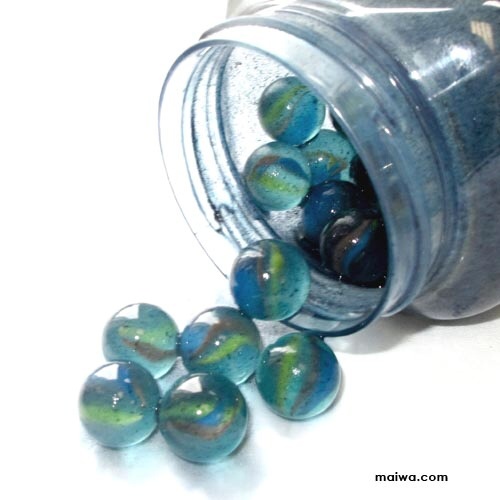
So before jumping in and buying a fleece take a look at some of the books available like Fleece and Fiber Sourcebook or The Spinner’s Book of Fleece to get an idea of what you might like to spin as well as the huge choice available.
There are other questions you want to ask before diving in and buying 4-5 pounds of raw sheep fleece. Are you going to make a worsted or woollen yarn? It will be hard to spin a woollen yarn from a long wool, for example. Which fleeces will best suit your project? Do you want a coloured fleece? How important is softness in your project? Are you looking to create something durable or more lightweight?
What to look for in the fleece
Now that you’ve decided on a breed, what are you looking for when choosing the actual fleece?
Steve Kennett, vice chairman of the Association of Guilds of Weavers, Spinners & Dyers, visited my guild back in September to speak on how to pick out a fleece.
Steve unrolled one of the fleeces supplied by a member and gave a few pointers on picking a good one. It had a lovely staple length, beautiful crimp and was muck and VM-free. Steve held it up to demonstrate how the fleece should be nice and open—like a lace curtain.

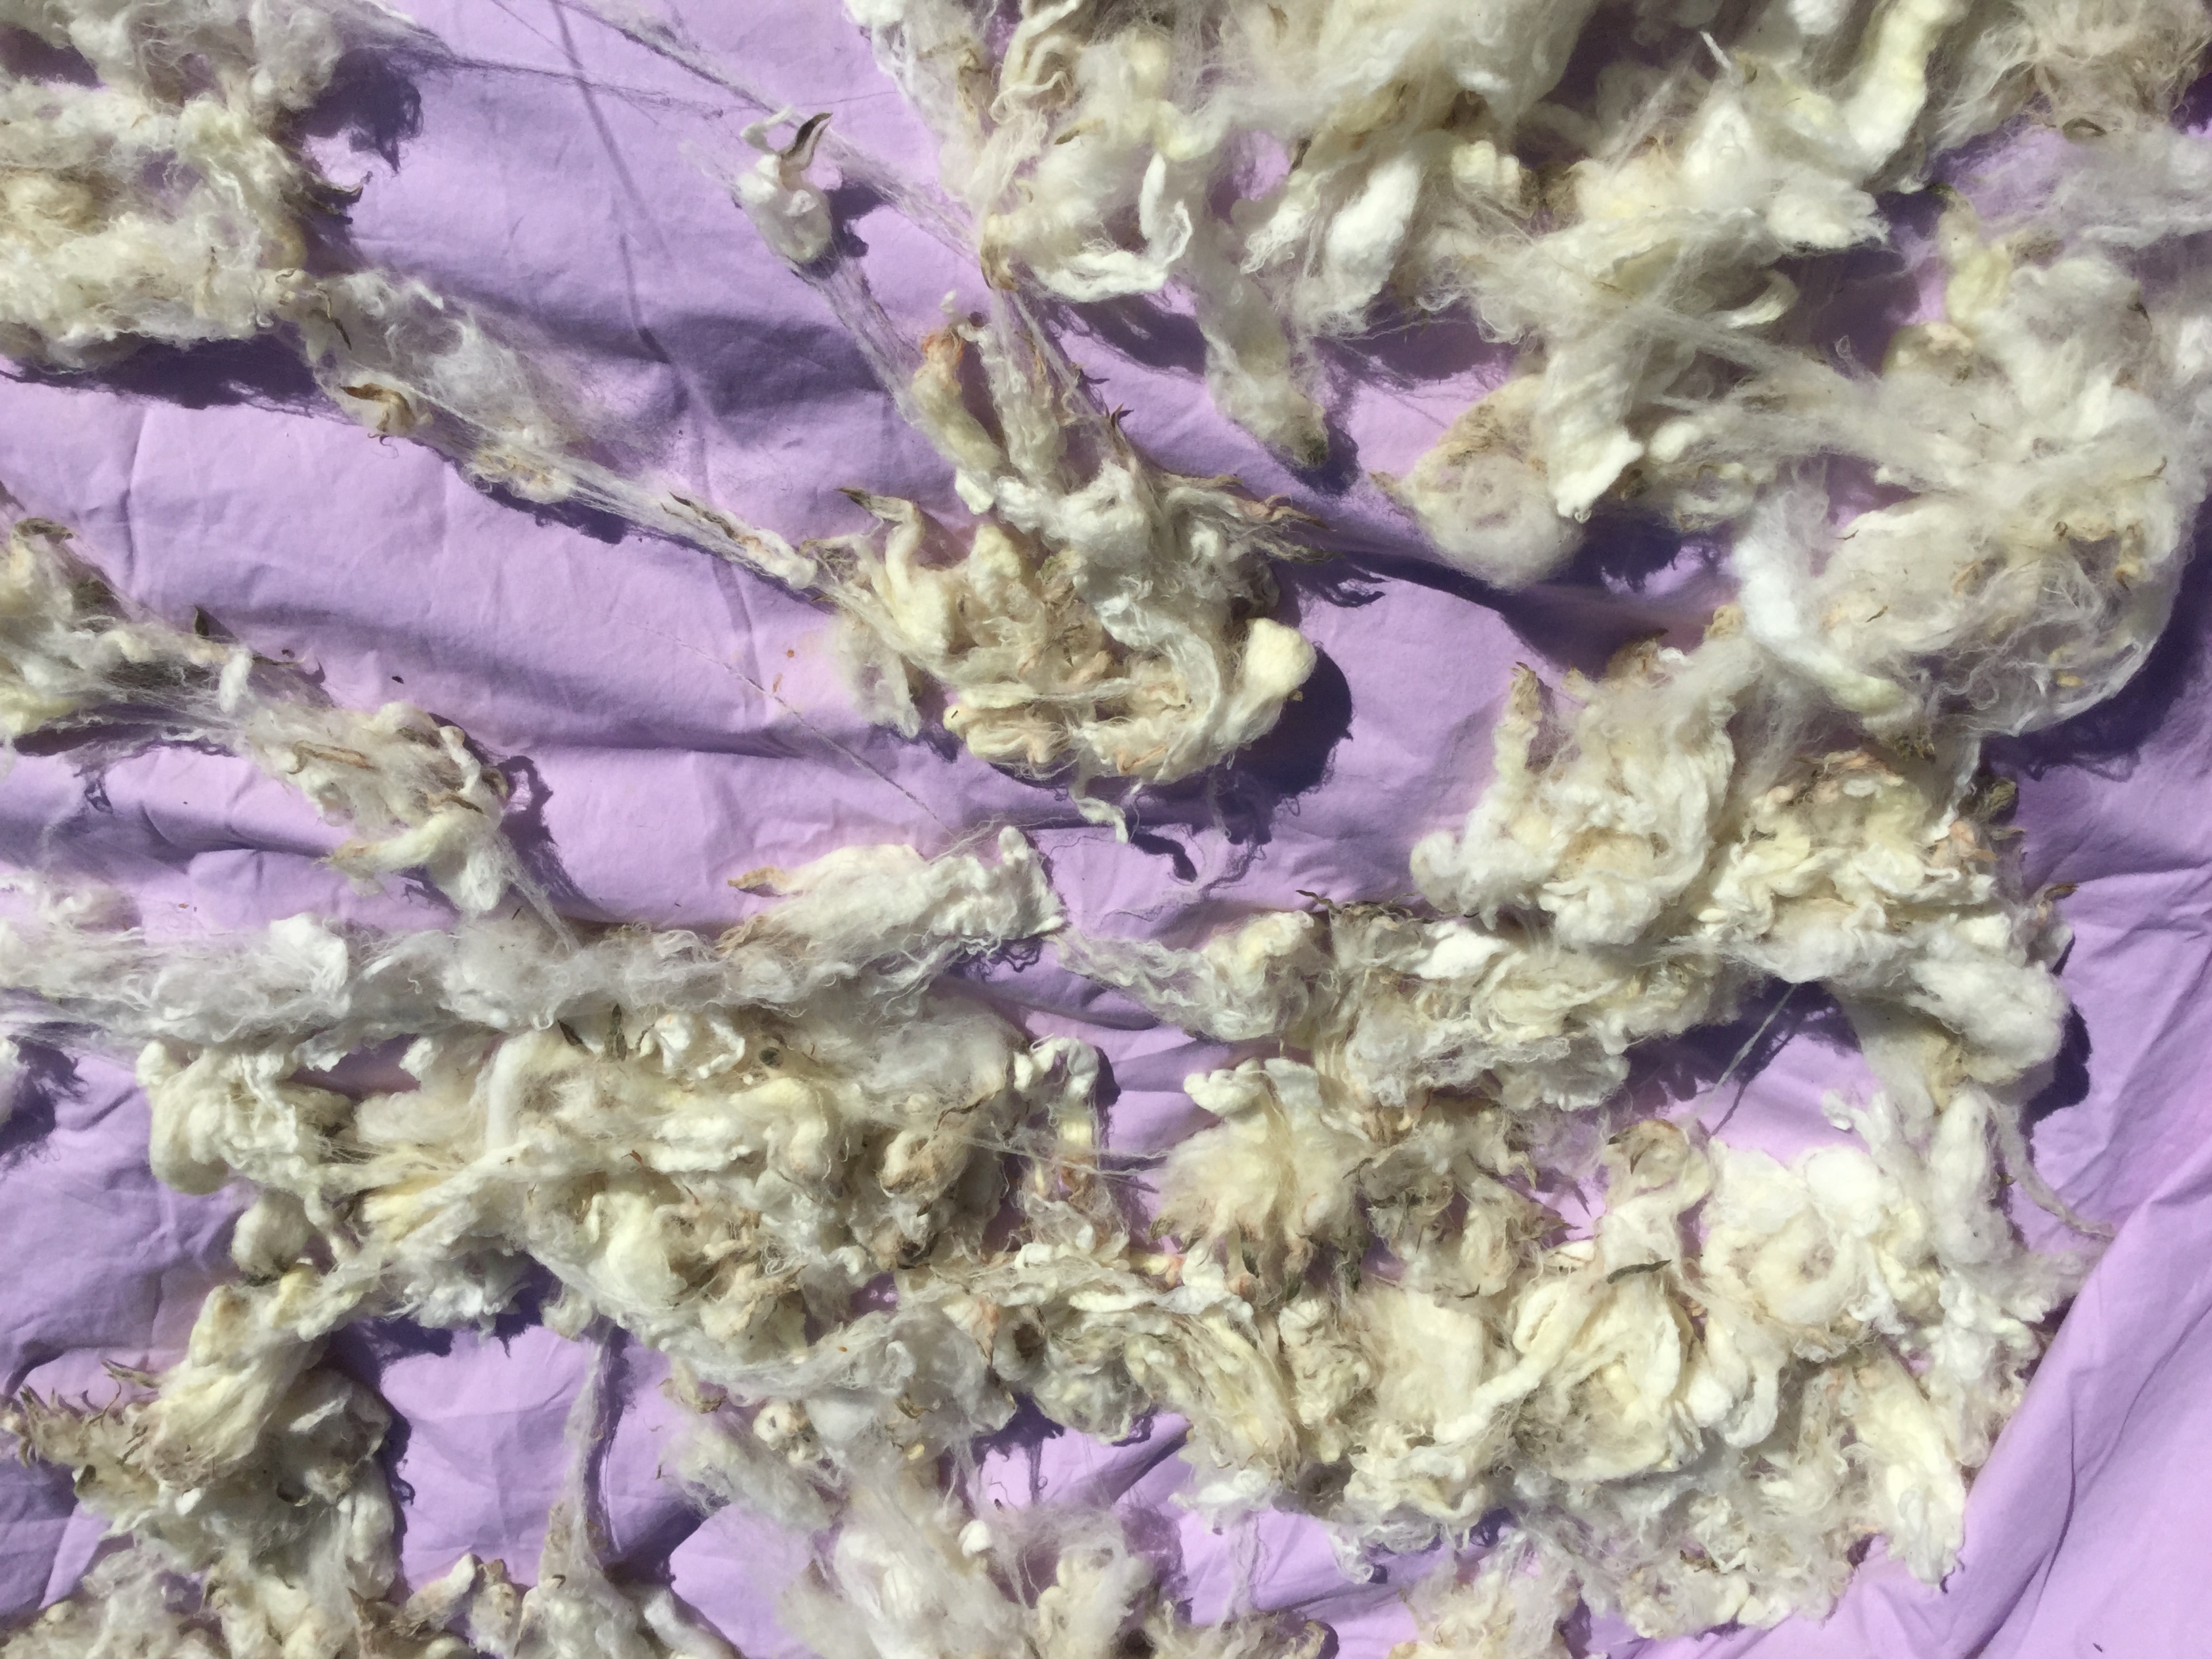
Jacob lock from raw fleece. Nice staple length and crimp, no breakage or second cuts
You can see in the photo of the Jacob lock what I mean by crimp. It’s simply the little waves in the wool. Crimp makes wool easy to spin as it twists together and the crimp helps the wool lock together. The rule of thumb goes that the more crimp, the finer the wool. Merino, for example, can have 100 waves (crimps) per inch. Longwools have less crimp and often used by spinners to add texture and lustre to yarn.
Steve Kennett also said to look out for second cuts (short bits the shearer missed on the first pass) felting and second growth—ie when a sheep hasn’t been sheared and begins to grow a second fleece. He recommended taking off a lock of fleece, holding it firmly in one hand and giving it a good tug. If the lock is breaks avoid the fleece as it is brittle, will not be nice to spin and could result in weak yarn.
The best part of the fleece is going to be on the neck, front legs and back (between the shoulders). Fleece on the back is generally good. Fleece from the hind legs is generally coarser and kempy. Steve recommended being picky about fleeces and perhaps buying several, but only using the best bits.
I don’t know if I’d go to the lengths Steve does–buying many fleeces and throwing a lot of it away. If I were to go back in time, I’d probably have started with one fleece (Shetland) and made life easier for myself. If buying a whole fleece is intimidating, get a friend to share one with you.
Starting with a fleece instead of tops or roving is, I think, a great way to learn more about sheep breeds, fiber prep and spinning. Fleece you’ve scoured and prepared yourself is going to feel and spin differently from commercially processed fiber. Some of the women in my guild consider commercial prepared fiber to be “dead”, because they view it as flat and lacking crimp. I agree with that to a certain extent, however I have found that top or roving from smaller mills tends to retain some of the bounce and crimp.

Gotland sheep
Commercial top (l)
Raw fleece (r)
Still it’s an eye-opener when you compare commercially prepared roving with that you’ve cleaned and carded yourself. Take a look at this Gotland fiber. On the left, straight up commercial roving, on the right Gotland right off the sheep. Looks a lot different right? Doesn’t even look like it came from the same breed.
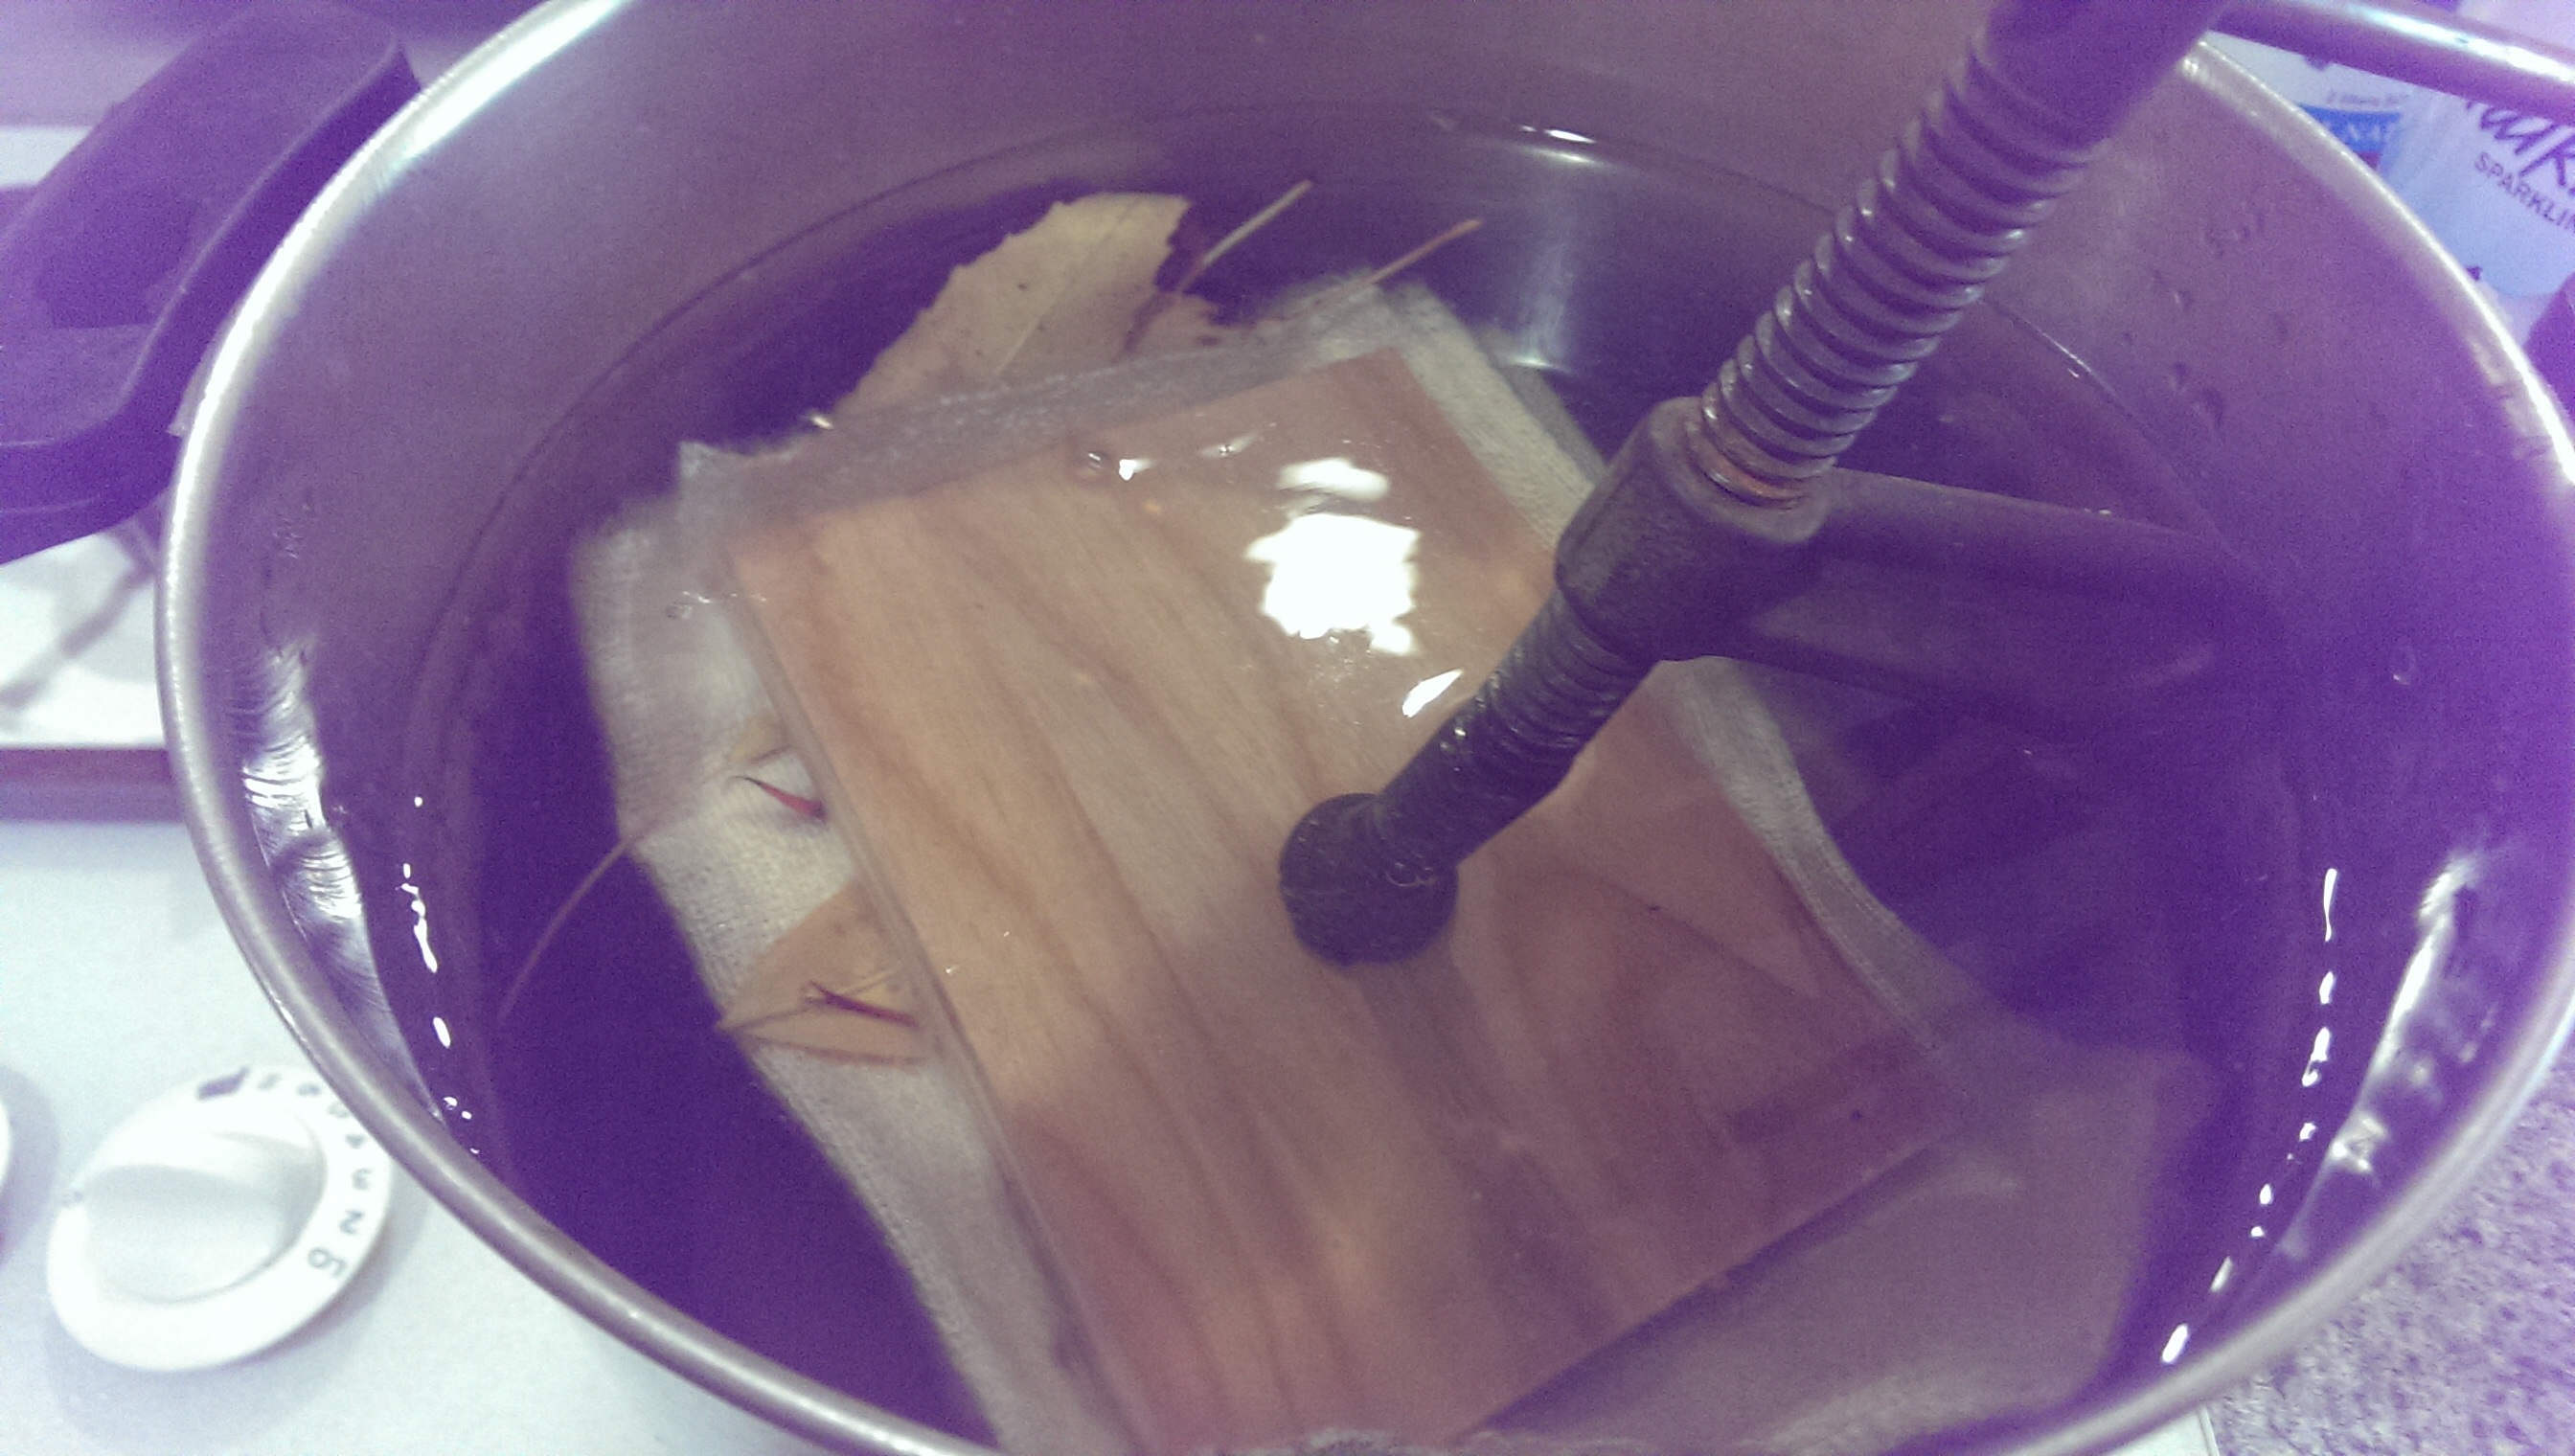
For more information on scouring fleece see these posts: Hot tips for scouring fleece or More hot tips on scouring fleece without soap.