Many ways with warps on a rigid heddle loom

2

Getting creative with warp yarns is a great way to make the most out of your rigid heddle loom. Using different coloured and textured yarns in the warp, ordering those yarns in a certain way or not at all will yield different, beautiful results without having to worry too much about pattern.

plain weave plaid

plain weave plaid

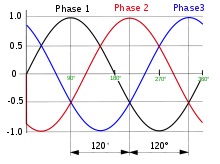
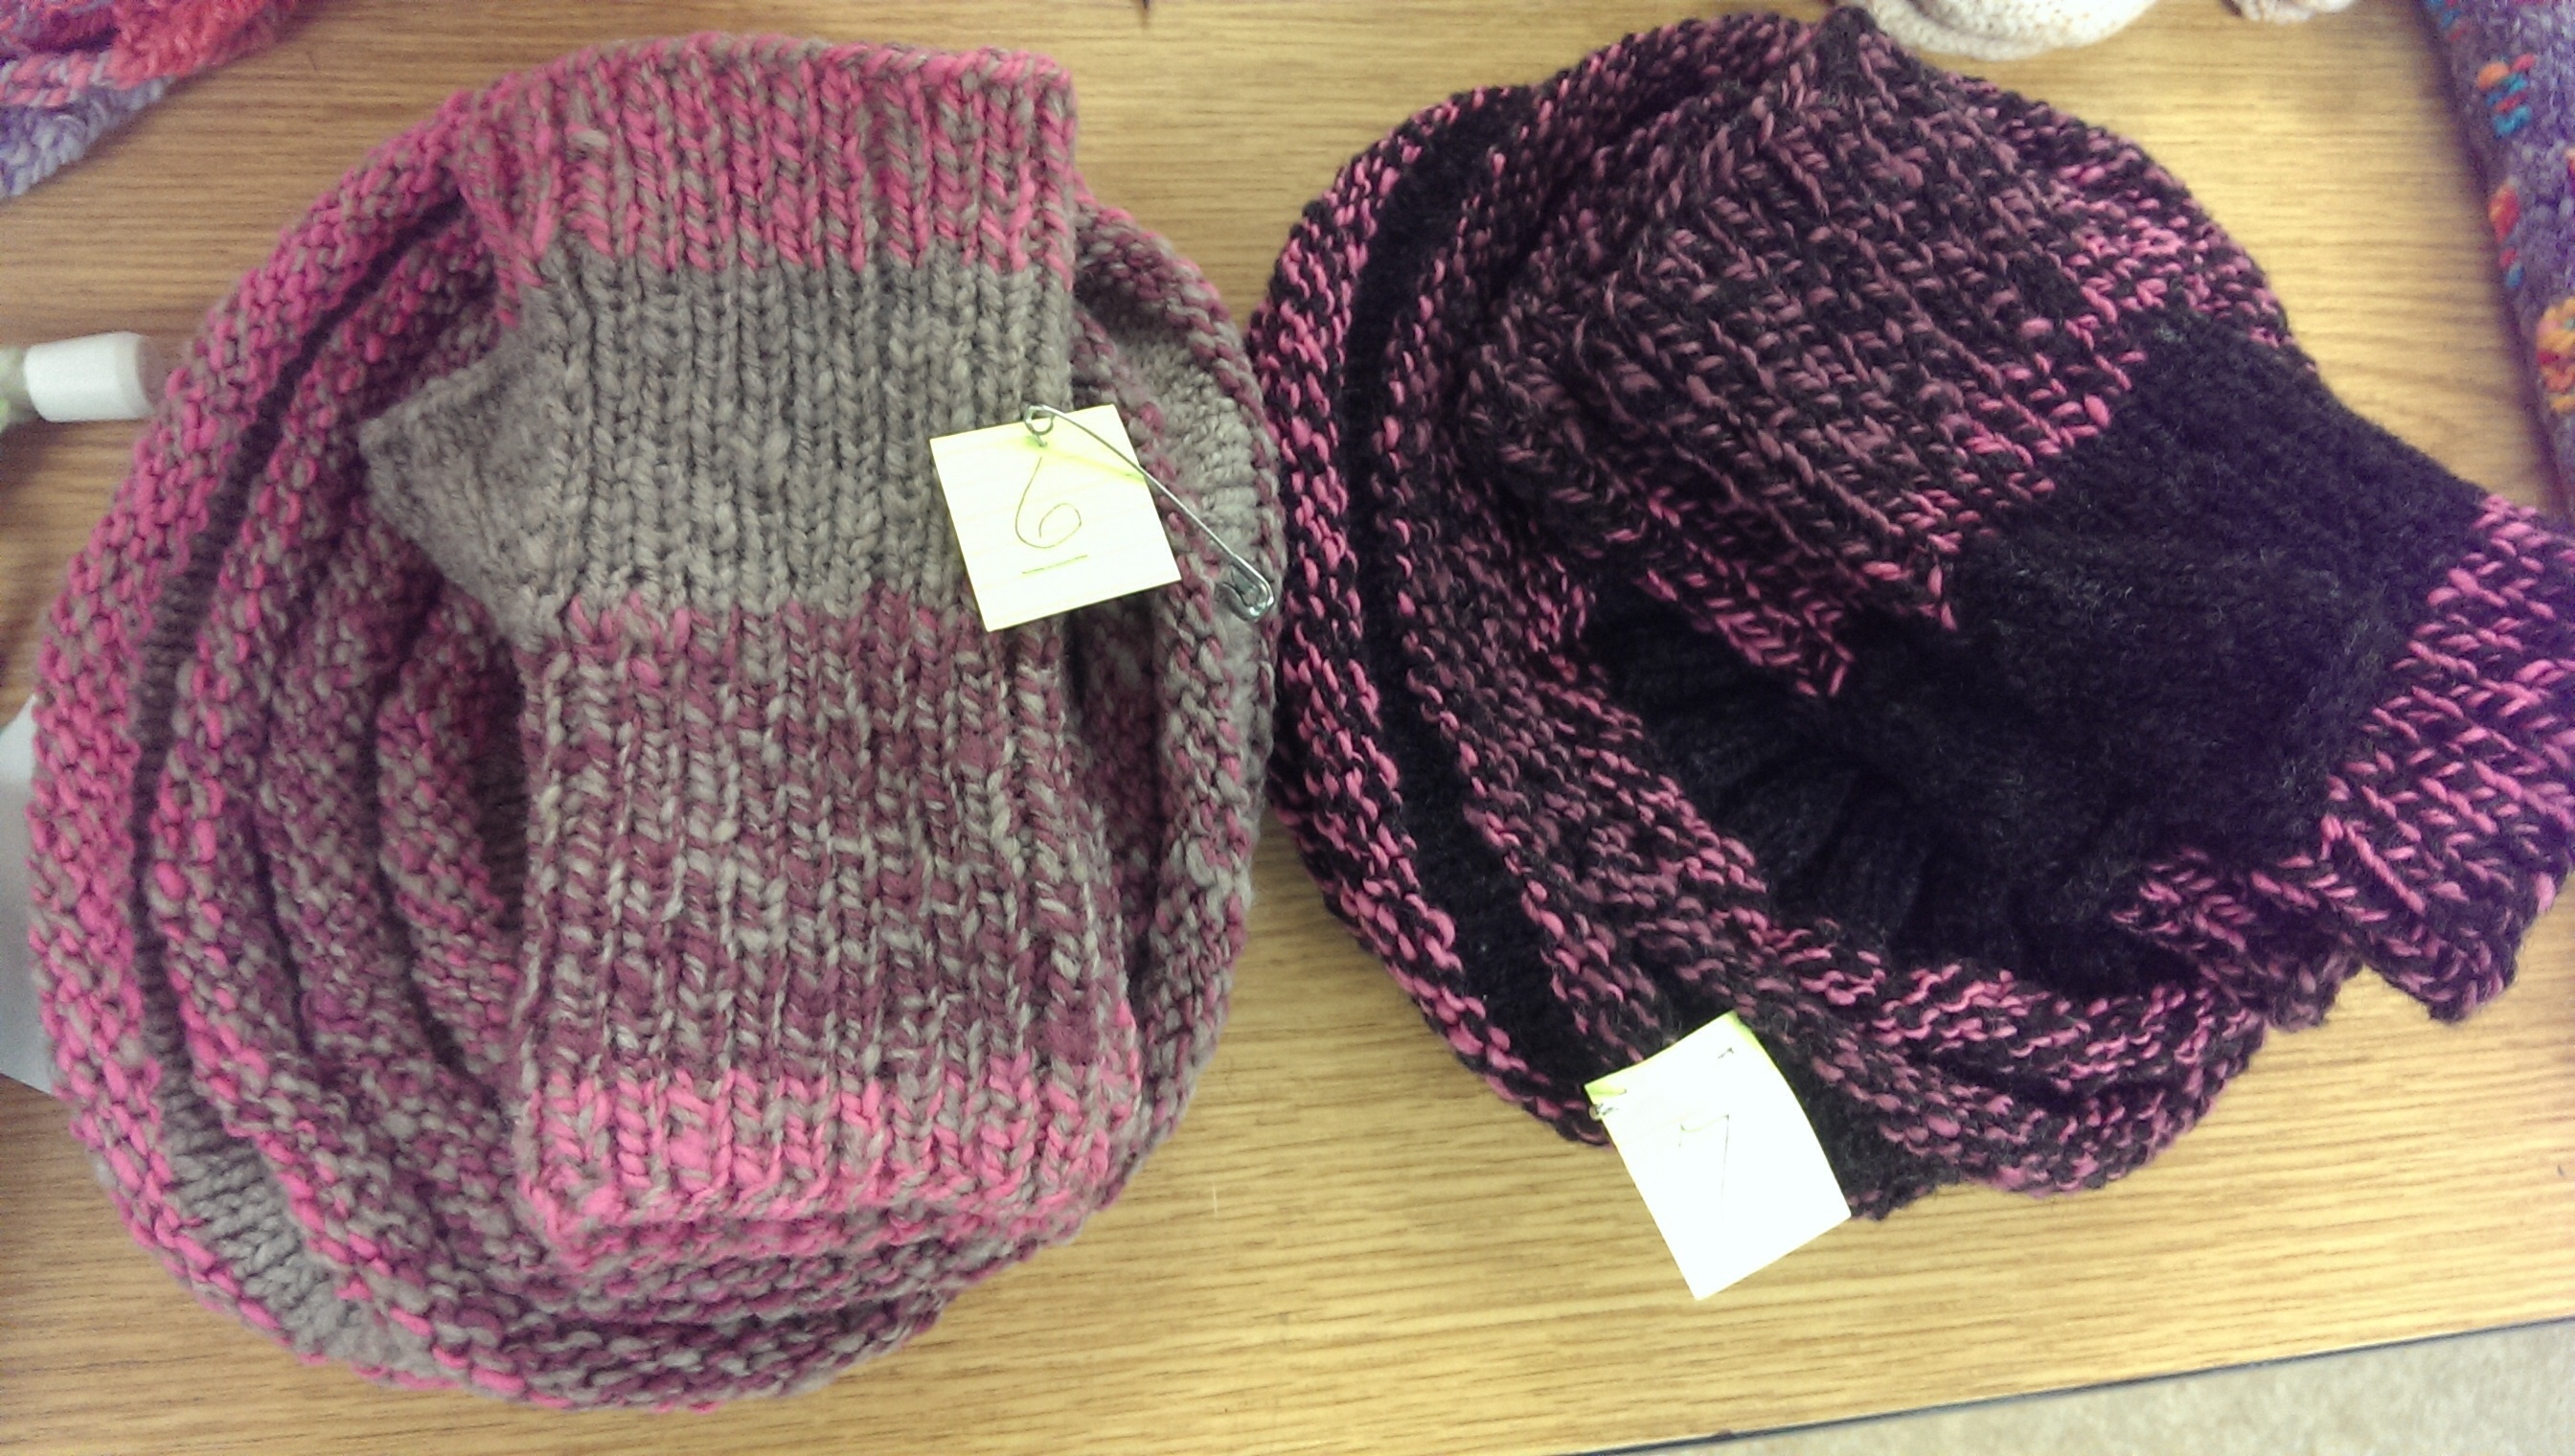
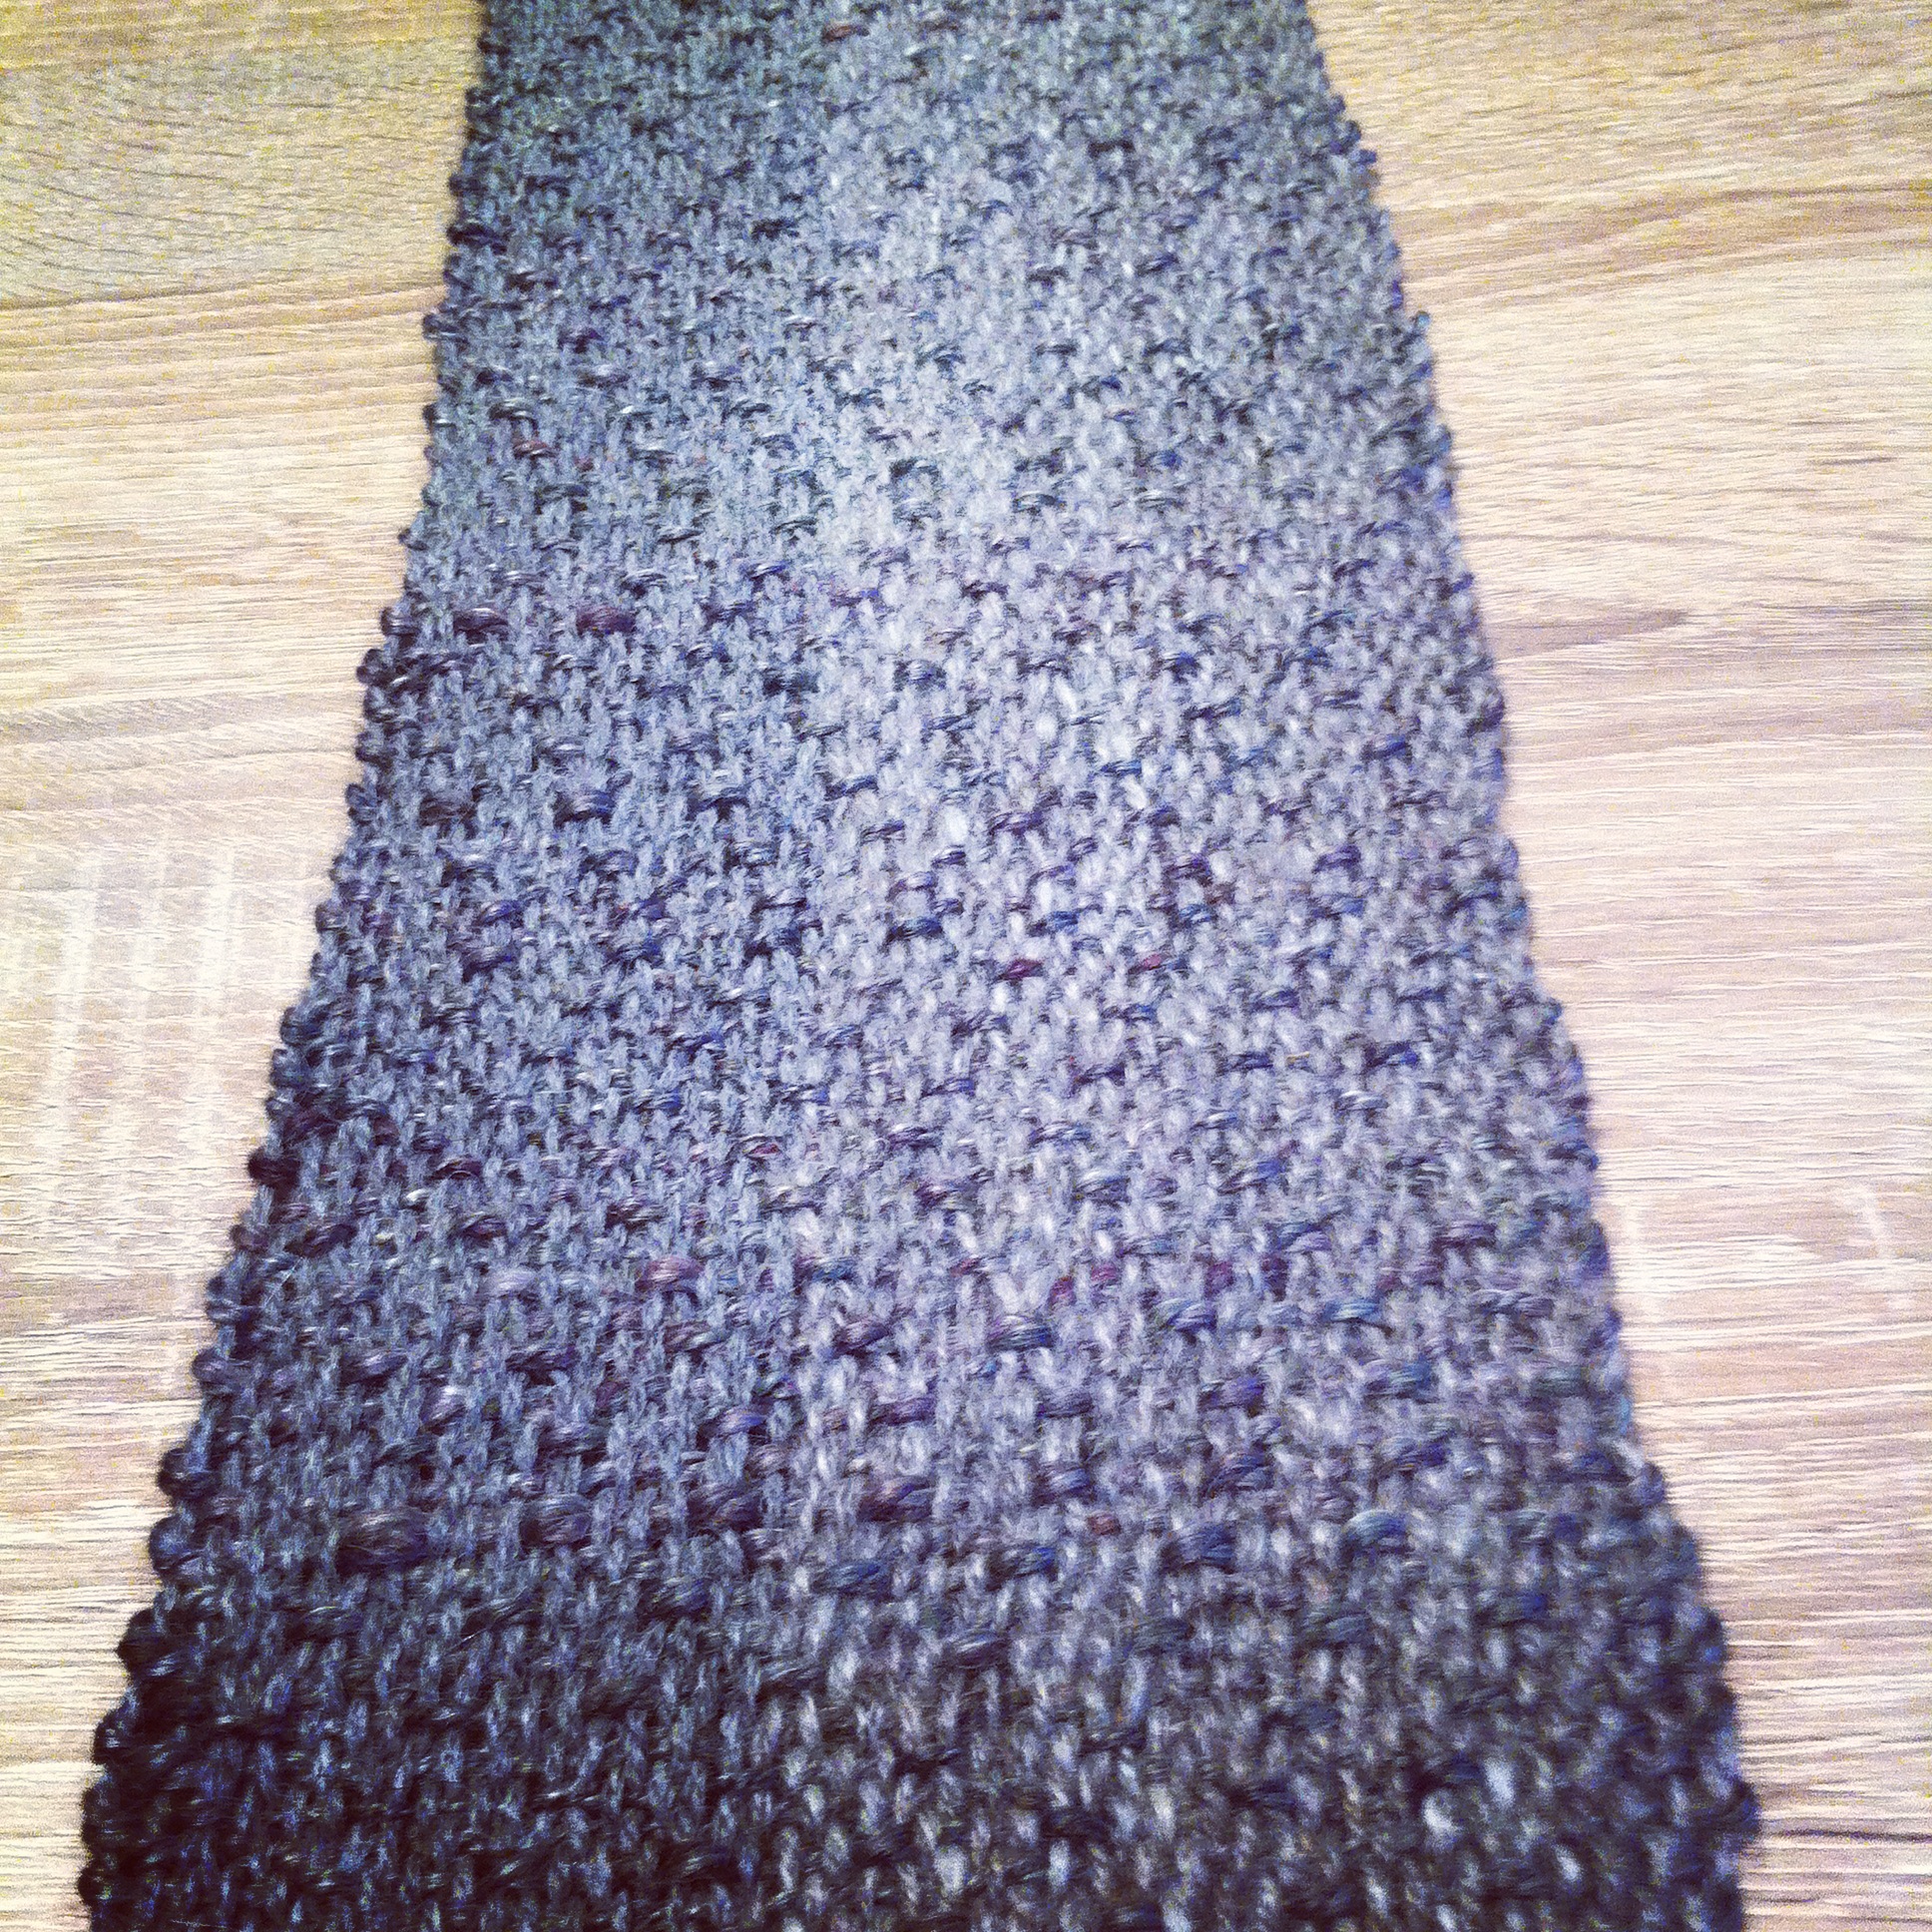
Let’s start with texture and colour. In this sample, I used two smooth yarns and two handspun boucle yarns in the warp. From right to left–  black, magenta, then the lighter

boucle and the darker one. For the weft I used the four yarns in the same order to create this nubbly plaid-like sample. Simple to weave, but lots of potential as a cloth. I could easily weave something similar and turn it into a Chanel-style jacket.

Randomly placed many-coloured warp

Randomly placed many-coloured warp

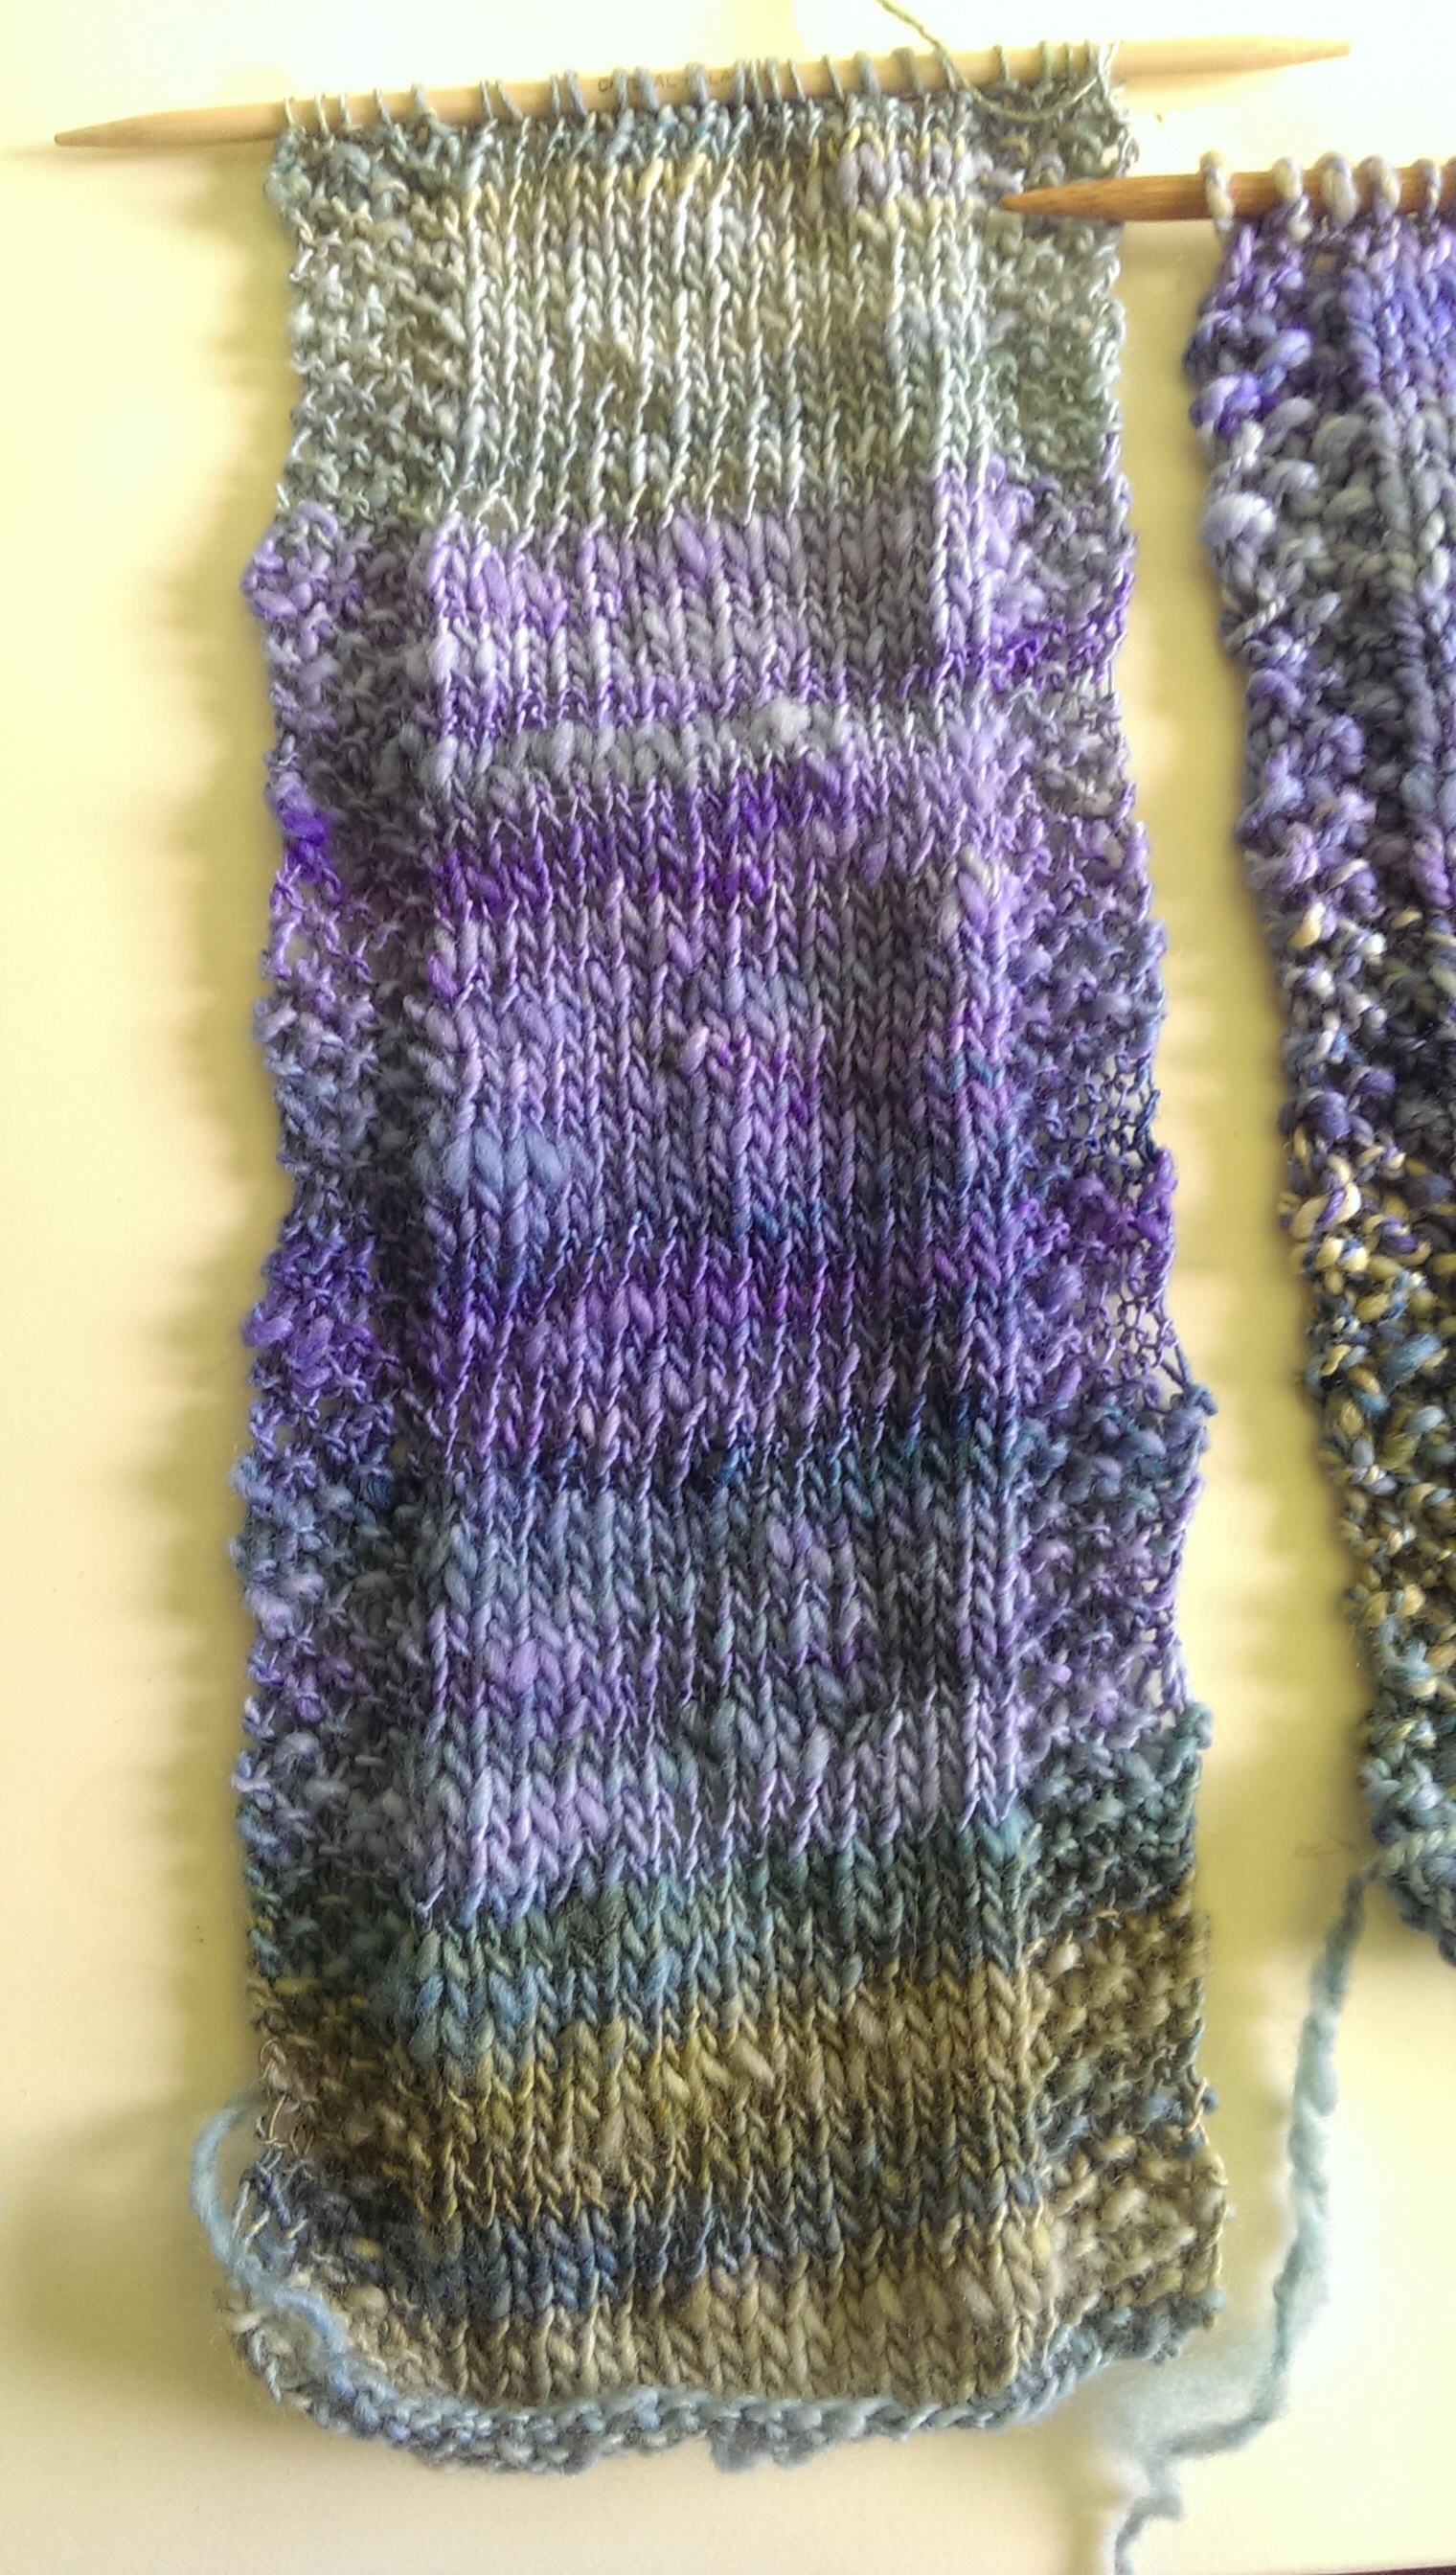
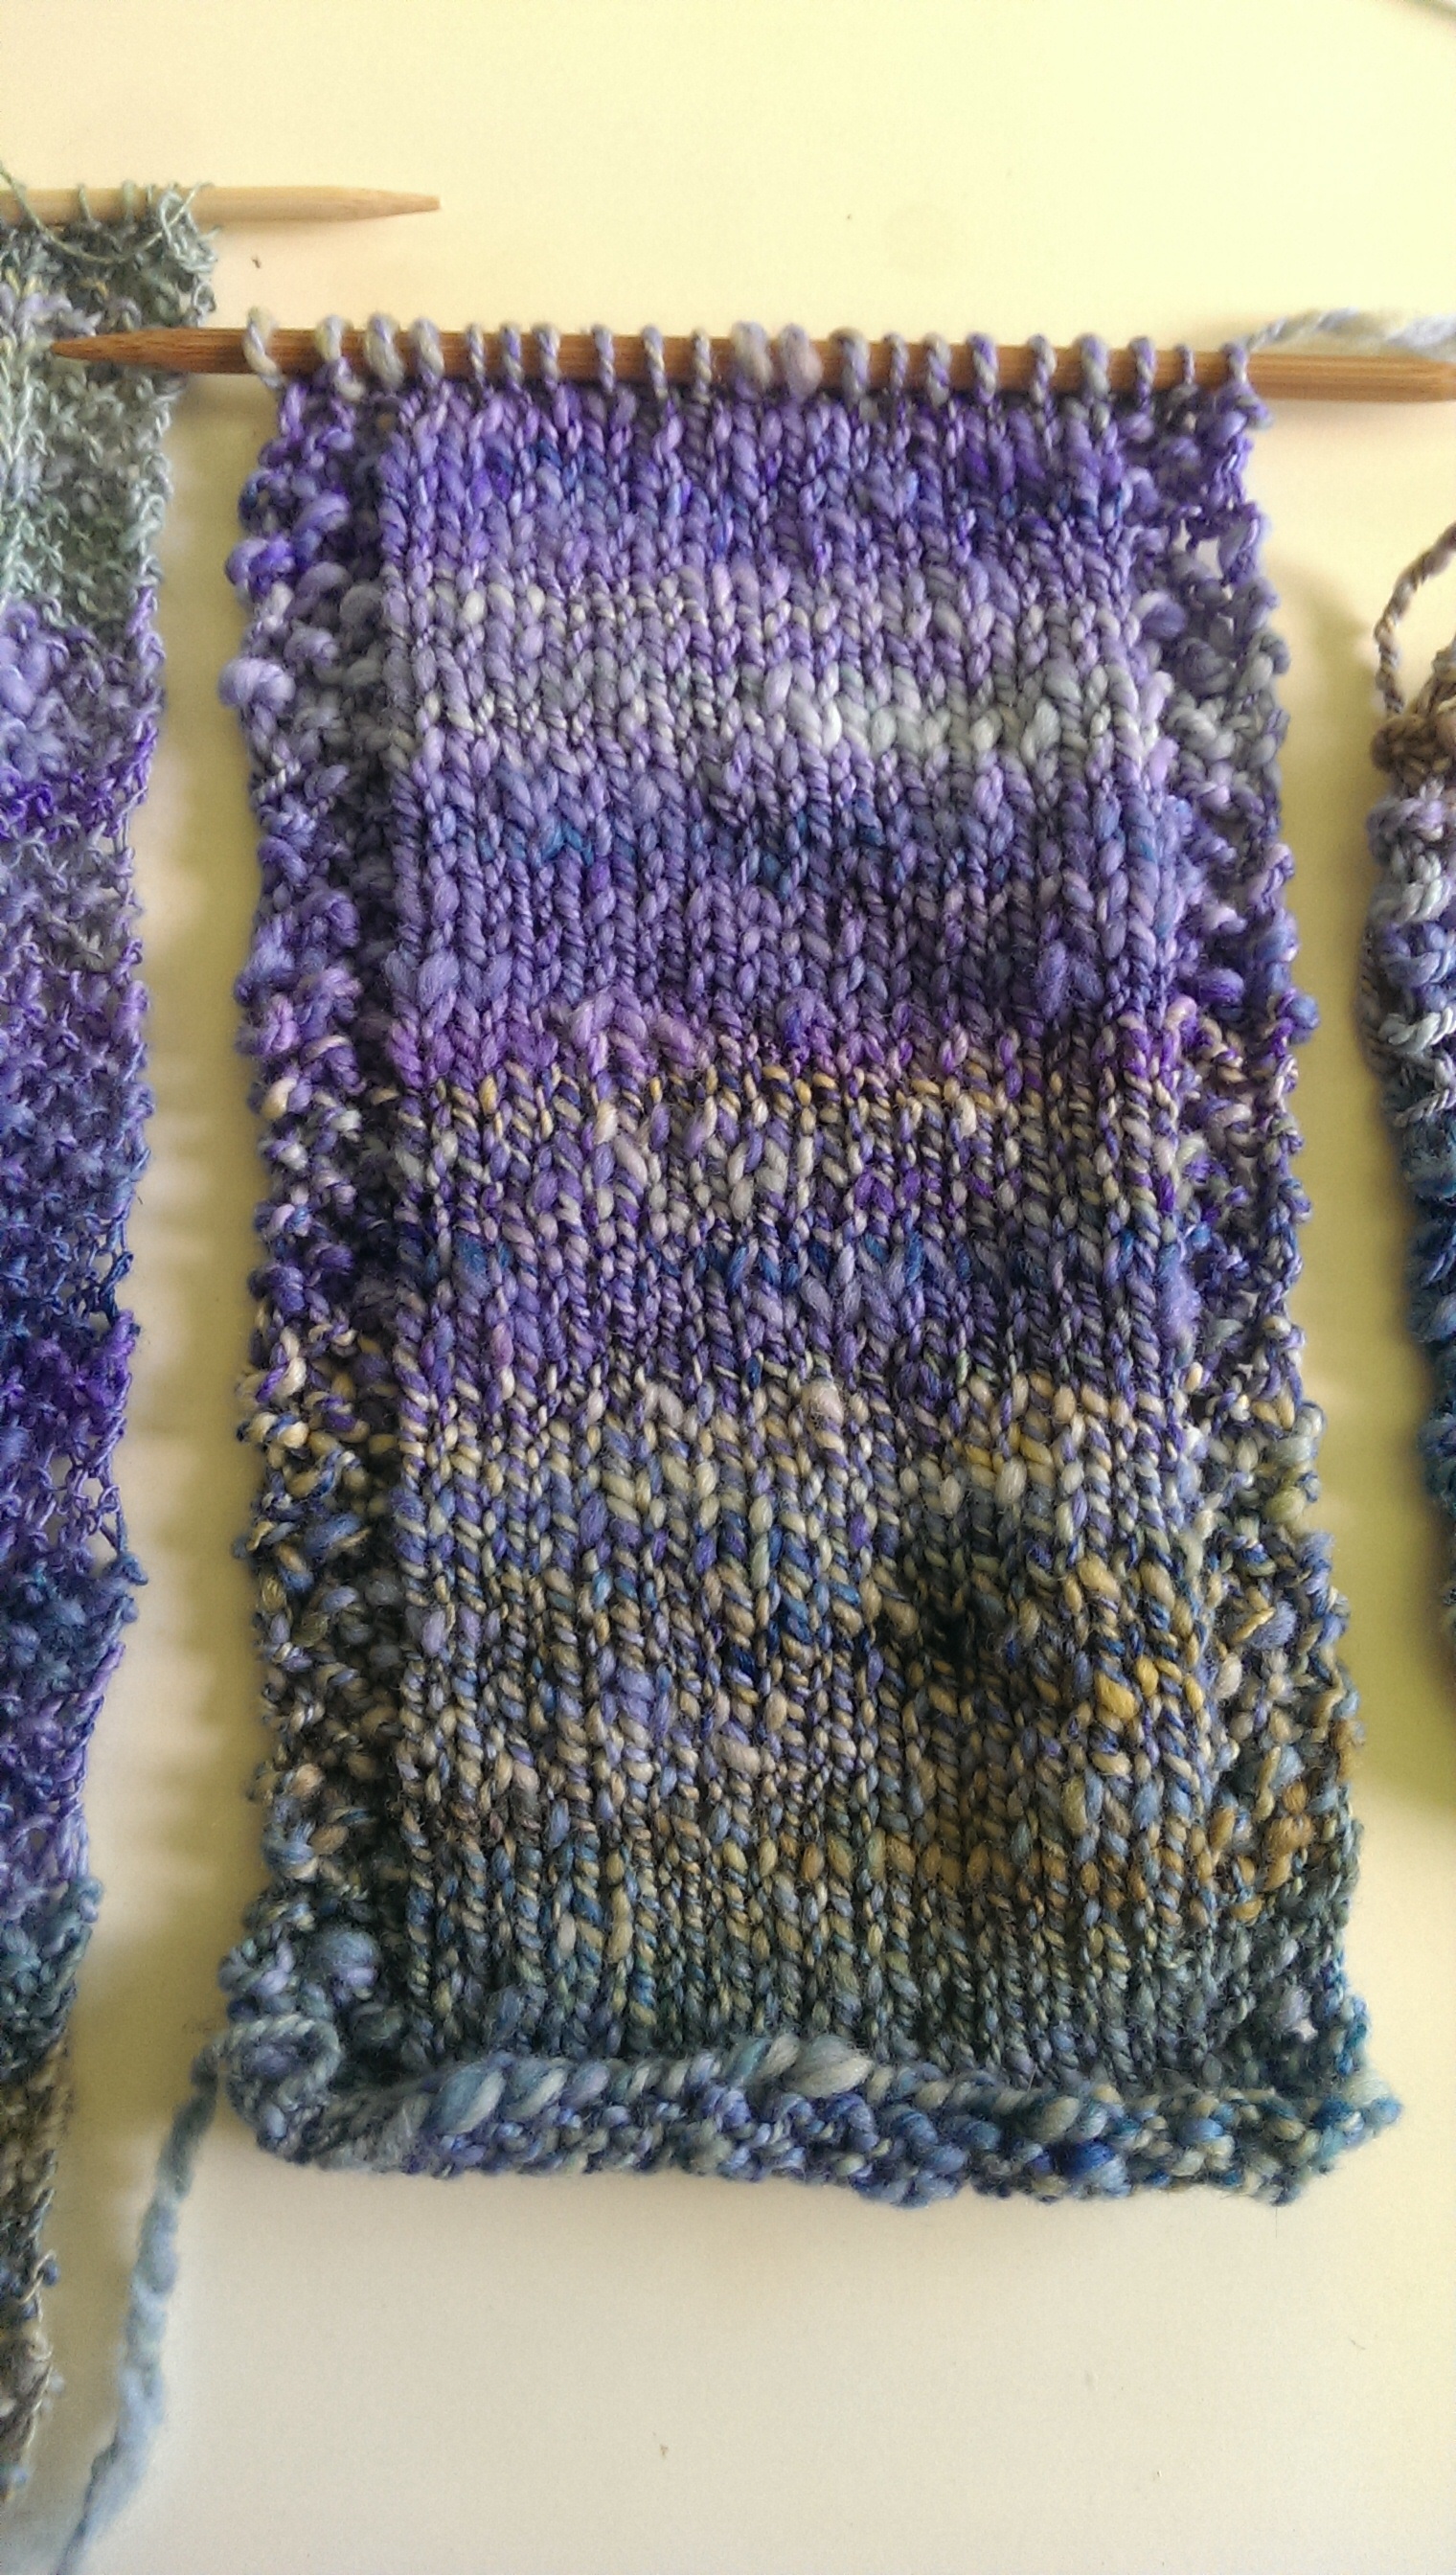
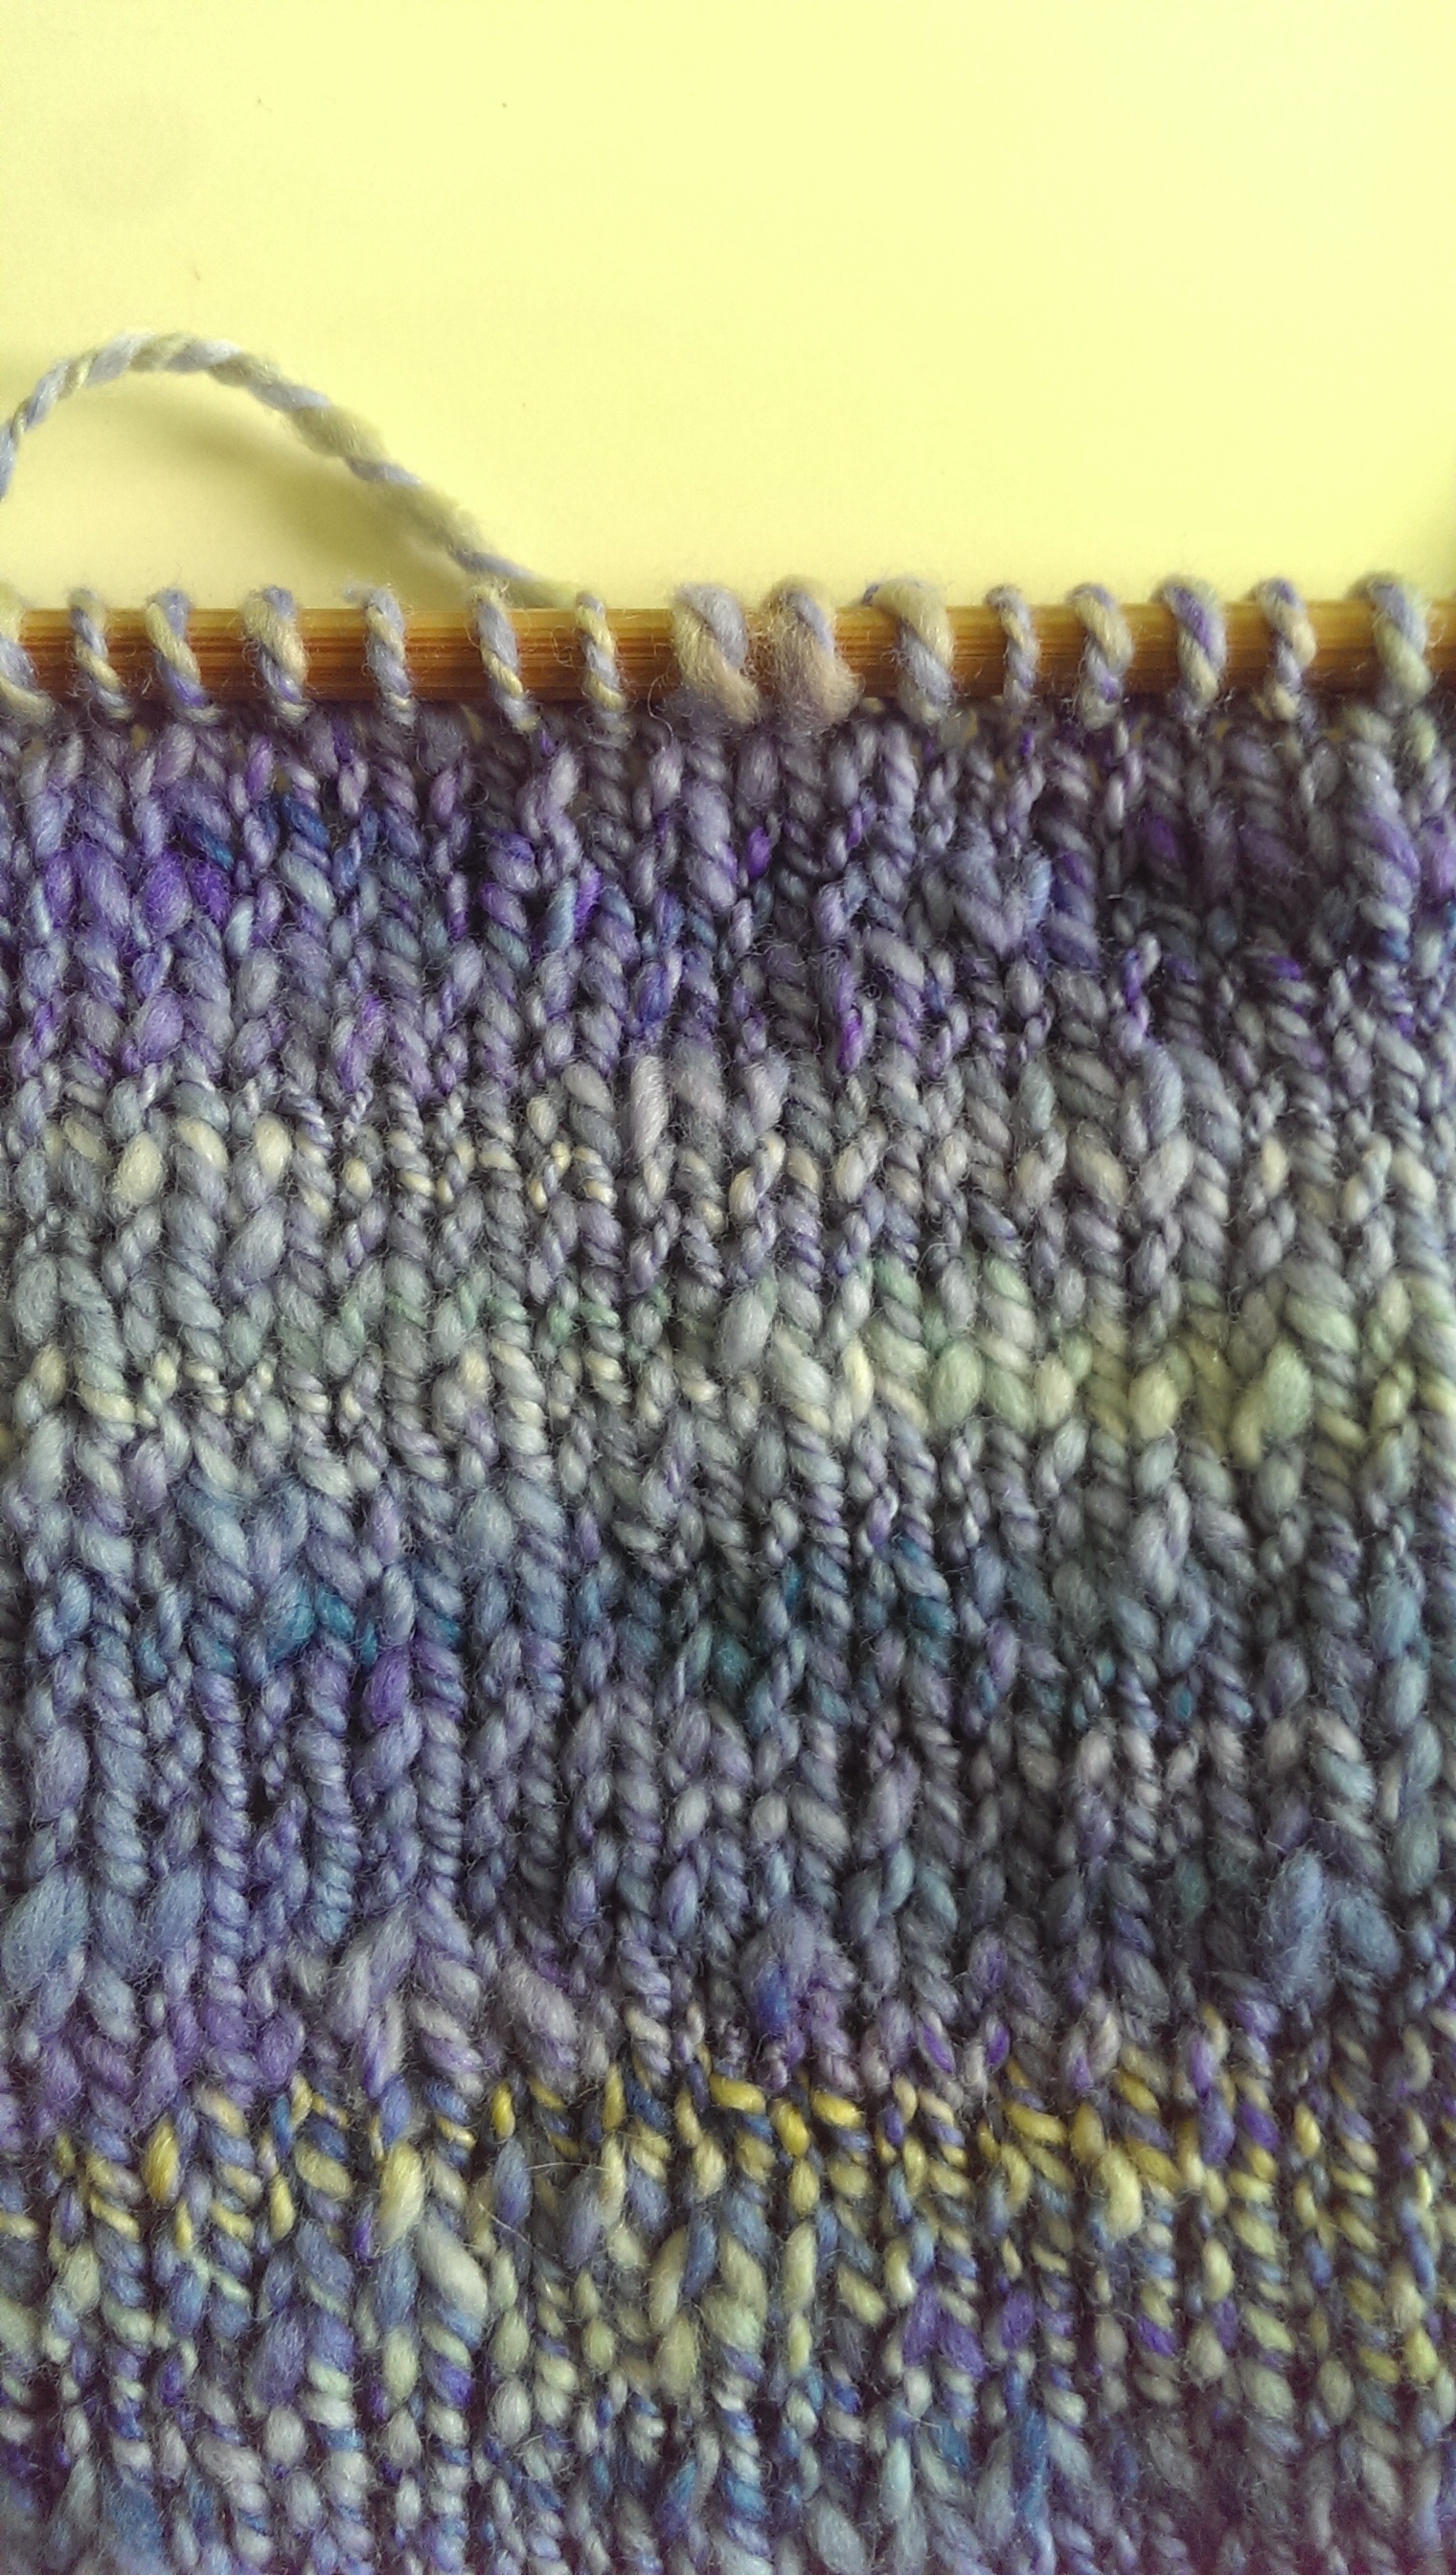
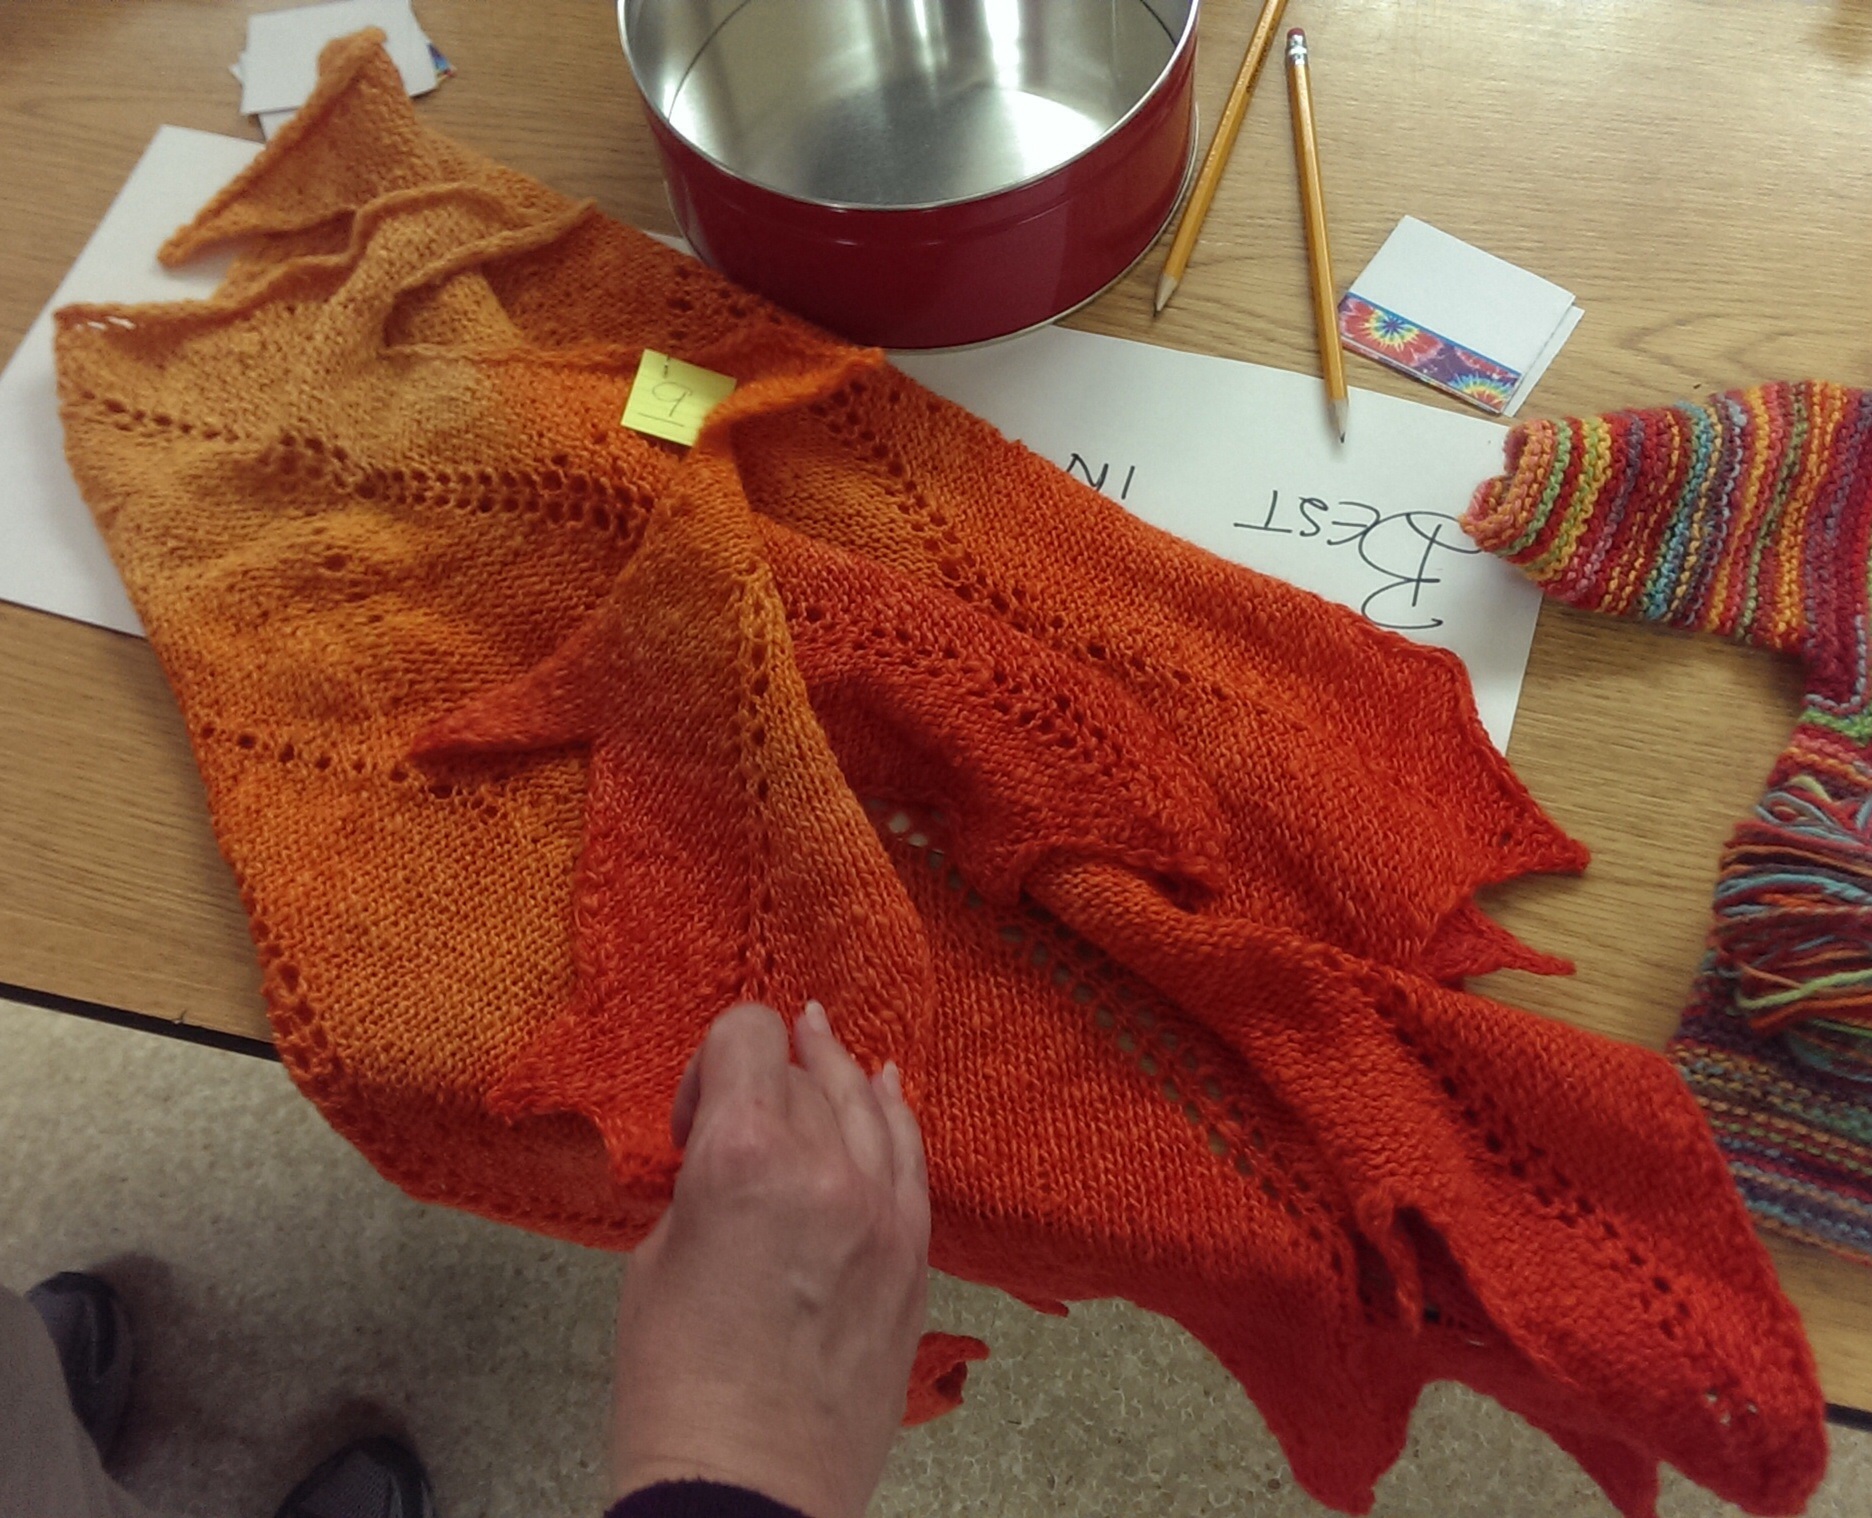
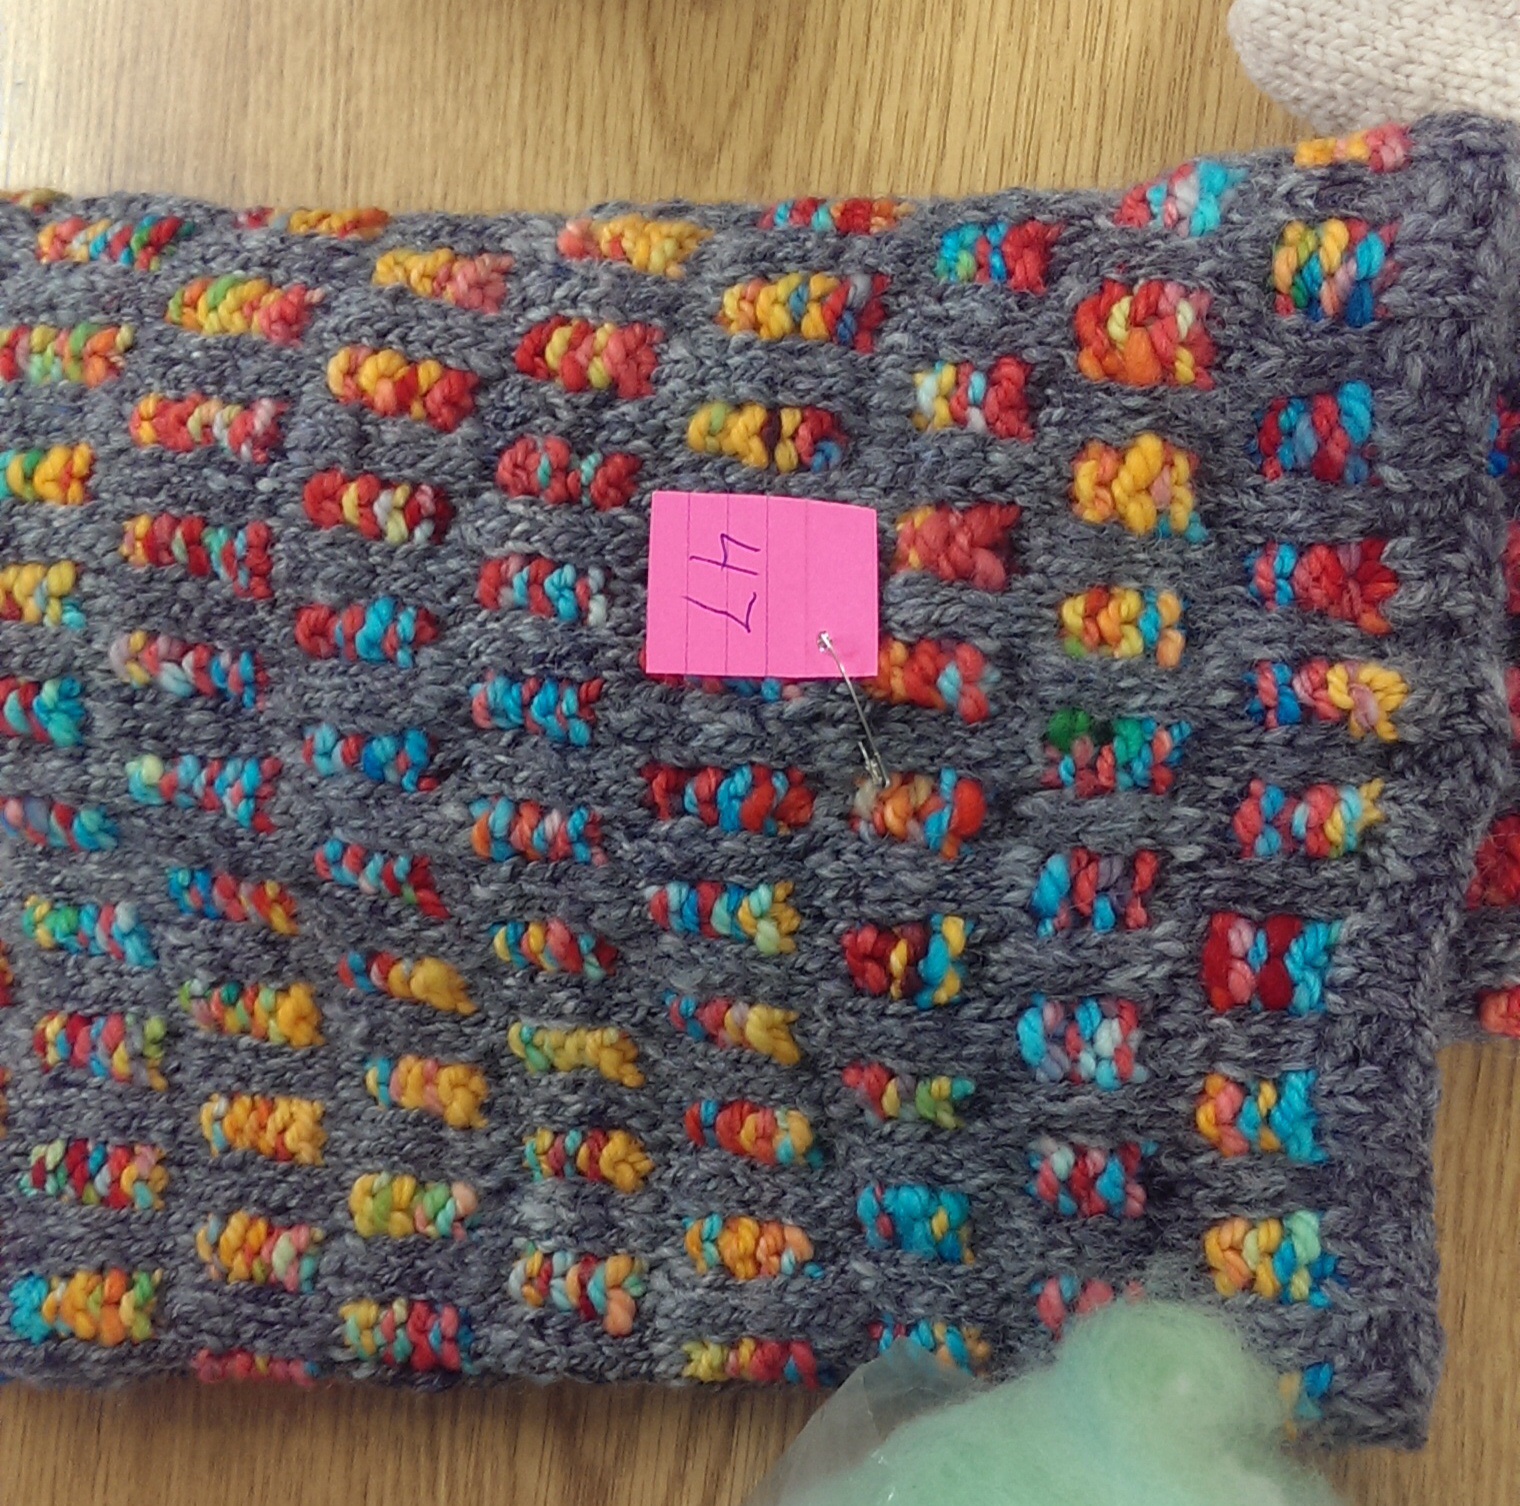
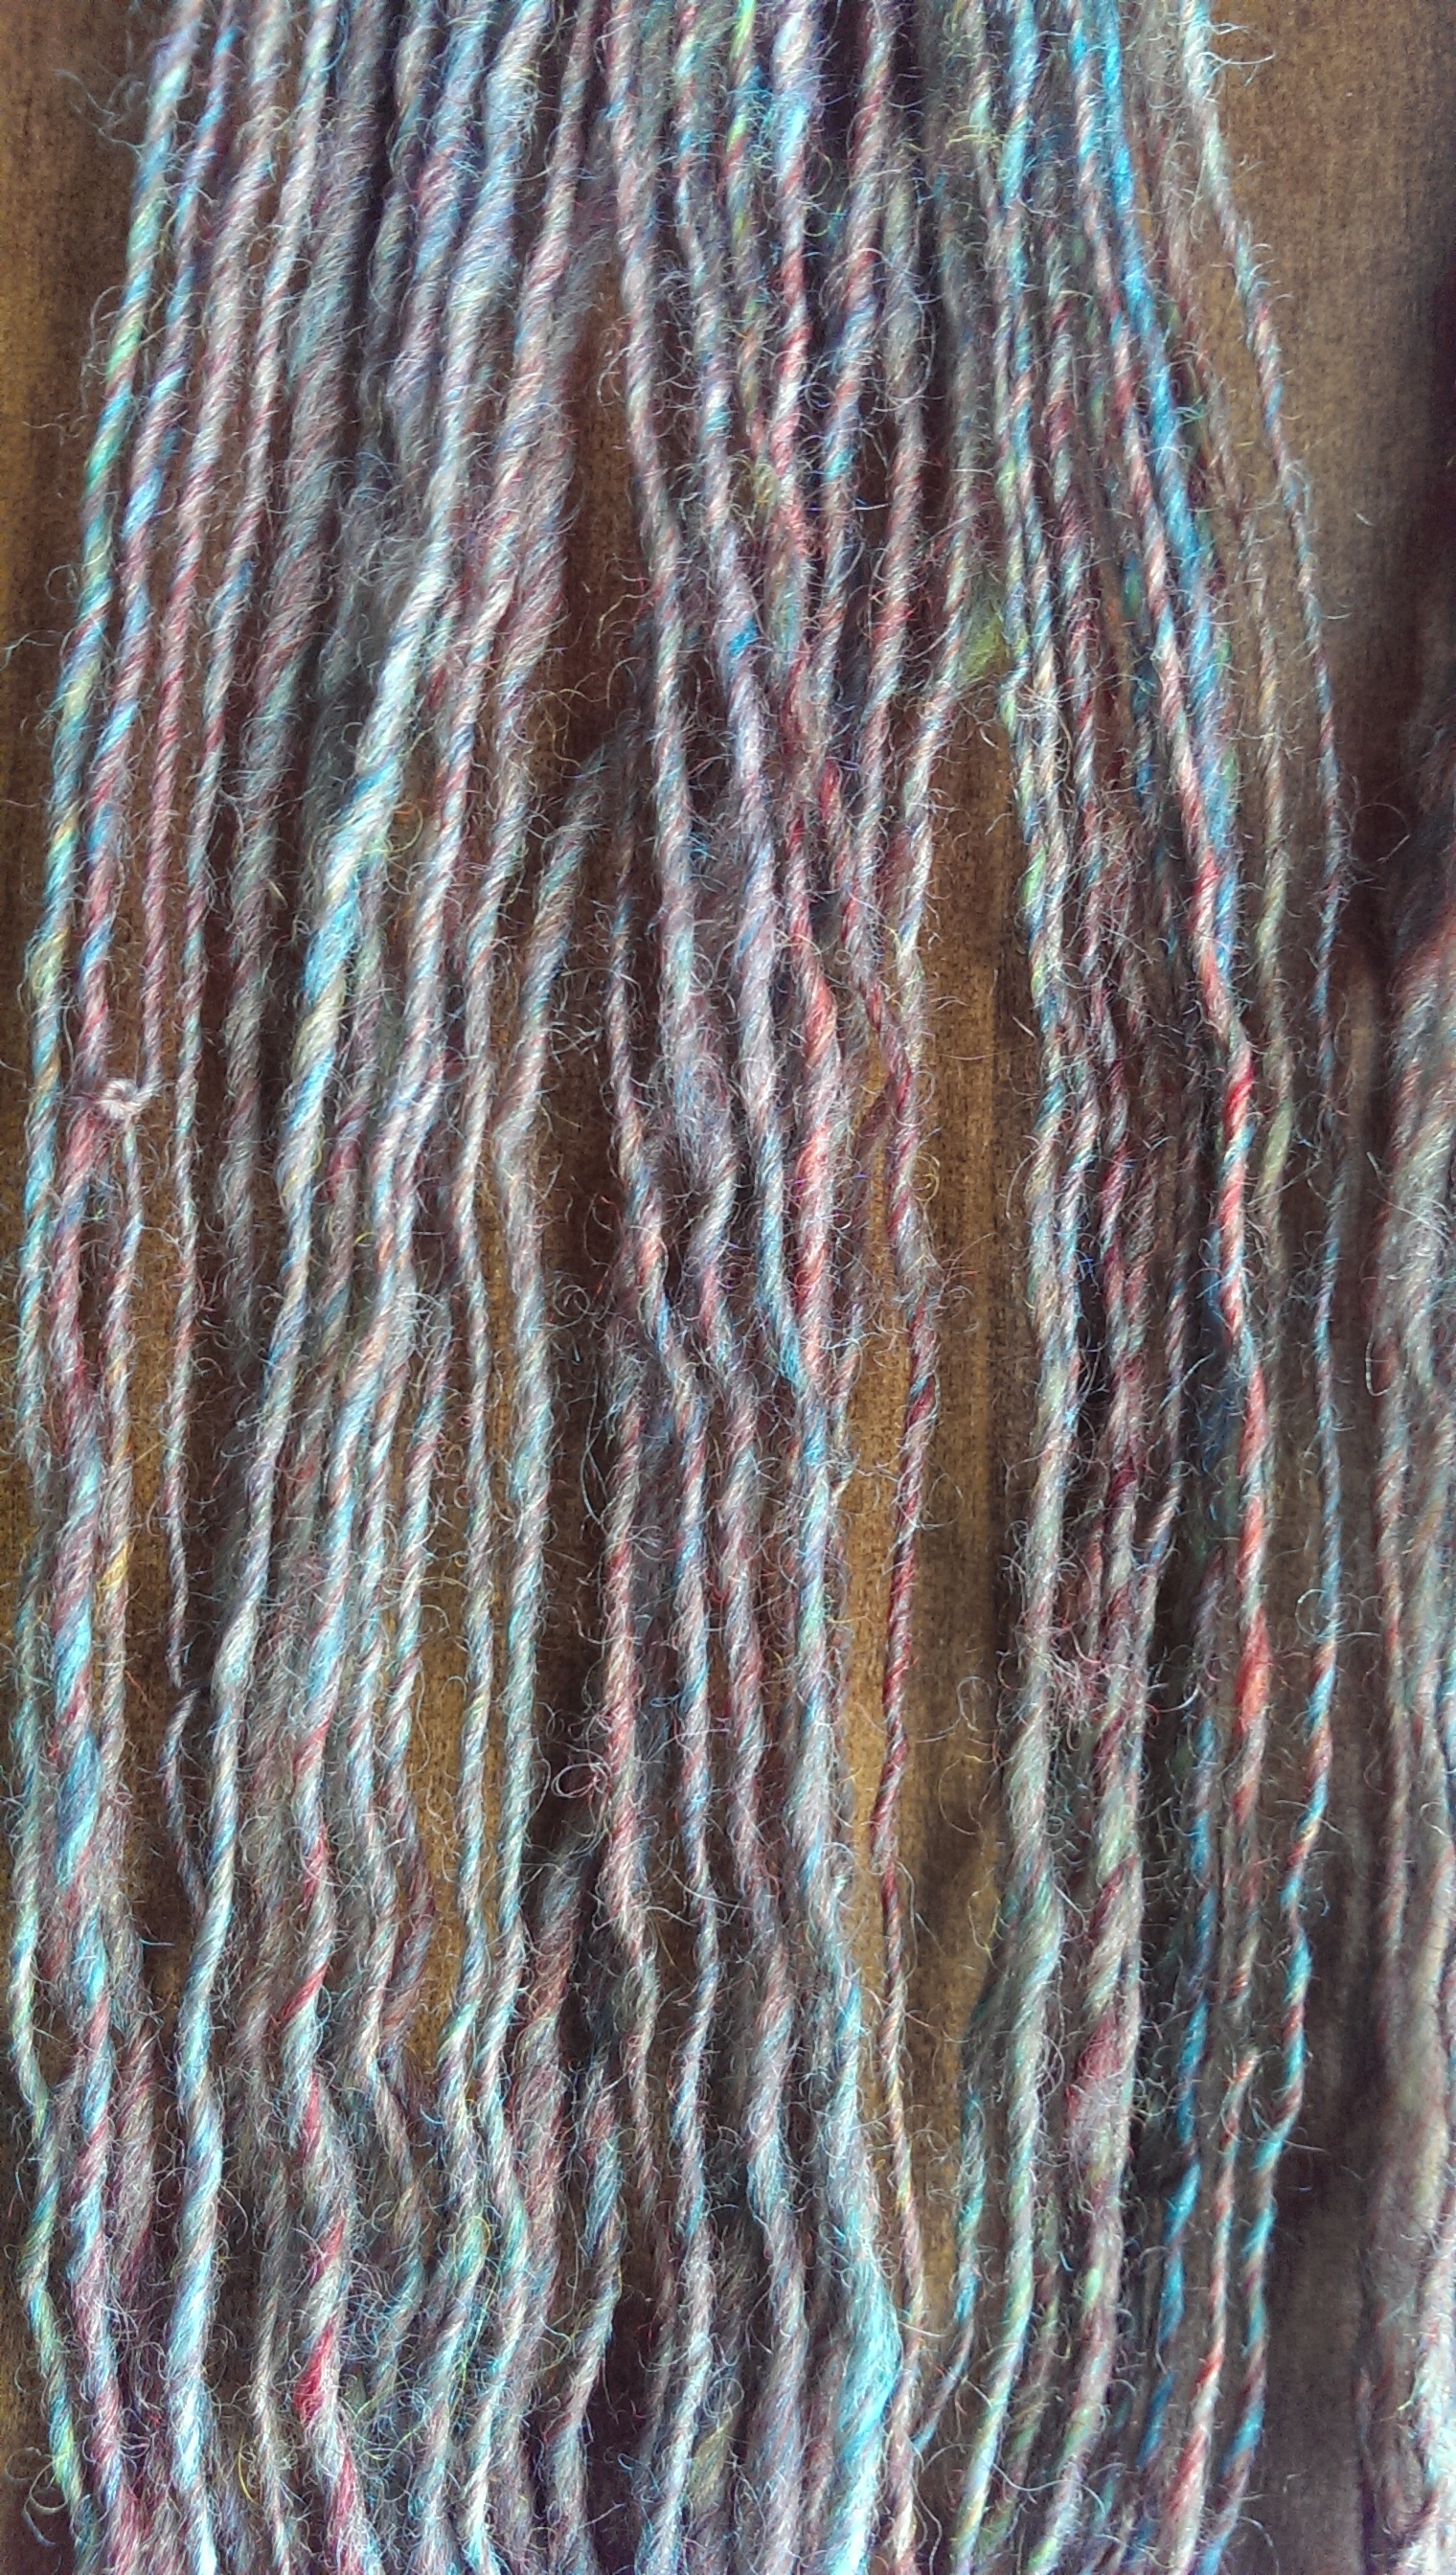
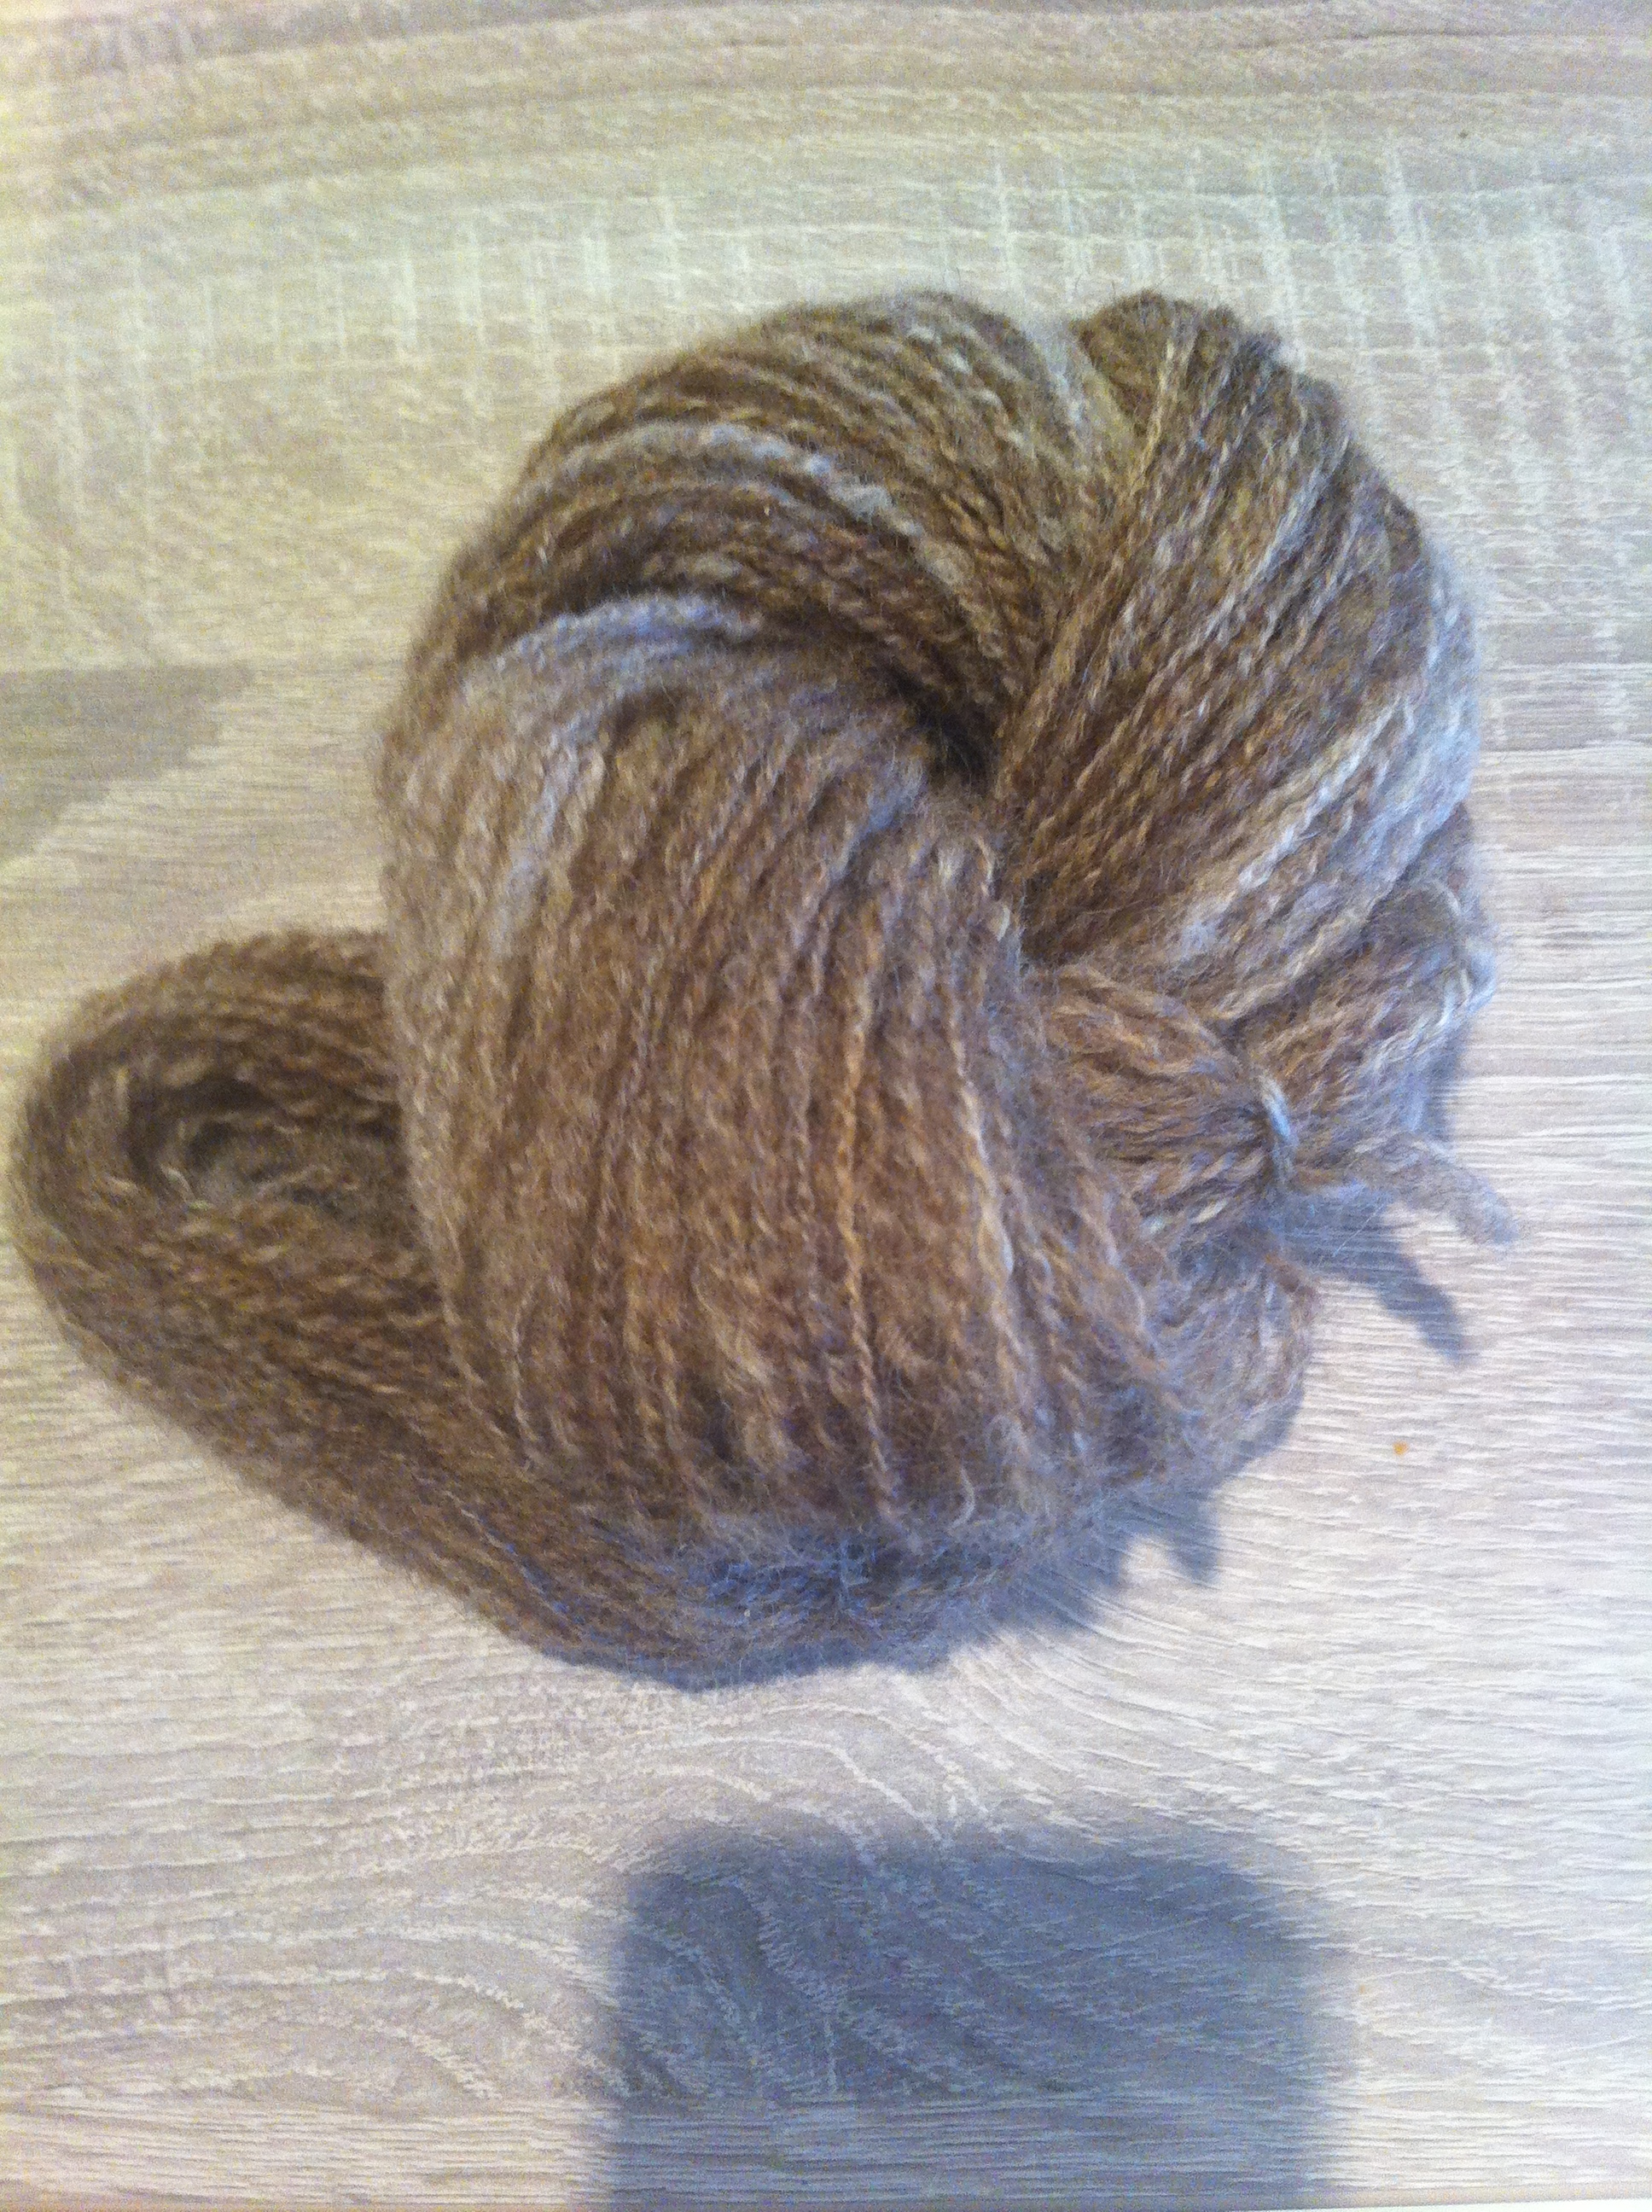
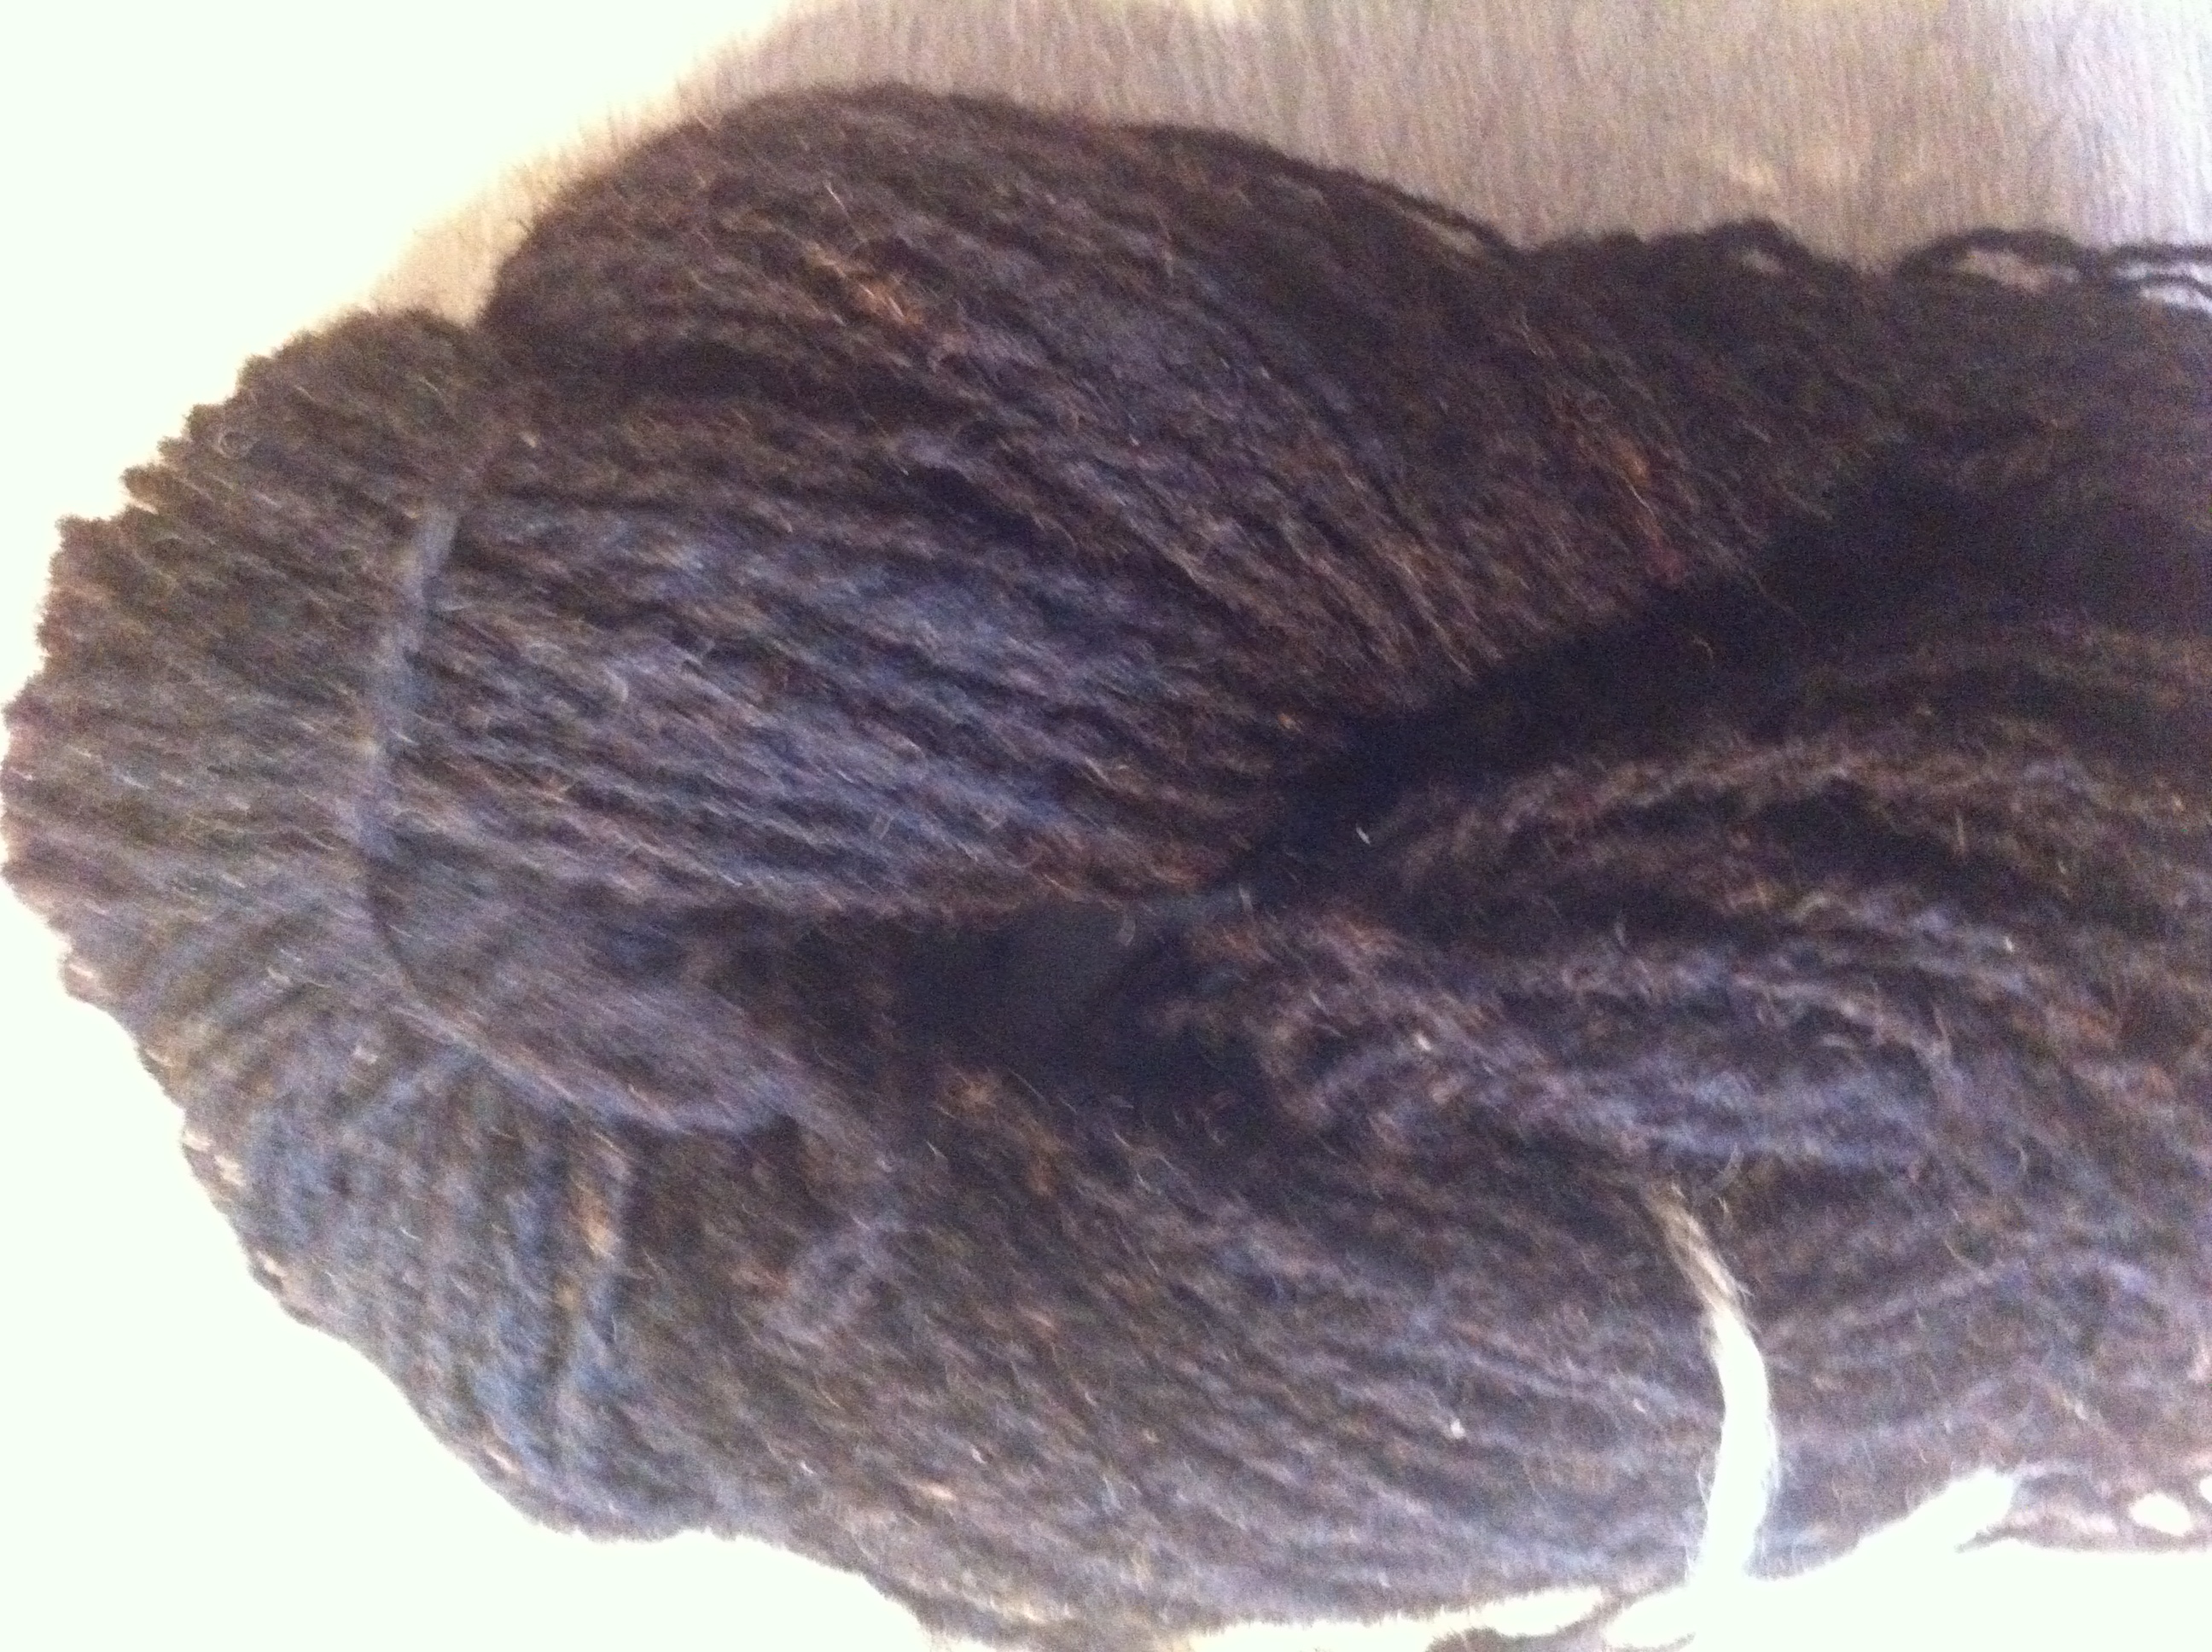
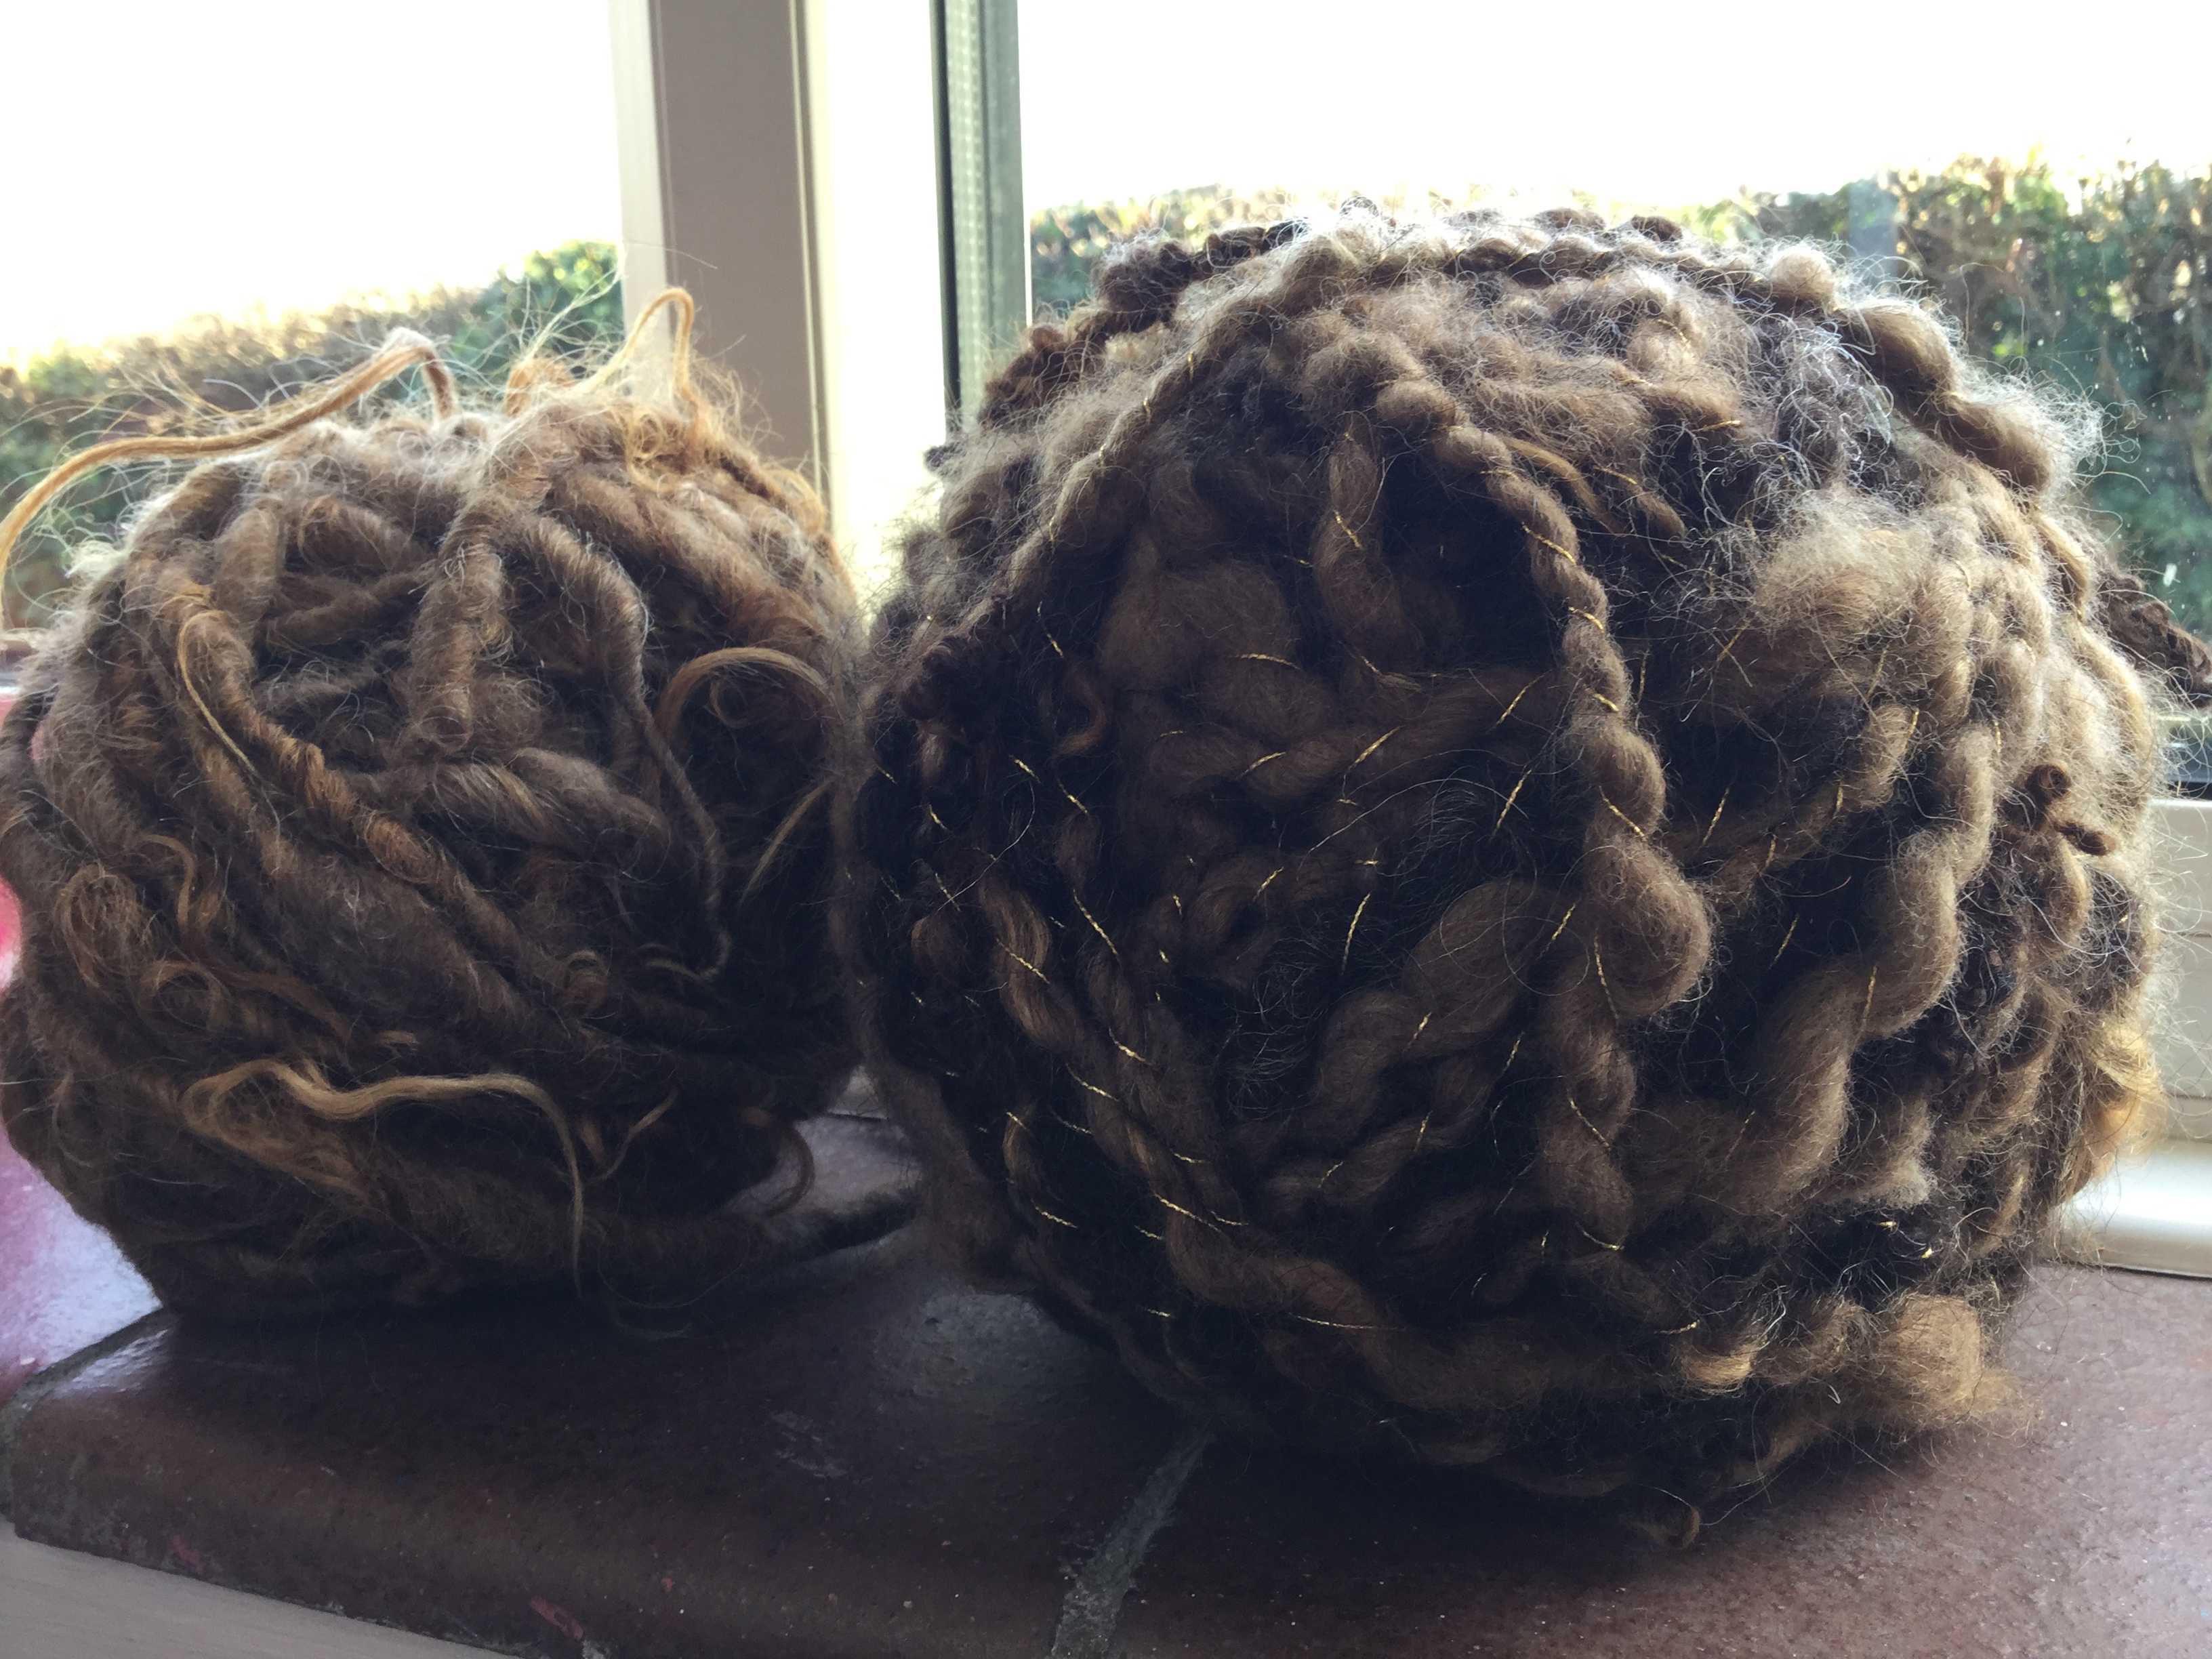
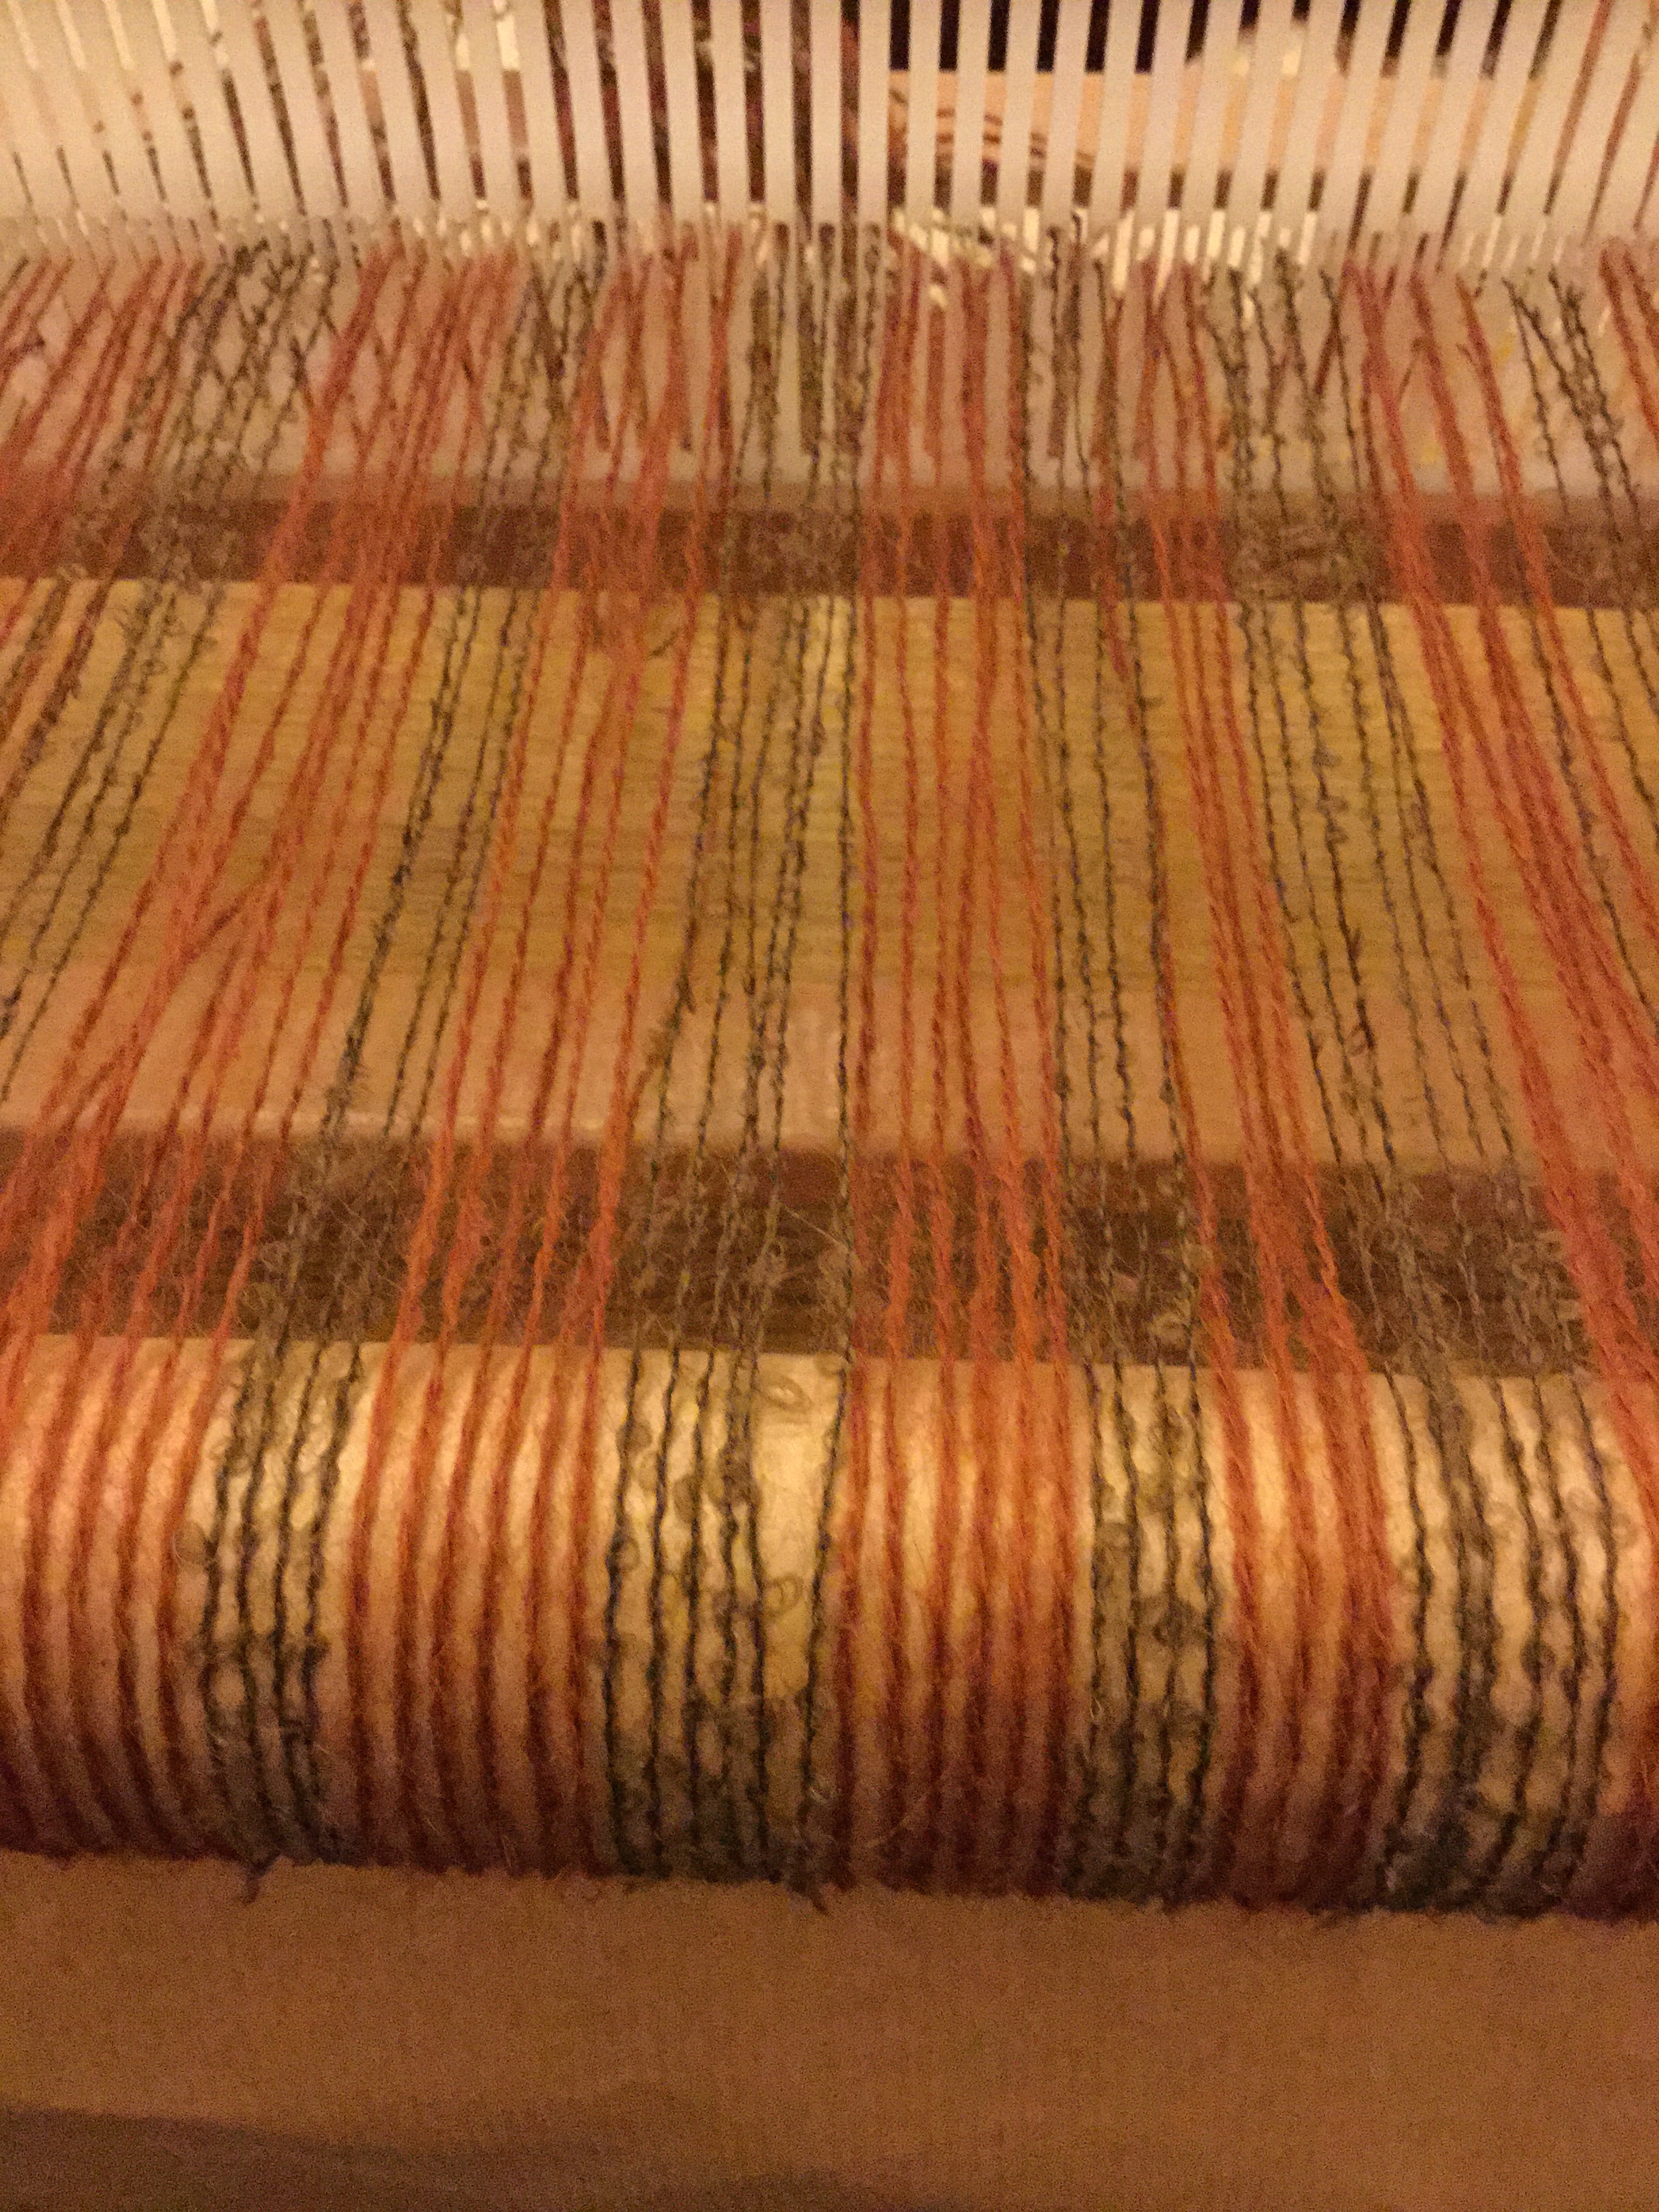
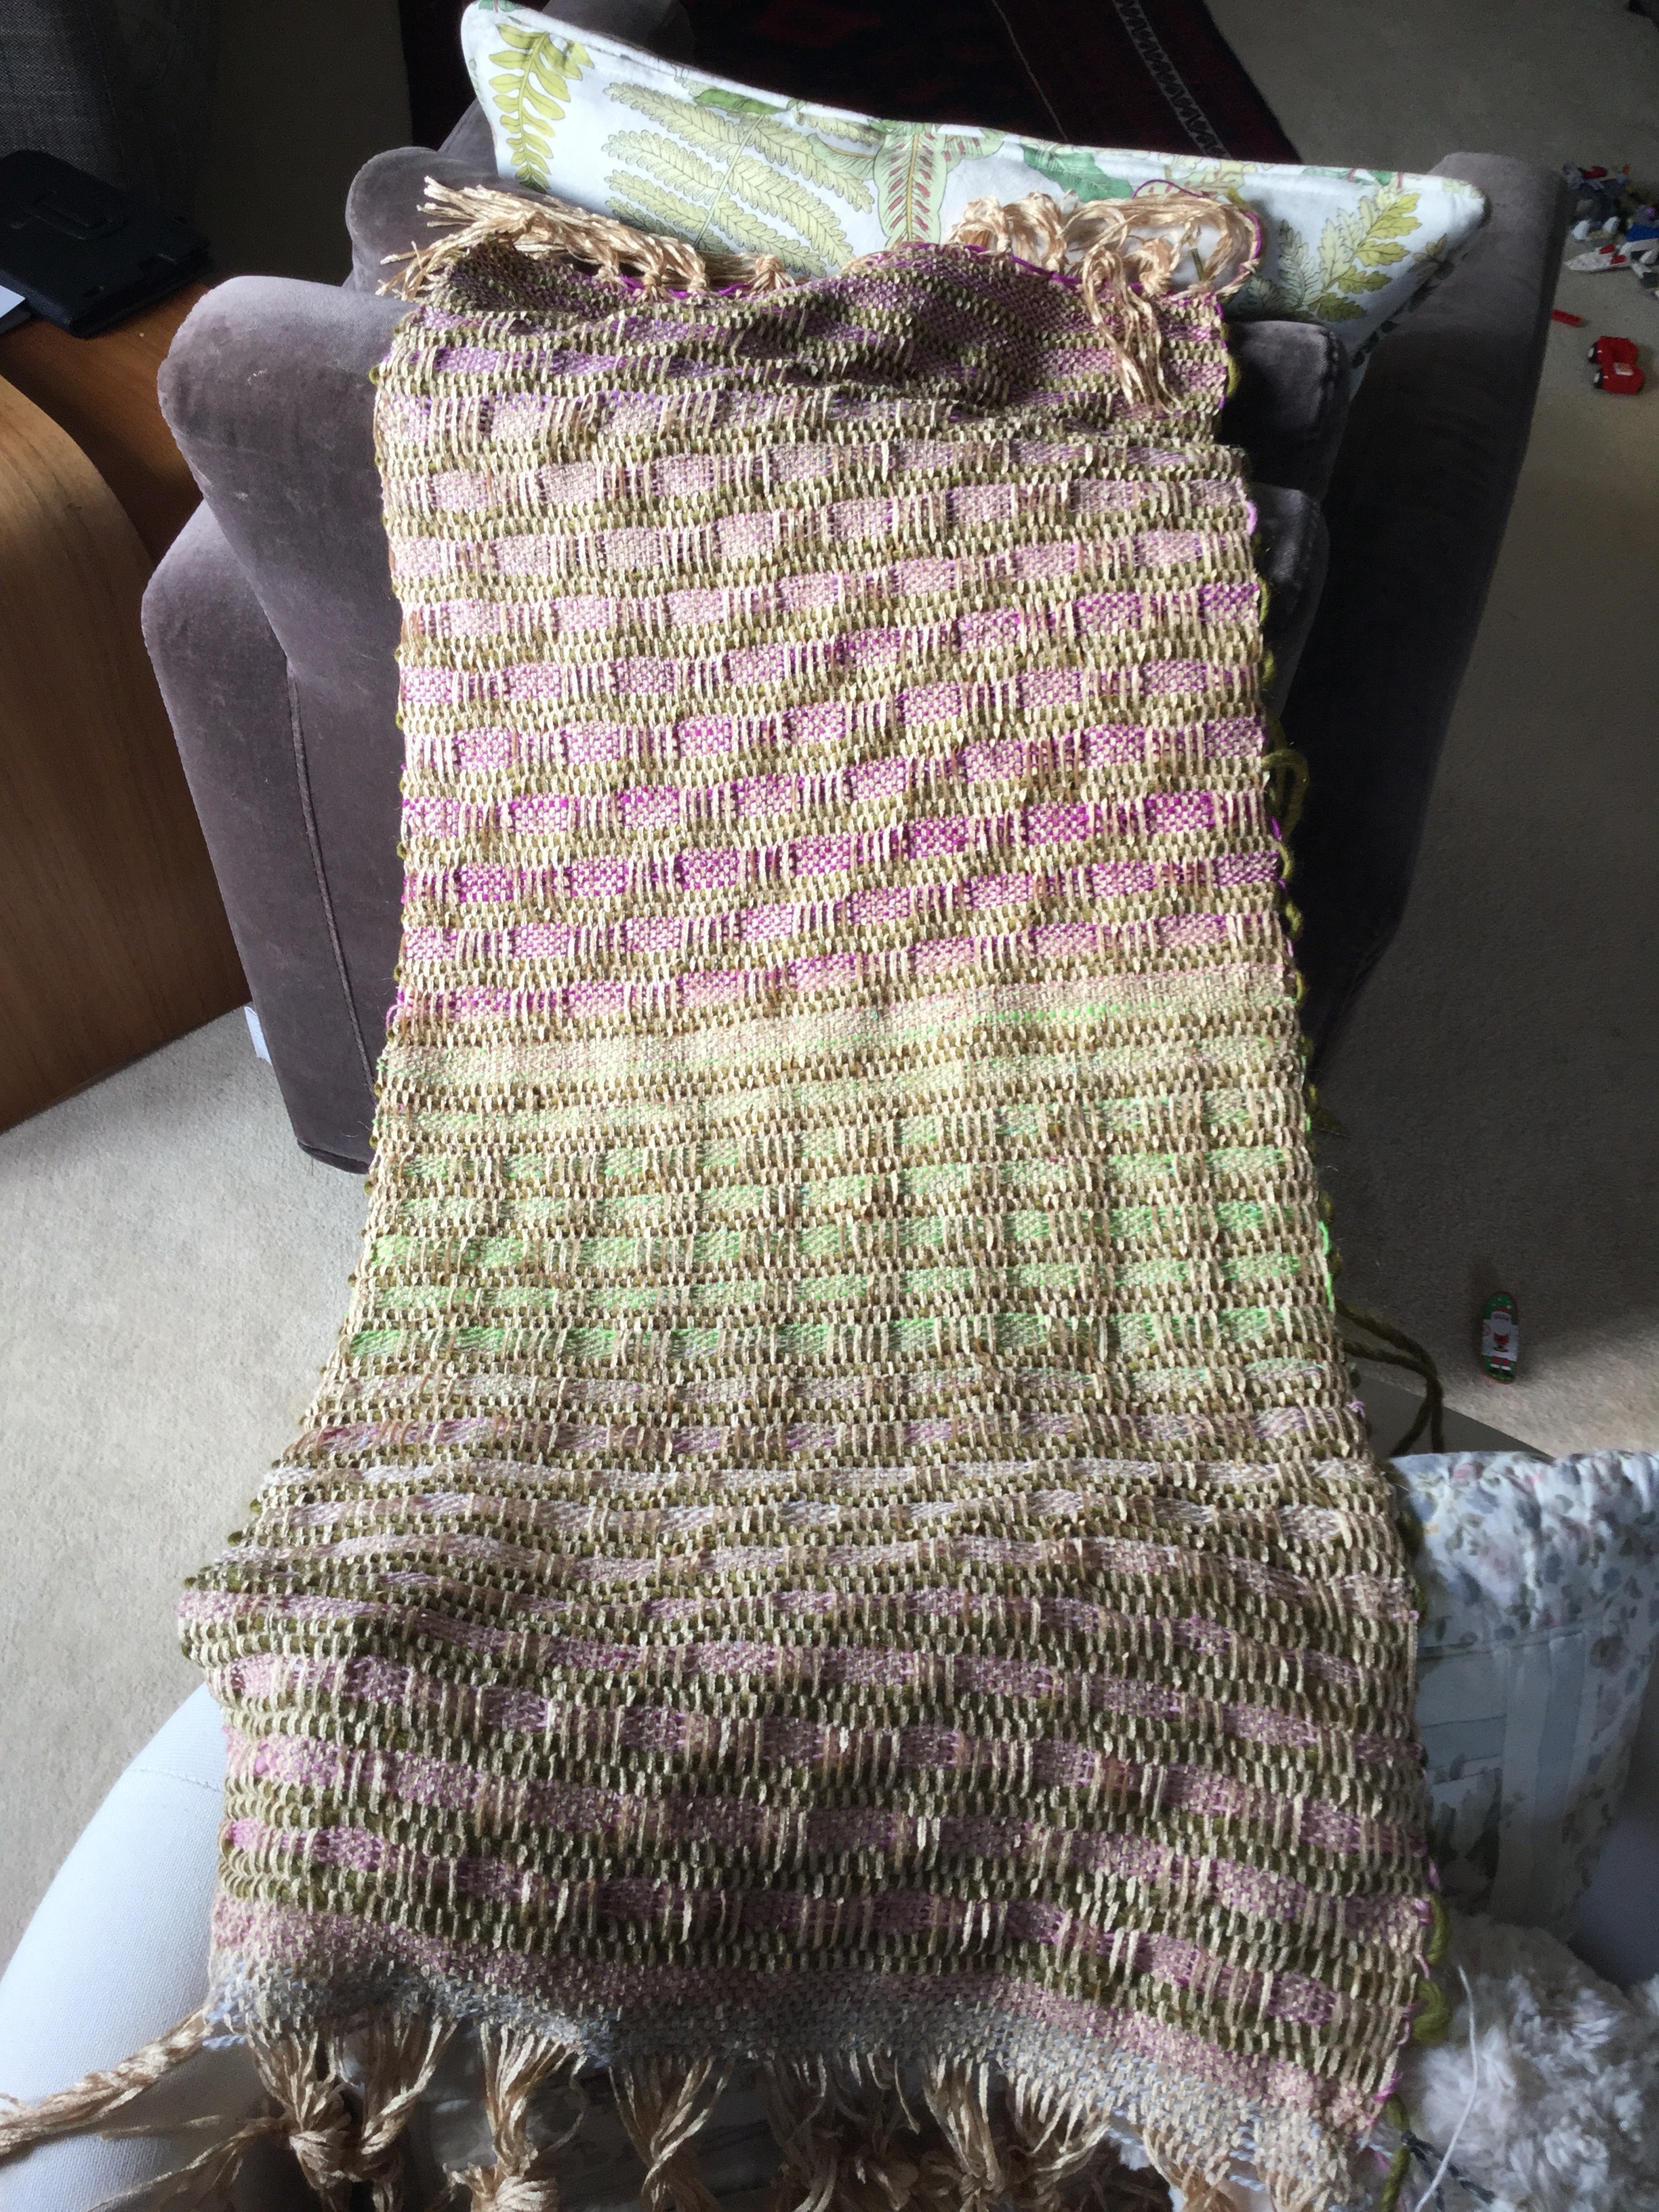
Next up is a piece I wove

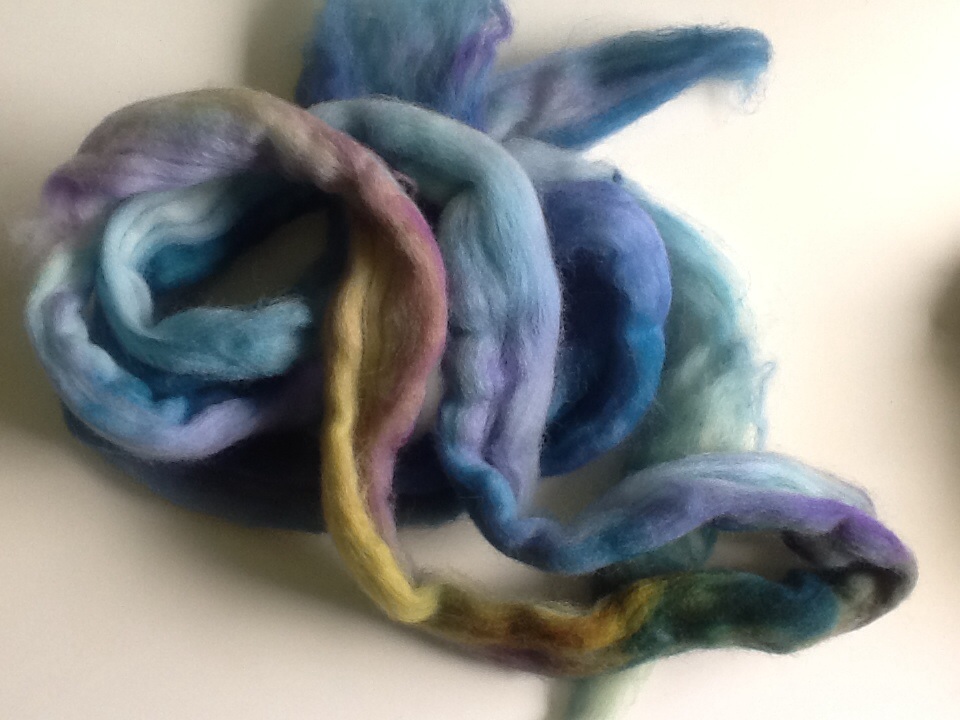
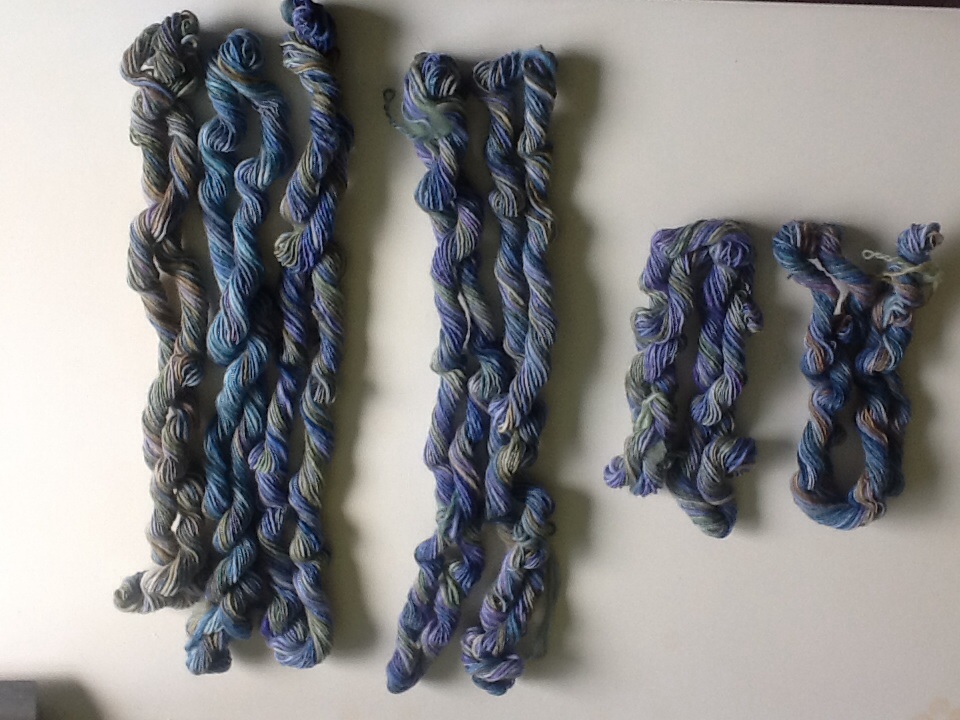
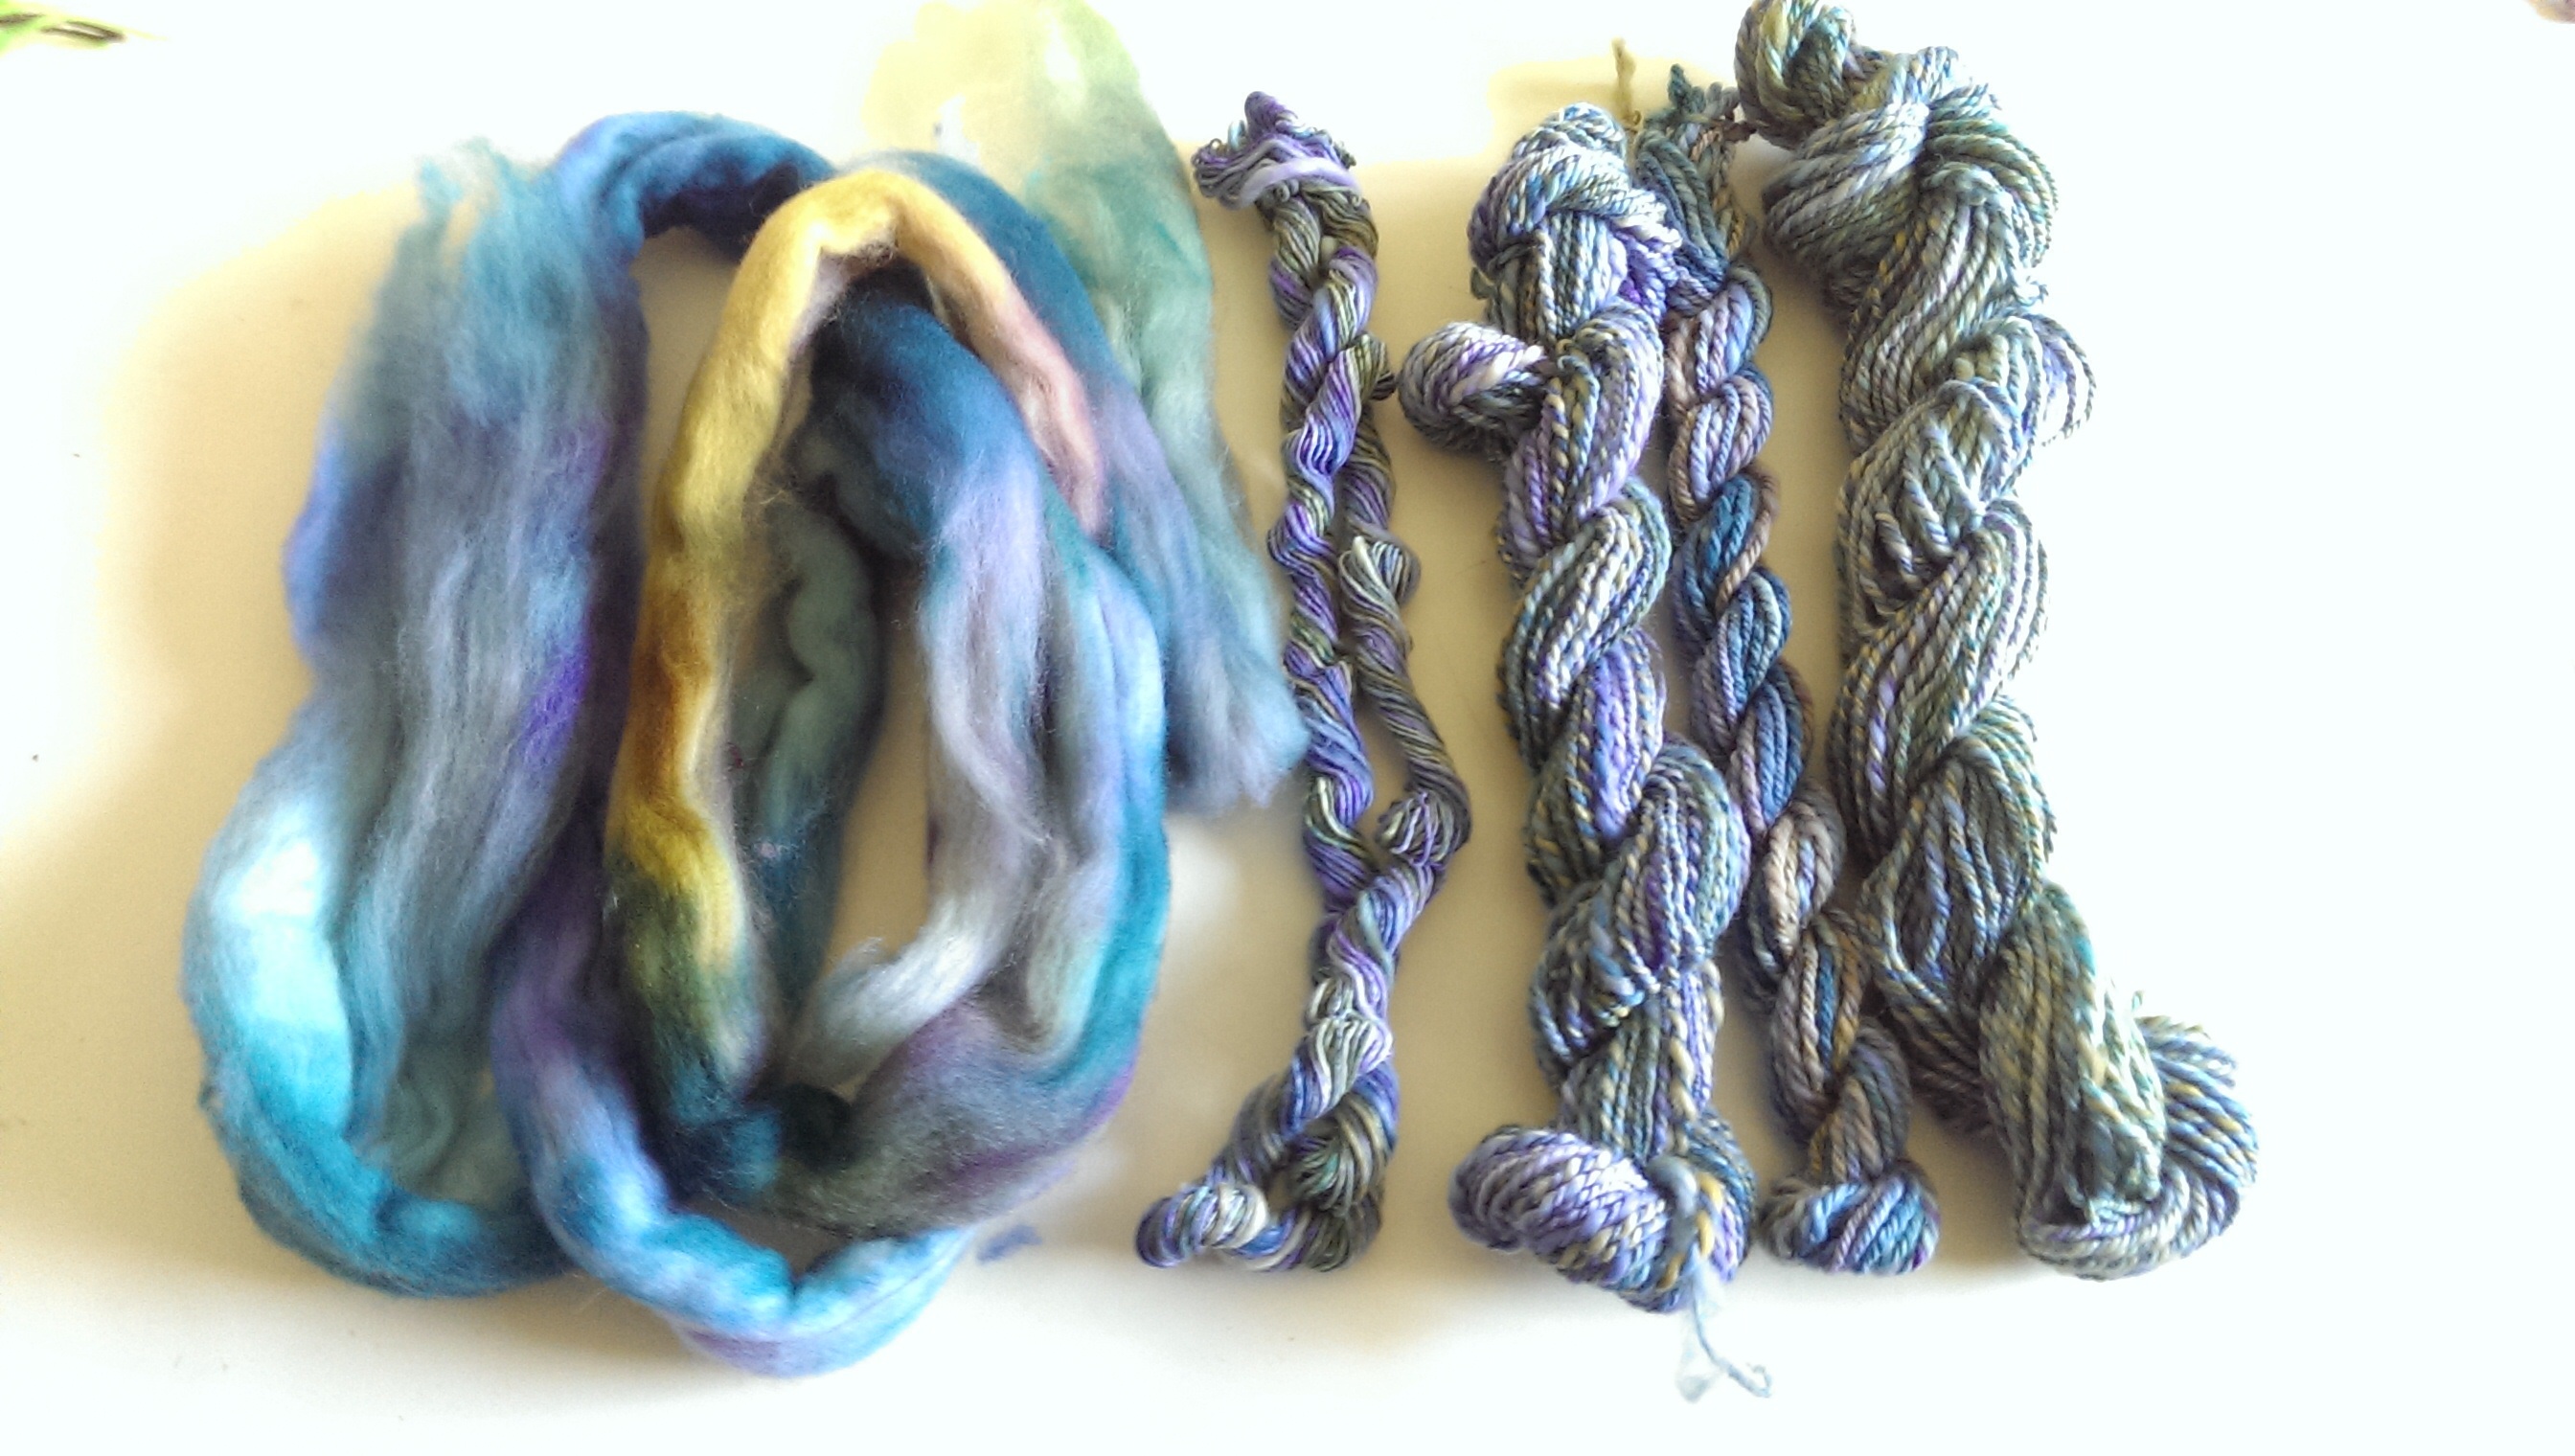
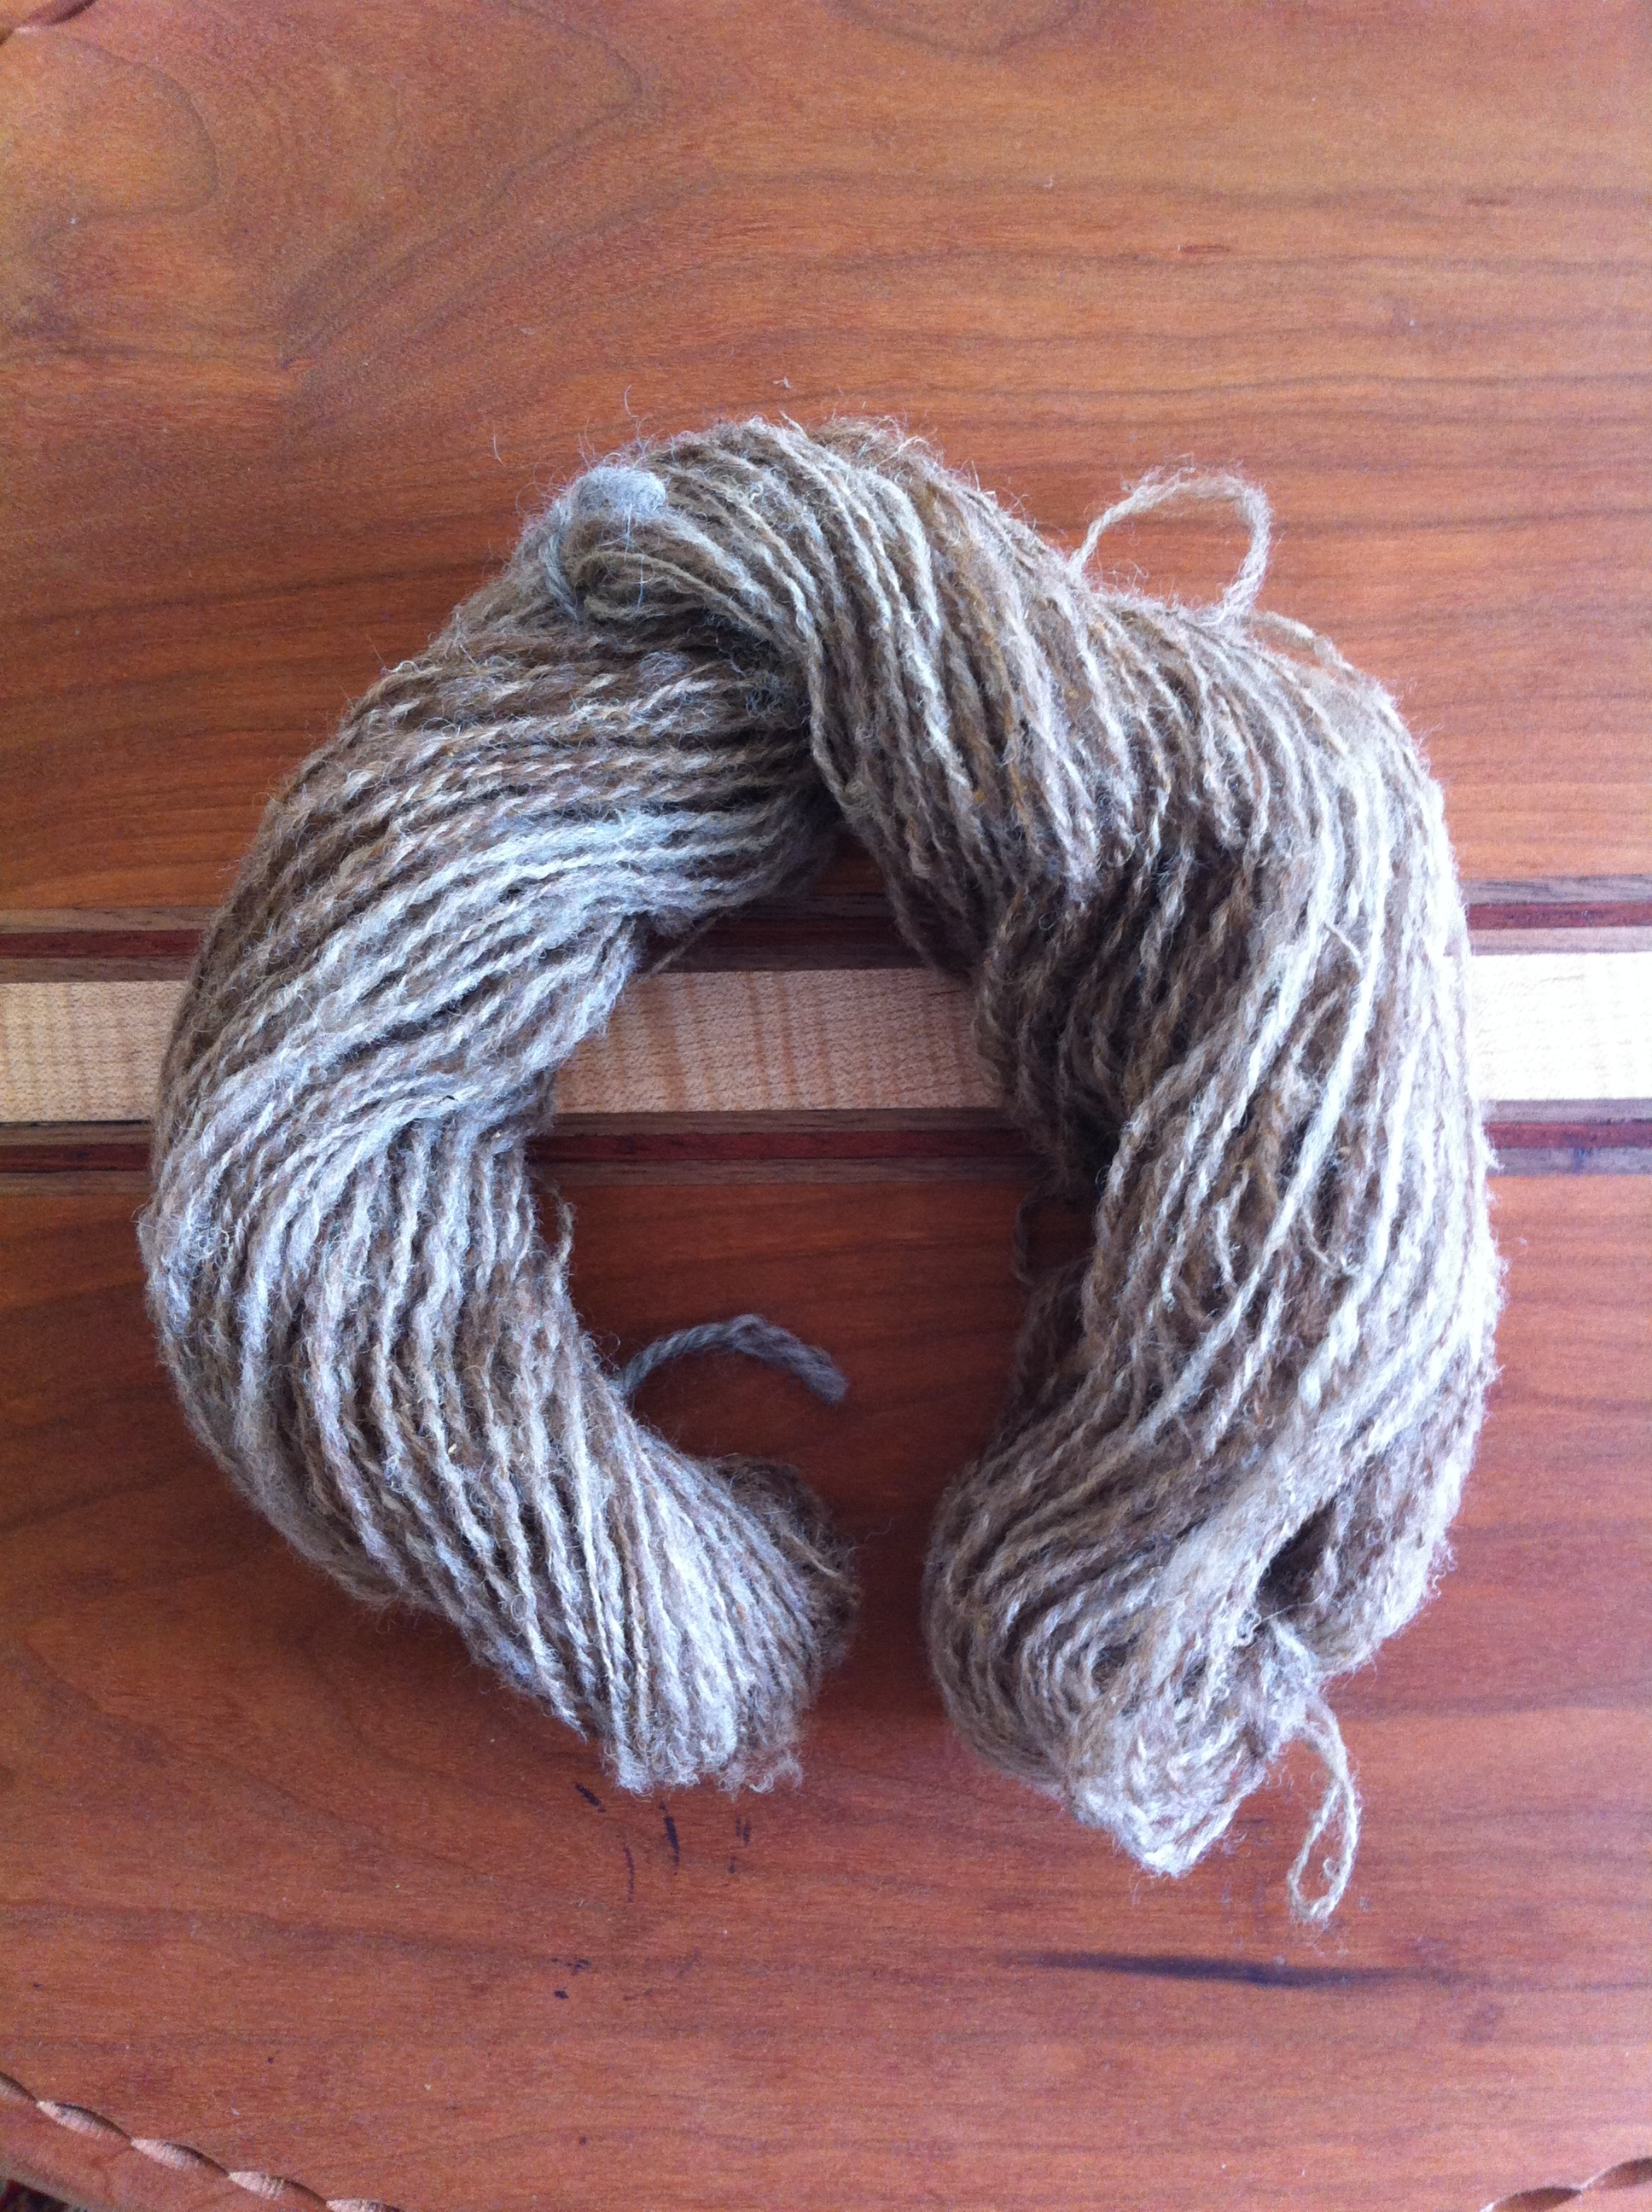
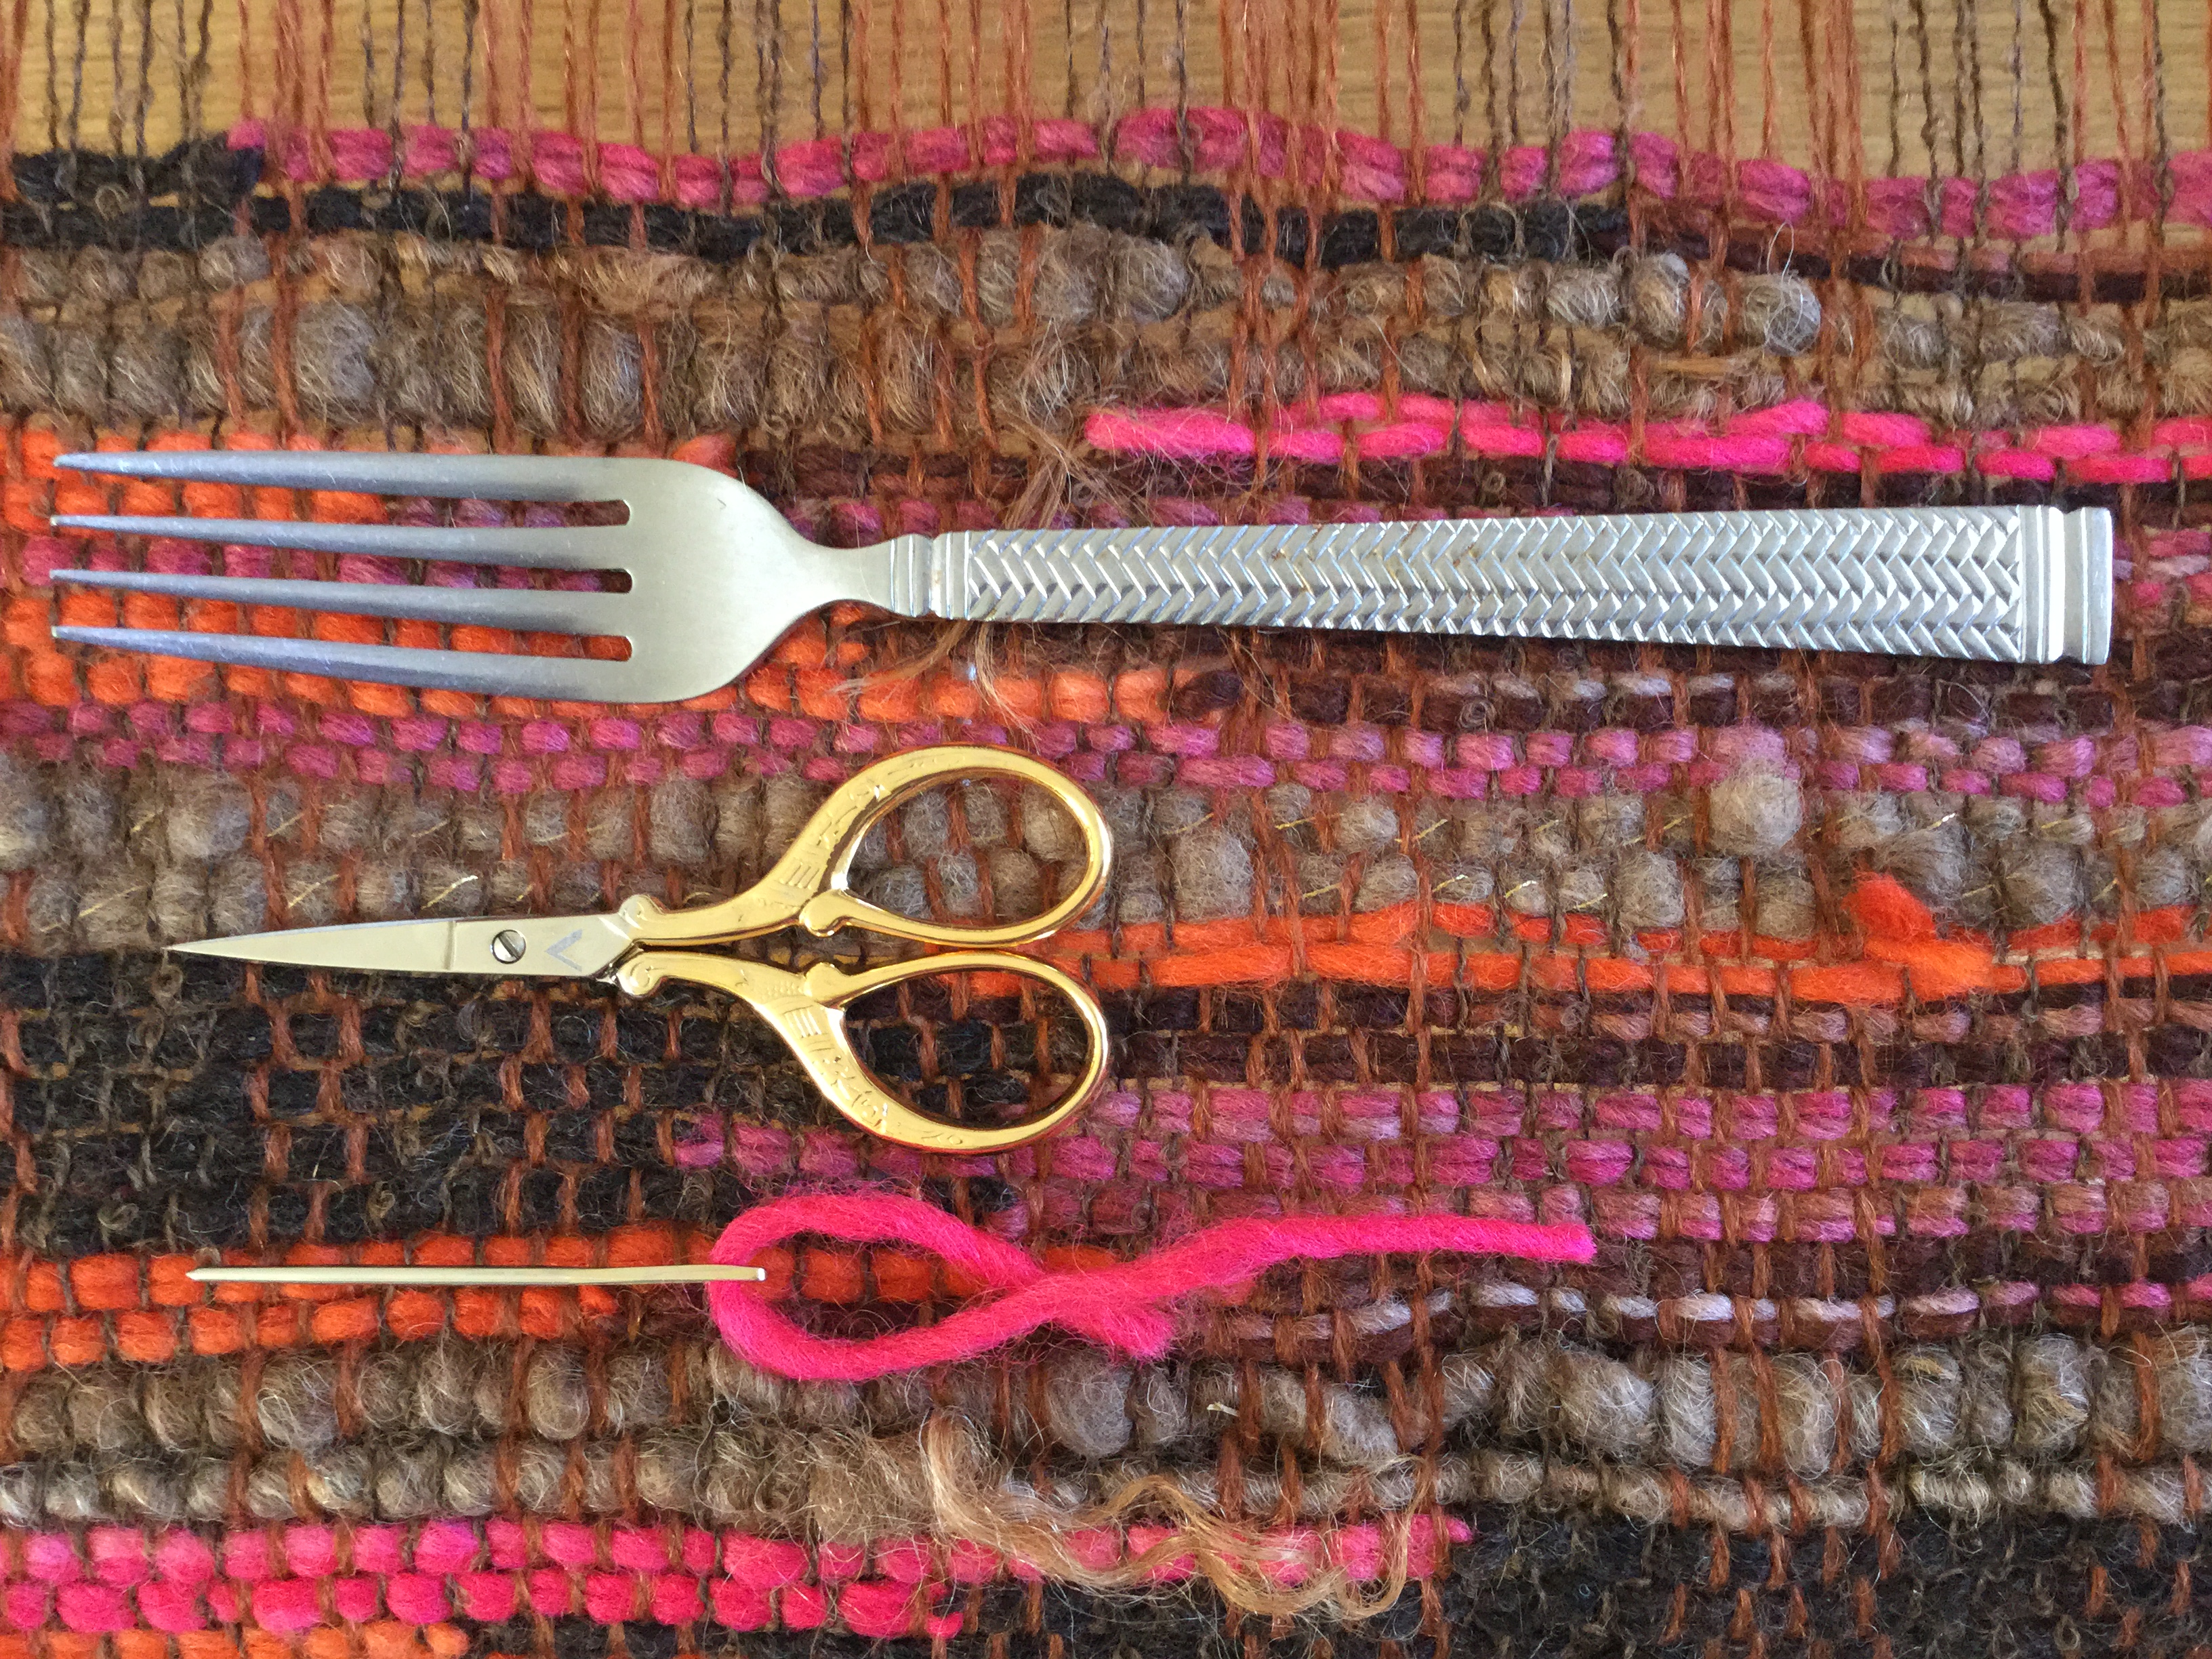
recently entirely out of handspun. The plan was to make the warp yarns the feature. I randomly wound the three colours of yarn—pink, purple, green— onto the warping board. On the weft I used a single colour—a grey mohair and wool handspun with a few dollops of green and yellow as a feature. What I like about how this piece turned out is the strong warp colours slightly muted by the greyish weft. Also the slight unevenness of the handspun give the whole piece a subtle speckled effect.

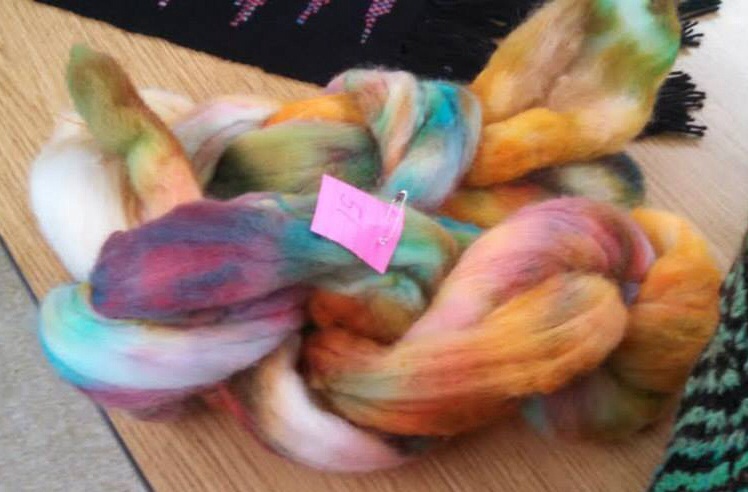
Choosing handspun or many colours of yarn in the warp is one way to use colour and texture in the warp to great effect. A variation on this theme is the multi-coloured warp. Instead of using a few different coloured yarns in the warp, wind on a neutral coloured warp, carefully remove it and then put it the dye pot and apply colour.

Dyed warp

Dyed warp

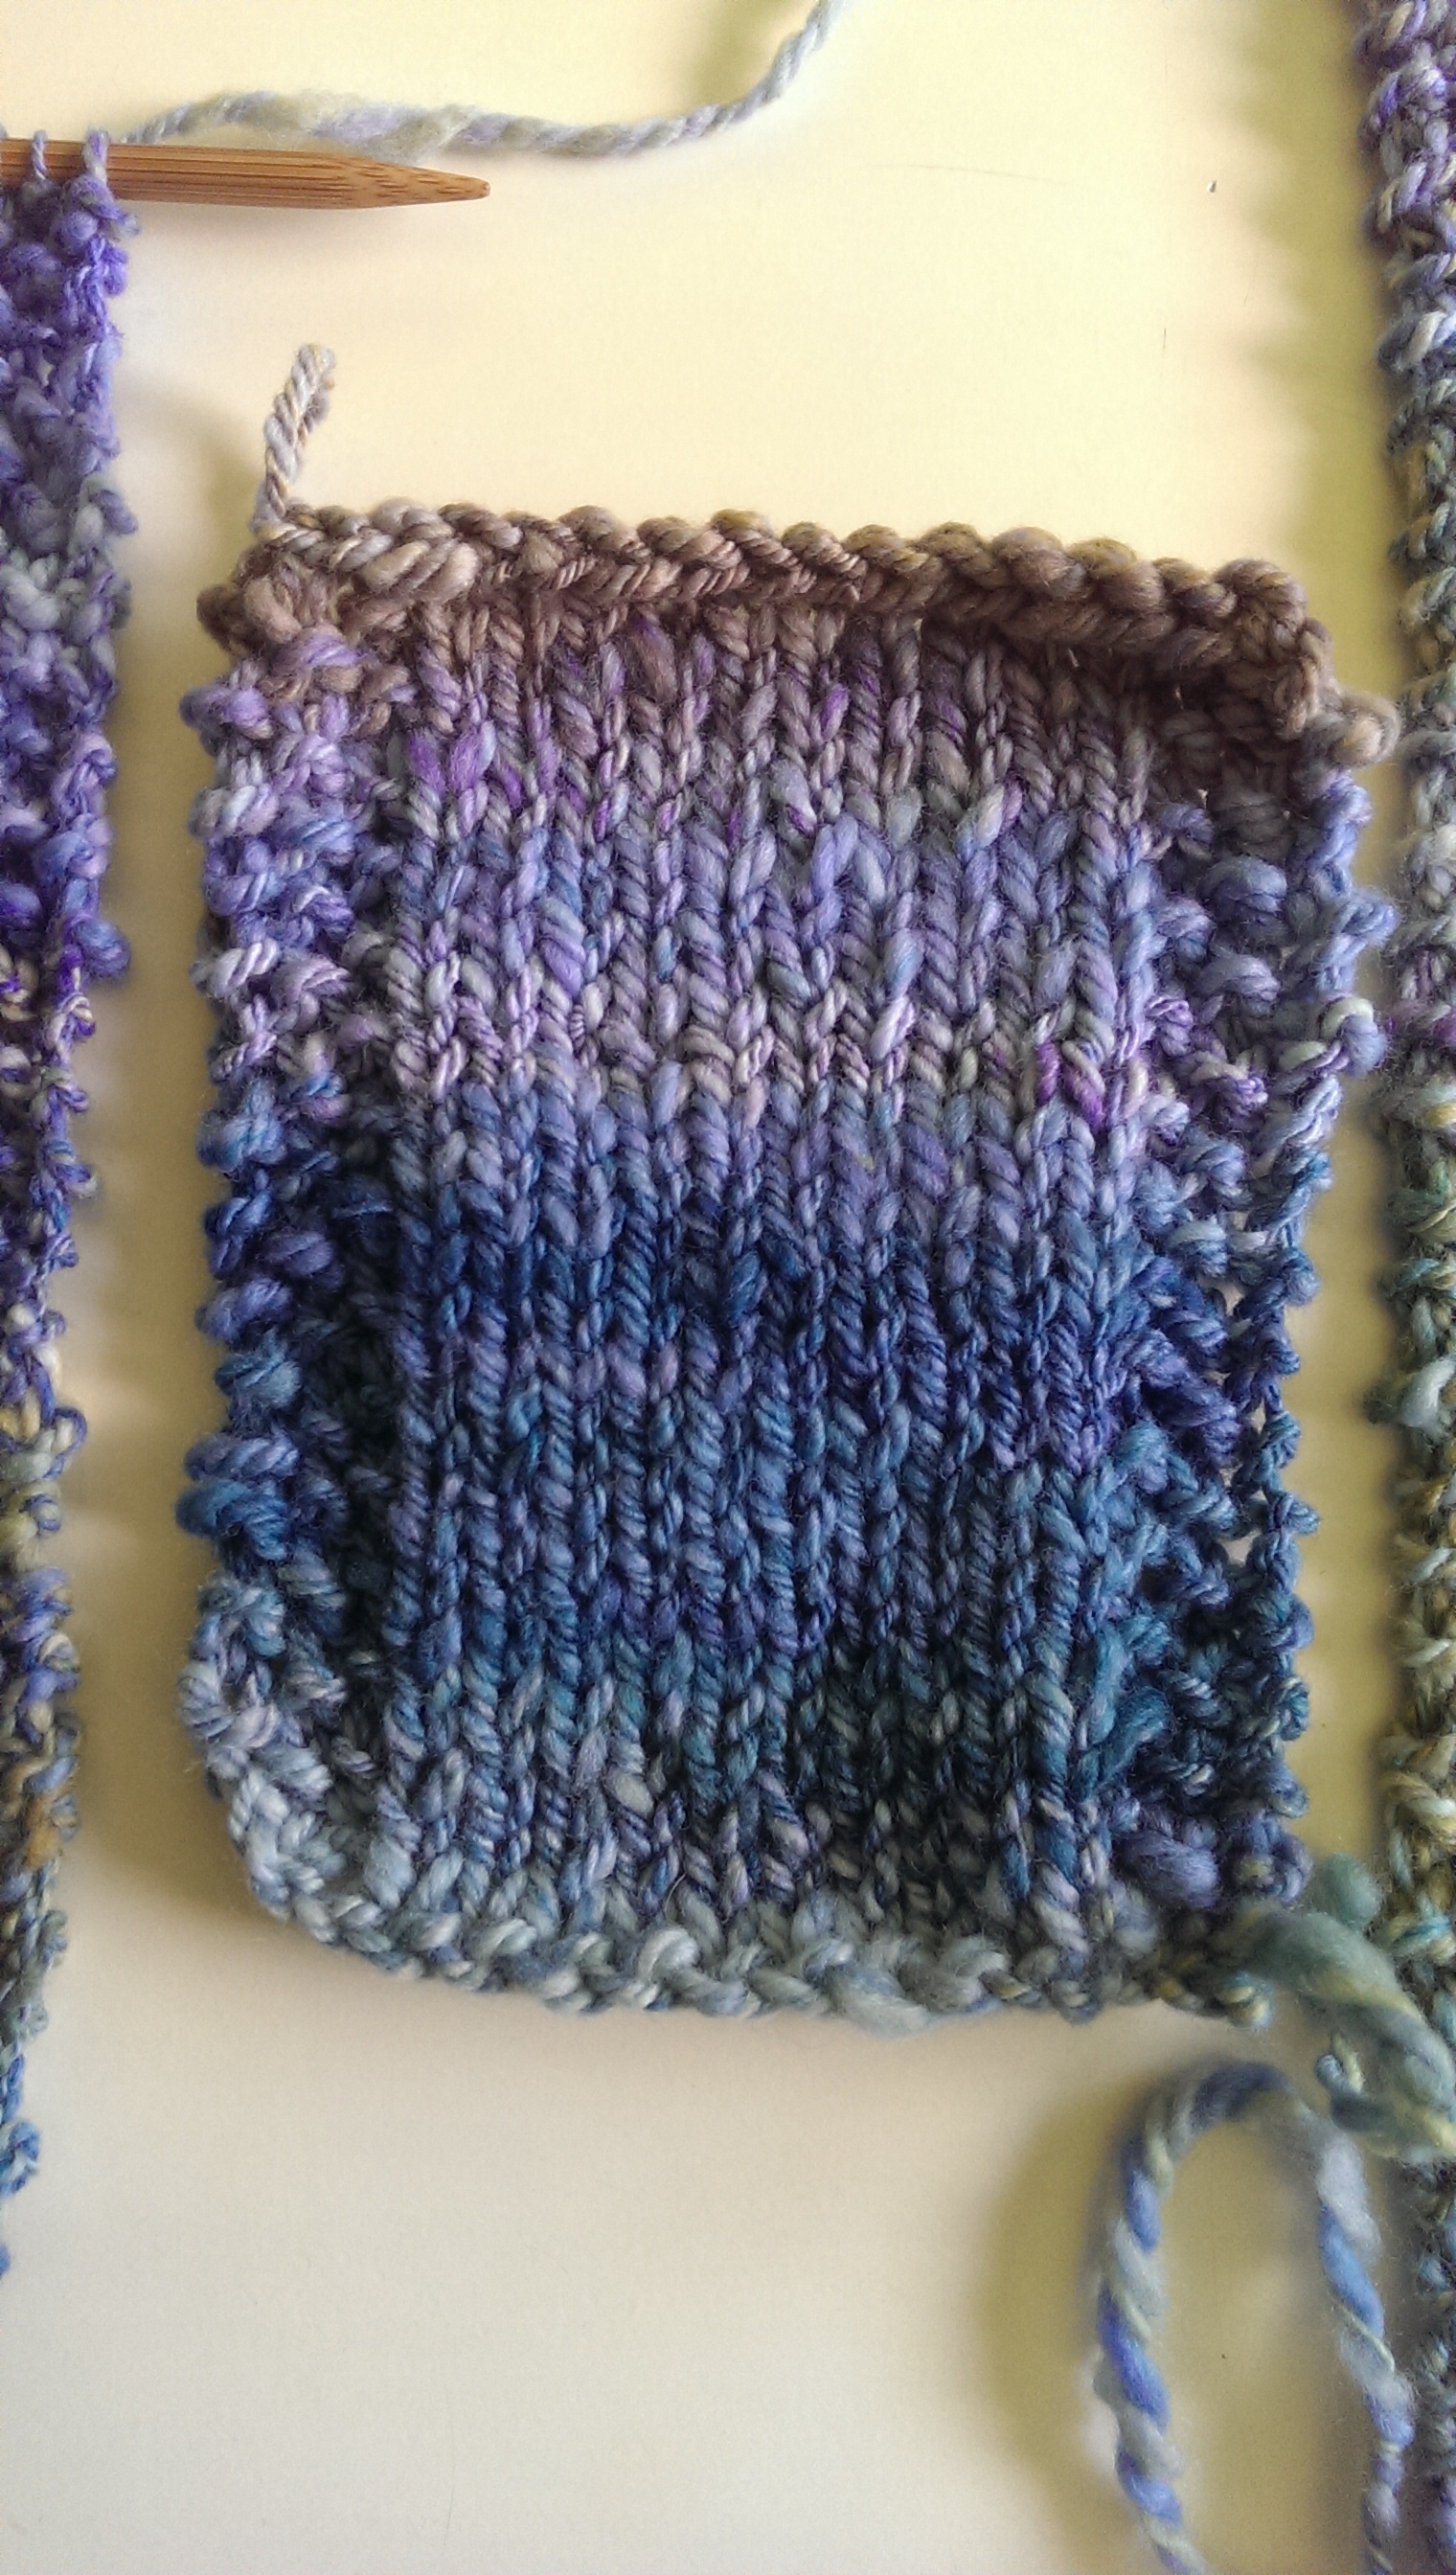
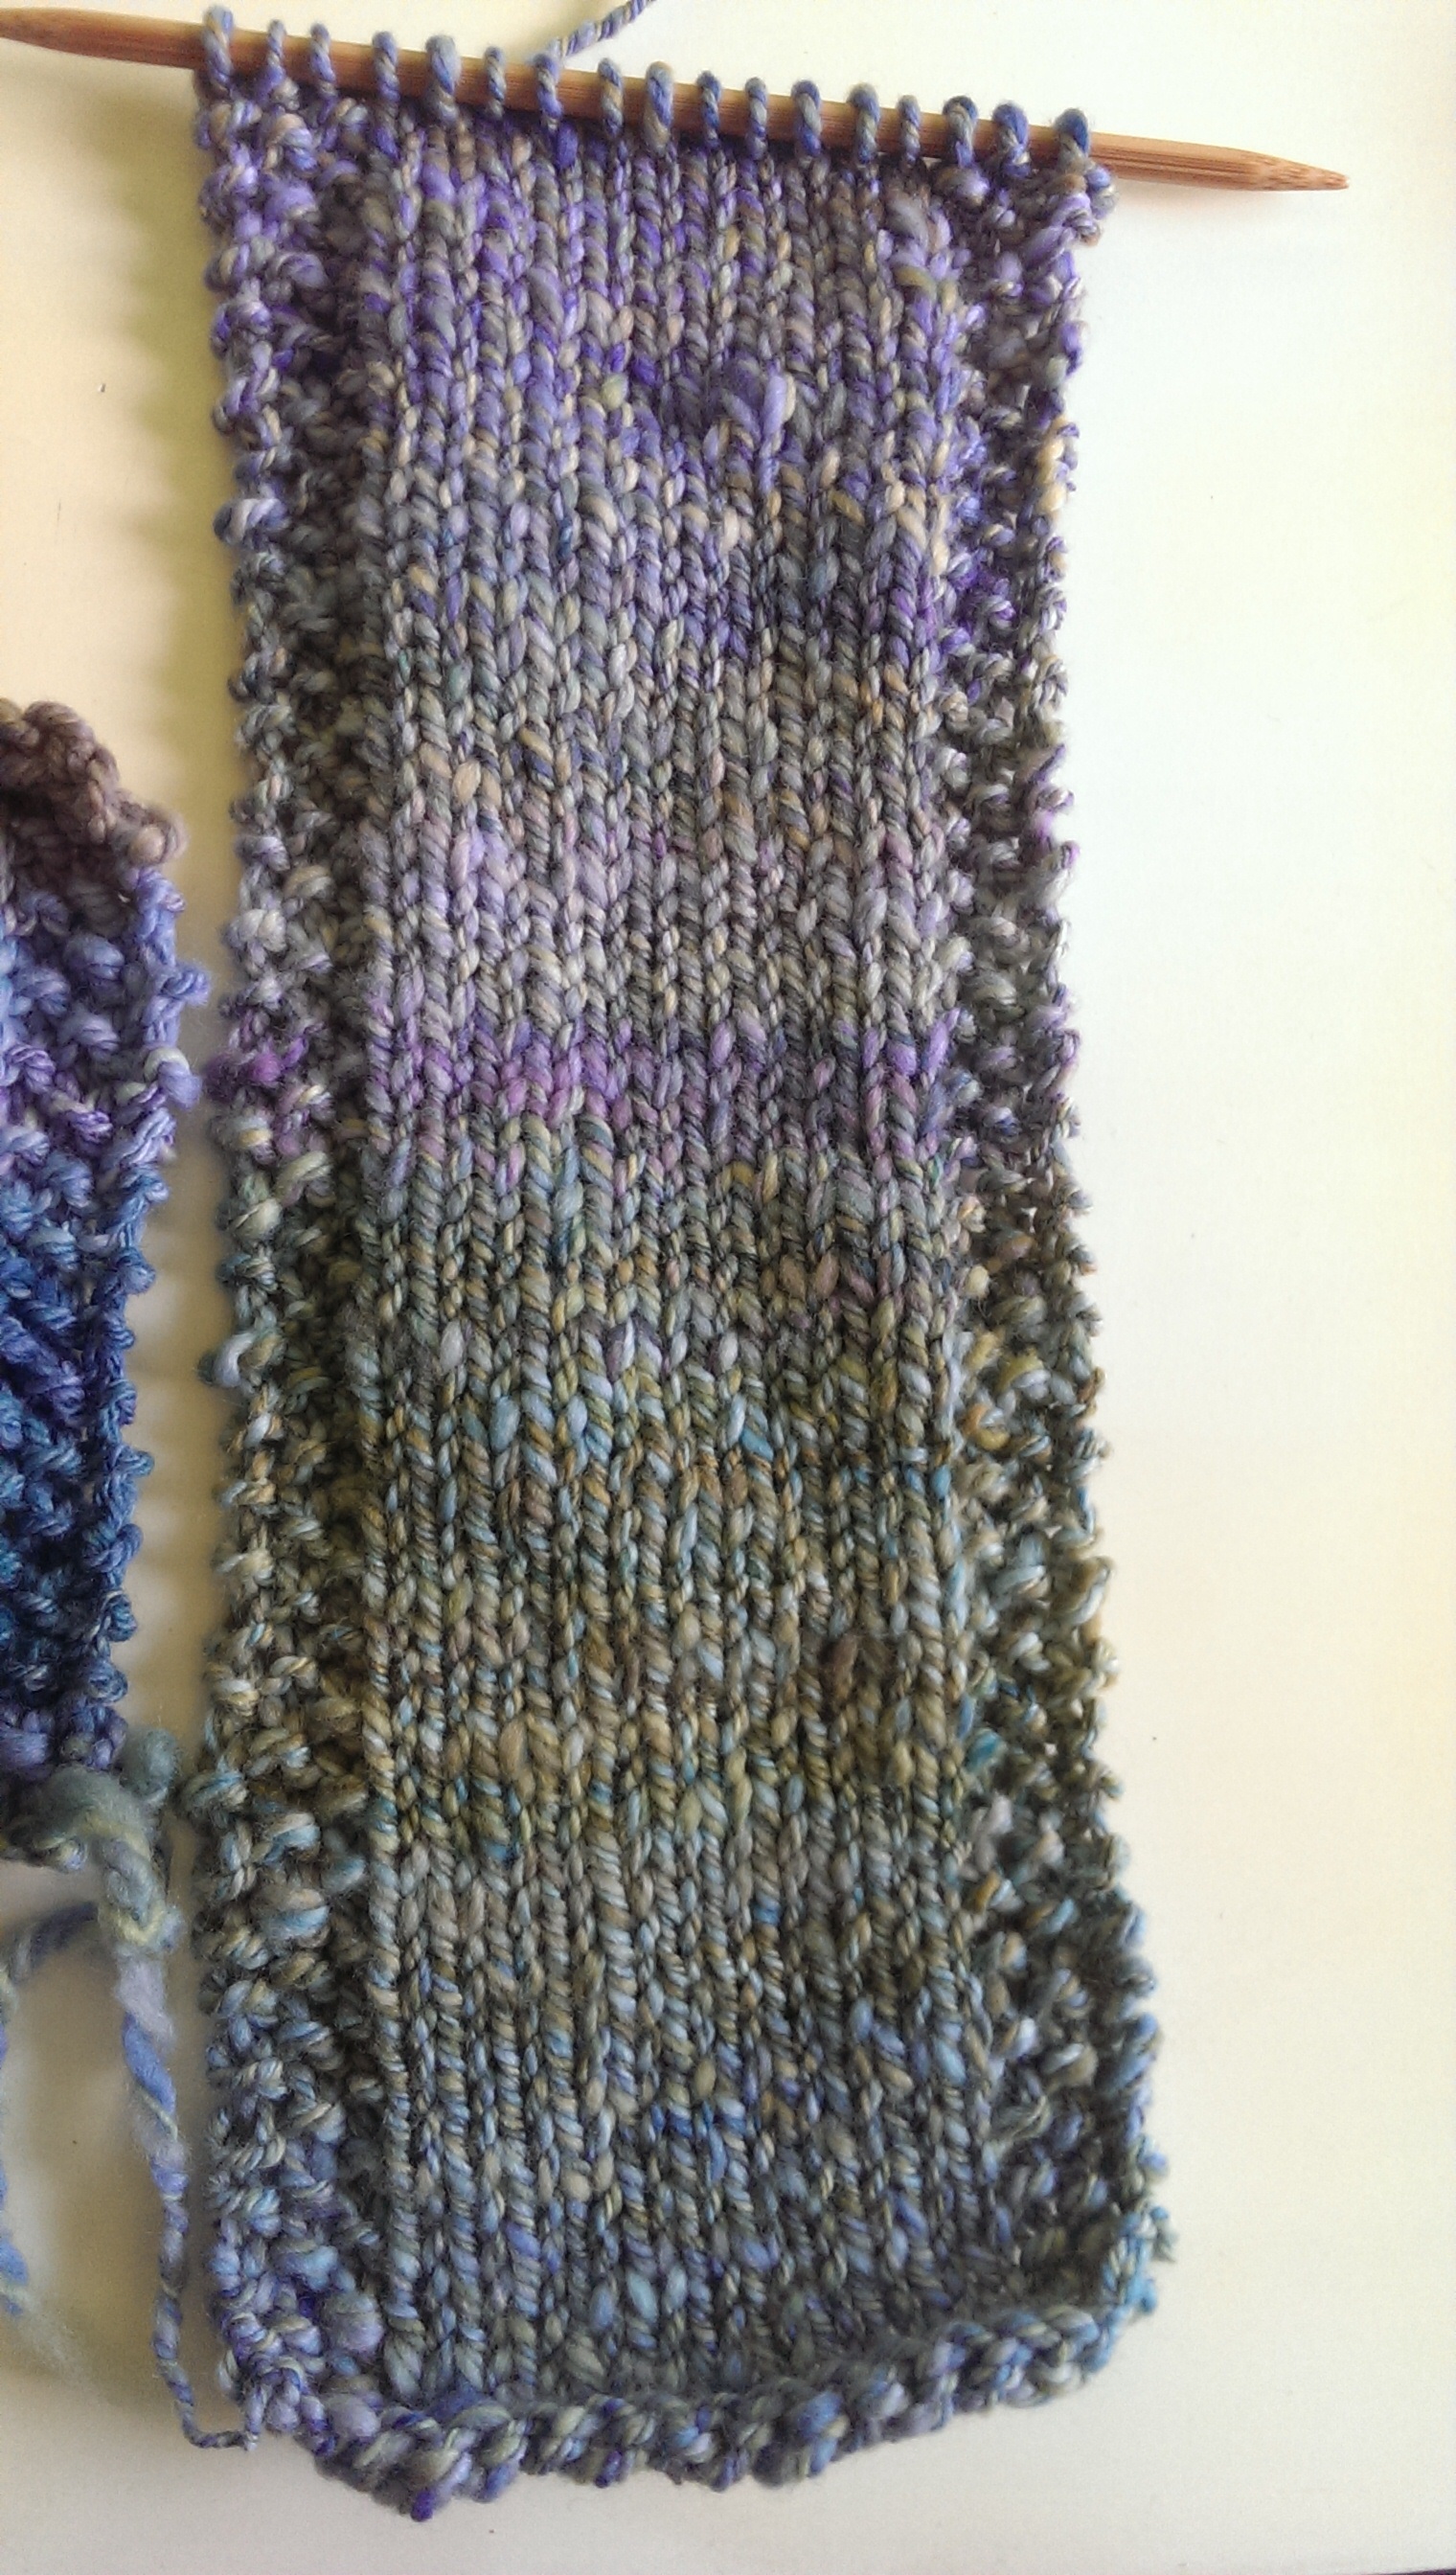
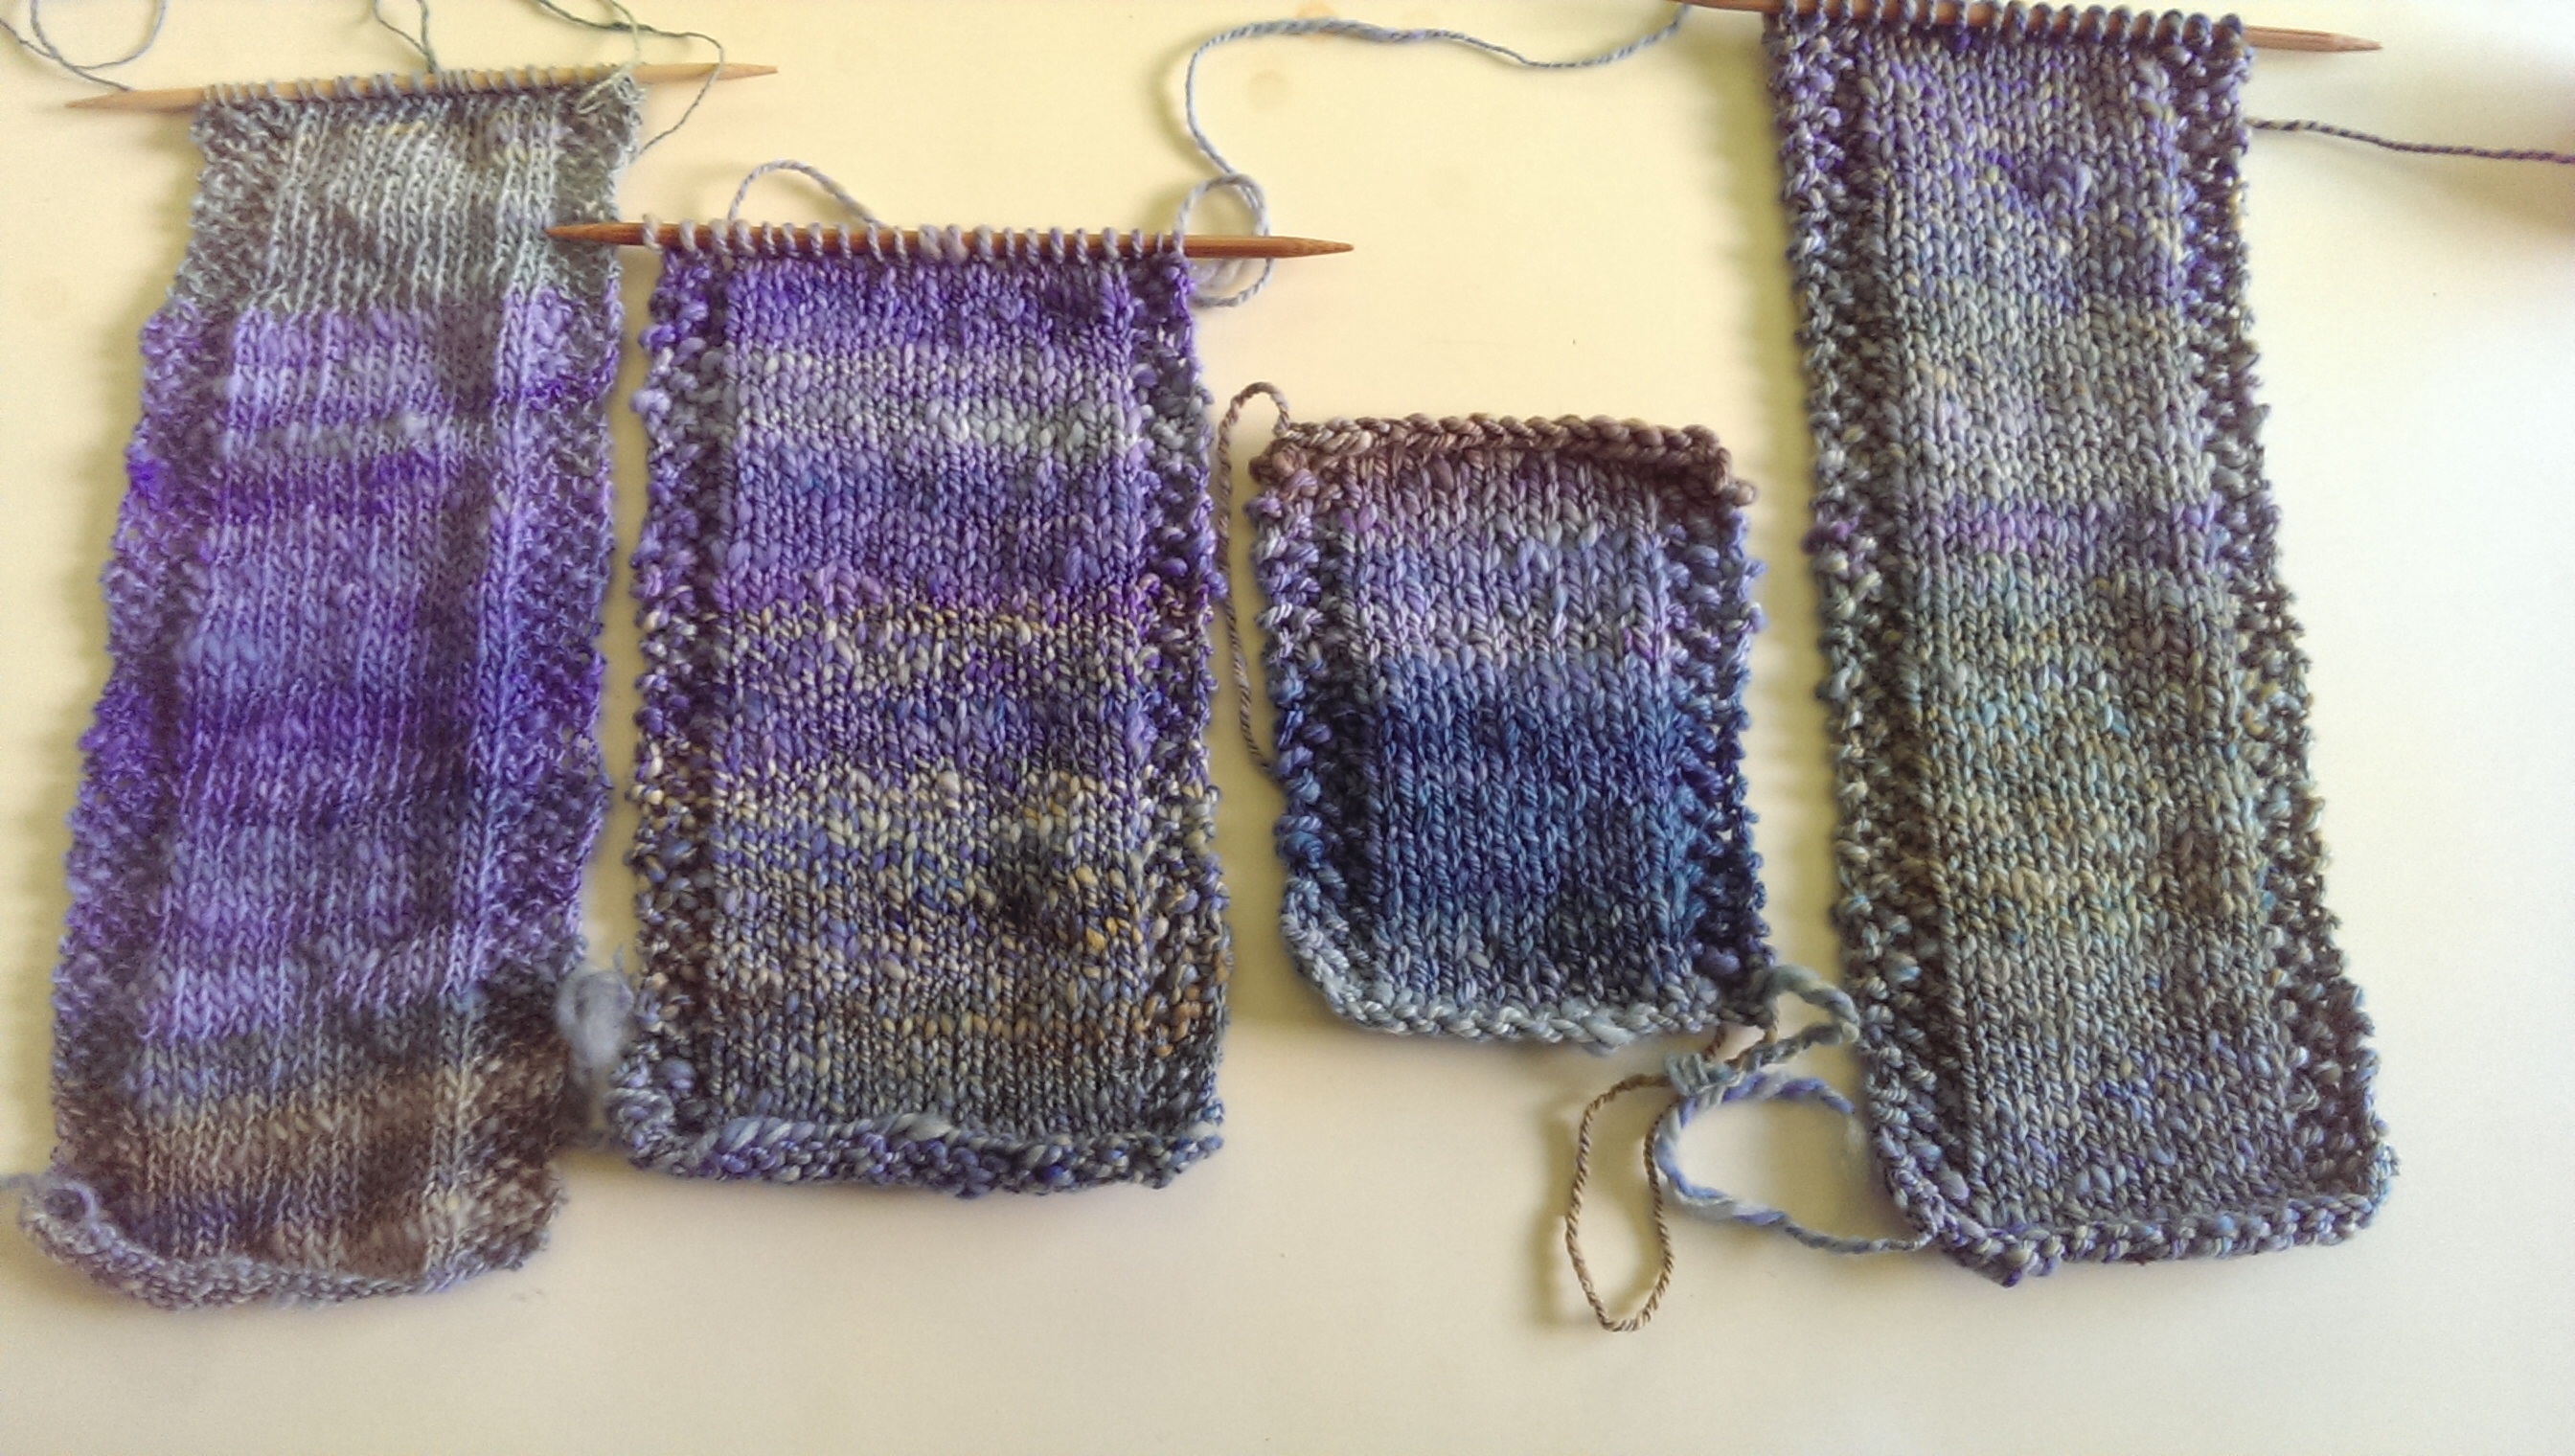
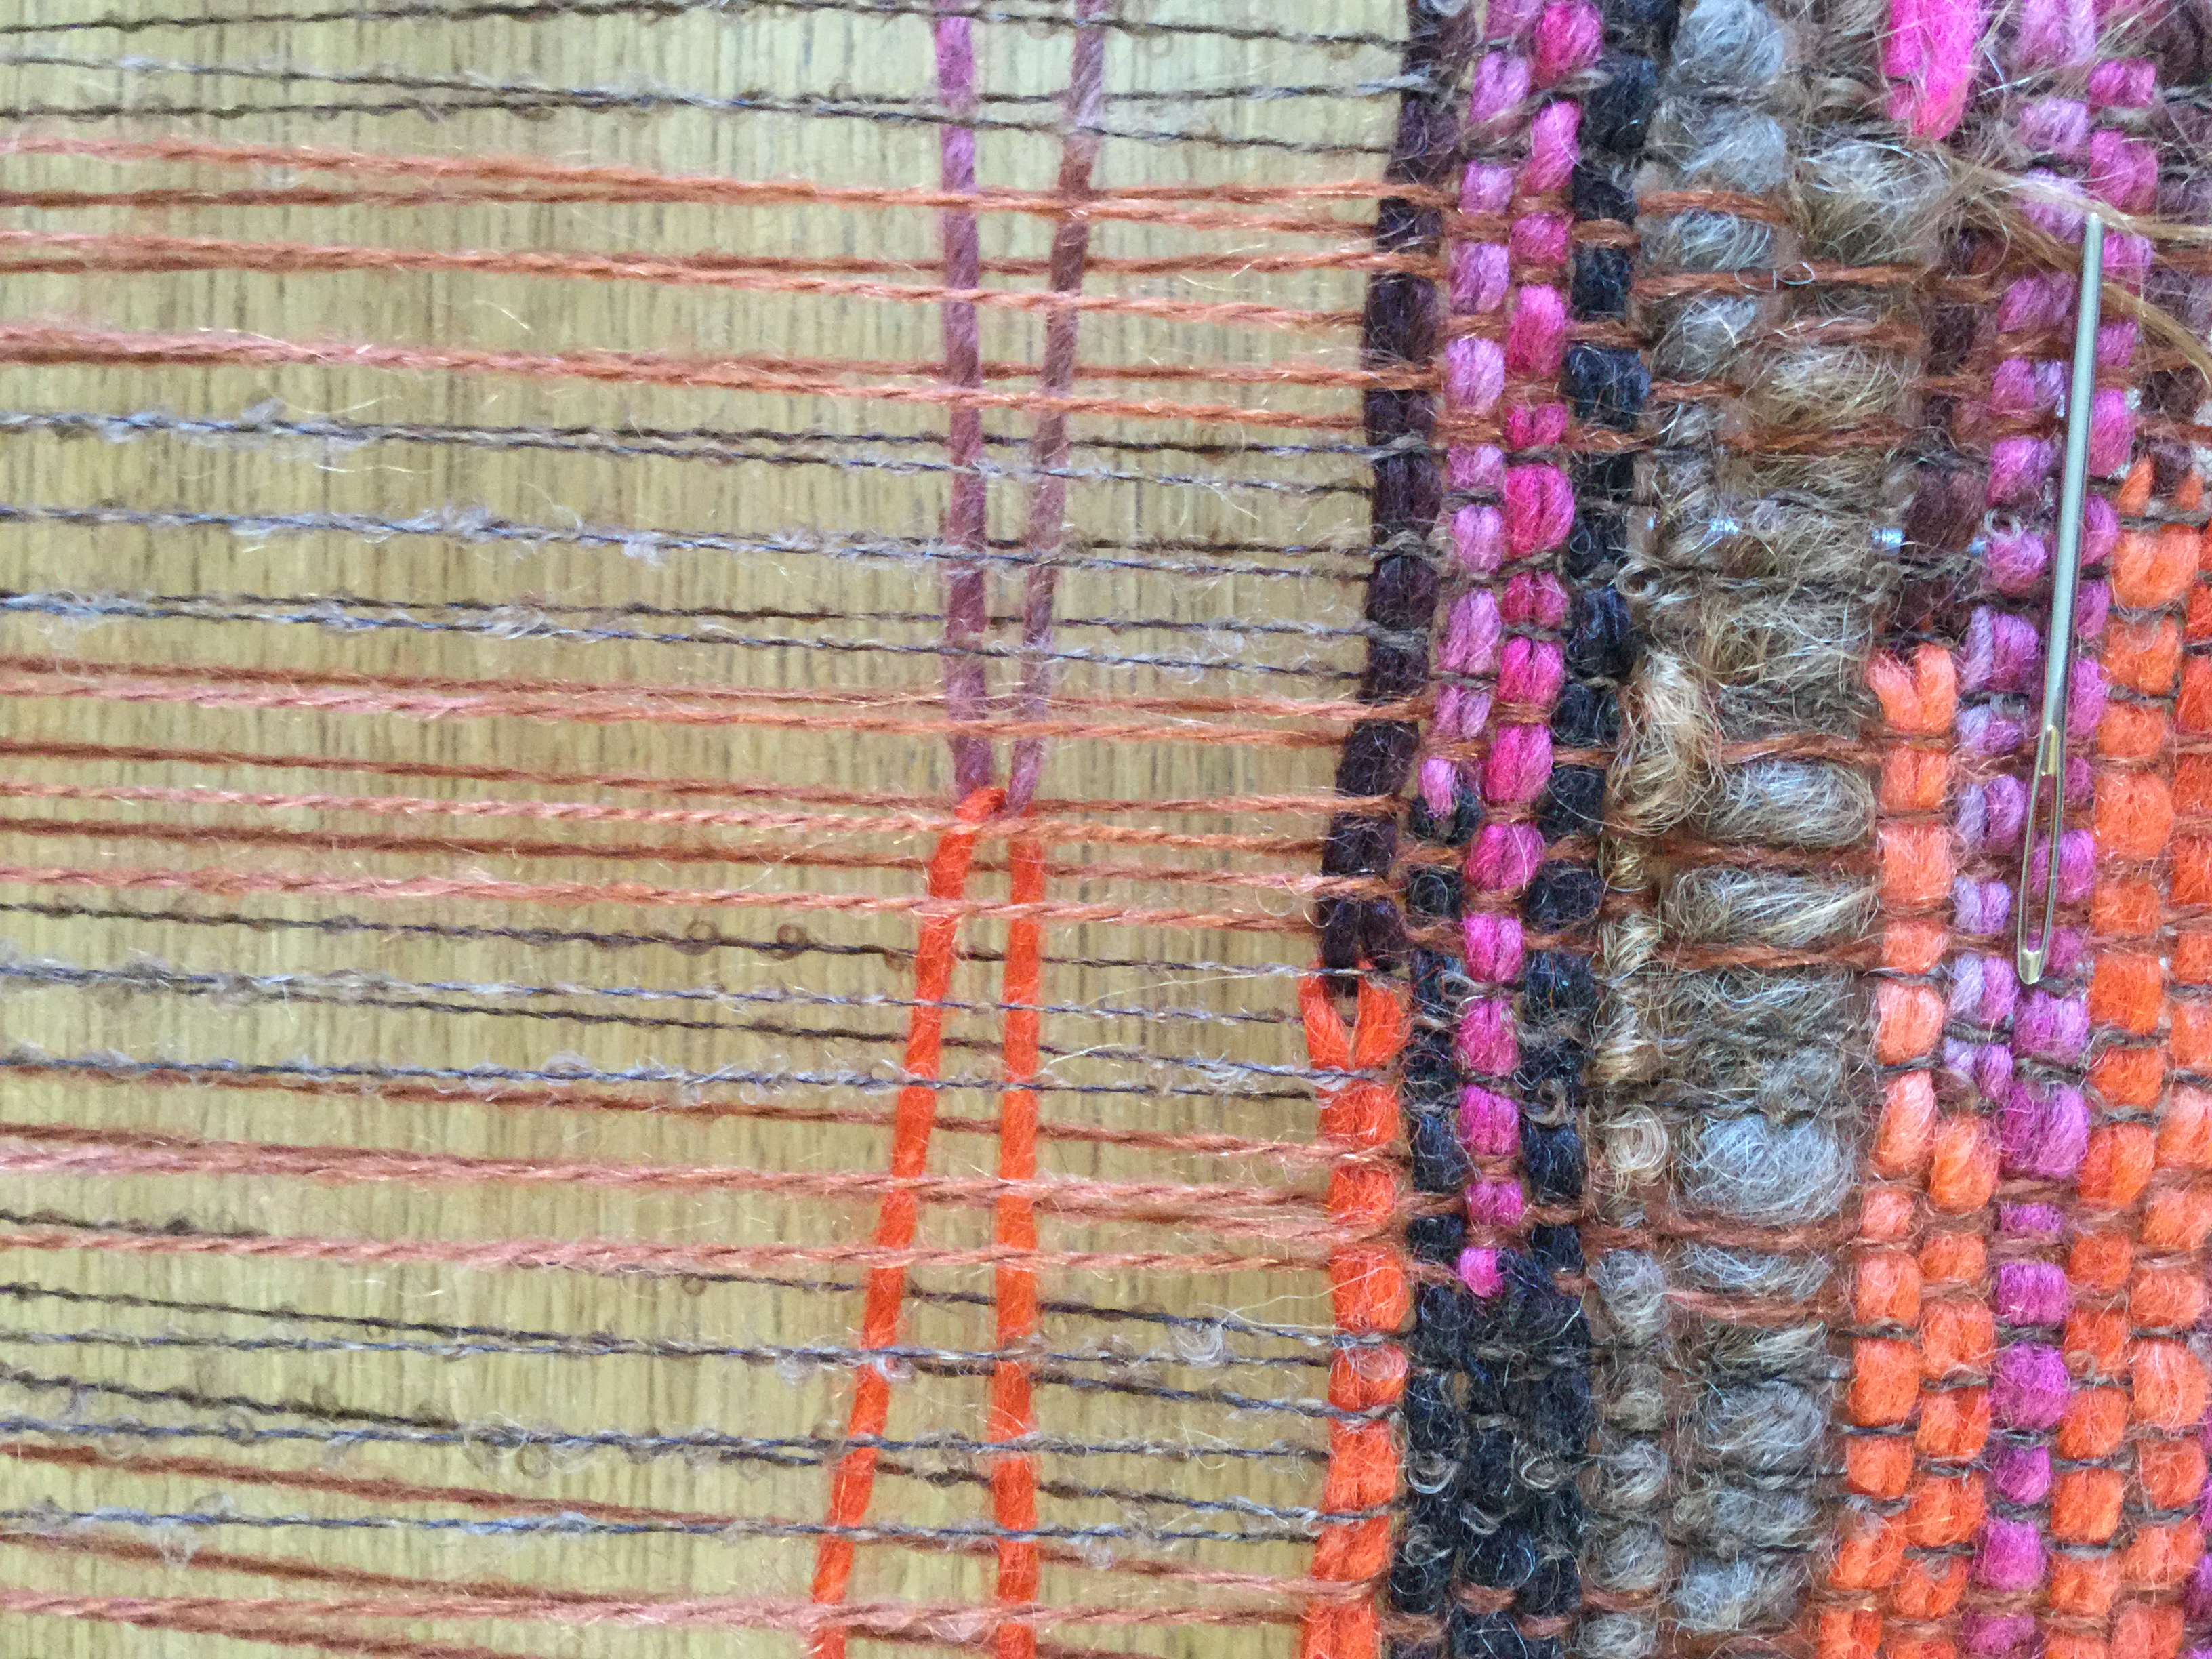
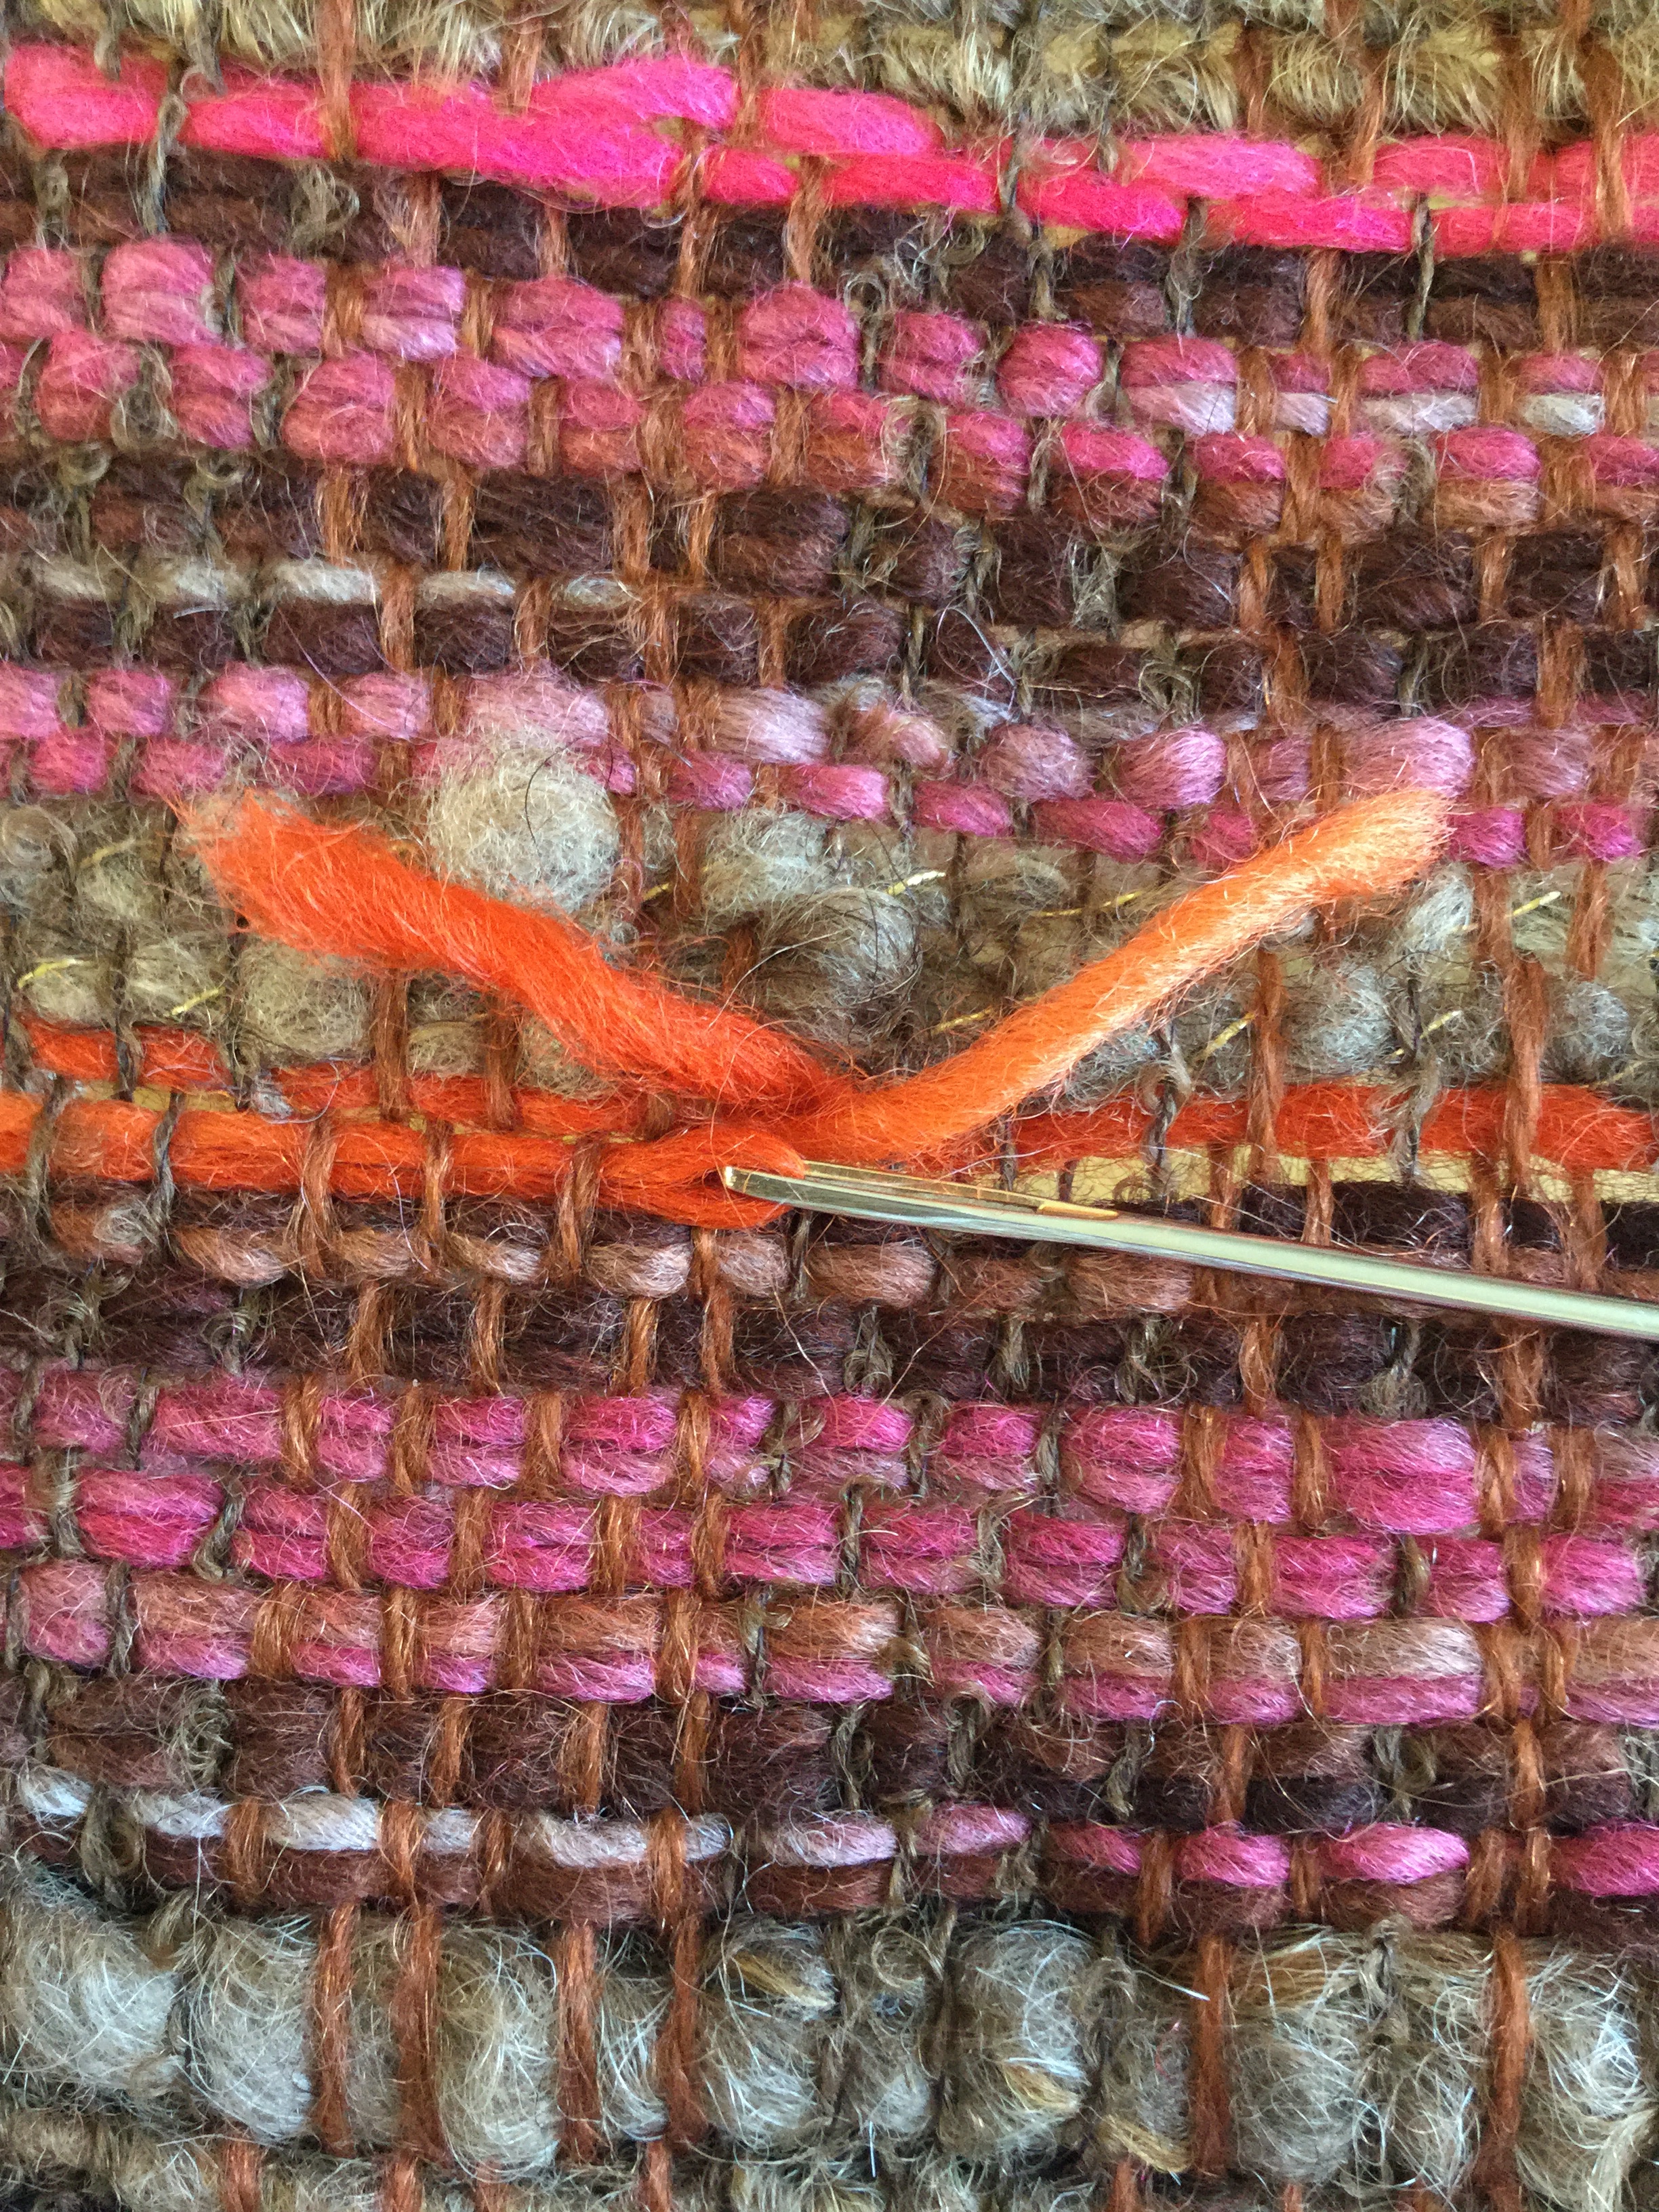
In this sample, I used a commercial silk warp thread and dyed it with gold, purple, green and a little pink. Woven with a camel/silk handspun, with some saori-style accents, the warp still comes through, but this time with different colour pools.

Dyed warp, Saori-style accents

Dyed warp, Saori-style accents

You could take this technique further and go for an ikat-style weave by tie dyeing the warp or even painting a design onto it, then threading the warp onto the loom. Another approach is to take some self-striping or variegated sock yarn and wind your warp so that the colours sit together. There’s a great description of that technique here.
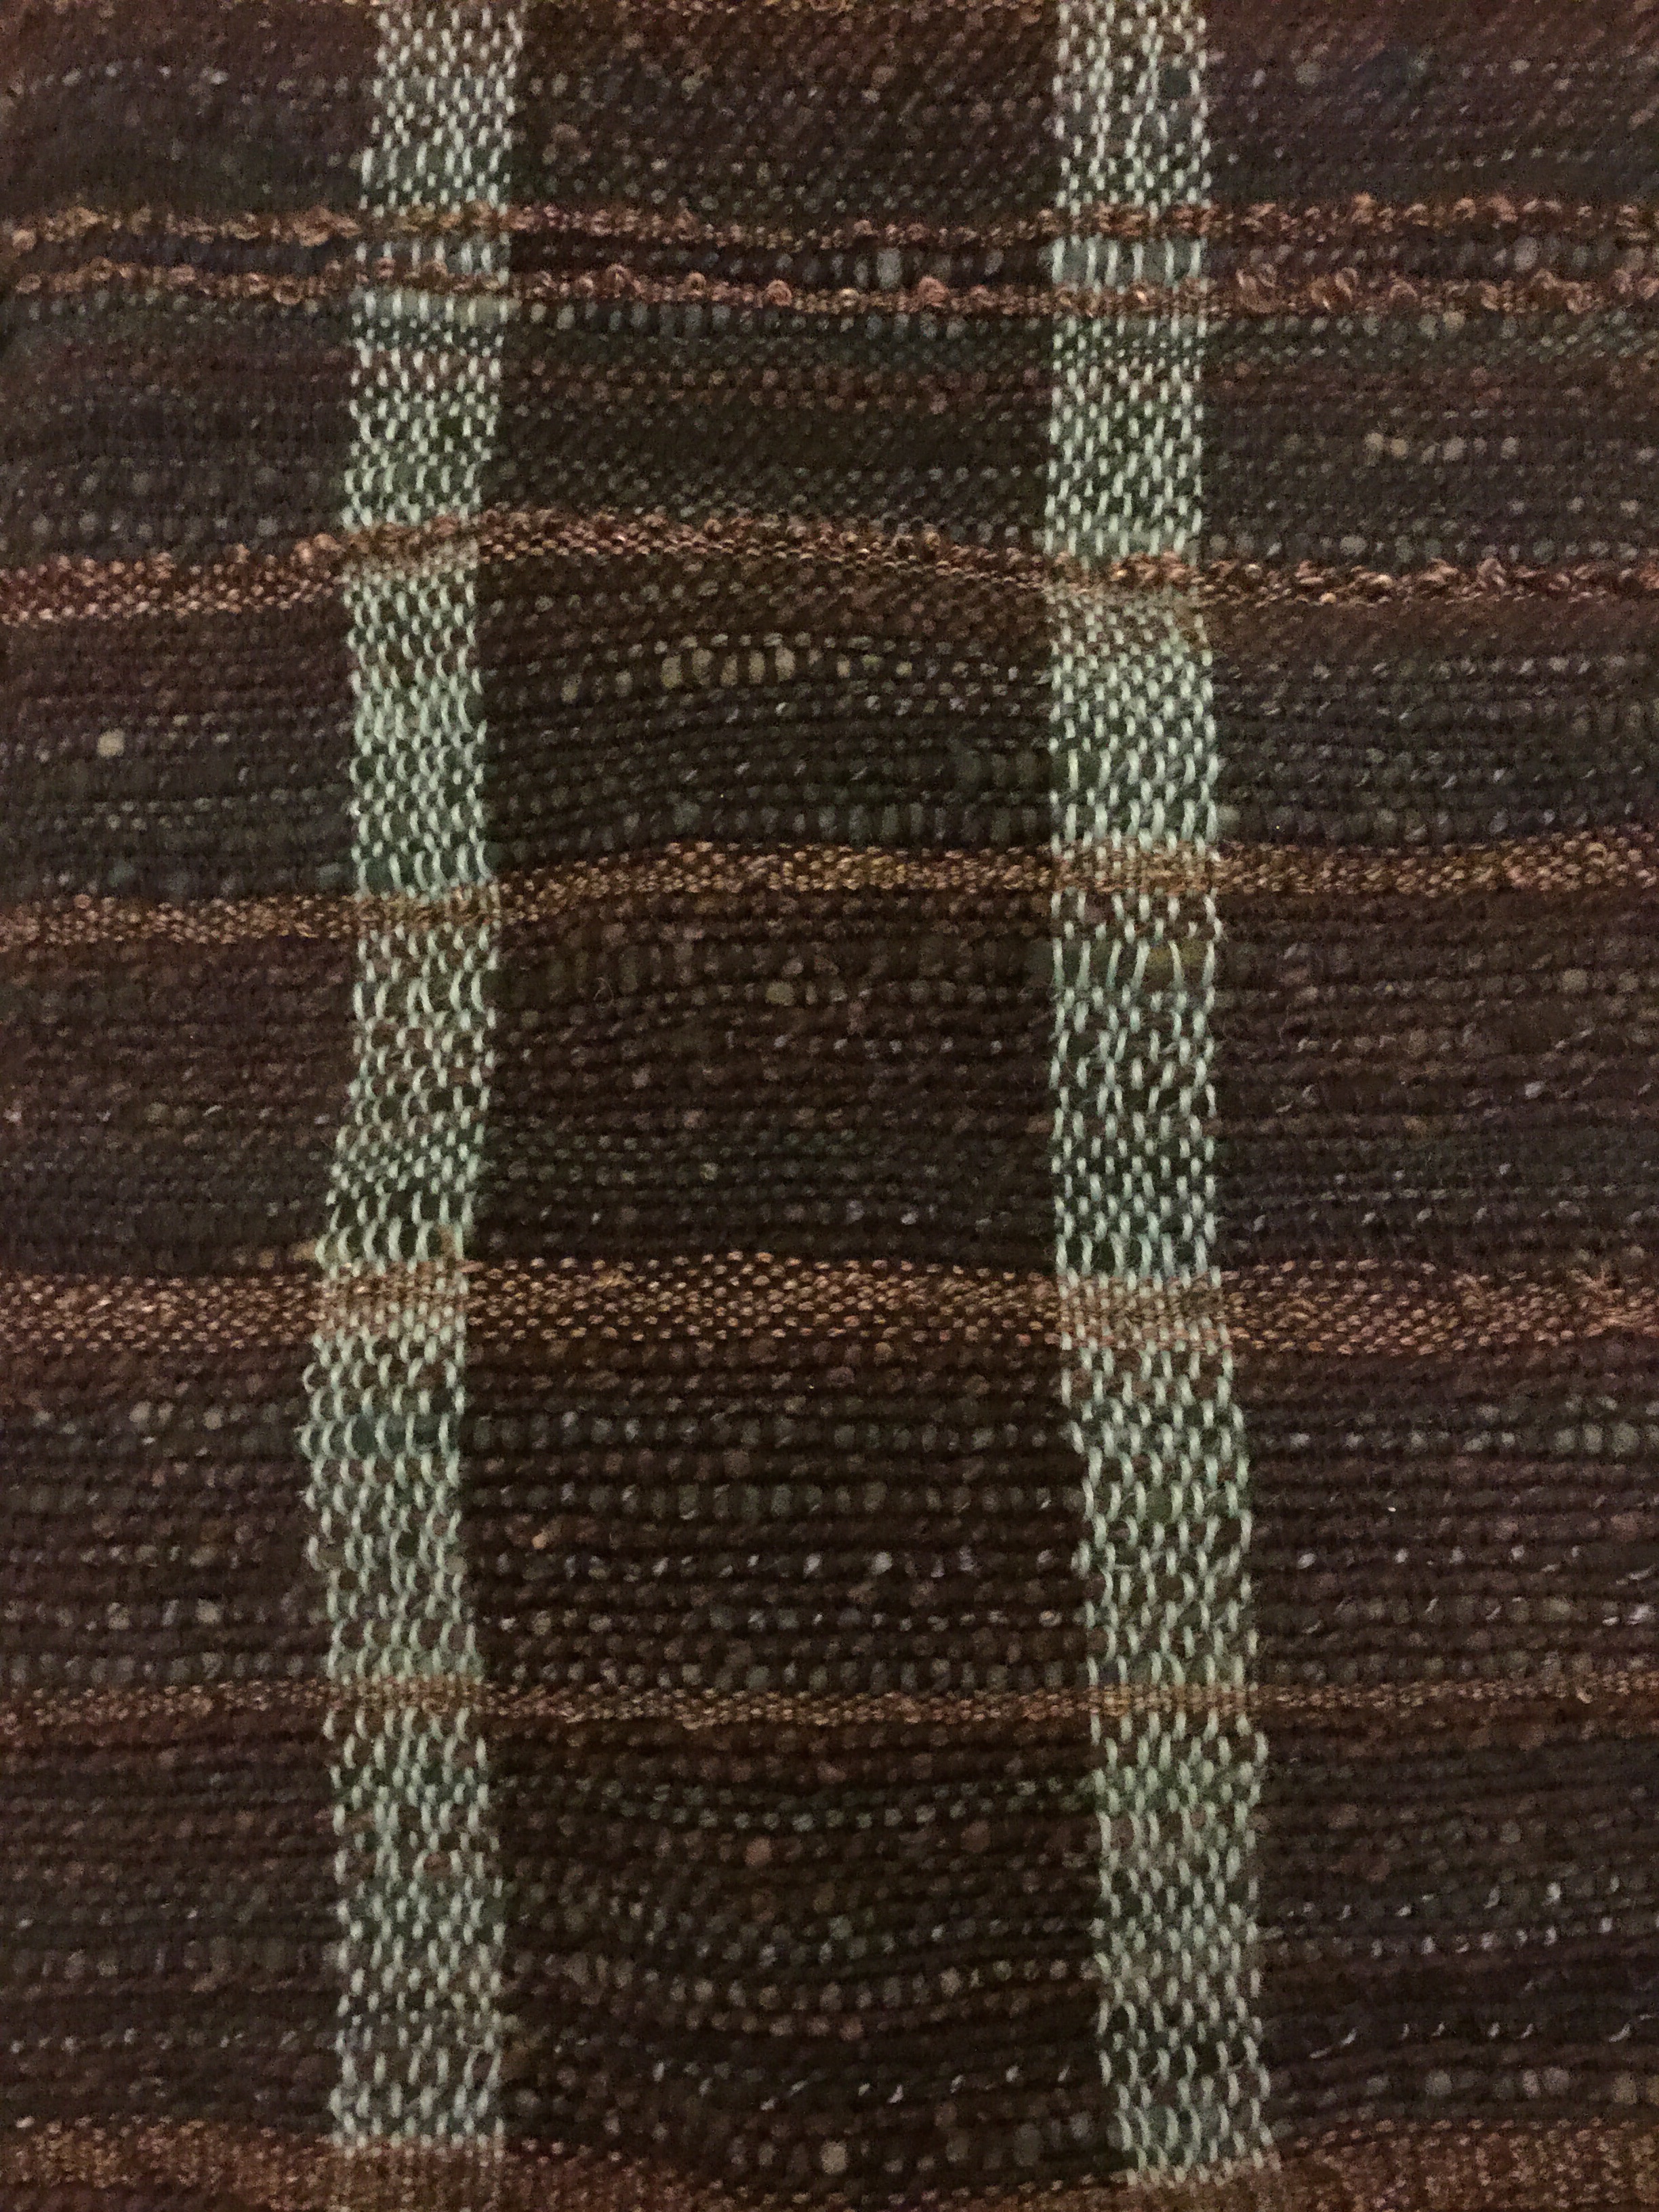
log cabin weave

log cabin weave

Log cabin weave is a rigid heddle loom classic. It’s simple, just alternating blocks of light and dark yarns (LDLDLDLD DLDLDLDL etc) in the warp and then weaving the same way. More about log cabin in my November post.

Using multi-coloured handspun or variegated sock yarns that have less contrast also create a nice effect. Check out this blog post on this variation on log cabin weave. I’ve also seen log cabin done with some saori-style embellishments that look fantastic.

One last technique that emphasizes warp is using the variable dent rigid heddle reed. It’s a reed that allows you to mix up the dent sizes in the reed to then use different weights of yarn. I haven’t tried out this tool myself, but apparently one of the effects you can achieve is a ribbed fabric.

All these techniques bring a lot of interest and texture without having to mess around with pick up sticks. Don’t get me wrong, pick up sticks are great, but don’t think you need to use them to get the most out of your rigid heddle loom.

Some resources for rigid heddle weaving:

Ravelry’s rigid heddle weaving group

Schacht spindle blog

Weavezine

Plying is Blending

2
Malabrigo Nube roving Indiecita colorway

Malabrigo Nube roving Indiecita colorway

During my candy-dyeing experiment, I made roving that I was pleased with, but once I’d spun it and plied it with itself, I didn’t like the resulting yarn. I couldn’t find anything on the interwebs about how color changes through plying the same colorway. There are numerous examples of plying with neutrals, and there’s this nice Knitty article about how color changes when drafting vs. plying. So this experiment is to try and sort out how color changes through plying within the same colorway.

Here’s my singles laid out for plying: (from left to right) a single, chain-ply three-ply, two-ply, and three-ply.

Singles for plying

Singles for plying

Here they are plied:

Roving, single, two-ply, chain-ply three-ply, three-ply

Roving, single, two-ply, chain-ply three-ply, three-ply

The three-ply appears obviously different. But the proof is in the pudding (or as Rachel says, the proof of the pudding is in the tasting), so I did some swatching:

Single ply yarn

Single ply yarn

I didn’t really enjoy spinning this roving because it was a bit felted and didn’t draft very well. This resulted in a slubby single, but knit up I like the texture the slubs add. The colors and striping are the same as the roving. So if I like how it looks as a single, any plying is going to modify the colors and texture.

Two-ply

Two-ply

This swatch ended up being the most dynamic, color-wise. The areas of high contrast (the yellow bits) give it a marled look. Depending on the project, this could add a great deal of interest, or just make it busy. There is some color striping but it’s pretty random. The areas of low contrast, with blues plied with each other, are less vibrant than the same color in the single.

Two-ply close-up: muted blues

Two-ply close-up: muted blues

Two-ply close-up: marled yellows

Two-ply close-up: marled yellows

The chain-plied three-ply I expected to maintain the striping of the single swatch, just with thicker yarn, but the plying softened the color changes, and actually muted the colors:

Chain-ply three-ply

Chain-ply three-ply

I picked the three most contrasting singles for the three-ply to try and get the maximum color variation:

Three-ply

Three-ply

The color changes have been blended out, so while there are areas of different color, the overall effect is a very gradual shift. Except for one spot where all the slubs lined up, the slubbiness is gone too. I have an automotive background, so this really reminds me of a three-phase alternator, so made to cut down on the low-spots in alternating current and provide a smooth, constant flow:

It's all about the math!

It’s all about the math!

So: when plying with the same colorway, the ply is going to change the color. A two-ply will only have half of each each single, a three-ply will only show a third of each single. I definitely should have swatched the single I’d spun from my candy-dyed roving to see if I liked it as-is. Swatch early, swatch often!

image

Guild Challenge: The Electric Kool-aid Fiber Test Results

2

The test results are in! At our February Guild meeting, everyone brought their projects from the Kool-aid dye challenge.

Here are the winners, as voted by the Guild members:

Leaf shawl, from different strengths of yellow #6, then overdyed to mitigate the obvious stripes. Lovely.

Leaf shawl, from different strengths of orange, then overdyed to mitigate the obvious stripes. Lovely.

Saori scarf woven on rigid heddle loom, using blue and red dyes for a purple effect.

Saori scarf woven on rigid heddle loom, using blue and red dyes for a purple effect.

Grand prize winner. All colors used. Too adorable!

Grand prize winner. All colors used. Too adorable!

Here are some examples from people who have dyed with Kool-aid before, and know that it takes a lot of dye to get a lot of color:

Child's jacket made from mitered squares. Love the intense colors.

Child’s jacket made from mitered squares. Love the intense colors.

"Sunset Colors" yarn. The turquoise shade is great.

“Sunset Colors” yarn. The turquoise shade is great.

Knit cowl. The charcoal grey tones down the vibrant colors.

Knit cowl. The charcoal grey tones down the vibrant colors.

Sophisticated roving with color blending.

Sophisticated roving with color blending.

A pair of green and blue hats.

A pair of green and blue hats.

Here are some examples of using less dye to nice effect:

Knit cowl with pastel colors and grey alpaca for a tweedy look.

Knit cowl with pastel colors and grey alpaca for a tweedy look.

Nuño felted sky blue cloth with lavender undertones.

Nuño felted sky blue cloth with lavender undertones.

Tea cozy topped with knit flowers, which were hand painted with Kool-aid, just as one would marzipan.

Tea cozy topped with knit flowers, which were hand painted with Kool-aid, just as one would marzipan.

Some excellent examples of blending with neutrals:

The same hat-and-mitt set, two ways.

The same hat-and-mitt set, two ways.

Knit socks, blue and orange. The heathered blue tones down the orange.

Knit socks, blue and orange. The heathered blue tones down the orange.

Felted bag with sheep. Lined and reversible!

Felted bag with sheep. Lined and reversible!

What did I end up doing? My initial attempt at using Kool-aid ended with yarn that I hated. I went off on a tangent and dyed a lot of fiber with candy. I made this project bag. I got Spinner’s Block. I got over it. And in the 11th hour, I spun and dyed this:

Targhee two-ply, dyed with a jawbreaker, tic-tacs and sprinkles, then gradient dyed with red-to-blue Kool-aid.

Targhee two-ply, dyed with a jawbreaker, tic-tacs and sprinkles, then gradient dyed with red-to-blue Kool-aid.

I didn’t win, but I learned a lot, including an appreciation for dying spun yarn, not just wool. Up next: bring on the natural dyes!

Get Carded Sideways

1

In one of the rabbit-warrens of the internet I stumbled across this blog blurb by Stephanie Pearl-McPhee (aka the Yarn Harlot) about sending fiber through your drum carder sideways. I immediately alerted Rachel, that this might be a thing. We had to put it to the test.

I started with a Corriedale batt that I’d already sent through the carder normally:

Corriedale batt

Corriedale batt

I split it in half and sent one half through again sideways:

What! That orientation is wrong!

What! That orientation is wrong!

This is the result. The sideways batt feels thicker and fluffier. I should also note that the fiber piled up in the middle of the drum instead of being spread out evenly.

Left, standard carding, right, sideways carding

Left, standard carding, right, sideways carding

As a different test, I sent an assortment of different staple lengths and fibers through. Longwool, and very crimpy short wool. I didn’t pick the crimpy short wool apart.

Sideways potpourri. This makes it scientific.

Sideways potpourri. This makes it scientific.

Here’s the resulting batt. Then I spun it all up.

Assorted wools batt

Assorted wools batt

Rachel here: Excuse me while I butt into Sal’s post. First of all can I just echo the WTFness of this sideways drumcarding development. Imagine me sort of open mouthed and wondering wha??? and ??? And thinking, well if the Yarn Harlot AND Judith McKenzie say this is The Done Thing, well….

Like Sal, I had to try this sideways drum carding myself. Sal has already described what happens–smaller, fluffier batts. That’s what I found too. Instead of thick and sometimes compacted batts you get fluffy rolags, like the ones you would make on hand cards–but bigger.

These were very easy to spin, like rolags. There was none of that peeling apart and fussing around with a big batt. It was all the good aspects of a hand carded rolag, only bigger and no sore wrists.

Some of the fiber I used was polwarth/silk roving that’s been in my stash for awhile. It opened up nicely when carded sideways and was a breeze to spin.

Lastly I put some scoured fleece (just washed, undyed, still a bit of a mess) through sideways. Here I didn’t see a huge difference putting unprocessed fleece through sideways. The batts were about the same. Having said that, once I get to the stage where I’m going to blend some of this fleece with another fiber or other colours, I’ll be doing that sideways. I like those big, fat rolags!

Longwool single, twist set

Longwool single, twist set

Sally here again: I agree with Rachel, it does make easy-to-spin batts, especially with the longwool blend I tried. I suspect this may be because, by sending the wool through sideways, I’m actually spinning on the fold with the long fibers. I was also able to maintain some of the crimpy locks, which would have been carded apart going through aligned. I think this is definitely a great way to do an art batt.

Test single, both standard carding method and sideways

Test single, both standard carding method and sideways

When I was spinning the batt that was half normal/half sideways, I noticed a definite difference in how the yarn felt while spinning, which I would attribute to a worsted vs. woolen preparation. The sideways portion looked like it was going to have more of a halo due to the fibers not being lined up. If I look very closely, they may be slightly fuzzier, but after washing and setting the twist on the single, there is really very little difference.

So what do you think, Rach, is this actually a thing? My take, it’s definitely not NOT a thing!

Rachel: Sal, I have to agree with you. Not a Thing. I wouldn’t advocate a sideways-only approach to drumcarding. If you want to spin rolags, yes go sideways. If you want to open up some compacted roving, go sideways. But sideways only? I’m not so sure about that.

What I would suggest is being careful about how much fiber you load onto your drumcarder. Don’t overload.


Spinning in the grease

3

Sally and I talk about fiber preparation a lot. Conversations usually start off with a confession.

Rachel: “Um I just bought more fleeces.”

OMG! Where did these come from???

OMG! Where did these come from???

Sal: [laughs] “What are you going to do with them?”

Rachel: “Well right now, they’re in my closet.”

Then we discuss all the processes we could use to turn the raw fleece into The Ultimate Yarn. There’s scouring, combing, carding, dyeing and blending. Then there are infinite techniques–have you heard of the Fermented Suint Method for scouring fleece? Do you card your fleece or comb it? Do you put your fiber into the drumcarder sideways?

Last fall, after buying a few more Shetland fleeces I was so excited to try them out on the wheel that I pulled off some locks and started spinning. No fiber prep at all.

Spinning in the grease isn’t something I usually do, but a lot of spinners do. These are the people who look at you funny when you start talking about scouring fleece and the other fifteen steps you’re going to take before you spin any yarn.

What I learned was spinners who advocate spinning in the grease have a point. One is, if you have a beautiful fleece with nice crimpy locks, it’s a shame to process that out. It’s fine just to tease the locks out a little with your fingers and start to spin. I would recommend, however, picking through the fleece first and removing the dags (poo) and larger bits of vegetable matter. You don’t want that.

Here’s some Shetland spun in the grease. The yarn plumped up nicely after washing.

Shetland spun in the grease

Shetland spun in the grease


Shetland after washing

Shetland after washing

Here’s some Zwartables I spun in the same way.

Zwartables spun in the grease

Zwartables spun in the grease

Zwartables fleece

Zwartables fleece

Yes it is a bit smelly and you should clean your wheel afterwards. Really the final result is the same as if you’d spent days scouring and carding and combing and all the rest.

Safety Note. You do need to be careful handling raw fleece. Pregnant women should not handle raw fleece. Be aware that raw fleece is likely to have sheep excrement on it–so avoid handling that with bare hands. Choose from the sections of the fleece that’s not near the animal’s rear end. Give your hands a thorough scrub when you’re finished. Then wash them again!

Saori-style weaving on the rigid heddle loom

3
fork, scissors, tapestry needle

fork, scissors, tapestry needle

While I still have loads of yarn piling up and access to the guild’s Ashford knitter’s loom I’m putting both to good use. On Friday I threaded the loom with almost five meters worth of warp and set forth on another weaving experiment.

I won’t call this Saori weaving–rather Saori-style. It’s hitting a lot of the right themes for me–using up stash yarn, making use of the Ashford loom, thinking about color combinations (in this case pink, orange and brown) and learning new techniques. Saori weaving is also a perfect canvas for art yarn– you know all that fanciful stuff we love to make, but sometimes struggle to use.

art yarn

art yarn

Saori-style weaving is ideal for those of us with rigid heddle looms. It’s a plain weave, experimental, free-style approach to weaving pioneered in Japan. (The Saori website has all the history.) Saori emphasises finger manipulation techniques, color, texture and self-expression. I’ve seen it likened to painting with yarn.

I threaded (warped) the loom with some commercial mohair and boucle yarn from Texere. Loading five meters’ worth took awhile, but I’m hoping the length of fabric will give me something useable for a garment at the end.

warp

warp

For the weft yarns I’m using a mix of handspun and blue-faced Leicester pencil roving which I dyed. The roving is lovely and soft–well-suited for weaving. What attracted me to Saori-style weaving was the clasped warp technique (useful video here) which would allow me to make a zig-zag weave.

clasped weft

clasped weft

And as the “plan” for this project crystallised I realised it would be a perfect time to use this handspun that’s been in my stash for three years or so waiting for a project.

Using a fork as a beater and a tapestry needle to weaving in extra color here and there the fabric is shaping up. I’ve alternated the colors on either side of the fabric–pink and orange first of the left and then on the right, swapping the brown over. Then I’ve used the brown tailspun art yarn for some additional interest.

filling in

filling in

One of the preconceptions I’ve had to jettison is the idea of pattern. There are some themes in terms of color and texture in the piece so far, but no pattern. How is that going to translate into a garment? My guess is that while I would like to make a jacket out of this piece, I might have to challenge that idea and make something else!

Plain weave & pick up sticks on the rigid heddle loom

0

The stormy weather and holiday break gave me the chance to do some weaving. Finally.

I’ve taken possession (temporarily) of my guild’s 30 cm Ashford knitter’s loom. I had all these crazy ideas about making wider fabric and then cutting and sewing it into a vest like this one from Purl Soho: Quilted Vest. Whether I take the plunge and cut my fabric and sew it into a garment will depend on how brave I’m feeling.

Freestyling stash buster plain weave

Freestyling stash buster plain weave

For this project, I used commercial yarn for the warp and a variety of handspun from my stash in the weft. It’s either Ryeland or BFL and there is some silk in there too. There is also some yarn I spun from a luscious combination of camel/seacell/faux cashmere from HilltopCloud

Honestly there was no real plan for warping. I decided how long I needed the warp to be and how wide and then made do with the yarn I had. I used a navy silk/wool, alpaca (turquoise) and some black super wash–all picked for sturdiness.

Similarly there was no plan for weaving–except I wanted to use as much of my yarn as possible! (There’s still a little left.) The only somewhat fancy technique I used was to make little loops by randomly picking up the weft with a long knitting needle, packing the weft with the reed and then pulling out the needle.

If I’m brave this cloth could become a fancy vest. If I play it safe, it will be a cosy wrap.

I wove my second project on my own 15″ Cricket loom. I used hand spun suri alpaca for the warp and some of the left over camel/silk for the weft. This technique is called faux twill, which is described by Jeen in the rigid heddle looms group on Ravelry. I’ve been wearing this project as a scarf.

Faux twill and fabulous

Faux twill and fabulous

The third project was also woven on my Cricket loom. I used commercial yarns from my stash. The warp is a champagne chenille and the weft is Noro silk/cotton sock yarn and Brown Sheep chunky in a mossy green. Nice right?

Honeycomb

Honeycomb

I used a pick up stick to achieve this honeycomb pattern described in Jane Patrick’s The Weaver’s Idea Book, published by Interweave. This book is invaluable for RHL newbies like me who want to push themselves and try out many different patterns and techniques. Indeed the rigid heddle loom group on Ravelry has a thread devoted to those weavers working their way through the book. Check it out!

Learning: I want to try out the guild’s four-shaft table loom!

How to make a White Christmas wreath

2
White Christmas Wreath

White Christmas Wreath

The holidays always sneak up on me despite the ample reminders from shops who start stocking their shelves with Christmas Fayre in September. My guild–The Mid-Essex Guild of Weavers, Spinners & Dyers–gave us two months’ warning (maybe more) about this Christmas ornament competition for the December meeting. Still I put the finishing touches on my entry–the White Christmas wreath–in the car before bringing it in to the hall.

The White Christmas wreath is made from materials that anyone who does sewing, knitting and spinning will probably have around the house–felt, buttons, a couple of beads, yarn, stuffing (wool or acrylic) and maybe a pipe cleaner or two if you’re feeling extravagant.

Like so many of my other projects I’d mapped out the what and how mentally. The first step was making some felt for the leaves and flowers. I used the wet felt method described in Complete Feltmaking by Gillian Harris. I used some white fleece I had to hand and some white iridescent angelica fiber. The felt I made was on the thin side and I did needle felt it in places to reinforce. Making the felt was the most time consuming part of the project.

felt--made from llanwenog fleece and angelina fiber.

felt–made from llanwenog fleece and angelina fiber.

The next step was to make a knitted tube that would act as the base. I used my Addi circular knitting machine and some white handspun yarn. Using the machine knitting the tube took about five minutes.

Making a ring on the Addi machine

Making a ring on the Addi machine

I then stuffed the tube with so neppy bits of wool I have in abundance–meaning the bits of wool left over from the combing/carding process. I sewed the ends together, et voila, a ring.

Flowers and embellishments came next.

adding flowers and leaves

adding flowers and leaves

As you can see from the photo I’ve opted for flowers and leaves which I cut freehand. I’ve sewed and glued on buttons and needle felted leaves and flowers into place. Lastly in a fit of inspiration I needle felted a dove to nestle above the poinsettia-shaped flower.

Oh, and I won the competition!

First trophy I've ever won for anything!

First trophy I’ve ever won for anything!

Sheep Chic

4

One reason Sal and I started this website was to show how starting with a bag of fiber it’s possible to create luxurious handmade objects.  This week I went into the Liberty of London on a mission to find wool being used in high-end fashion. I found some great pieces that I’m confident could be handmade and certainly show what’s possible with wool.

Rowan thick thin yarn--wannabee handspun

Rowan thick thin yarn–wannabee handspun

Liberty is known for its art nouveau and arts & crafts-inspired designs in the 1950s as well as its range of print fabrics. Back in the dark ages -the early 00s–when there were no real knit shops in London, Liberty carried Rowan yarns and stocked needles.

These days Liberty has some super-expensive pieces that feature wool. Check out this handbag made by Marni.

Marni bag

Marni bag

It’s made out of leather and a panel of soft felt. It retails for £765. It’s a beautiful piece that’s an alternative to the leather and gold-plated-hardware style bags that dominant the market. I wouldn’t say this would be an easy project, but if you know how to make felt, have access to a sewing machine and a bit of imagination–it’s doable.

Then there was this wrap going for £195. It’s basically a big piece of felt. Made in Italy, it’s silky soft–probably merino–and quite thin.

Felted wrap--probably about £5 worth of wool on sale for £195

Felted wrap–probably about £5 worth of wool on sale for £195

I’d guess it was made using a felting machine, but this is precisely the kind of piece that can be easily made by hand. In fact, I’ve seen many more elaborate nuno and silk pieces for sale that show greater skill than this colorful rectangle. Still it was inspiring to see such a piece showcased at Liberty.

There was also this stole, which looked like a piece of shearling with a fabric backing. I didn’t see how much this piece was going for, but it’s part of the wider trend for all things shearling, soft and silky. Apparently the trend for these big fluffy wraps and collars comes from Game of Thrones’ popularity. I could see making something like this with tailspun yarn.

Shearling stole.

Shearling stole.

Fleece to scarf challenge–with the Mid-Essex Guild

3
newbury coat

The first sheep to coat challenge, 1811

In 1811 John Coxeter a mill owner in Newbury, Berkshire (UK) boasted that so improved was his machinery he could certainly start with a fleece and make a coat in a day. On June 25, 1811 the first sheep to coat challenge was completed. It produced what is known today as the Newbury Coat. The garment (pictured below) still exists and is displayed at Coughton Court in Warwickshire– a testament wool’s sturdiness! Since the Newbury Coat, sheep to garment challenges have become annual events at at county shows, fiber festivals and guilds.

Mostly it’s all in good fun, but there are some who take it all a bit more seriously. The Guinness world record time for a sheep to sweater challenge–4 hours 51 minutes– was set back in 2004 by  Australia’s Merriwa Jumbucks at Merriwa, New South Wales. Last year Norwegian spinners and knitters attempted to break the record on live television, but fell a few stitches short. Those Aussies are hard to beat.

The Newbury Coat

The Newbury Coat

Last Saturday my guild–The Mid-Essex Guild of Weavers, Spinners and Dyers ran a slimmed down version of the sheep to sweater challenge.One of the guild members supplied and dyed the fleece from her flock of Southdowns. We broke in to teams of five and started with uncarded, dyed fleece to create two scarves per team in about 3 1/2 hours. It’s not as easy as it sounds. Half-way through the challenge we could have used a visit from a massage therapist!

IMG_0018

And we’re off!

There was a bit of inter-team trash talking…. well not really. Mainly we were sounding out strategy–such as how much yarn we needed to cast on 120 sts onto 8mm needles, should we be carding or spinning straight from the pile of fleece and should we ply from a center-pull ball or navajo ply? Luckily I was on a team with a bit of experience. One of my team mates had done a test run at home–something that never occurred to me!–and had a rough idea of how much yarn we needed to start knitting.

Once we had spun and plied enough yarn to cast on, the knitters dove in and did their thing. I mostly did spinning, but at the end knitted about five rows and cast off. Lo and behold we had finished two scarves. Talk about crafting on the fly. Phew!!

... three & 1/2 hours later Scarves!!

… three & 1/2 hours later Scarves!!